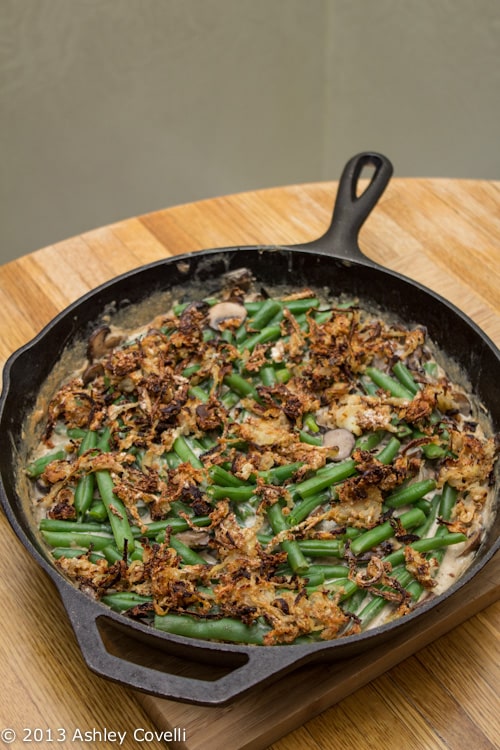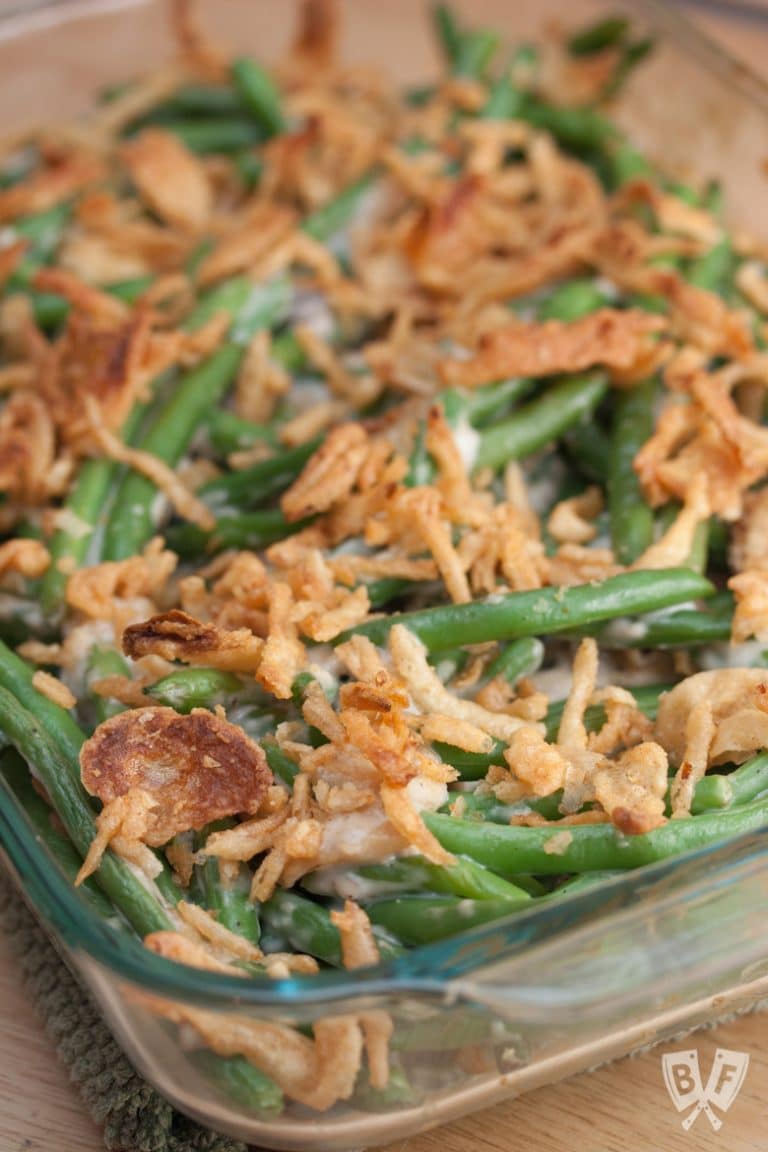
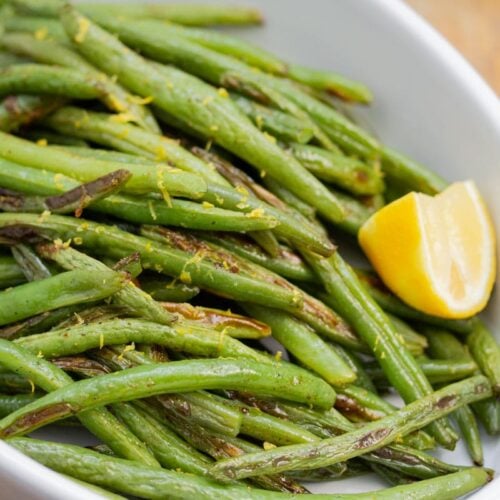
This 10-minute, 4-ingredient sheet pan recipe for roasted green beans is one of our favorite simple side dishes. A weeknight staple!

This green bean recipe has quickly become a go-to for an easy weeknight side dish.
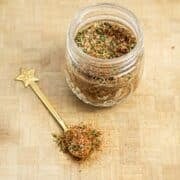
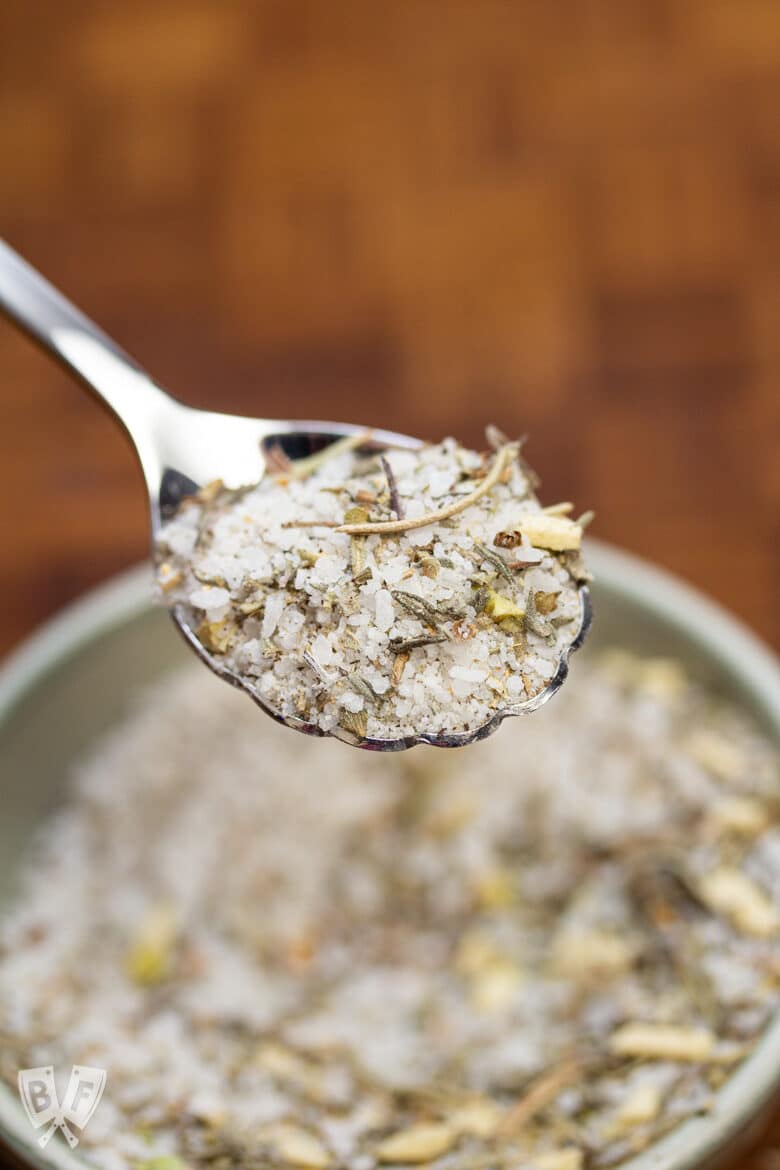
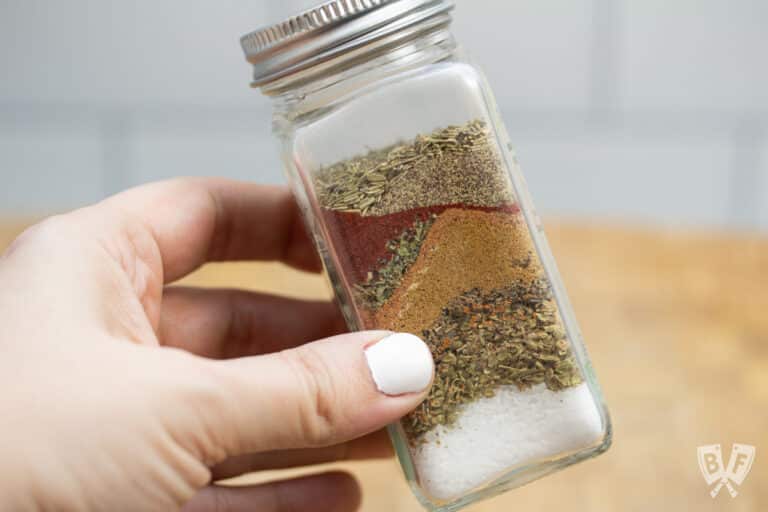
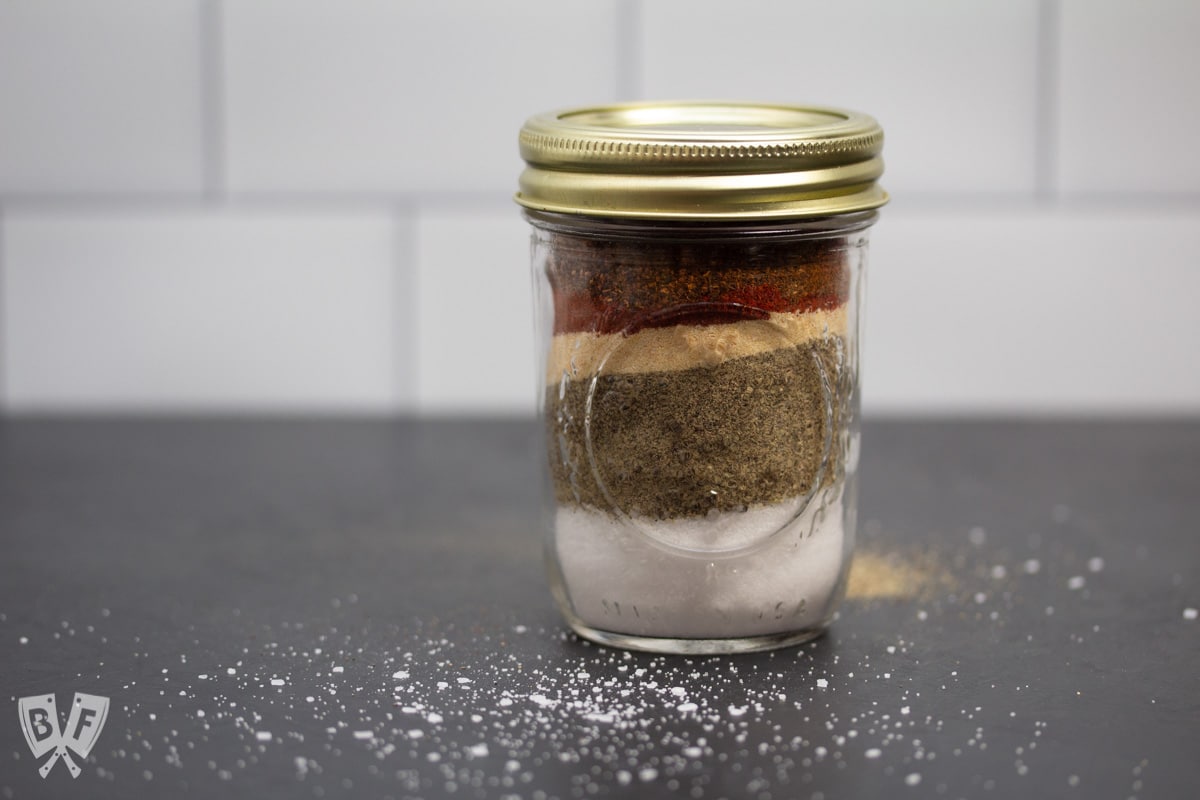
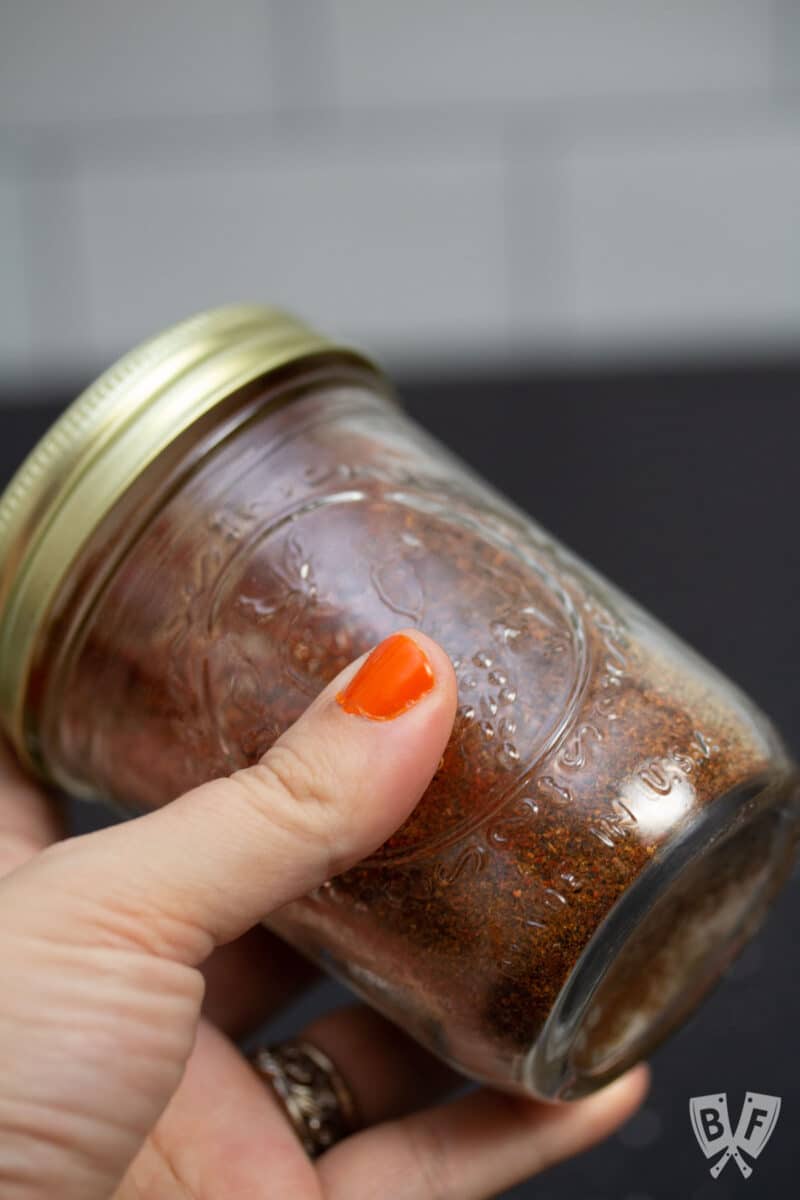
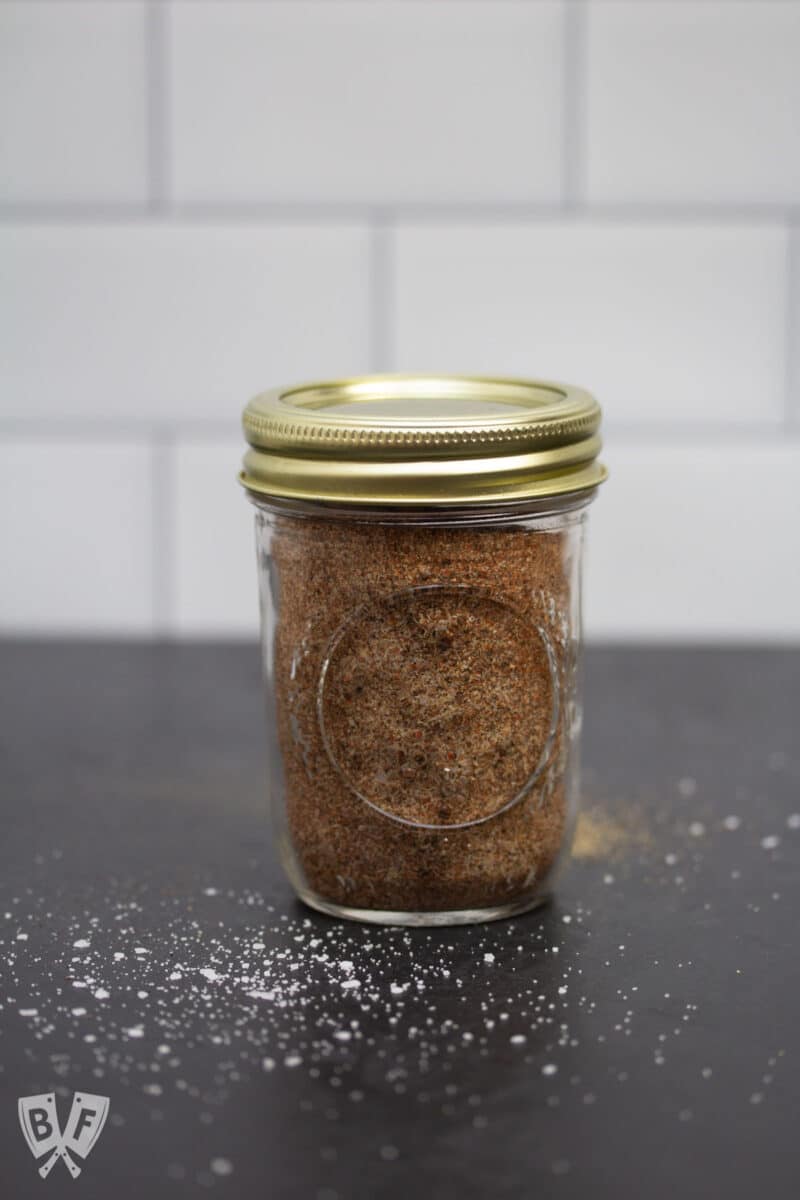
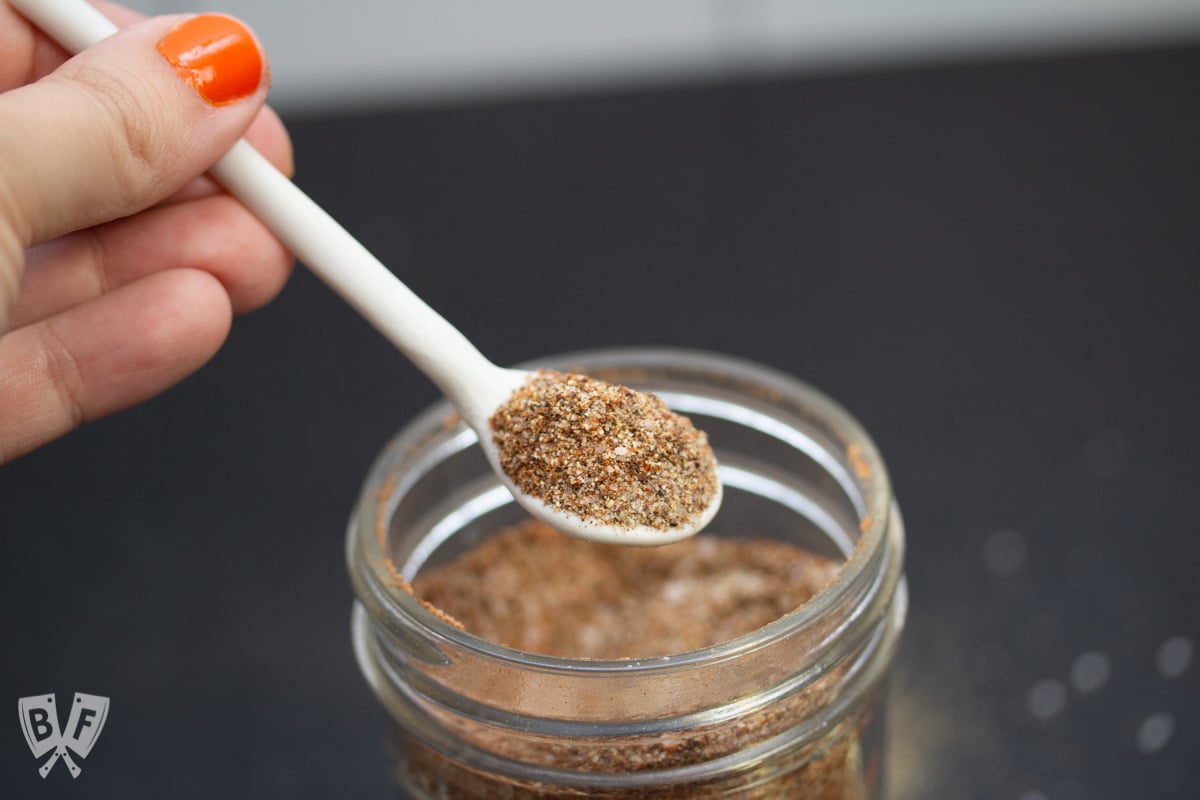
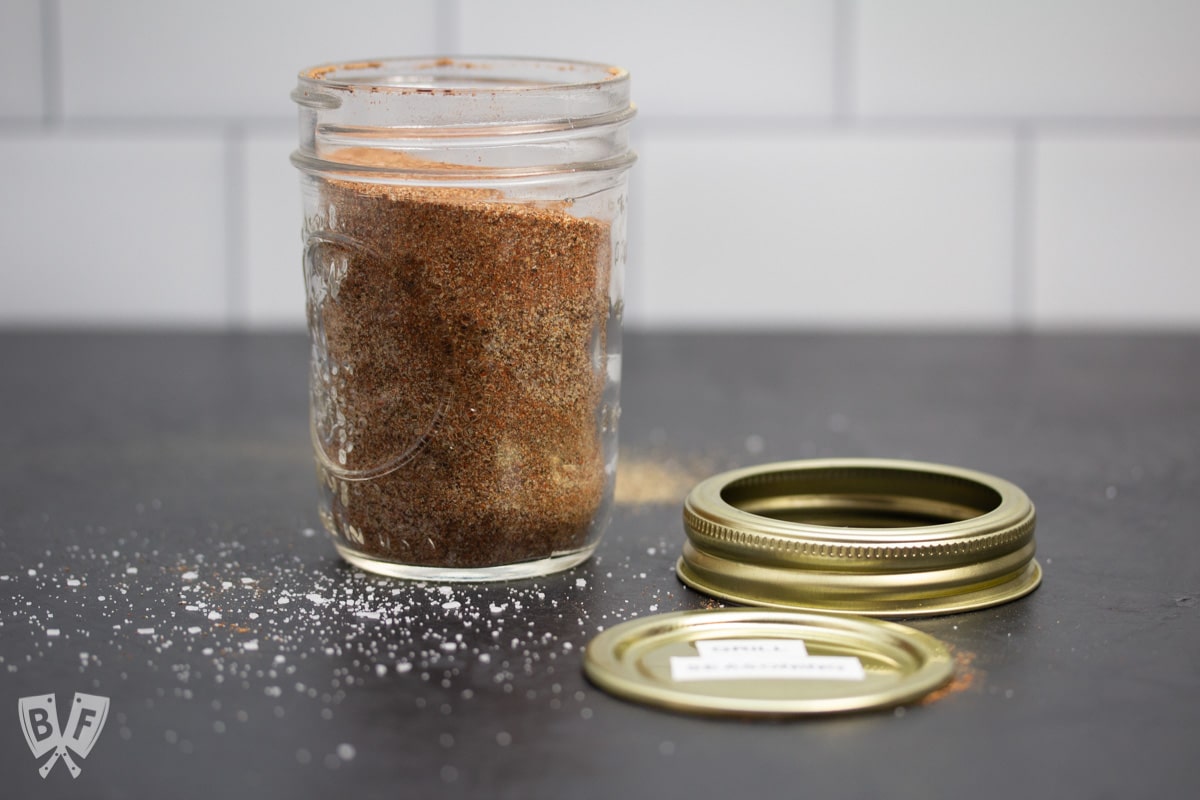
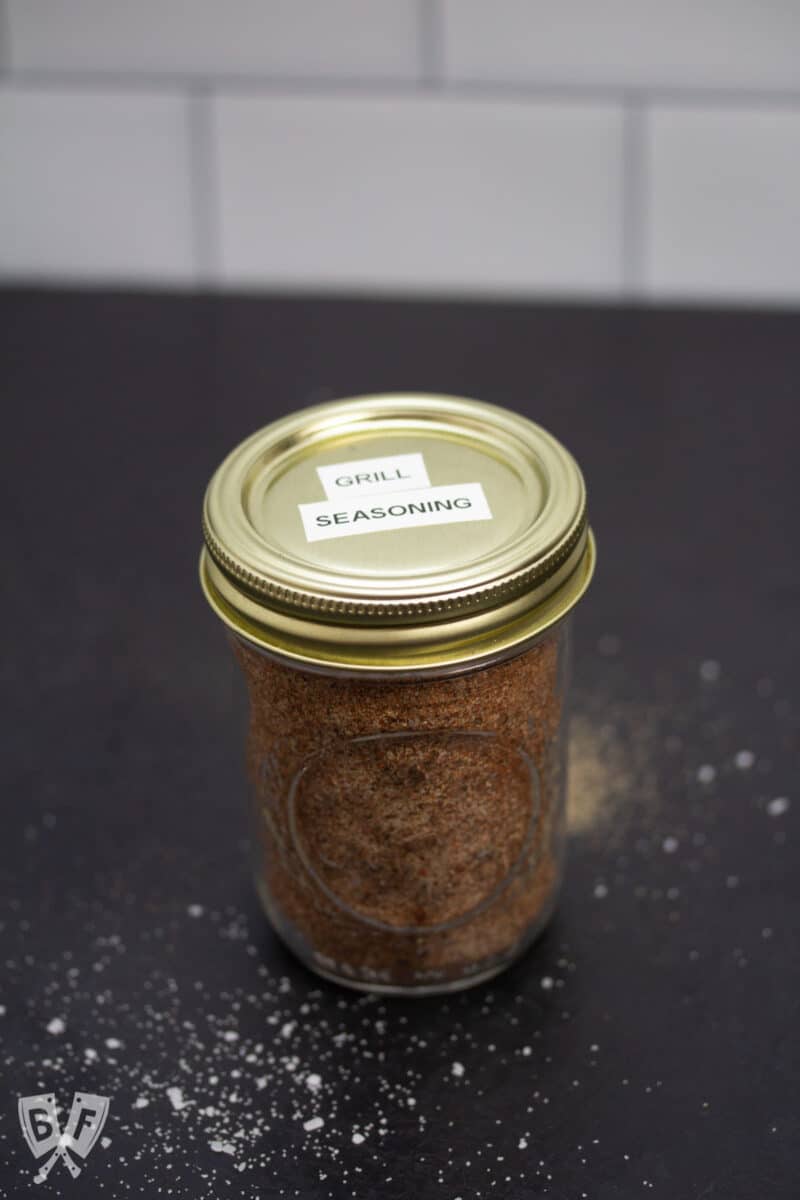
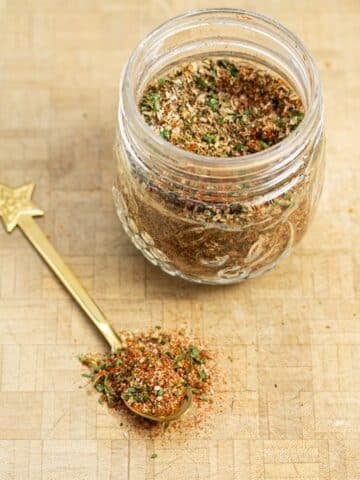
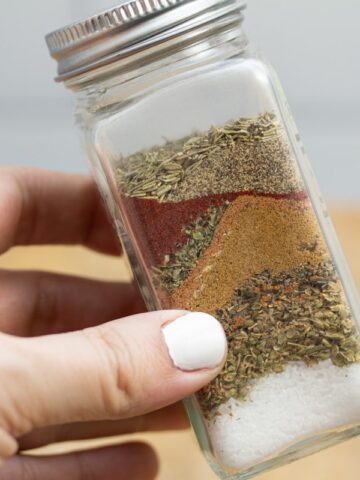
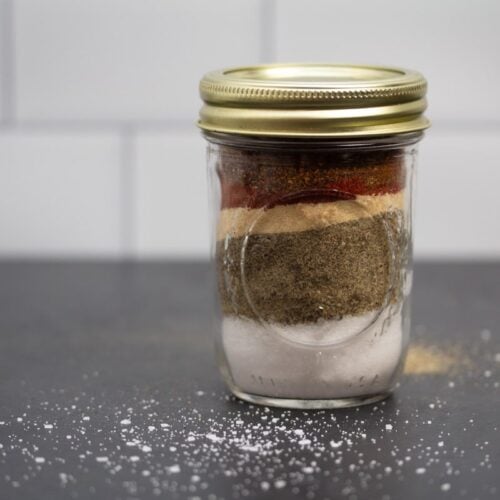
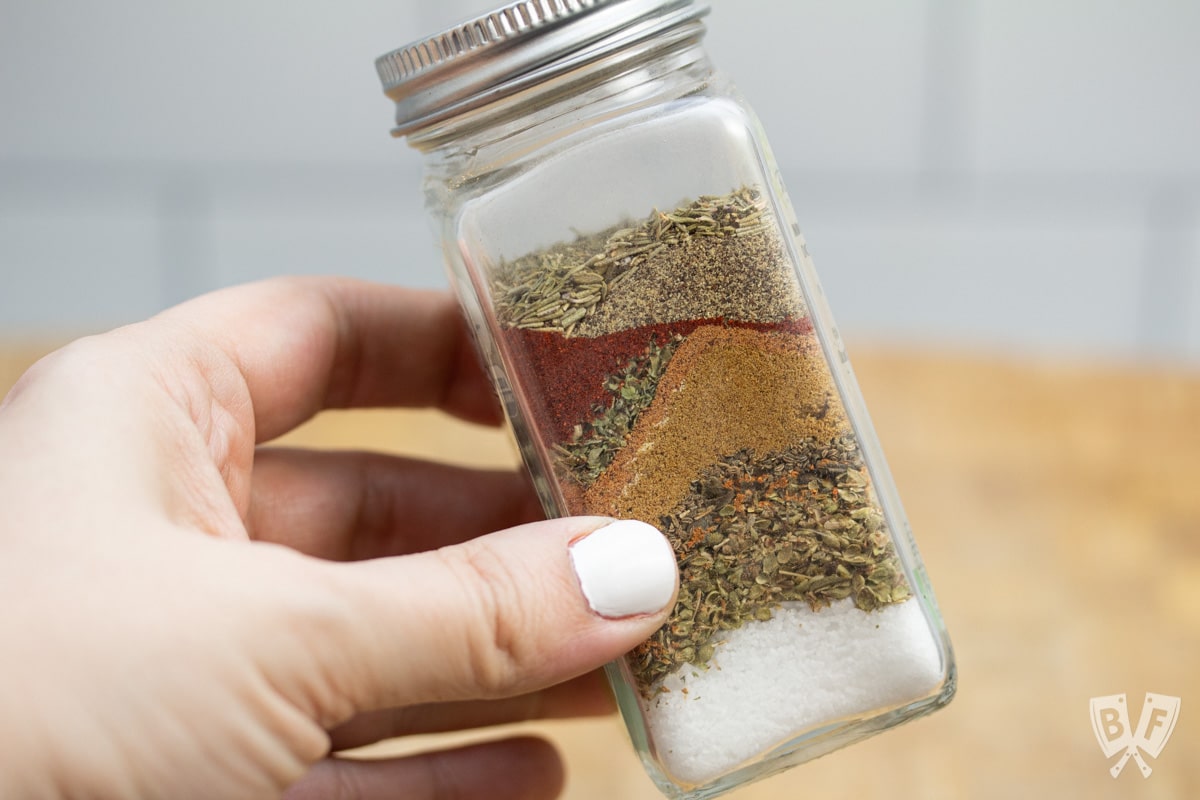
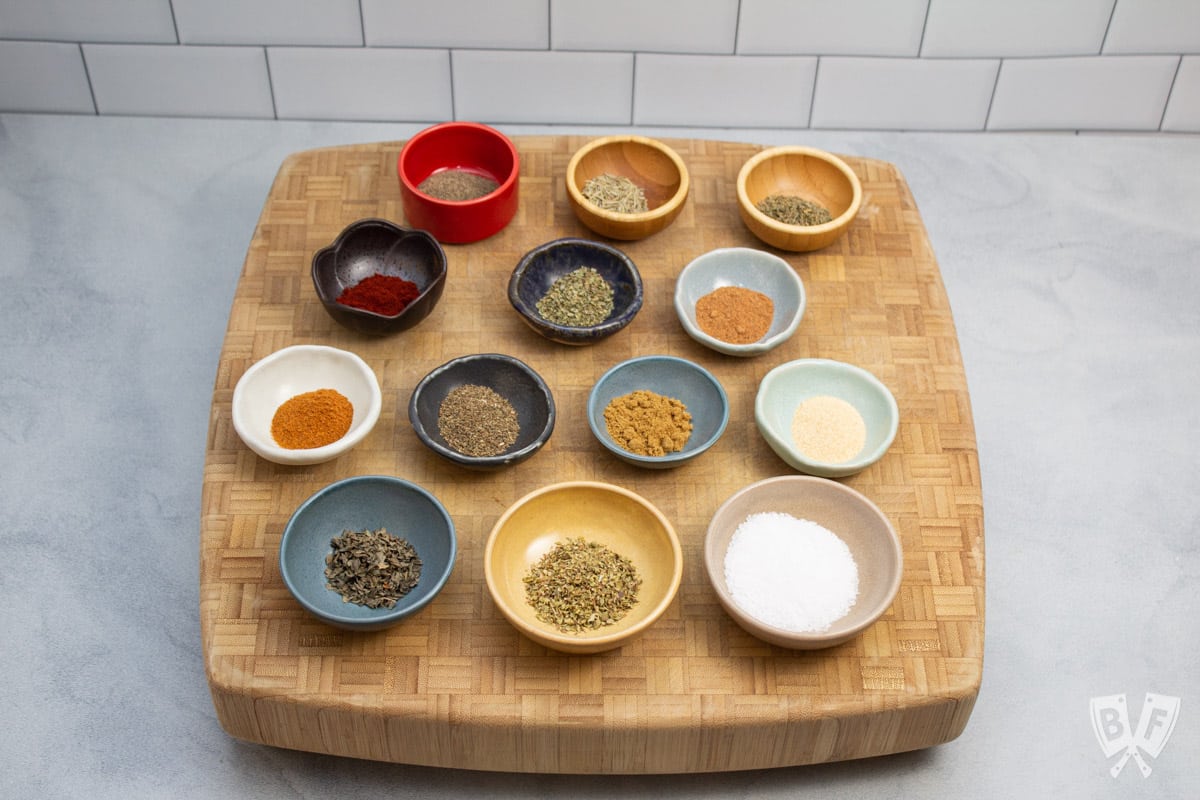
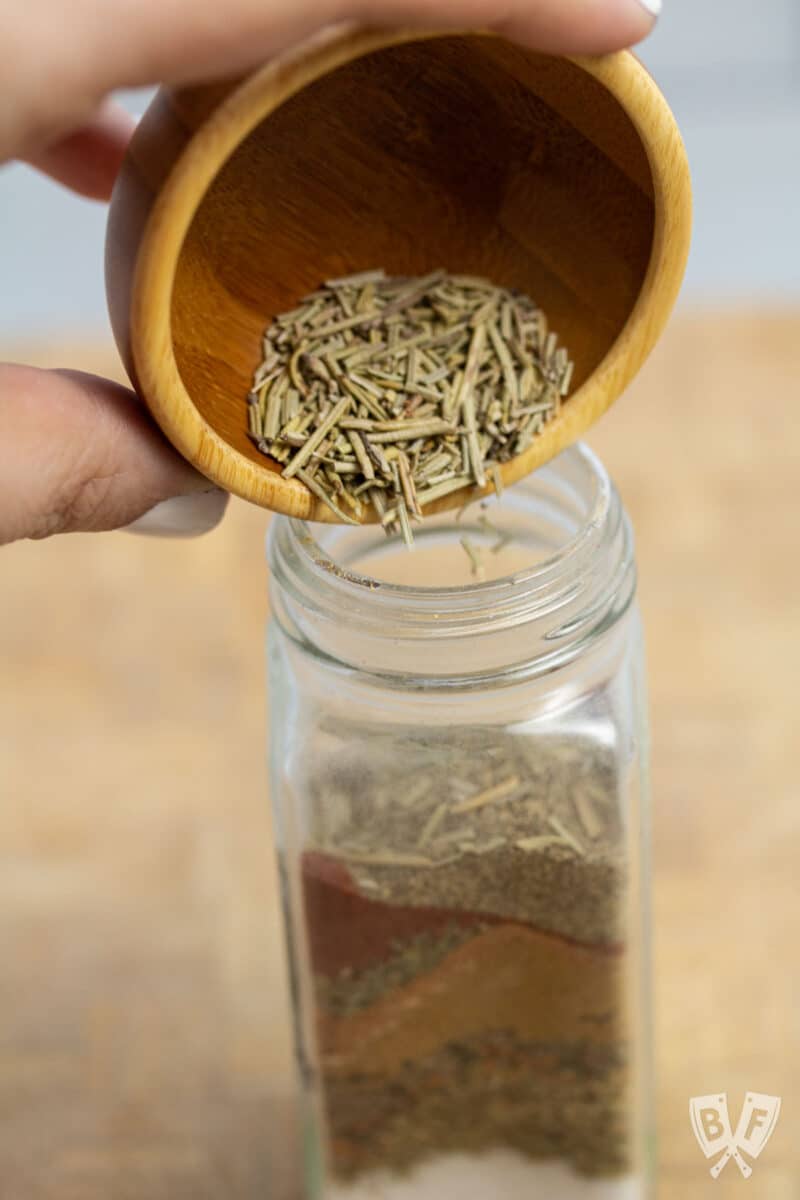
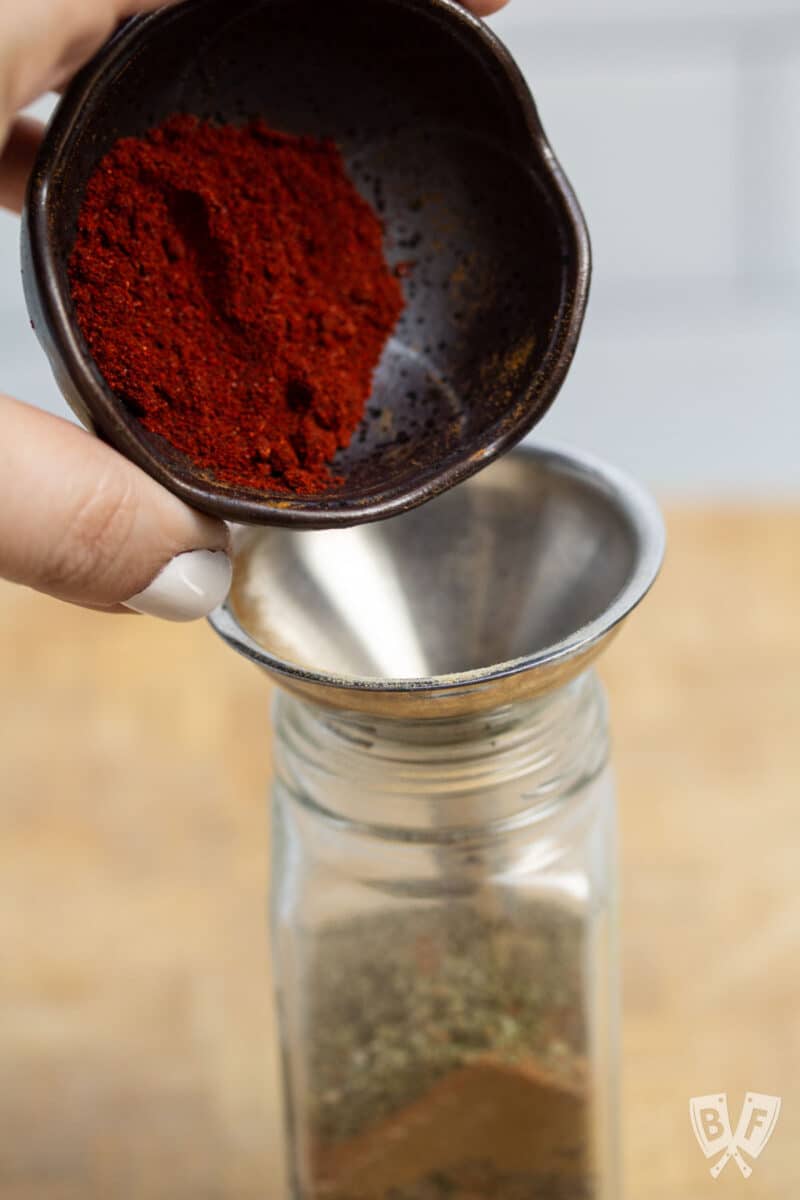
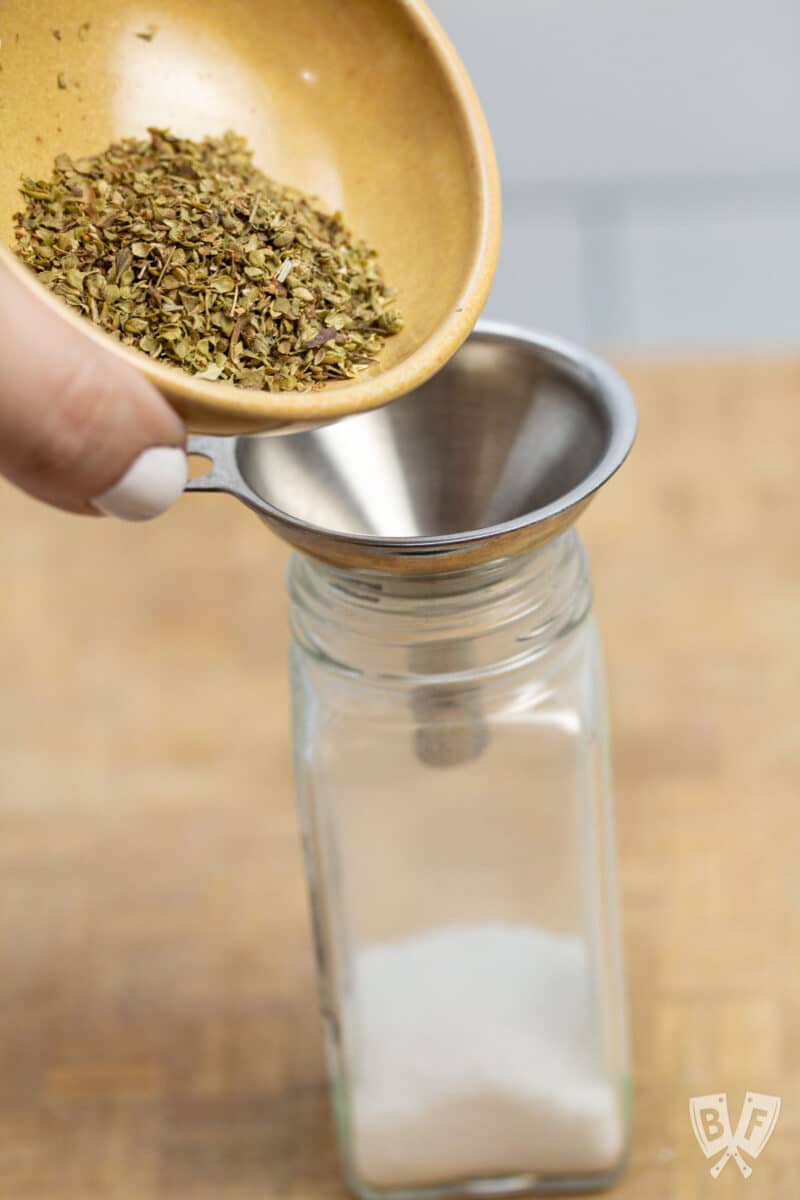
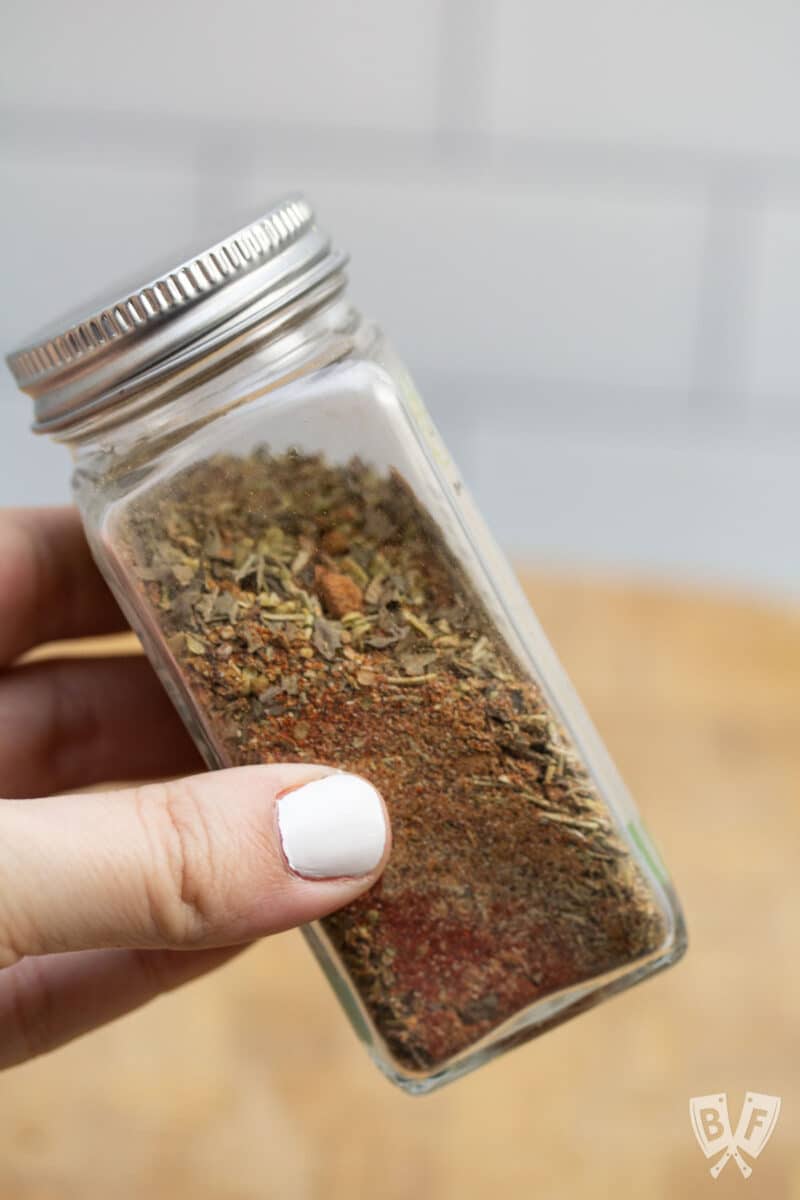
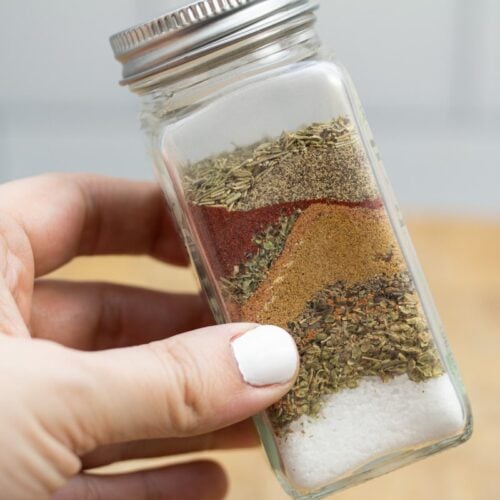
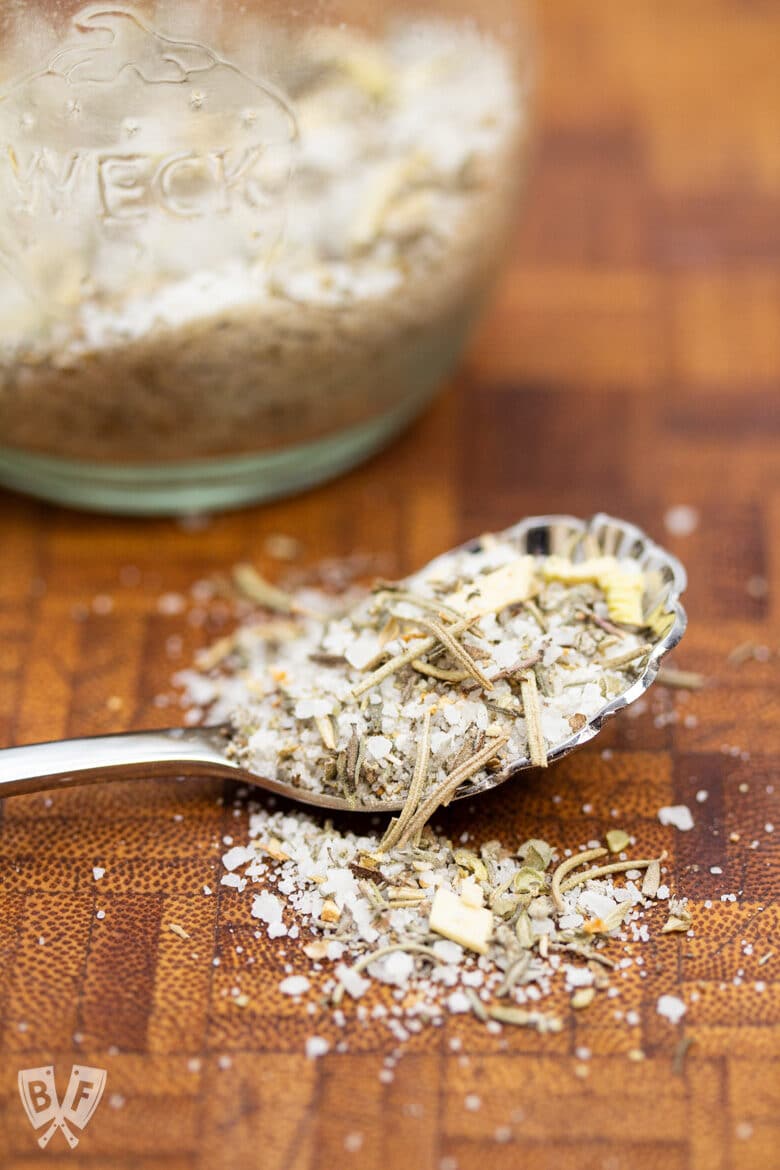
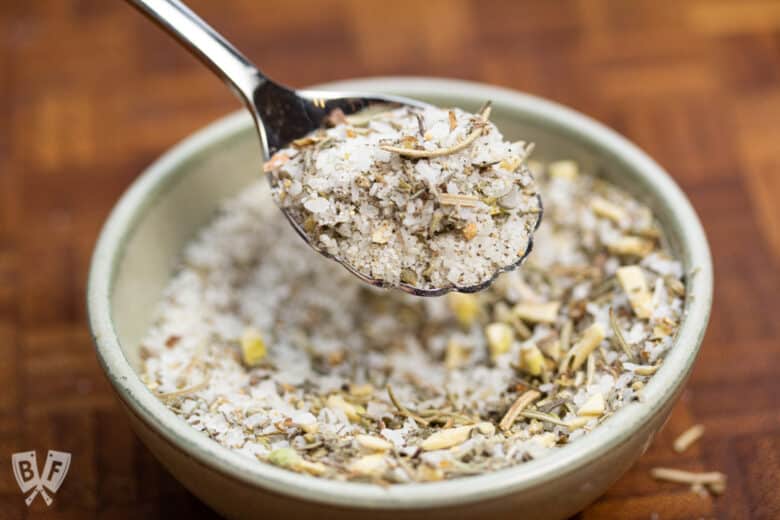
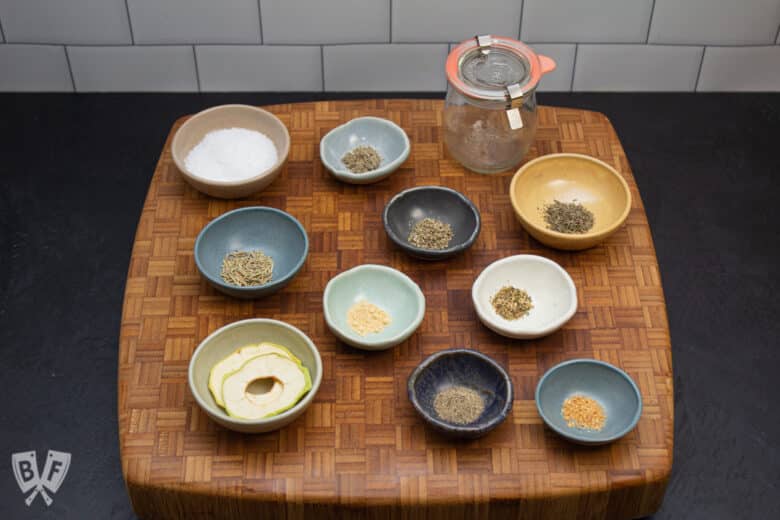
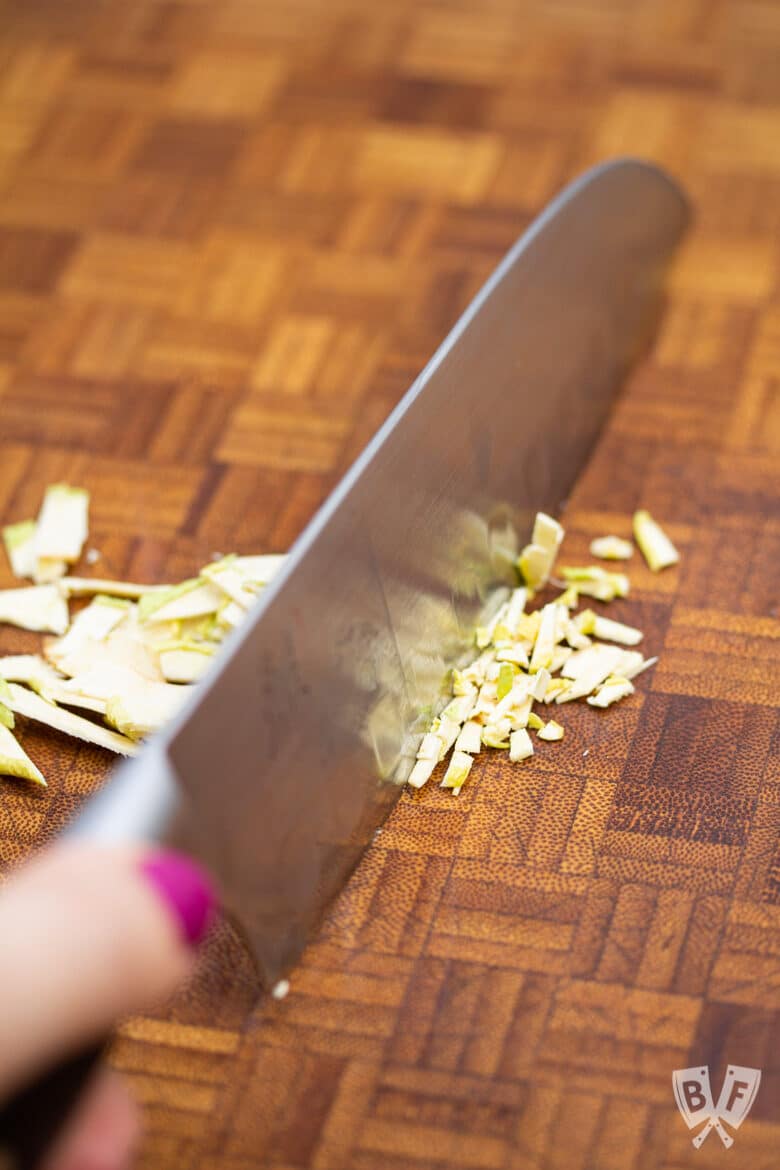
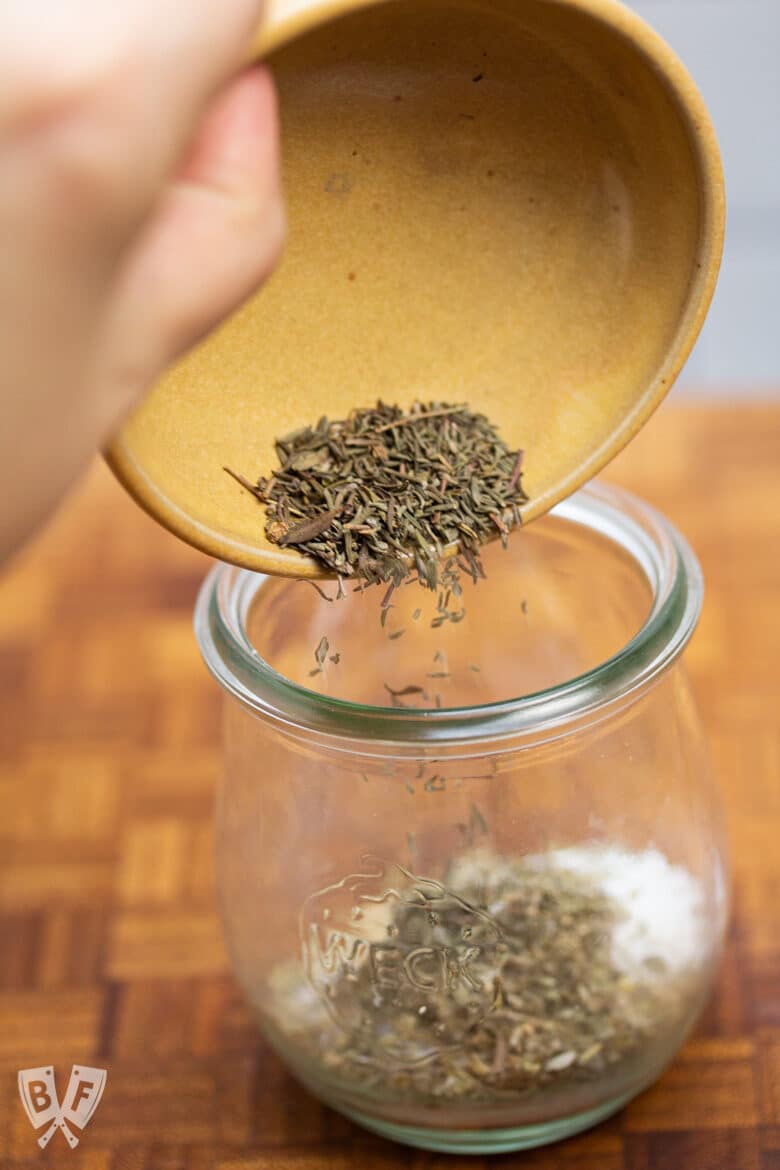
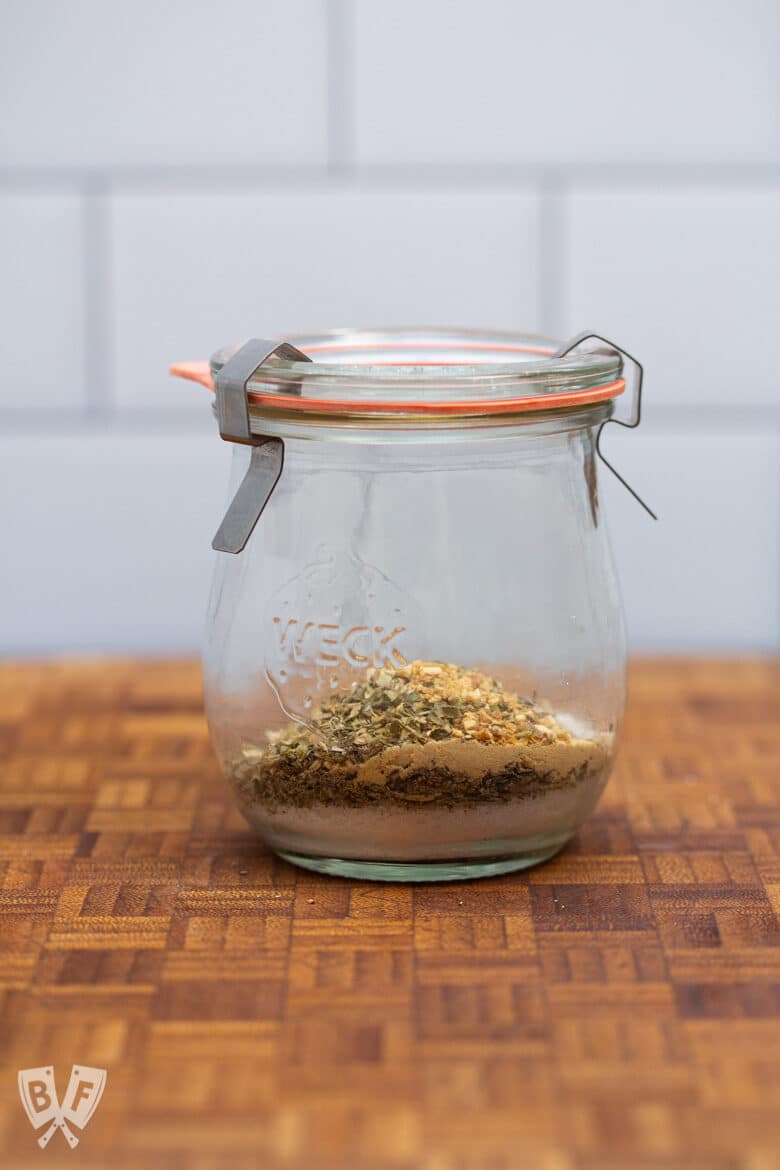
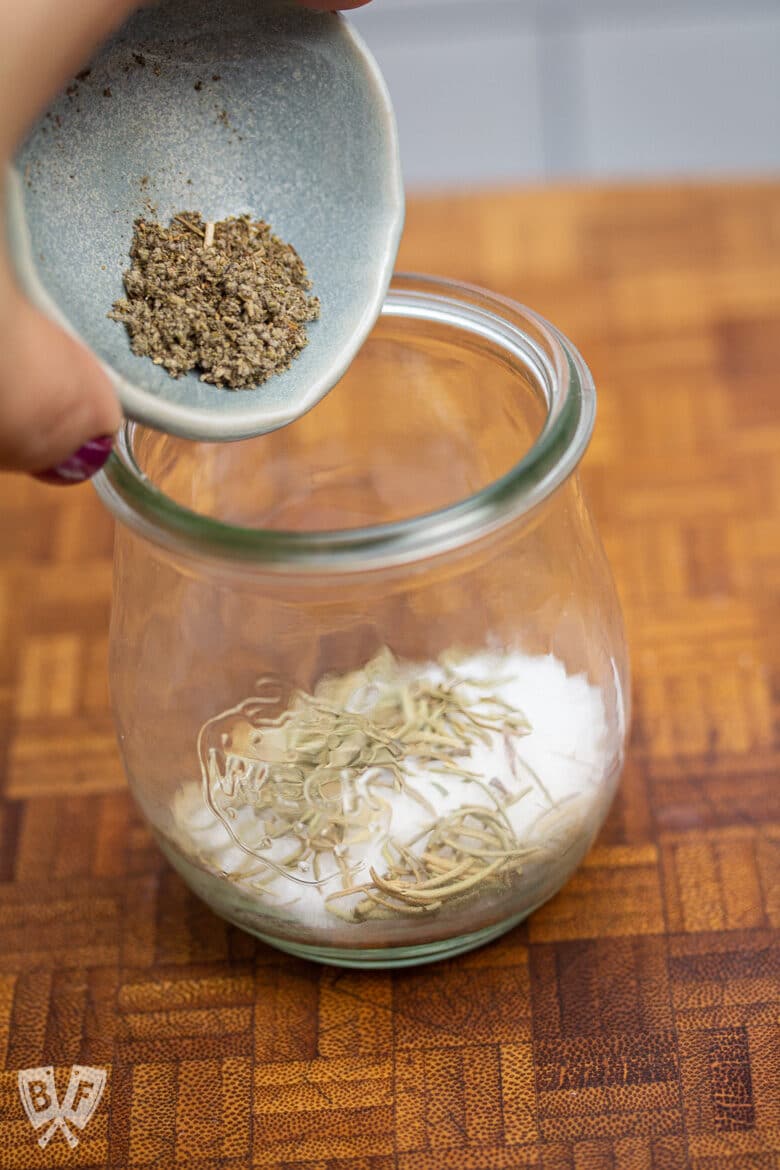
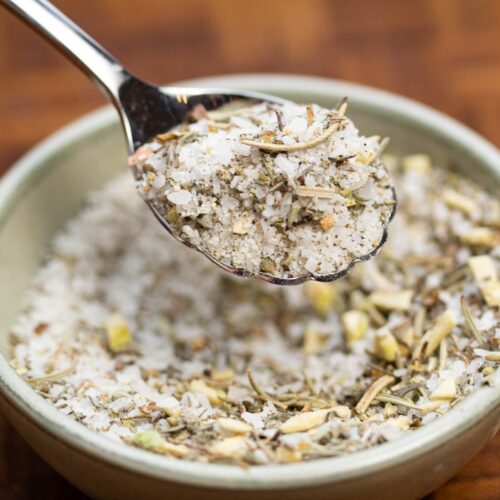
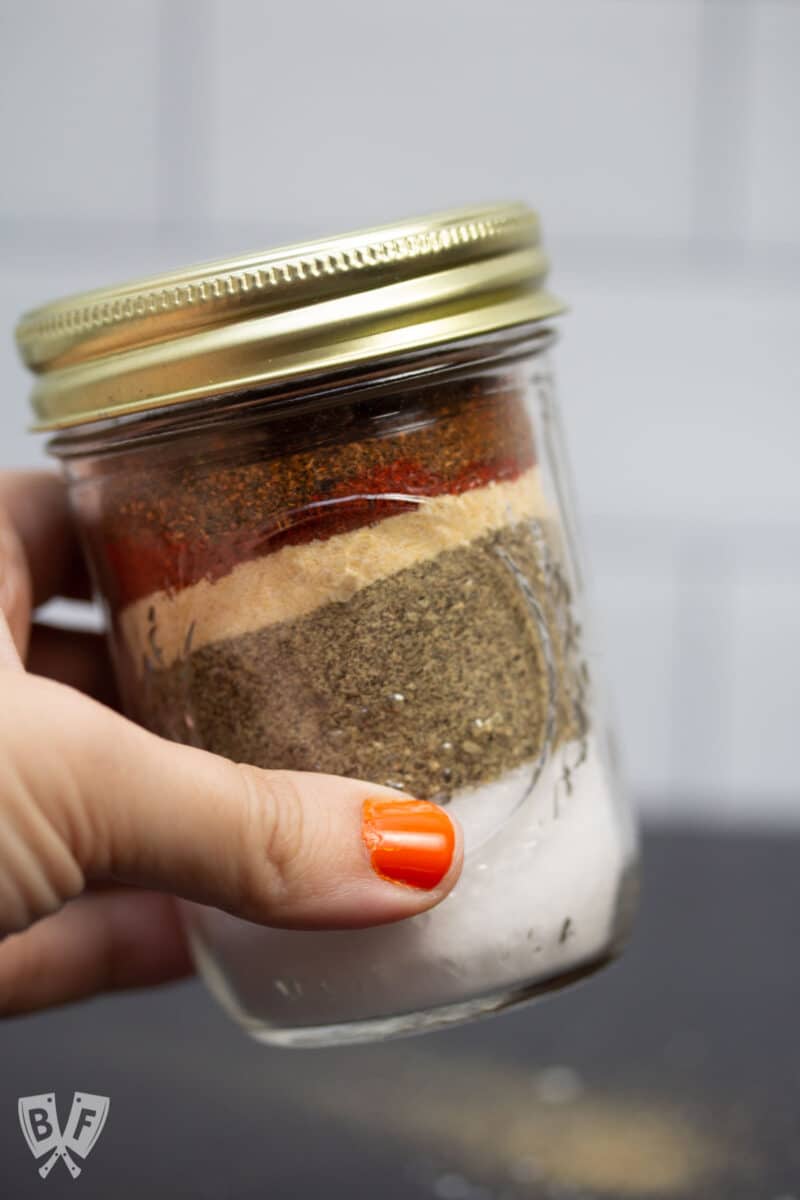
It comes together so quickly and has lots of flavor even though it only requires a few ingredients. I love using my homemade grill seasoning blend here, but you can absolutely use store-bought, or just salt and pepper.
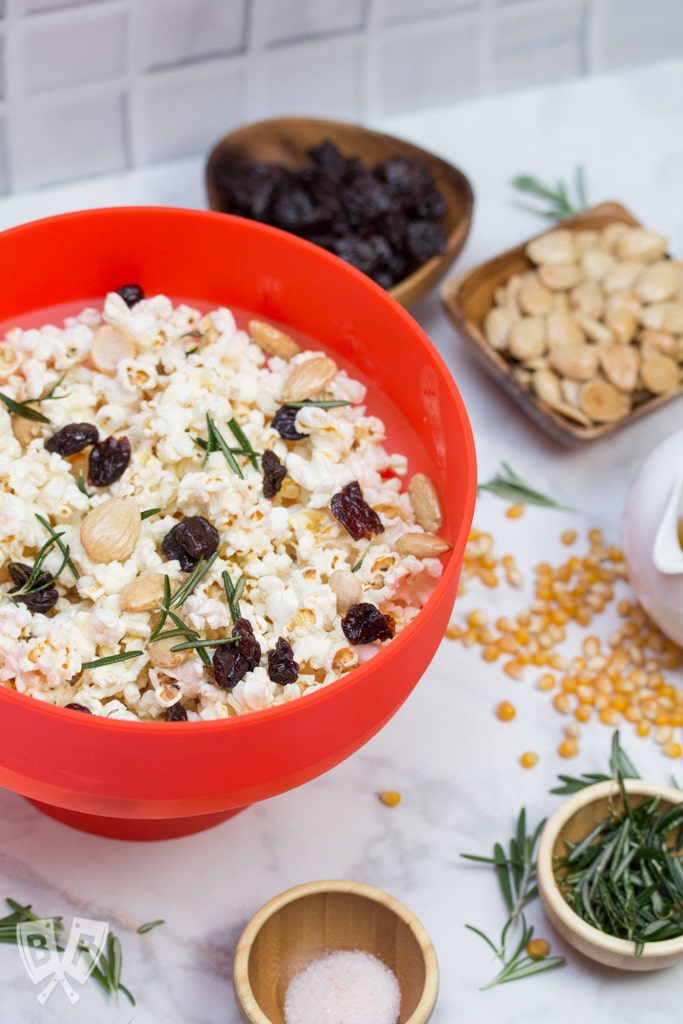
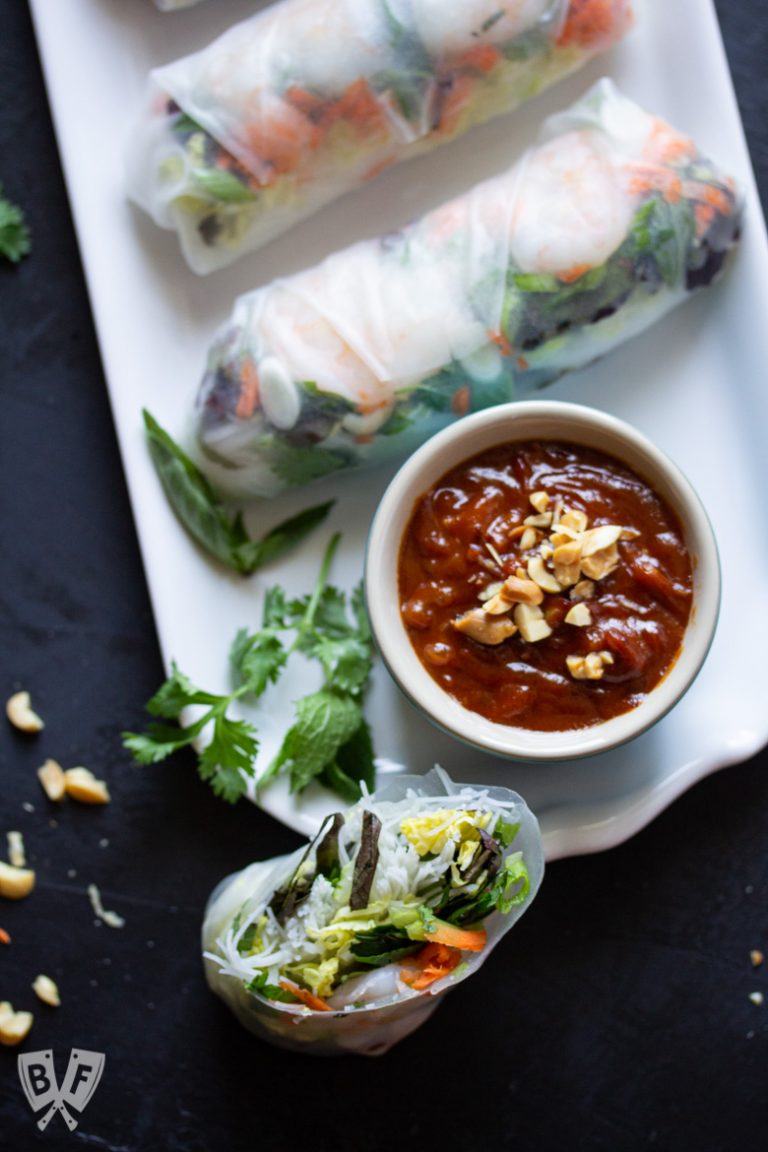
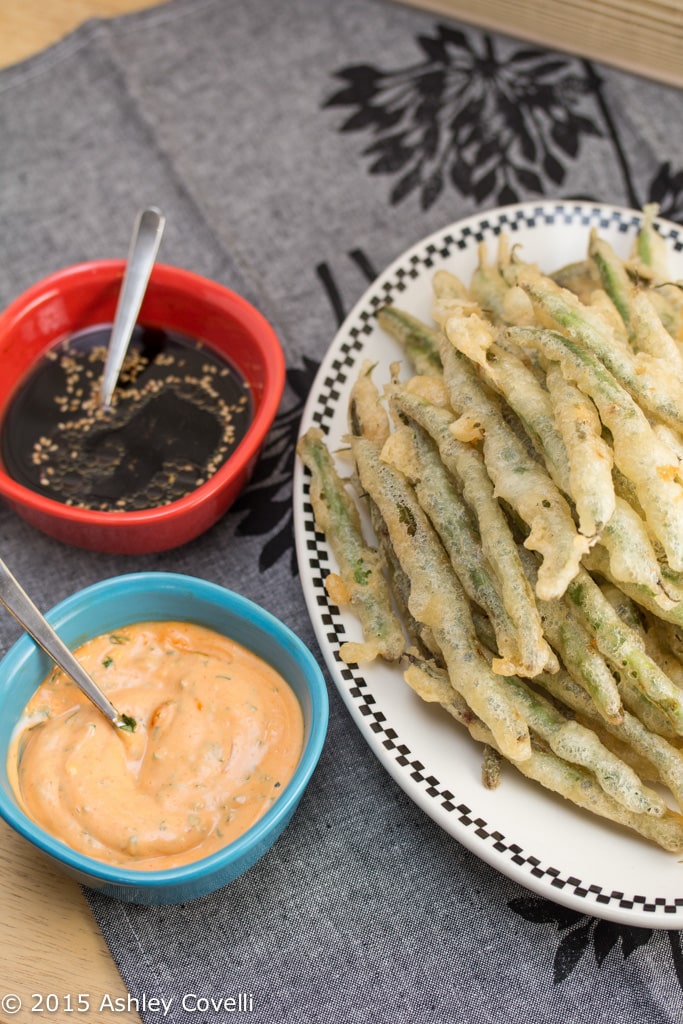
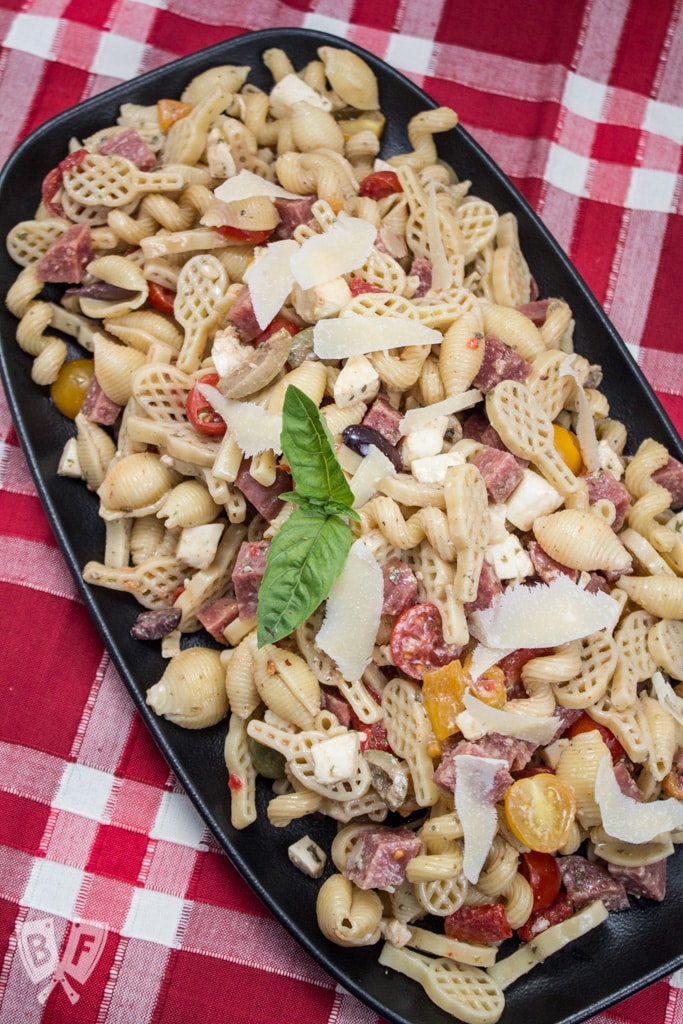
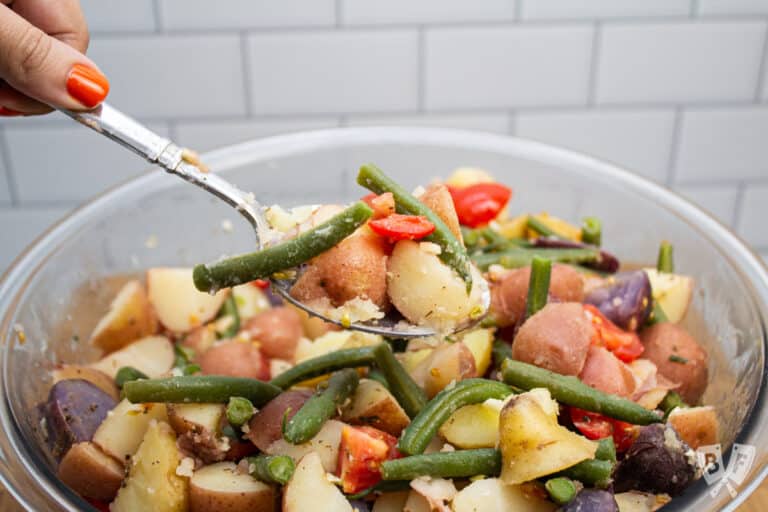
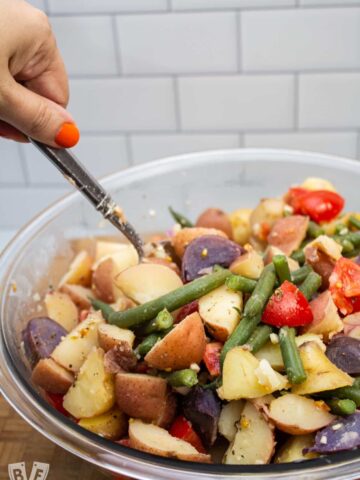
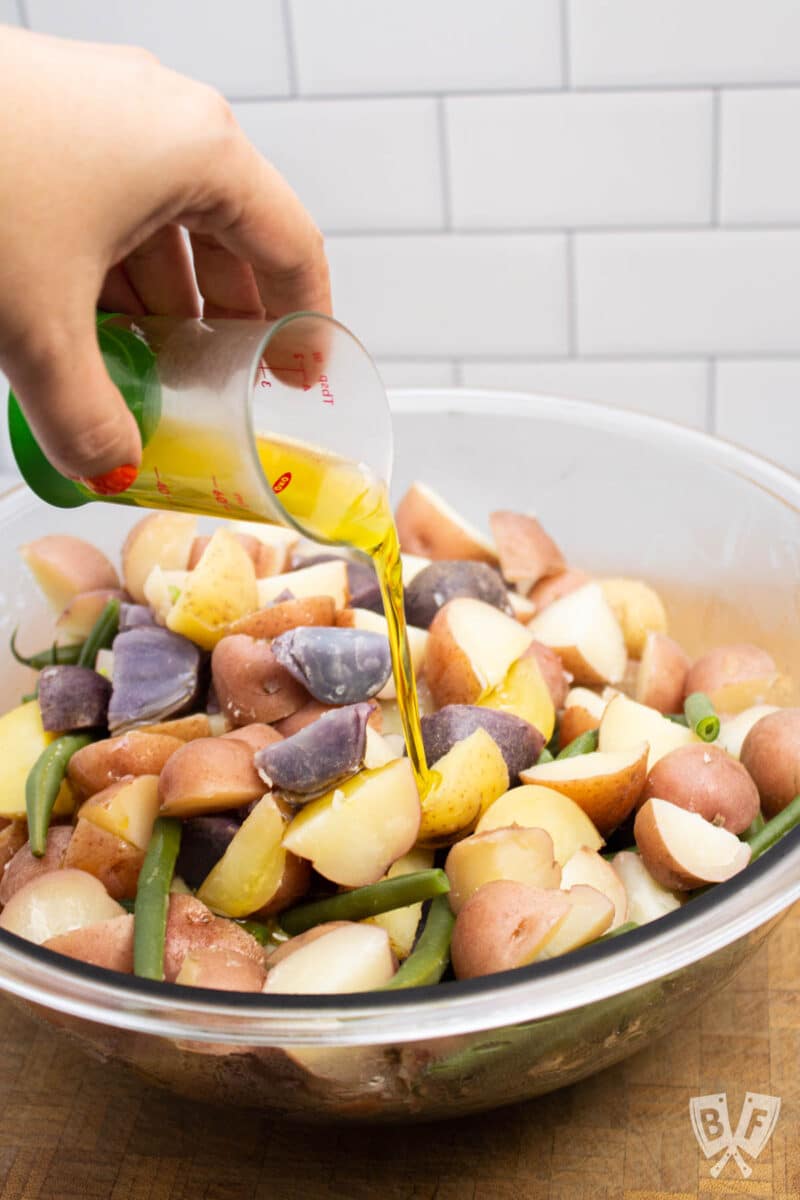
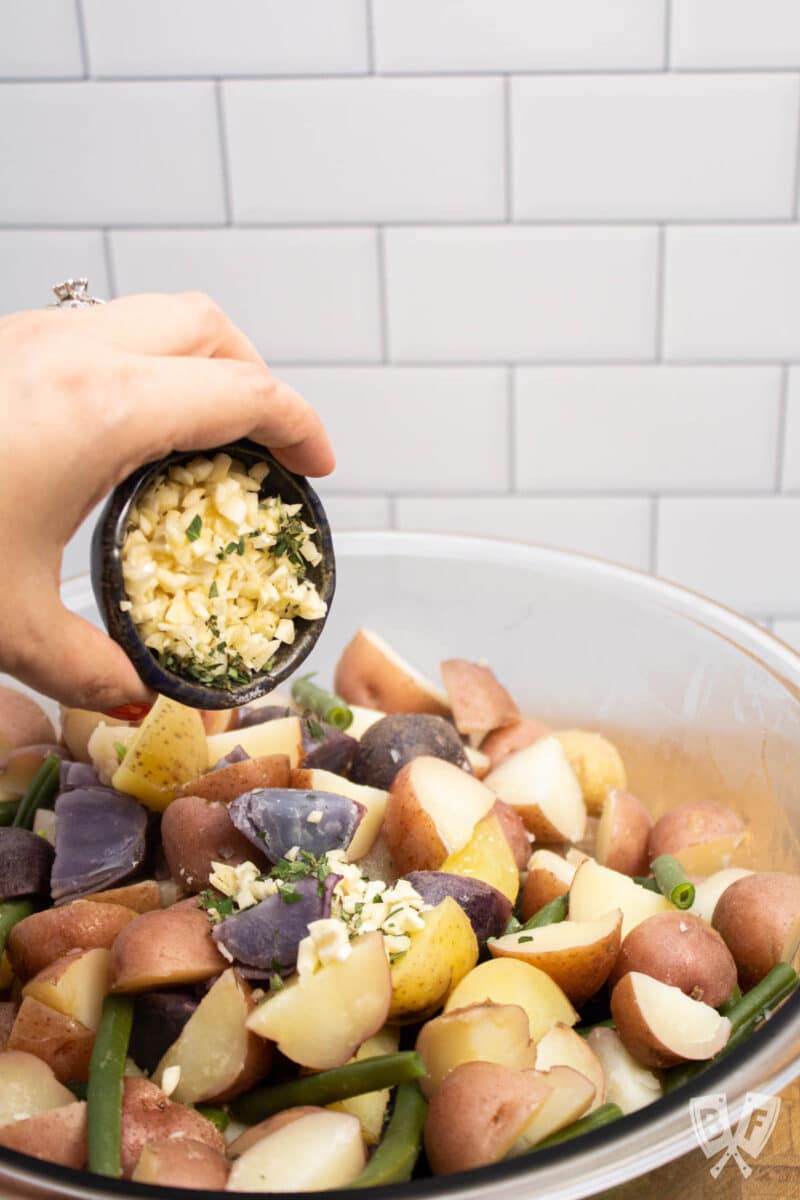
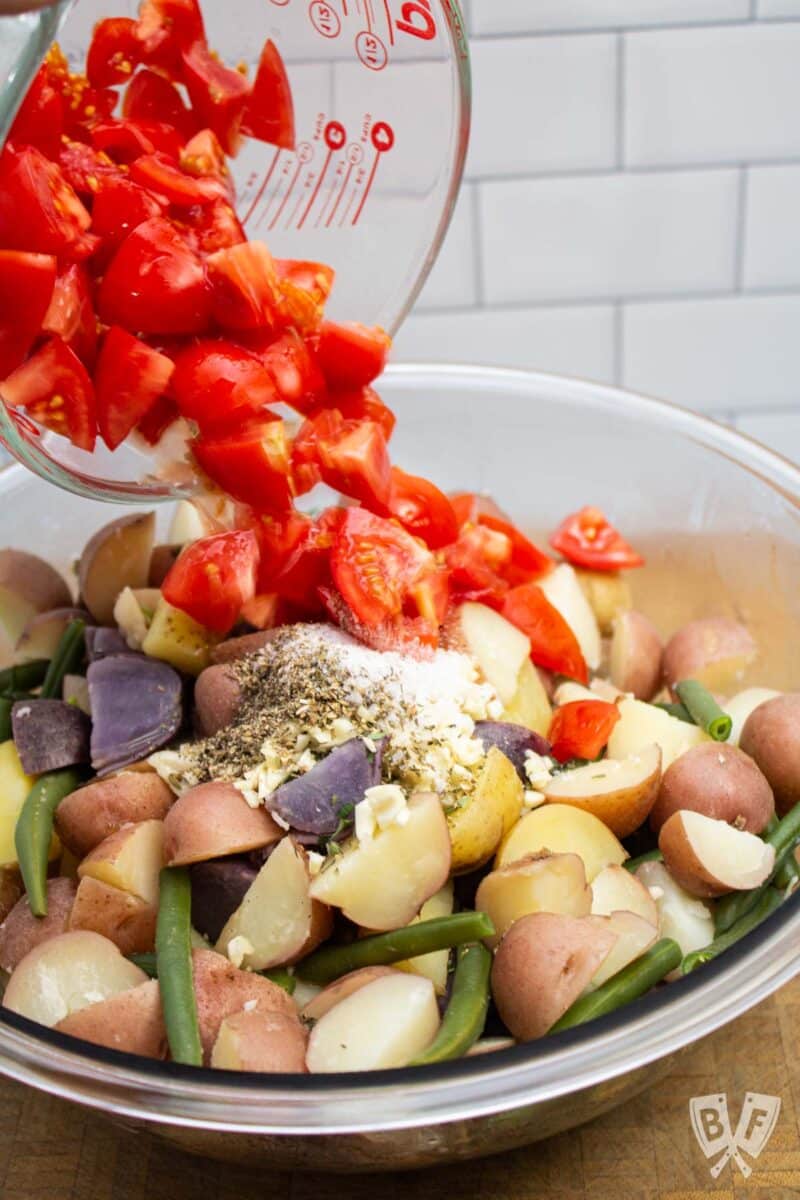
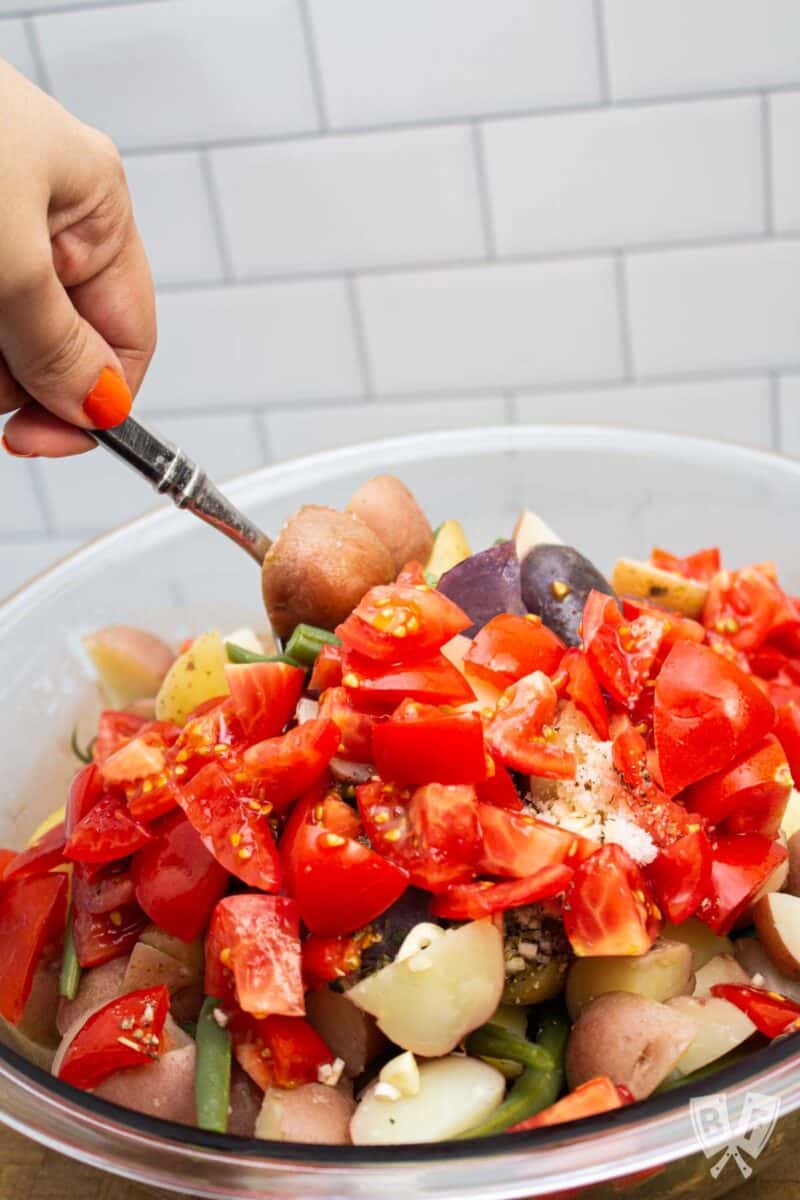
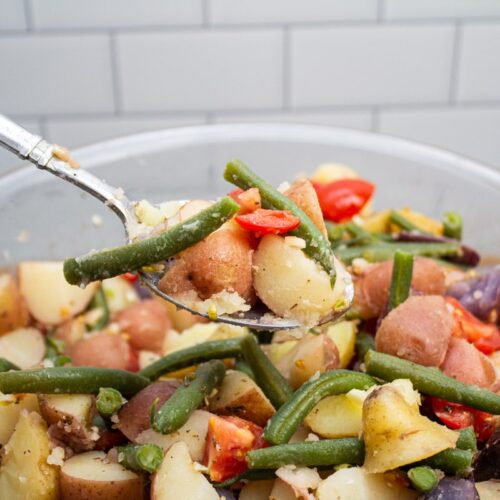
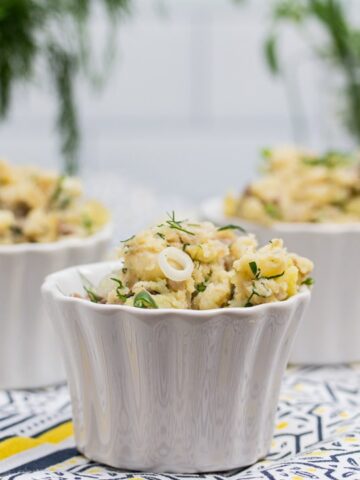
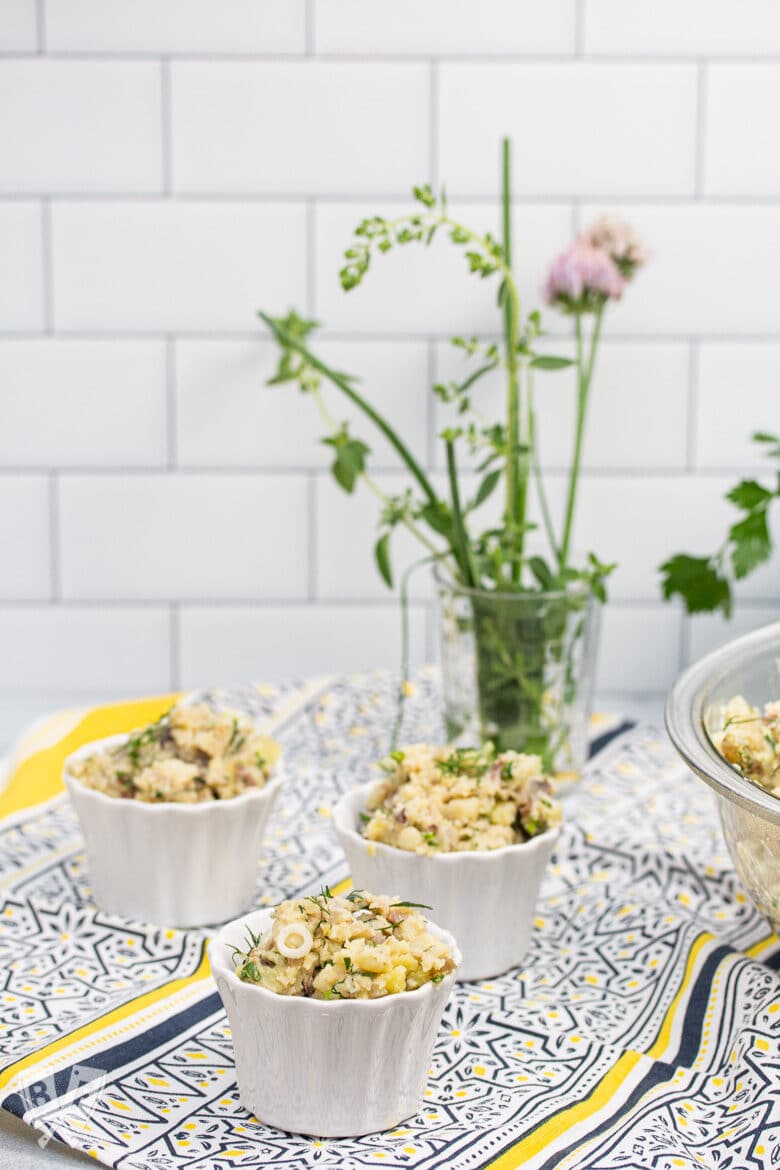
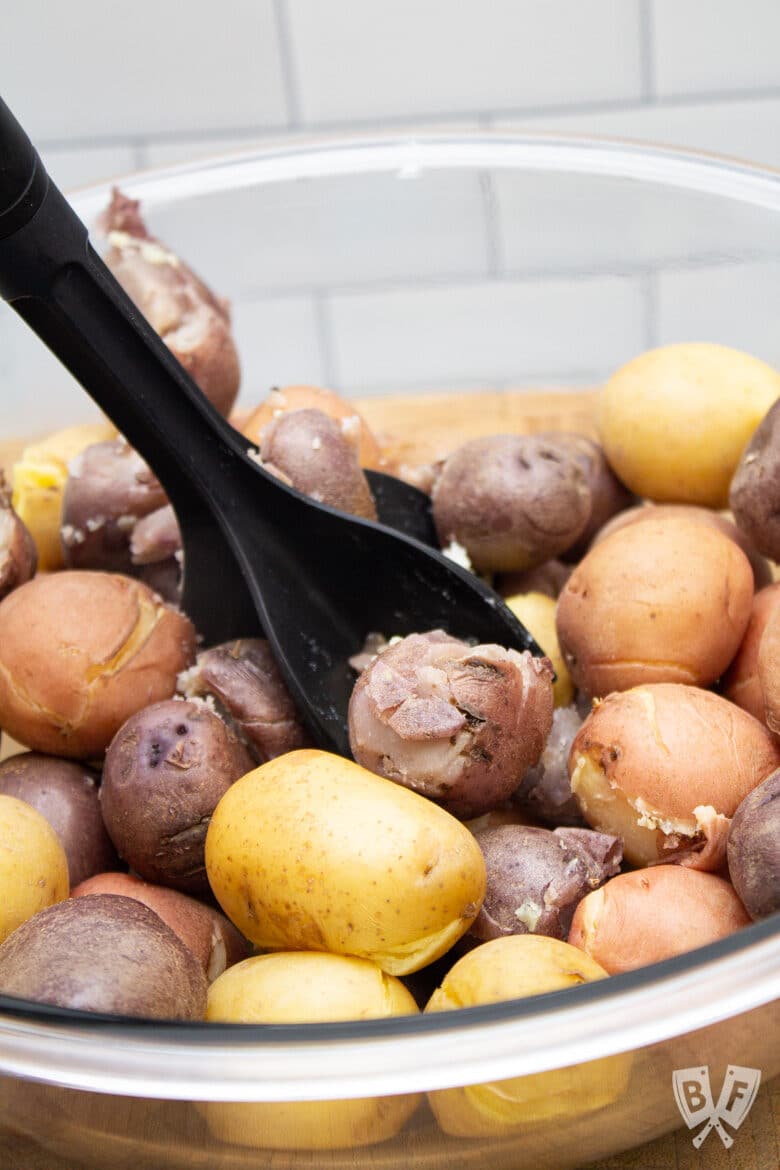
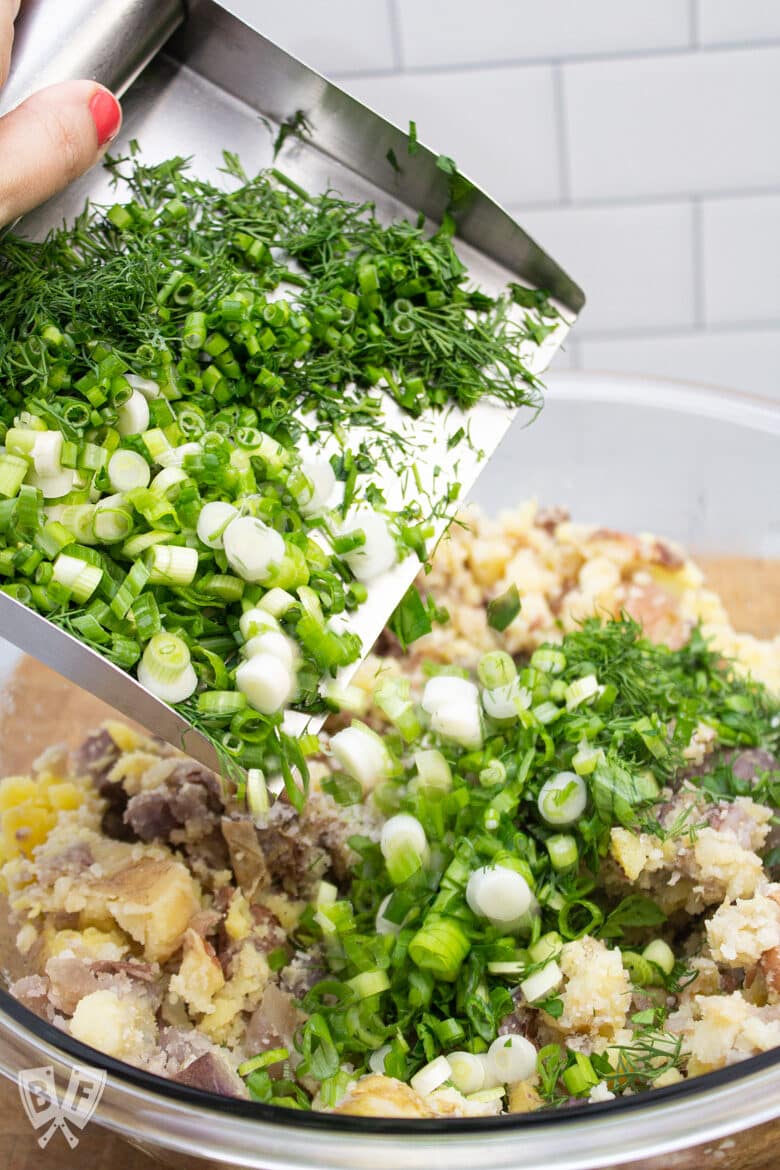
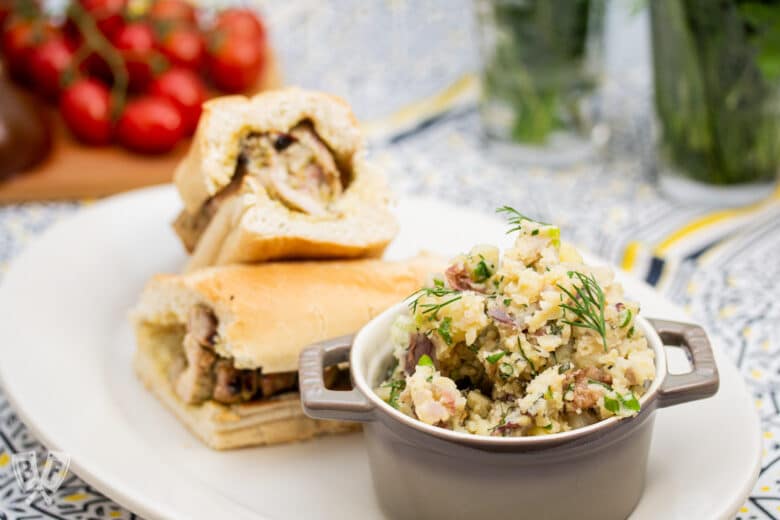
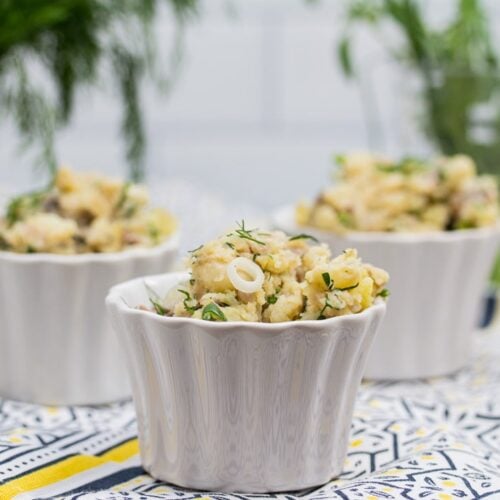
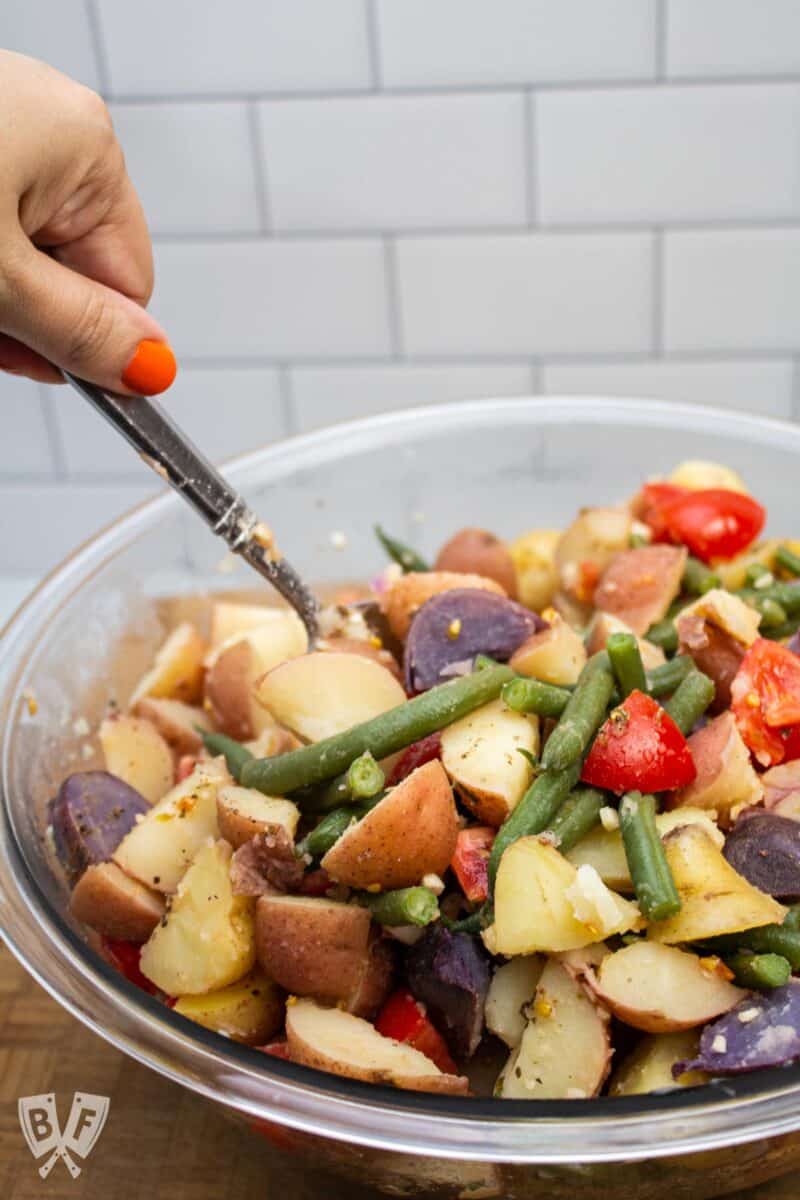
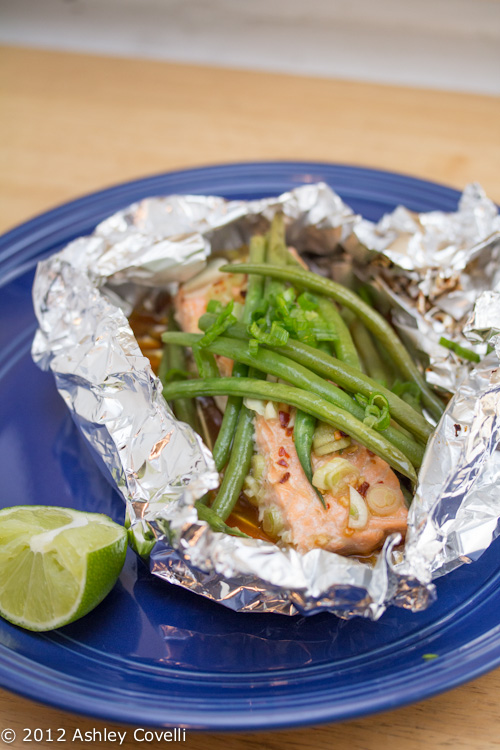
This green bean side dish is right up there with this Italian potato salad with green beans, these salmon foil packets with green beans, and these tempura green beans as my family's favorite ways to enjoy eating green beans.
I've been teaching these lemony green beans in some of my virtual cooking classes and it's been a huge hit with my students. Thanks to everyone for the feedback!
And now I'm finally bringing the recipe to my permanent website collection. Let's dive in!
Jump To:
- 🧡 Why we love this recipe
- 📝 Ingredients
- 🌱 Ingredient spotlight: green beans
- 🥣 Substitutions
- ✅ How to make this recipe
- 📌 Tips
- 💡 What main dishes are good to serve with green beans
- 🔪 Equipment
- 🥡 Storage recommendations
- 📖 Recipe
🧡 Why we love this recipe
- It's light, quick, and easy to put together.
- You can mix all of the ingredients together right on the sheet pan so you don't have to dirty a bunch of dishes.
- Roasted green beans are a versatile side dish that can go with a variety of main dishes.
- The fresh lemon zest and juice brighten up the beans beautifully.
- It only requires 4 ingredients, and that's including the oil and seasoning!
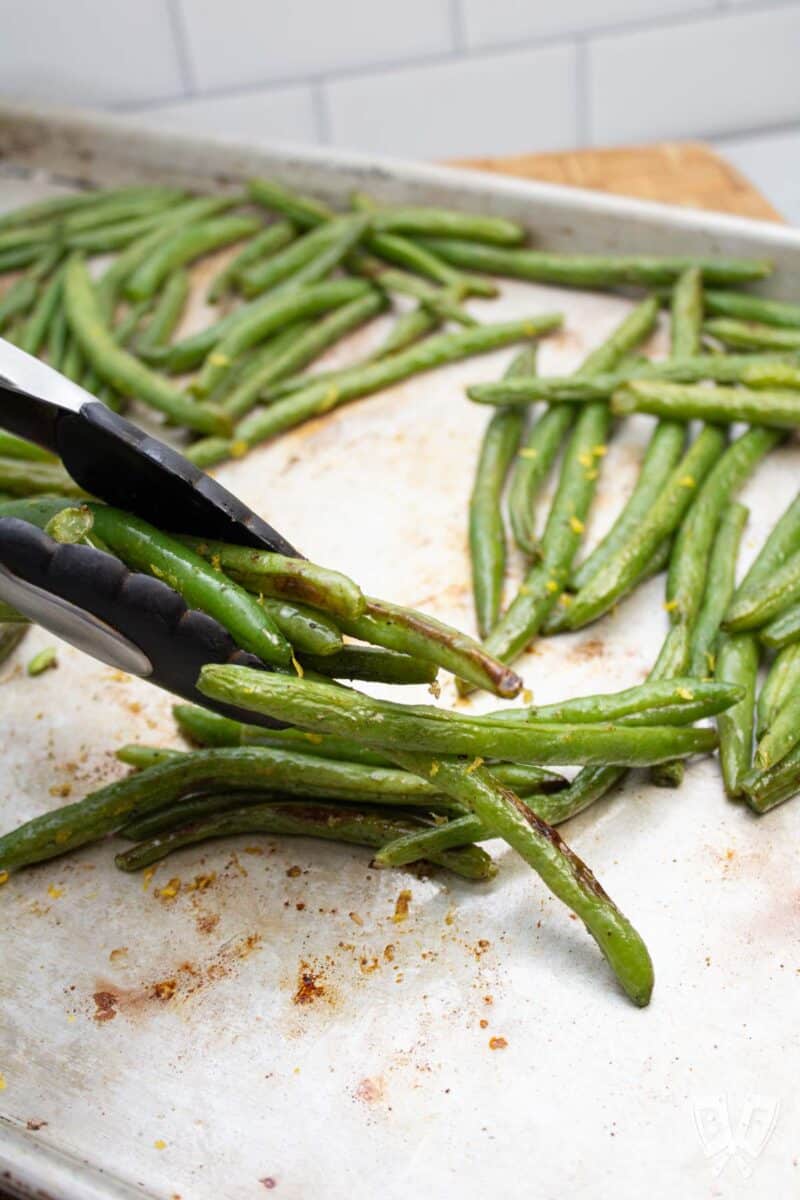
- If you let them cook a few extra minutes, you often get some nicely caramelized bits that taste extra delicious.

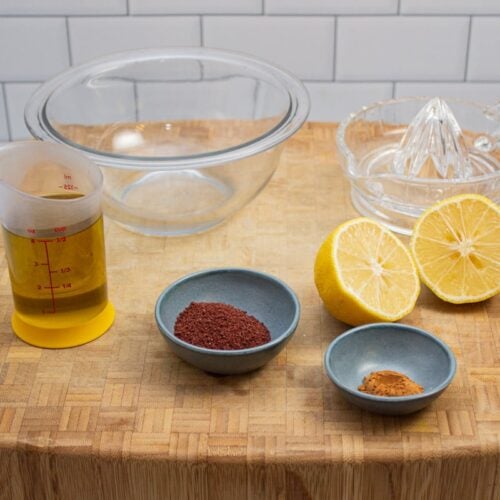
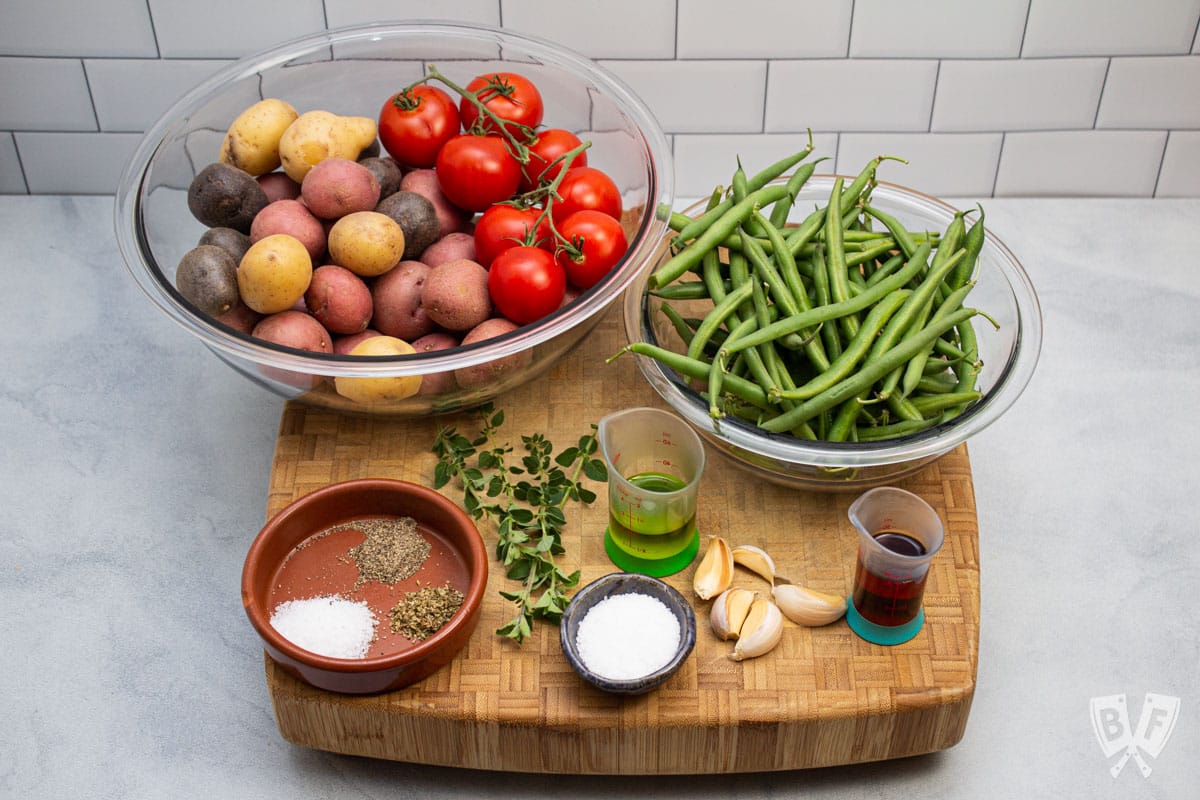
📝 Ingredients
Here's everything you need to make this simple green bean side dish (see recipe card below for ingredient amounts and full directions):
- Fresh green beans
- Olive oil
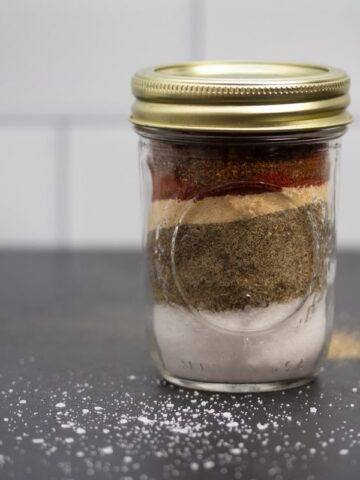
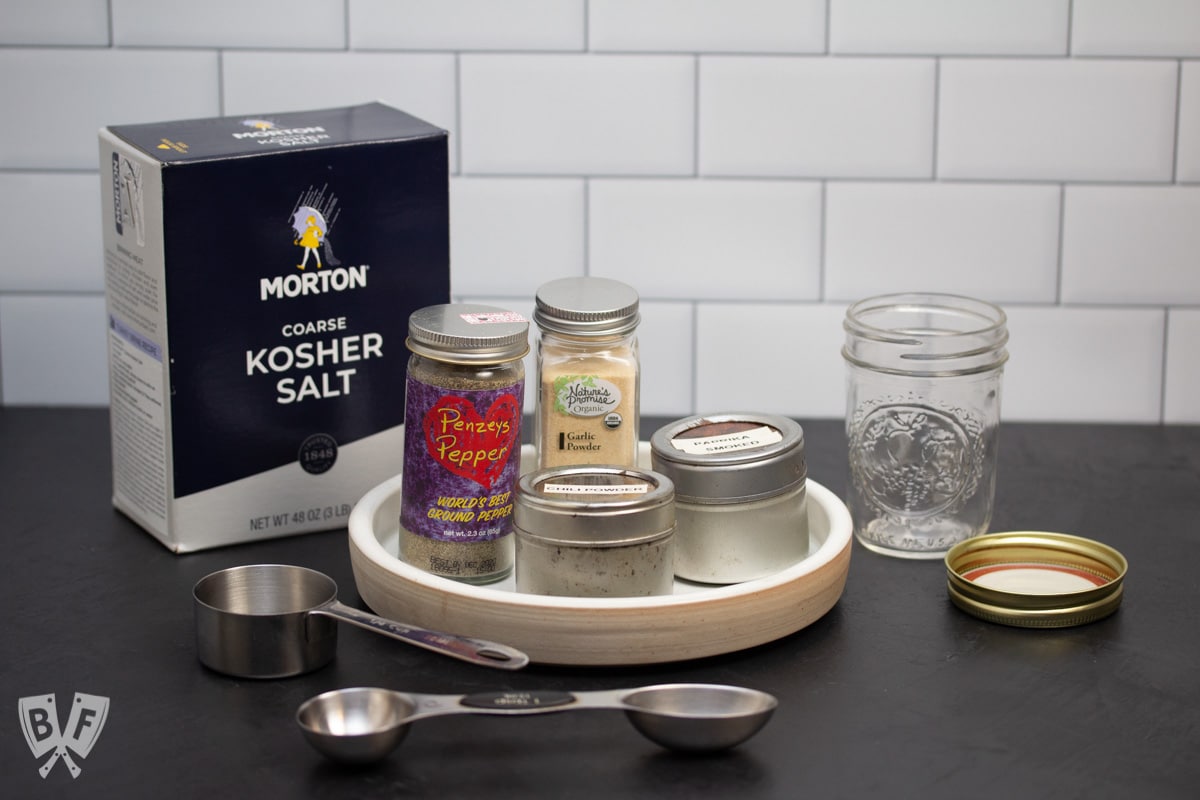
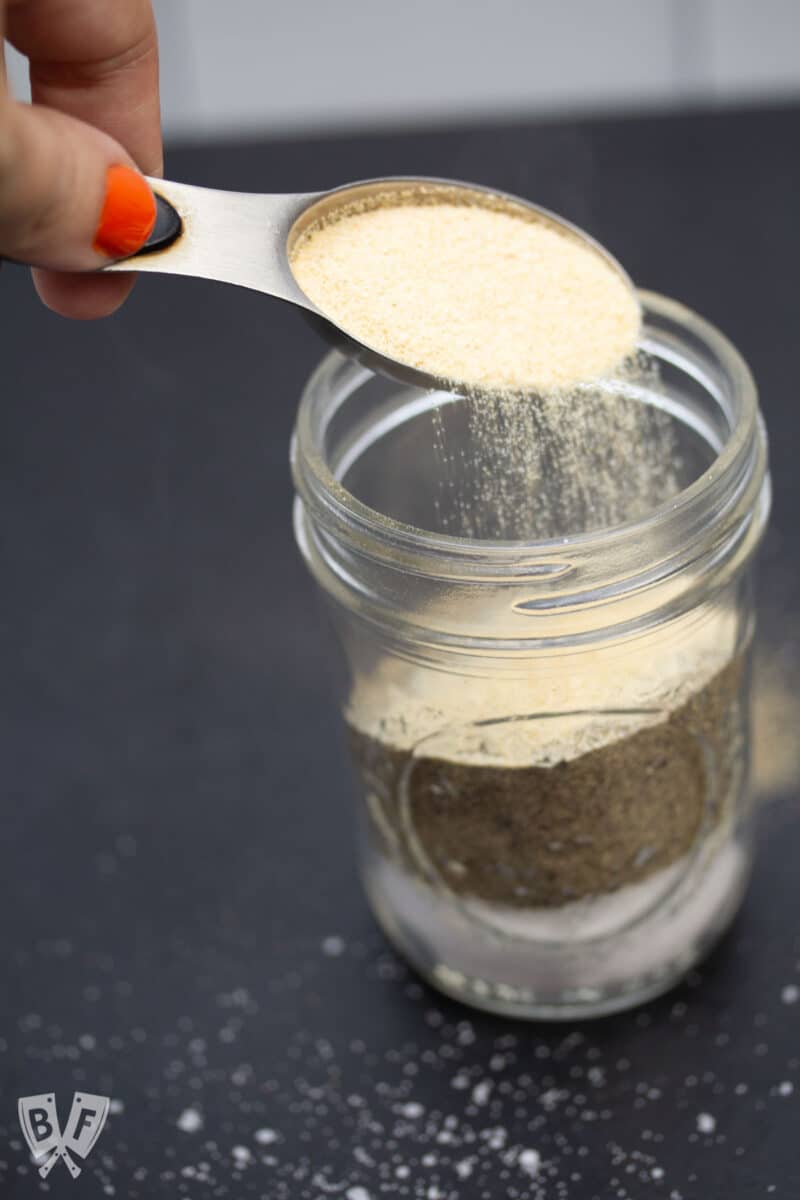
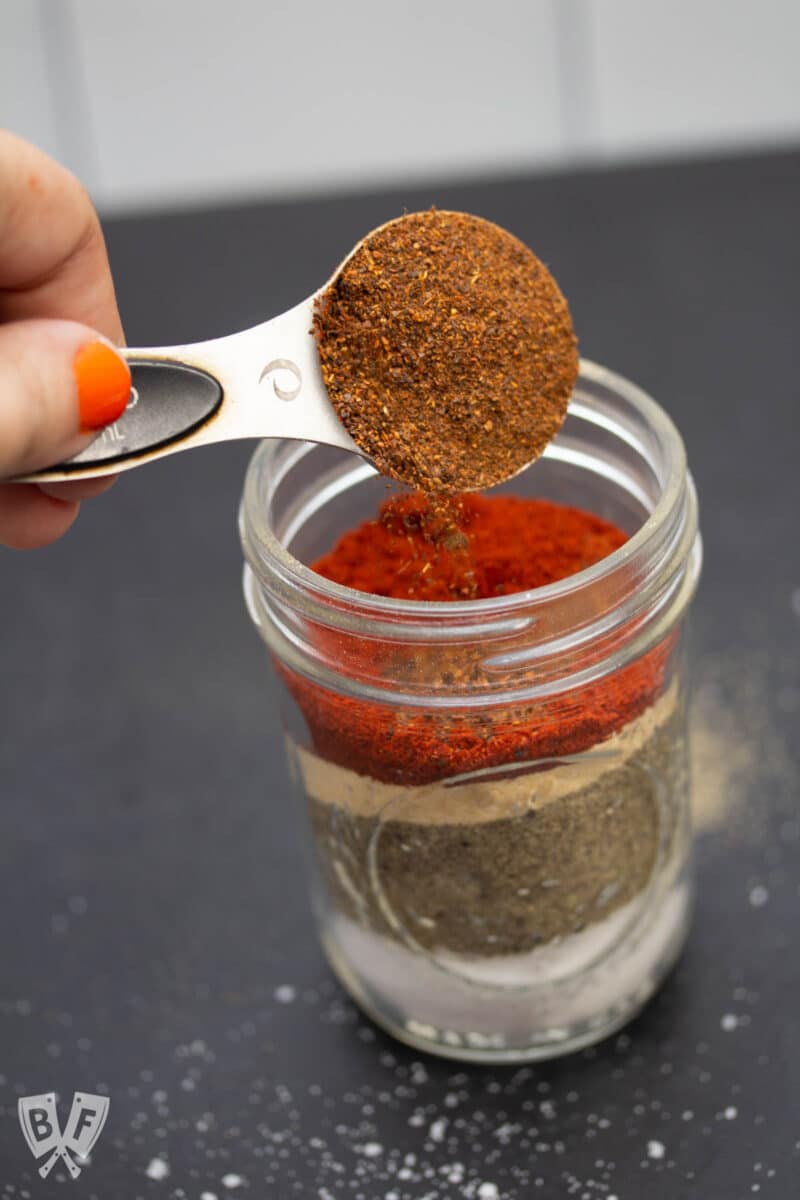
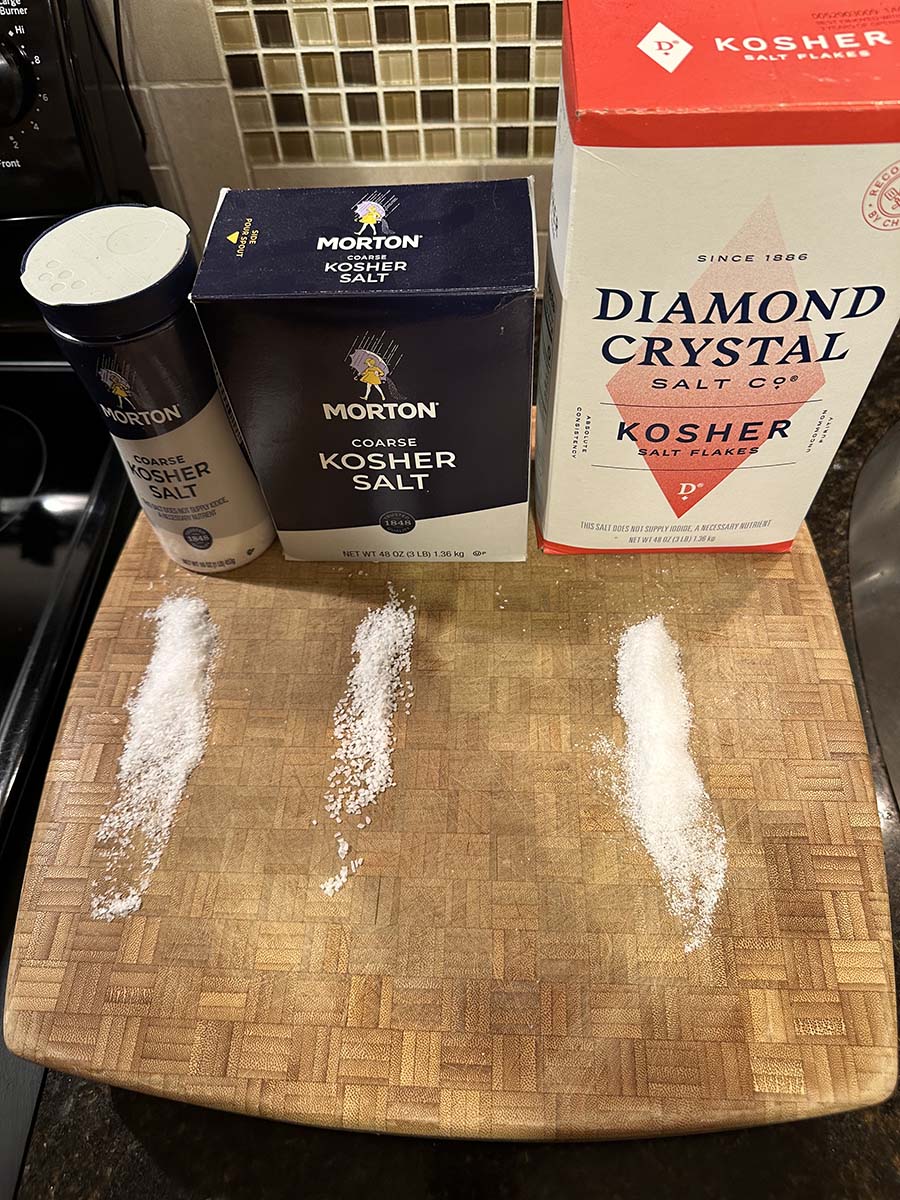
- Grill seasoning (you can use my easy grill seasoning recipe, a store-bought blend, or just salt and pepper)
- Fresh lemon

🌱 Ingredient Spotlight: Green Beans
This recipe uses fresh green beans which can be found in your grocery store located in the produce aisle.
My friend Shareba over at In Search of Yummy-ness has an incredible wealth of knowledge about produce and gardening (her Instagram account is fabulous!).
Since there are a few types of beans that are similar to green beans, I asked her to share some of her knowledge with Big Flavors readers.
There are lots of great tidbits below, plus tips for growing your own green beans!

What type of beans are green beans?
Green beans are long edible pods that contain small seeds. These beans are sometimes called string beans or snap beans.
What are the different varieties of green beans?
Although they're all called "green" beans, not all varieties are green.
Wax beans are pale yellow in color, yet they taste almost exactly the same as the common green beans that you'll find at your grocery store.
Purple beans are another variation that isn't green. These beans tend to be sweeter in flavor, but unlike green and wax beans they will lose their color when cooked.
Also, green beans can be sorted into one of two categories: bush beans and pole beans. This refers to how the beans grow.
Bush beans are great for container gardening, as all you need is a pot. While pole beans can also be grown in a container, they will need a trellis or stakes to support the climbing vines of the plant.
What's the difference between green beans and haricot verts?
Haricot verts are French green beans. These beans are longer and thinner than regular green beans and cook quickly.
When are green beans in season?
Green beans are at their peak from June to October, although you can find them in grocery stores year-round.
For gardeners, when is a good time to plant green beans?
Green bean seeds can be planted once the soil is warm (70-90 °F). This is usually from mid to late Spring, depending on where you live.
They like full sun and grow well in raised beds or containers.
How do you know when green beans are ready to harvest?
Green beans are ready to be harvested when they are about 4 inches in length and have a firm texture. Overgrown beans will not be tasty, so try to pick them before they get too big.
Tip: If you harvest your beans often, the plant will grow more and you'll have beans all summer!

🥣 Substitutions
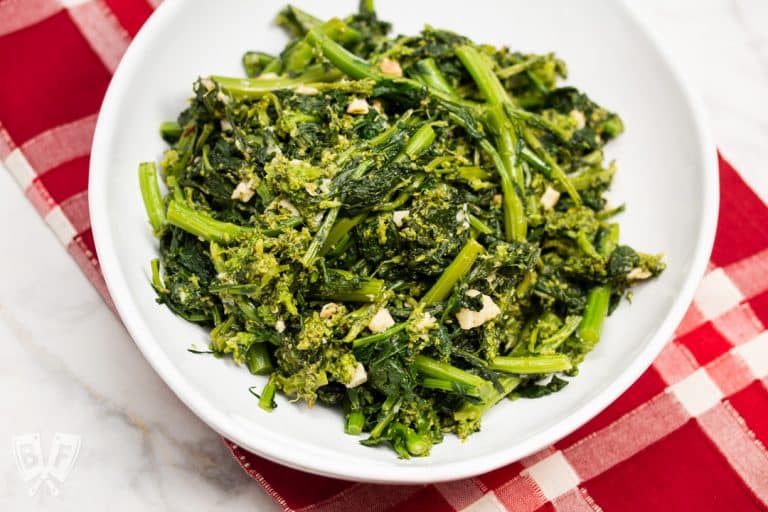
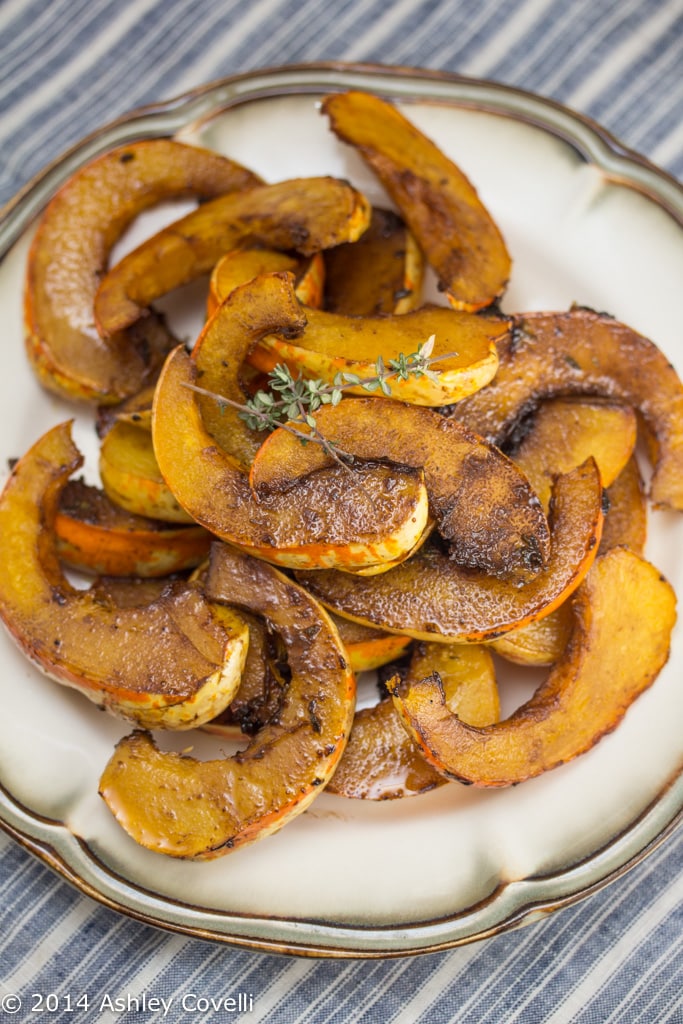
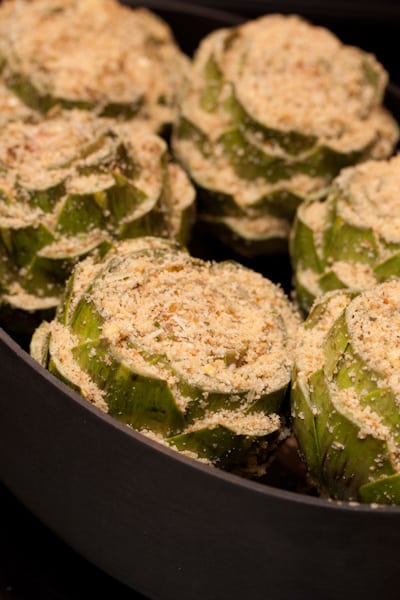
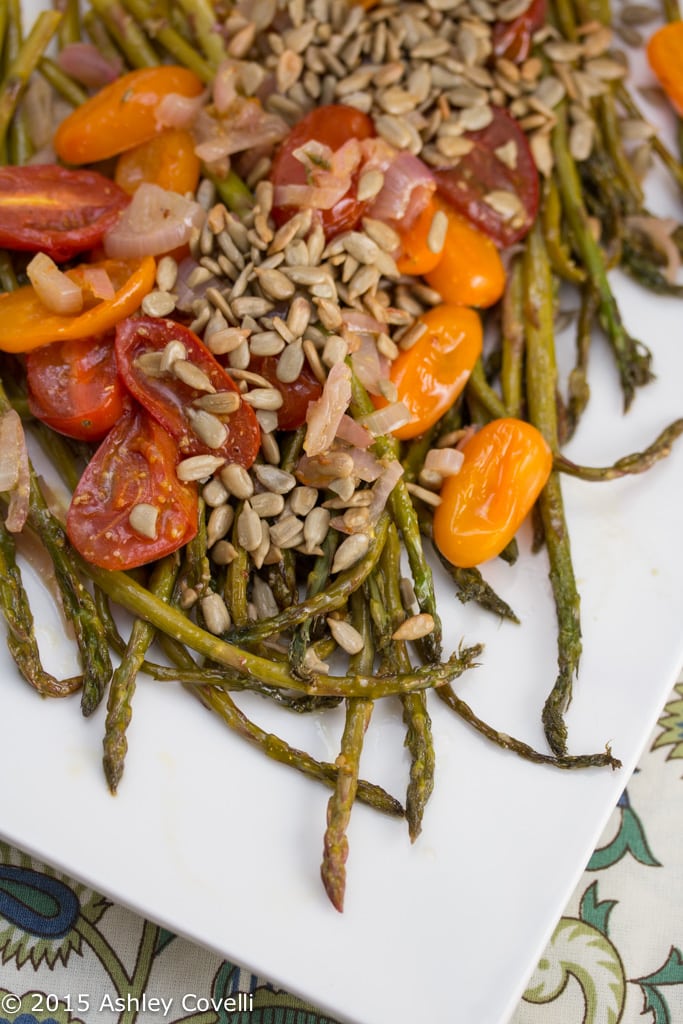
This recipe can be easily made with asparagus in place of green beans.
You could also substitute another type of bean such as wax beans or purple beans (see the ingredient spotlight box above).
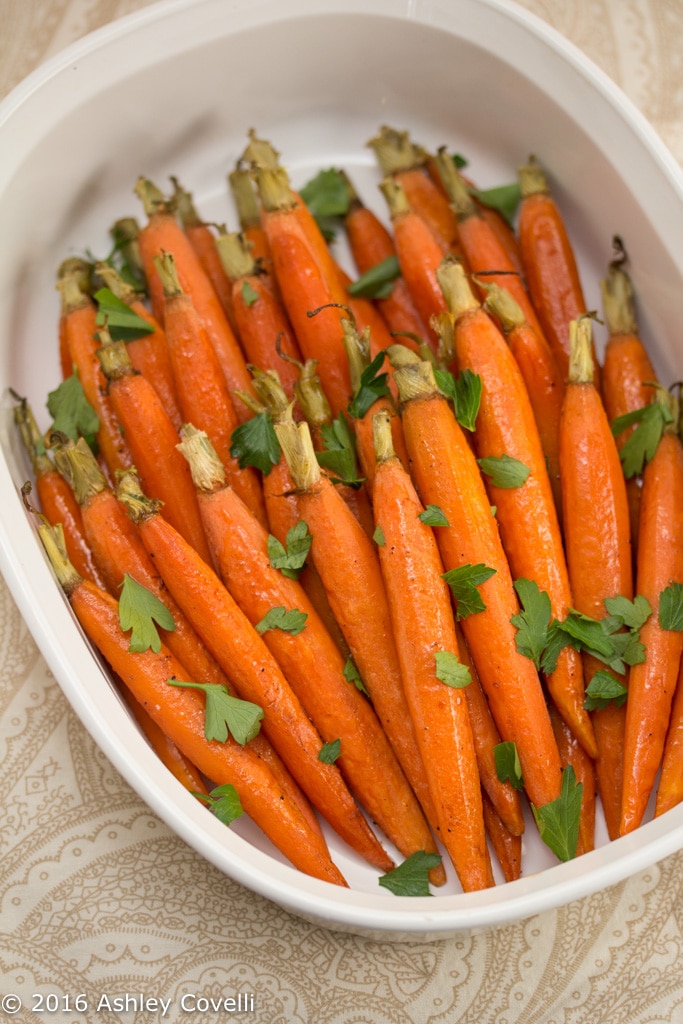
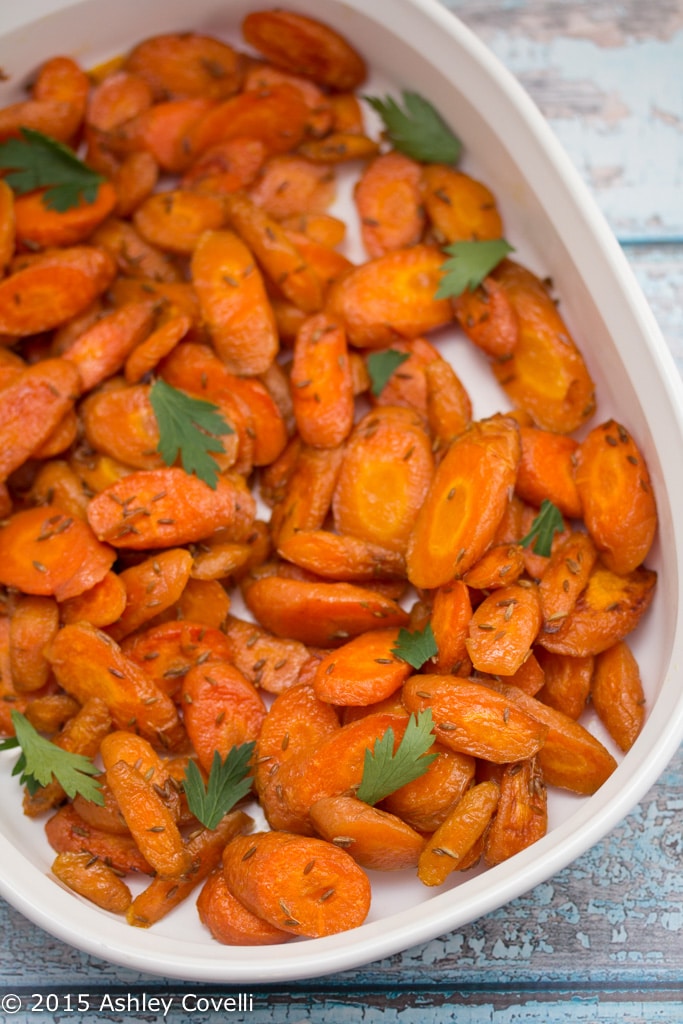
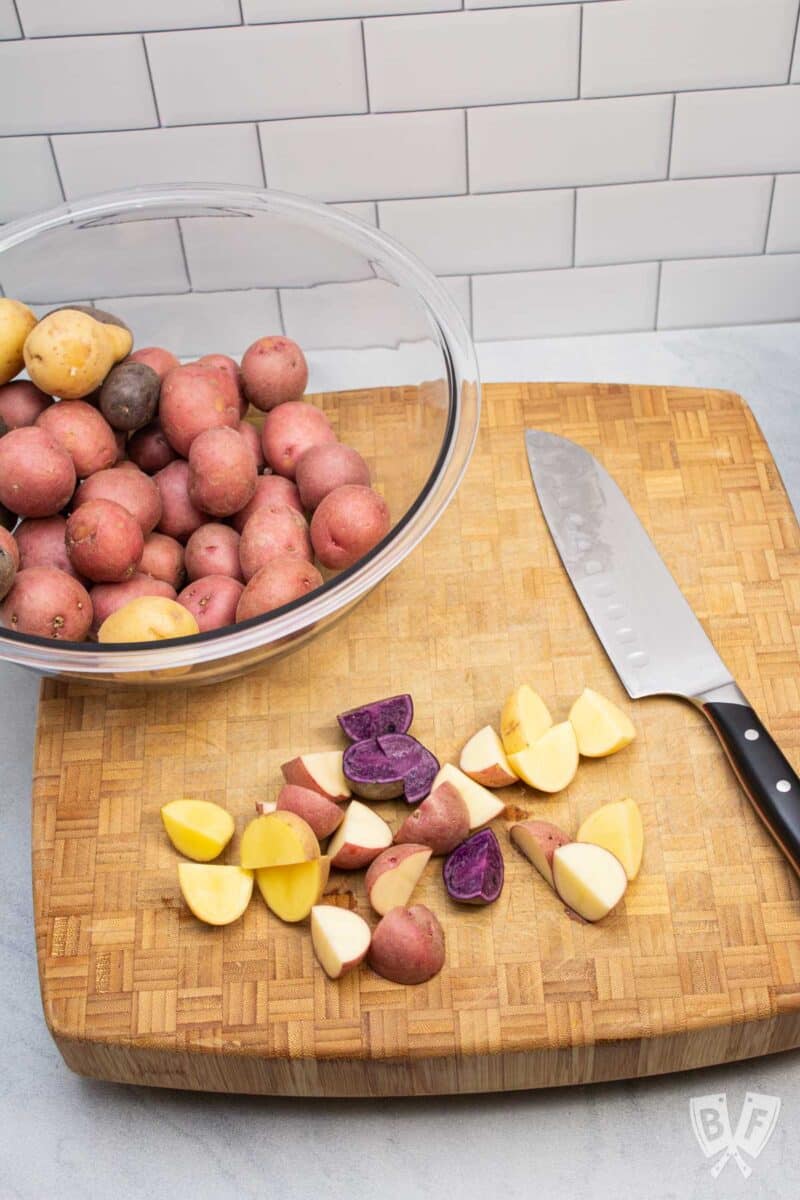
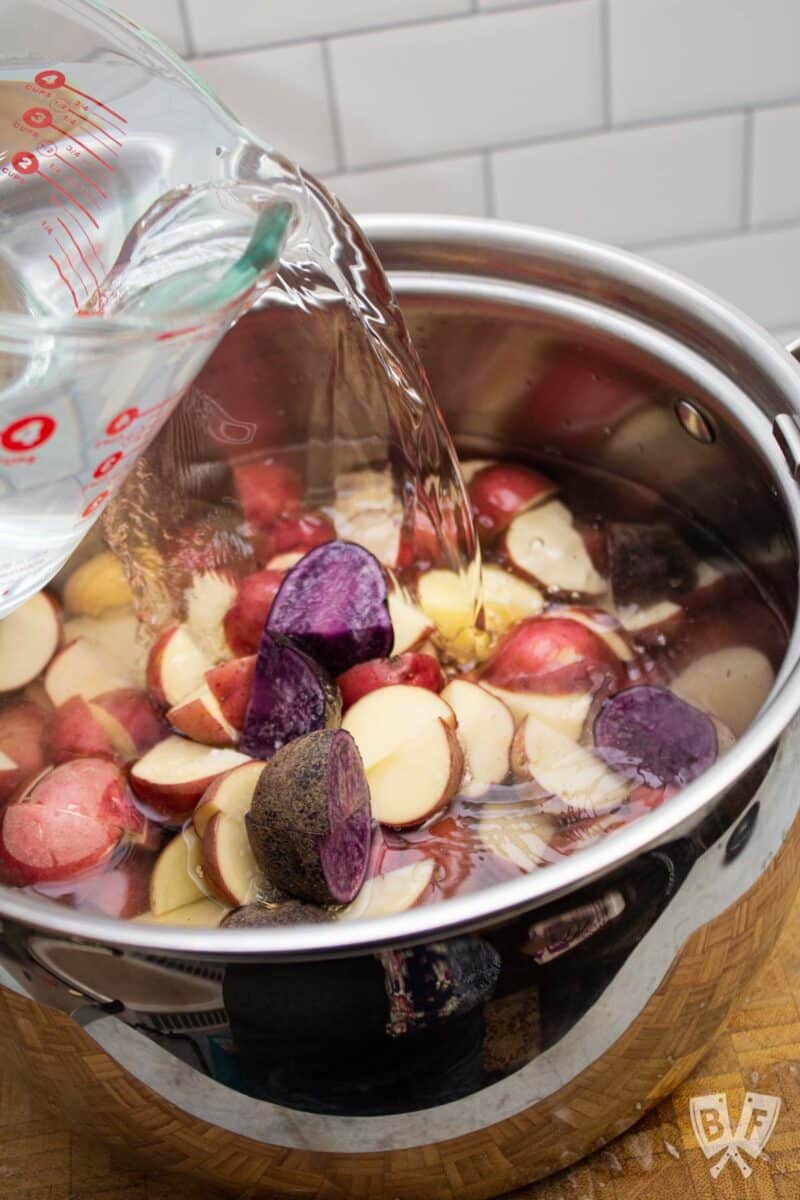
The same basic cooking method is easy to use for other, more dense veggies such as carrots or potatoes. You may need to adjust the cooking time, depending on how you cut these vegetables, to ensure they are cooked through.


✅ How to make this recipe
These green beans are seriously easy to prepare.
- Preheat your oven to 425°F.
- Trim the stem end off of your green beans, if necessary. Many beans are sold pre-trimmed, but take a peek through yours to see if there are any stems still attached.
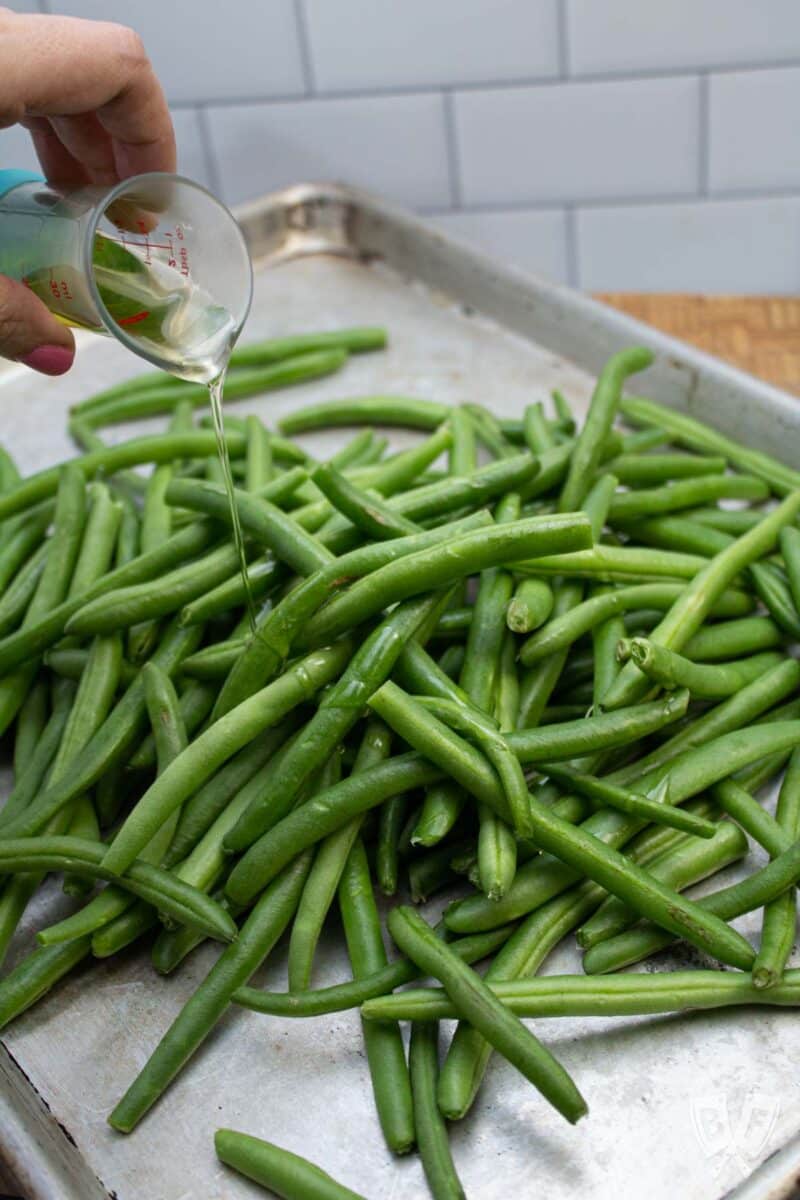
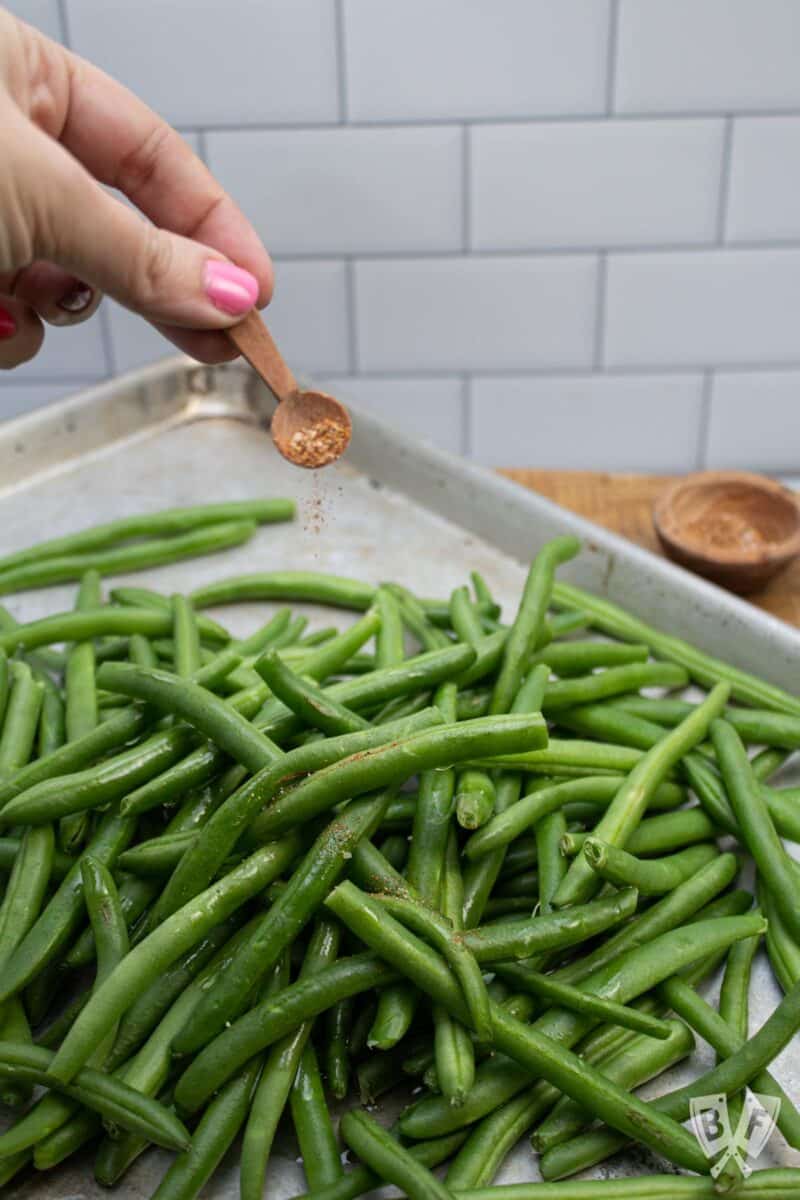
- Place the beans on a large, rimmed baking sheet.
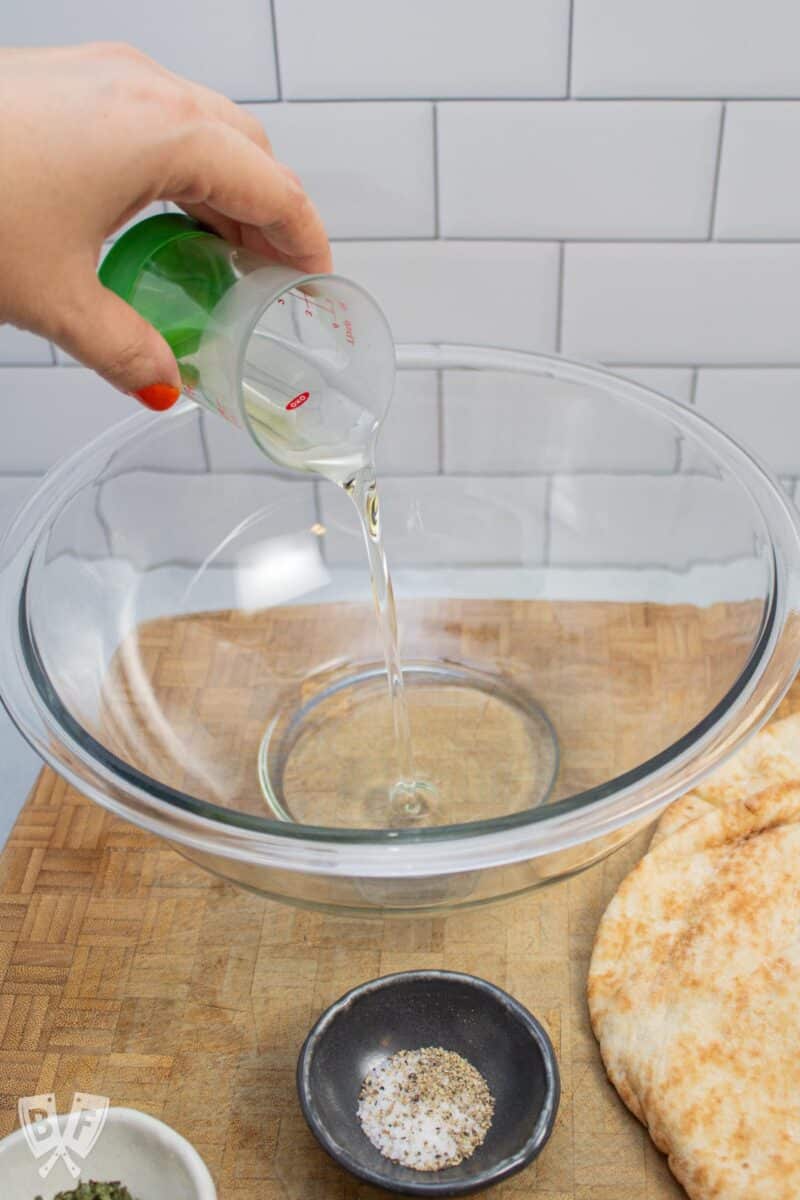
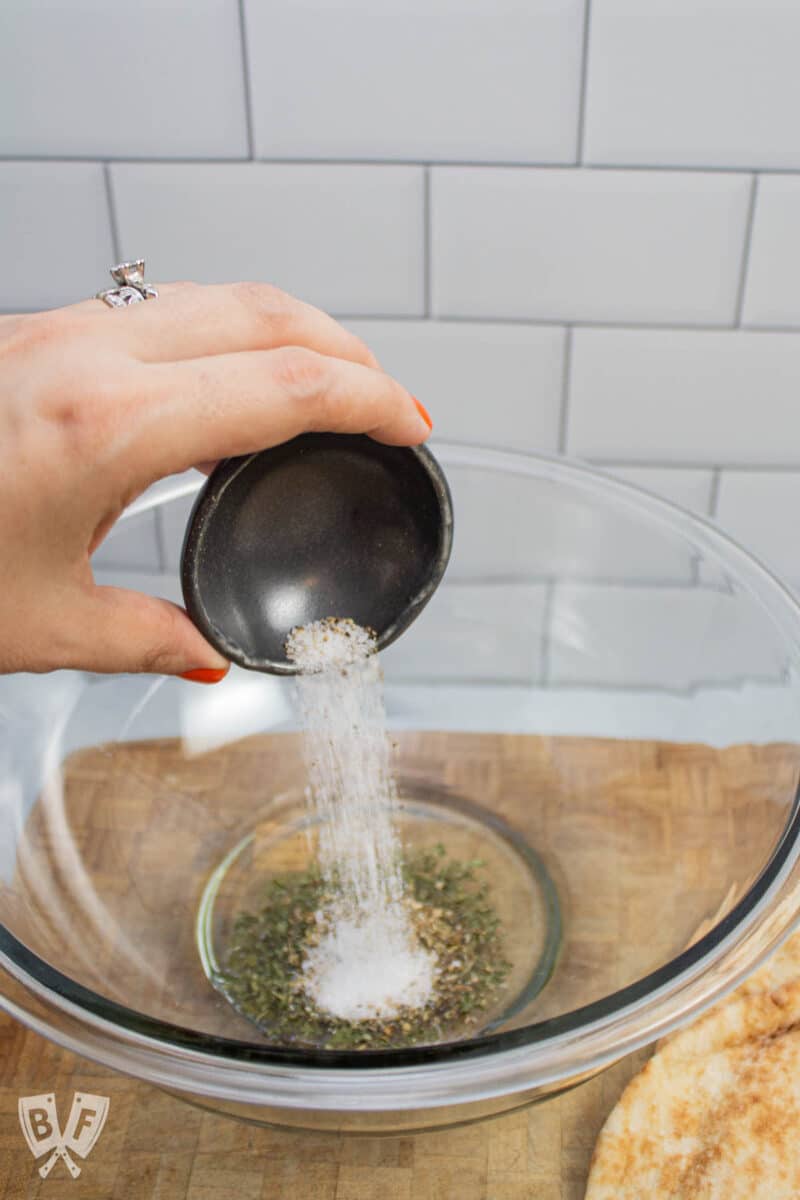
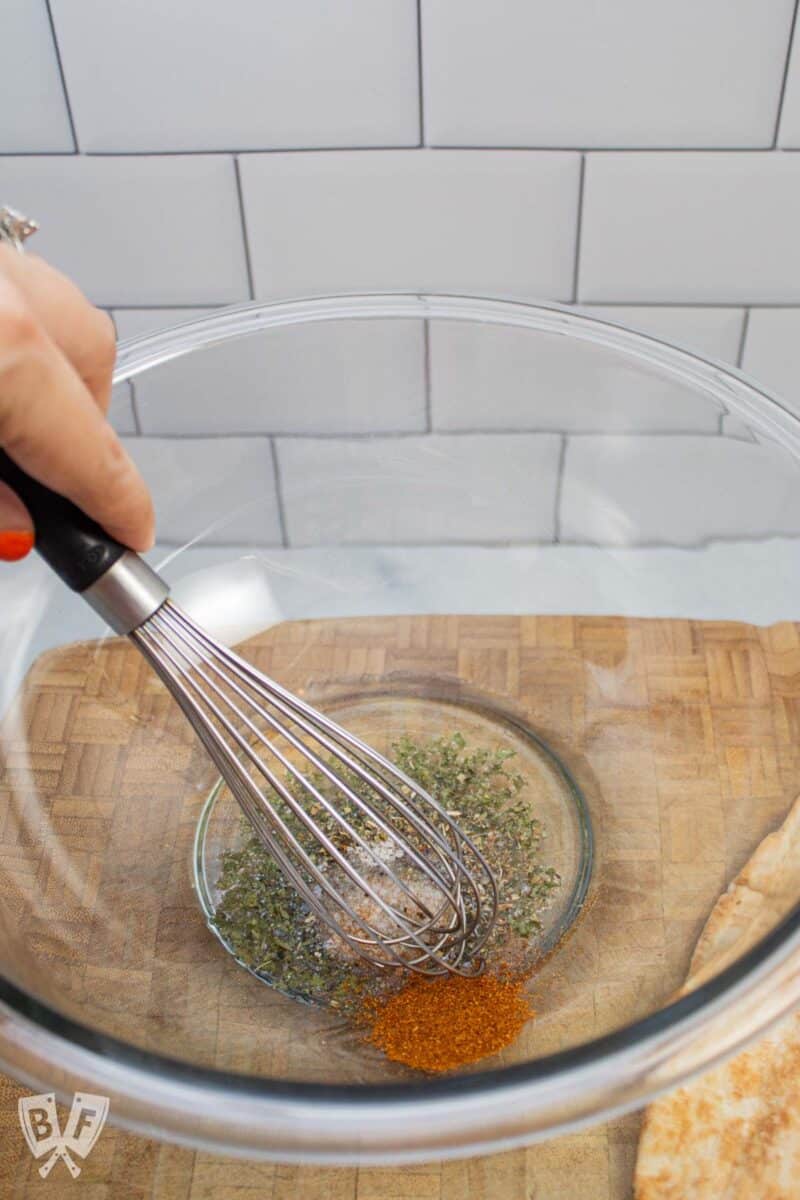
- Drizzle with olive oil and season with grill seasoning.
- Roast until
See recipe card below for full instructions.

📌 Tips
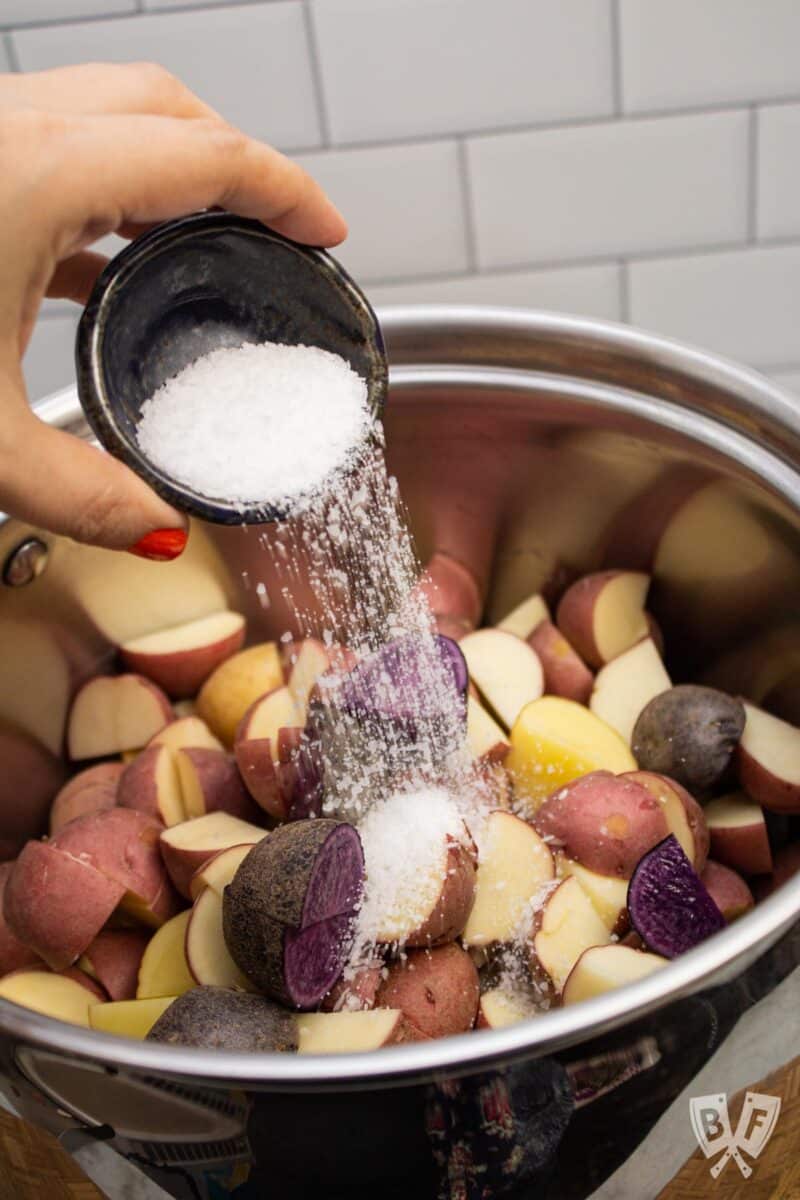
If substituting salt and pepper for the grill seasoning, use ½ teaspoon kosher salt and ¼ teaspoon freshly cracked black pepper.
You can absolutely pile up a lot of green beans onto one baking sheet. If it feels too crowded, you can divide the beans between 2 baking sheets instead.
If you'd like a little extra brown, feel free to let them bake a little longer or switch to broil for an additional few minutes.
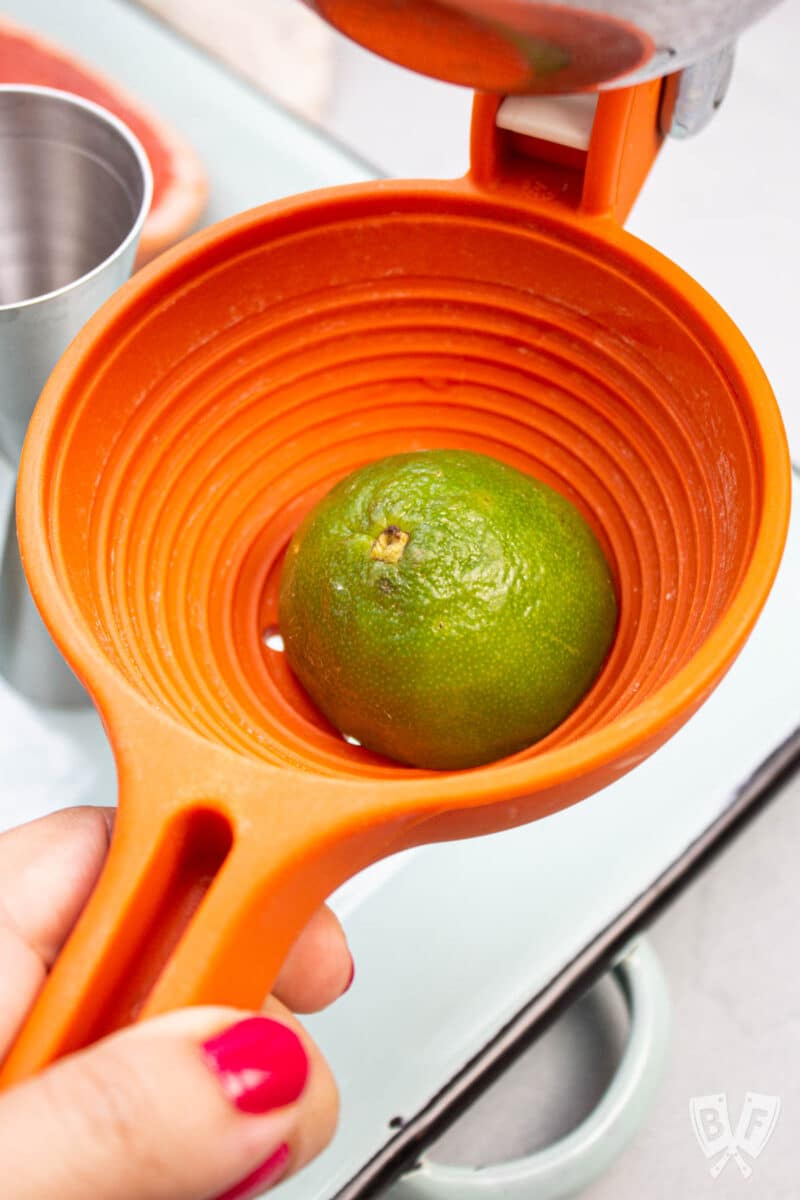
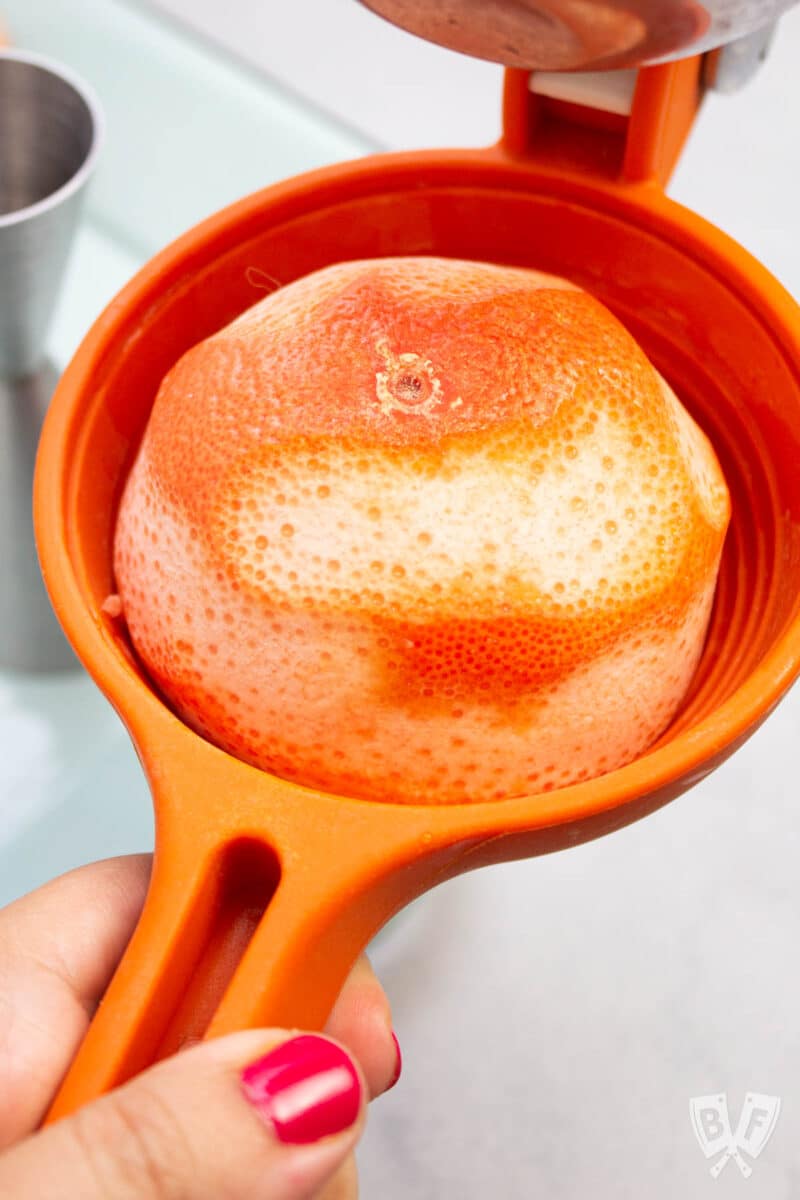
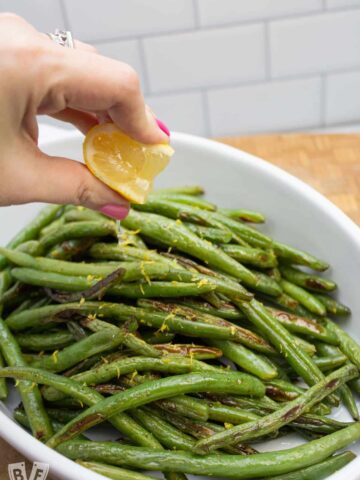
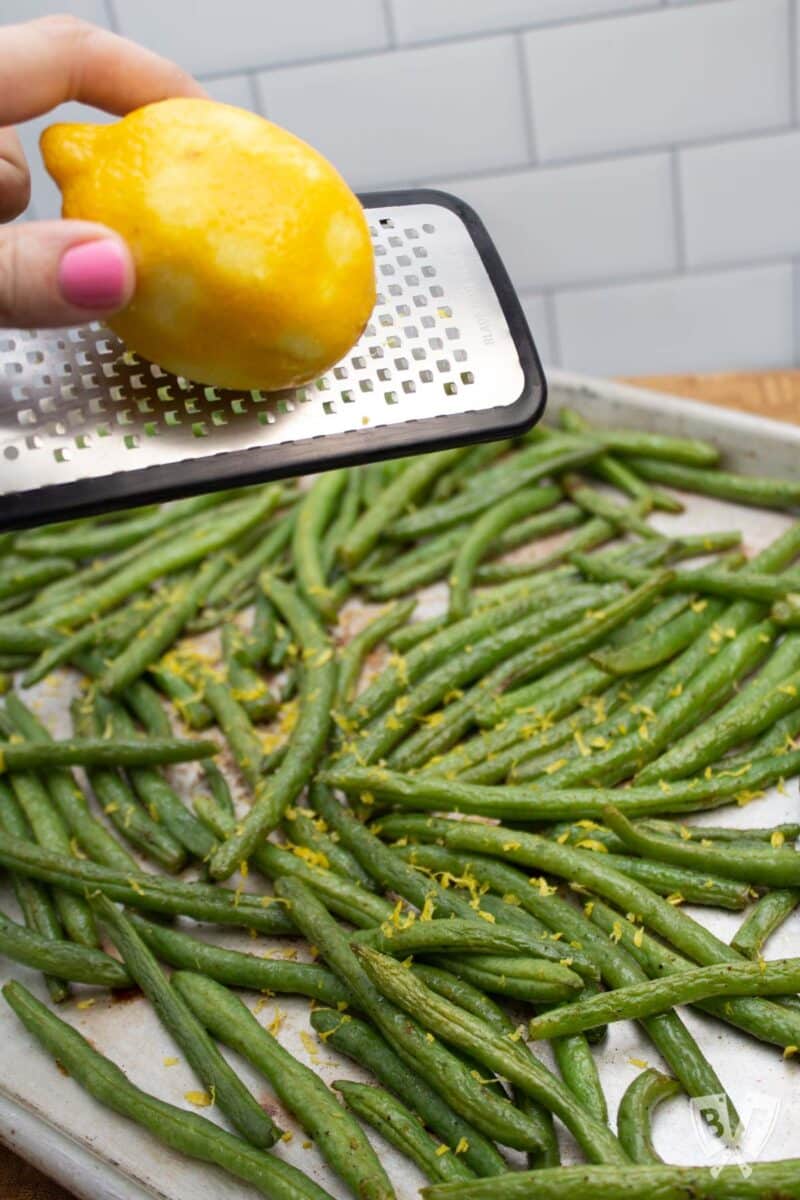
I usually squeeze one of the lemon wedges over the beans and toss to combine, then serve the remaining lemon wedges alongside.

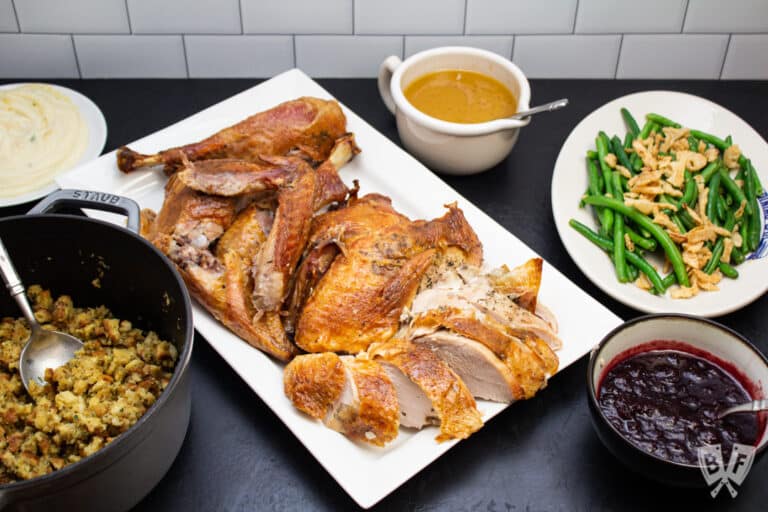
💡 What main dishes are good to serve with green beans
This is one of those side dishes that is so incredibly versatile that it goes with almost anything.
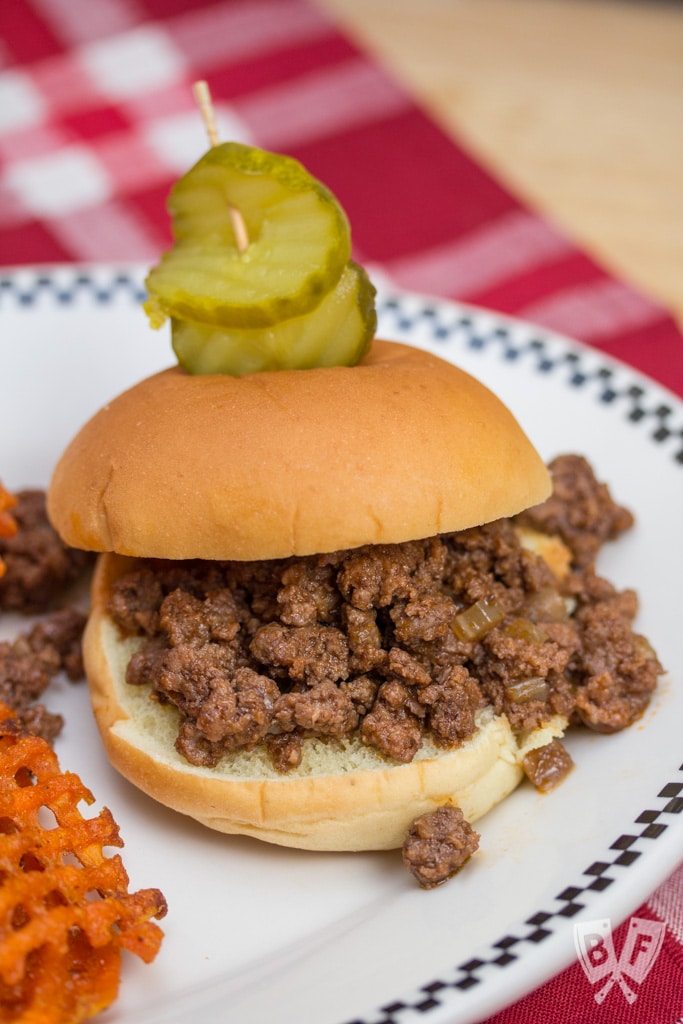
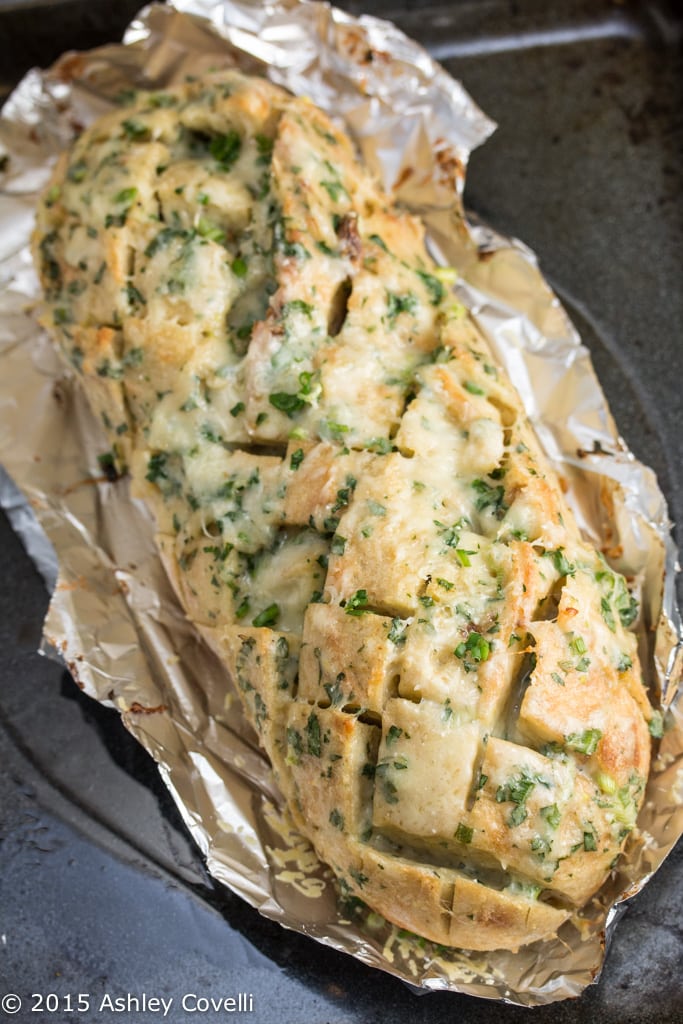
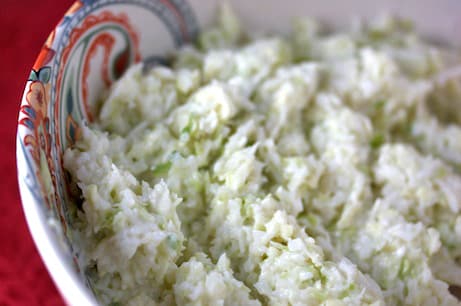
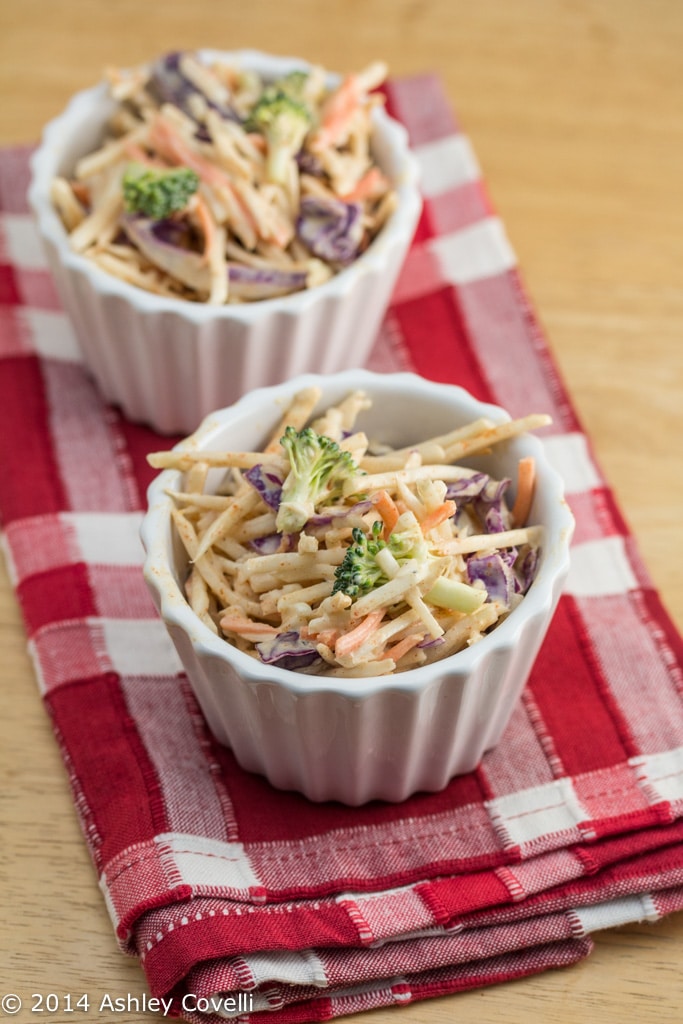
I've taught this recipe in a class where we're also making Sloppy Joes and cole slaw, so that's the first dish that comes to mind. Some other ideas are:
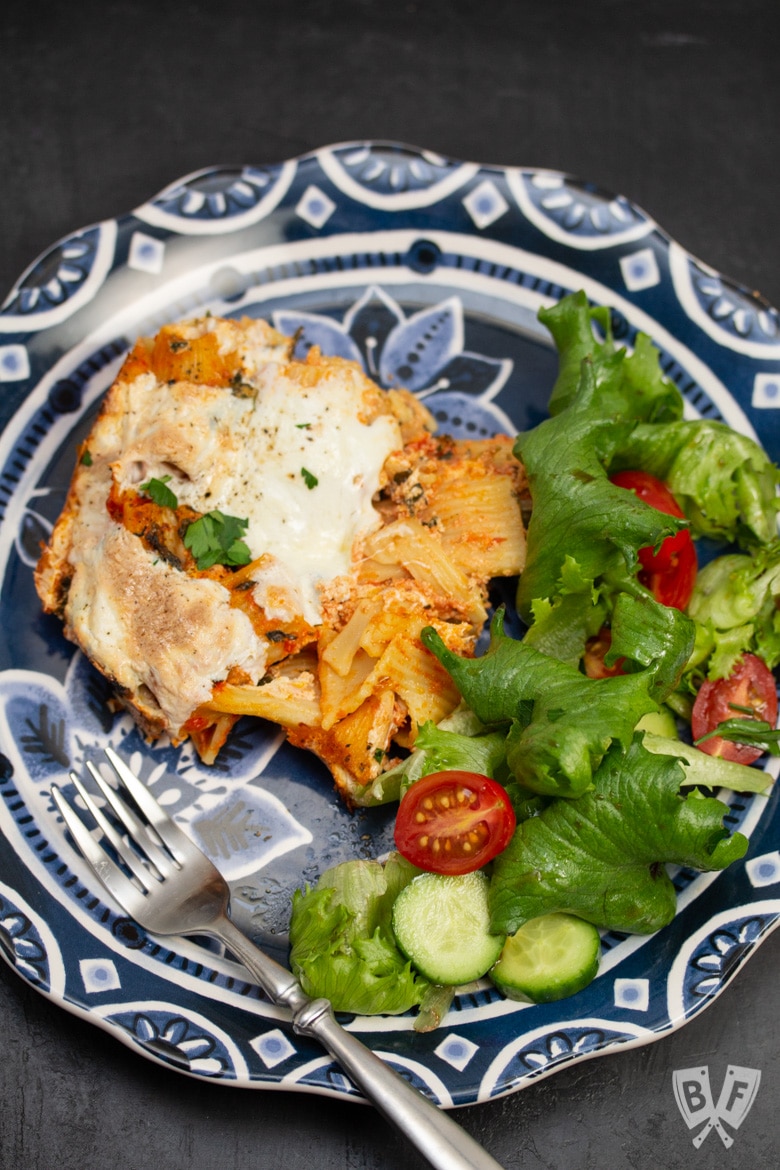
- Baked Rigatoni with Spinach
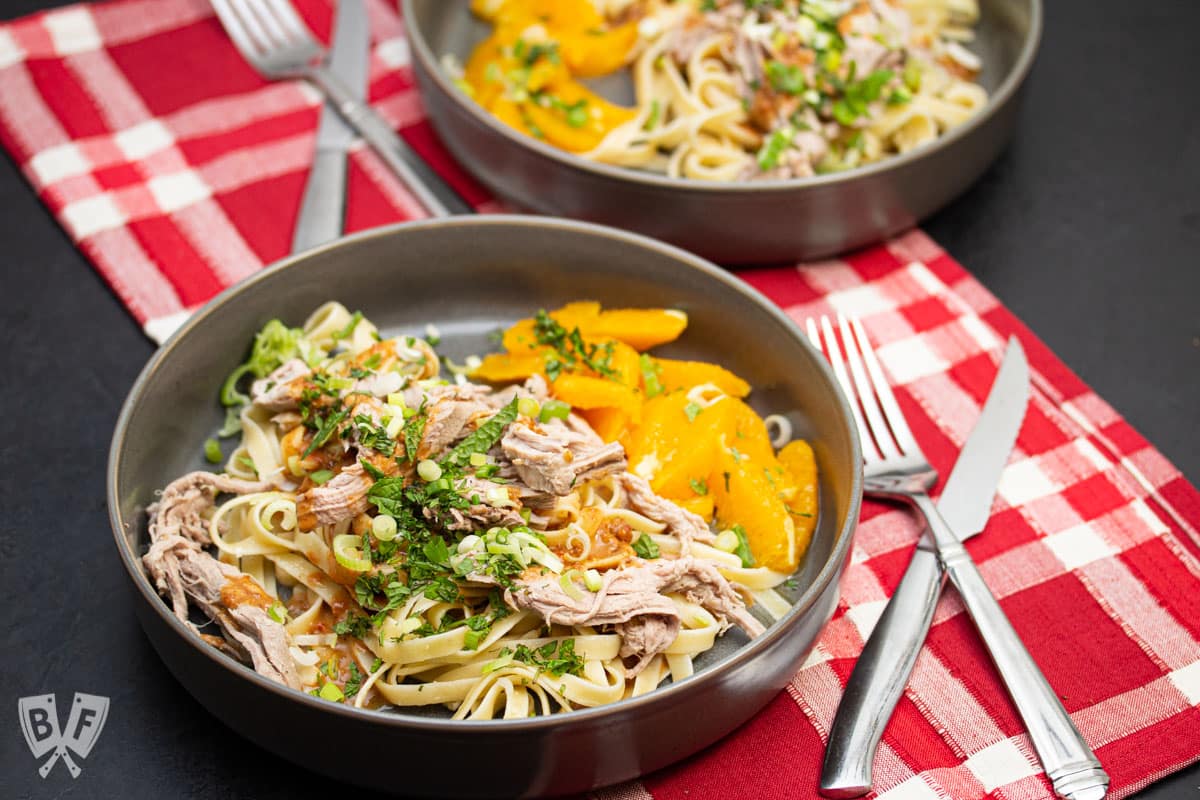
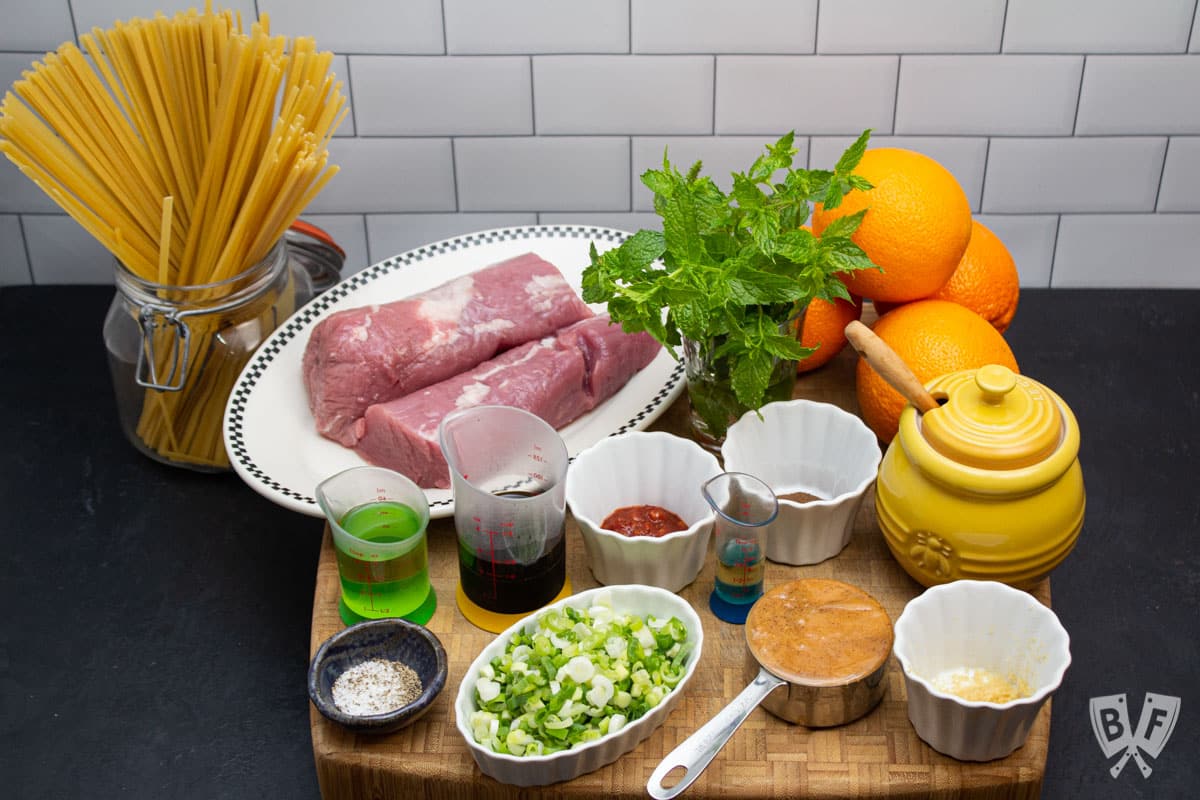
- Balsamic Marinated Pork Tenderloin
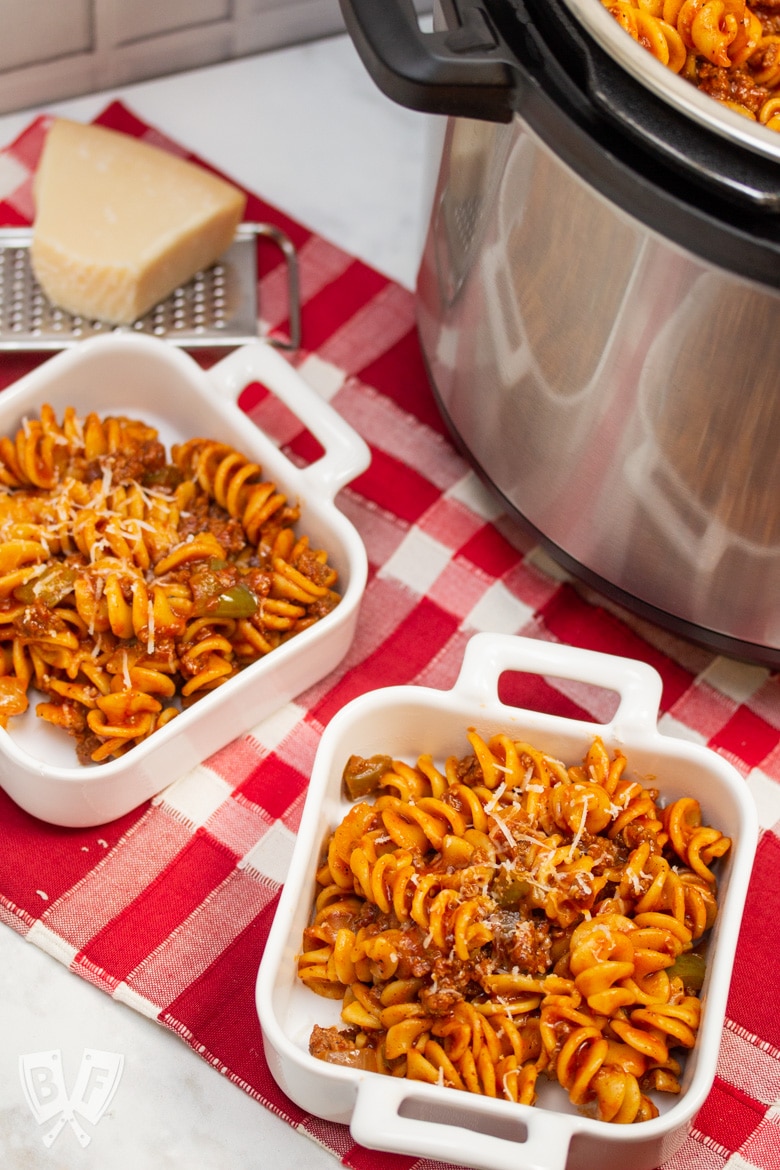
- Instant Pot Tomato Beef Pasta
- Lemony Almond Crusted Cod with Homemade Mayo-Free Tartar Sauce
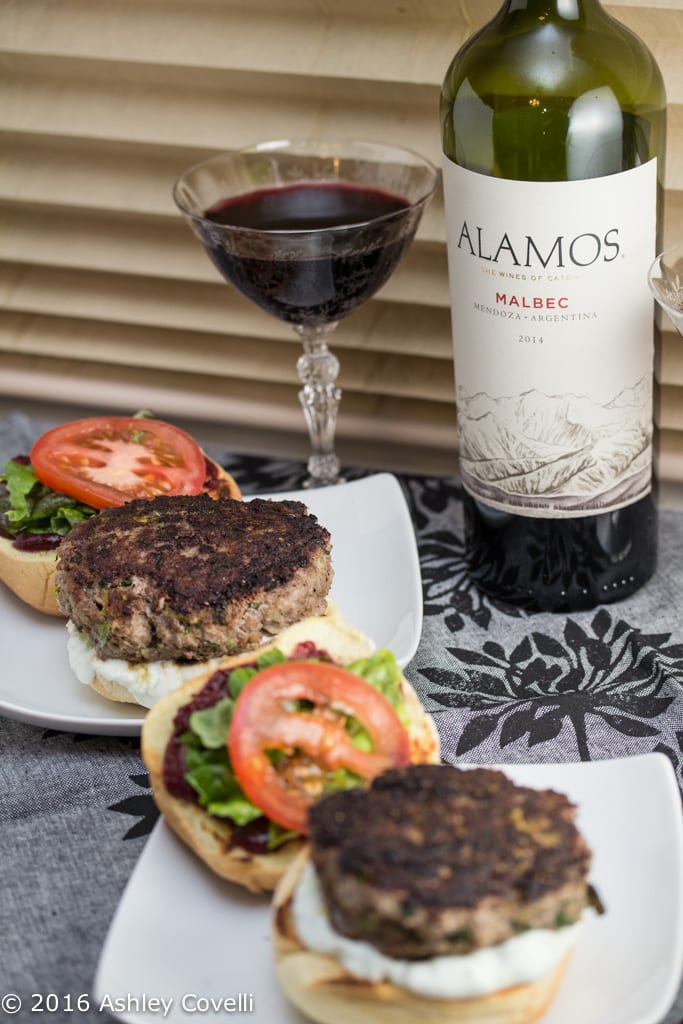
- Maple-Barbecue Pork Meatballs
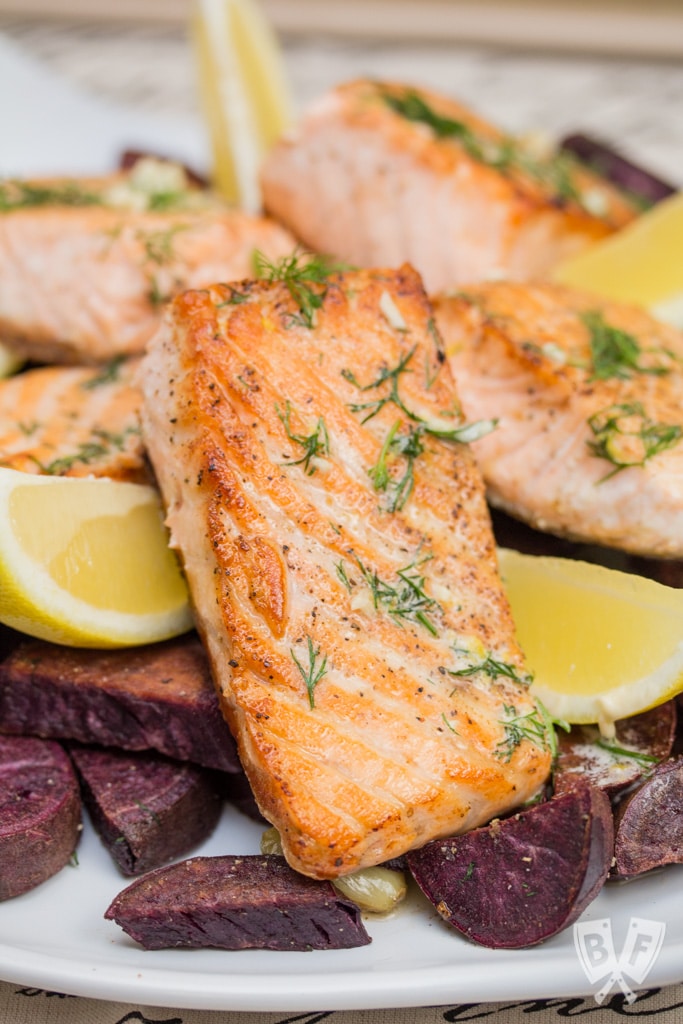
- Pan-seared Salmon with Lemon-Dill Butter + Roasted Purple Sweet Potatoes
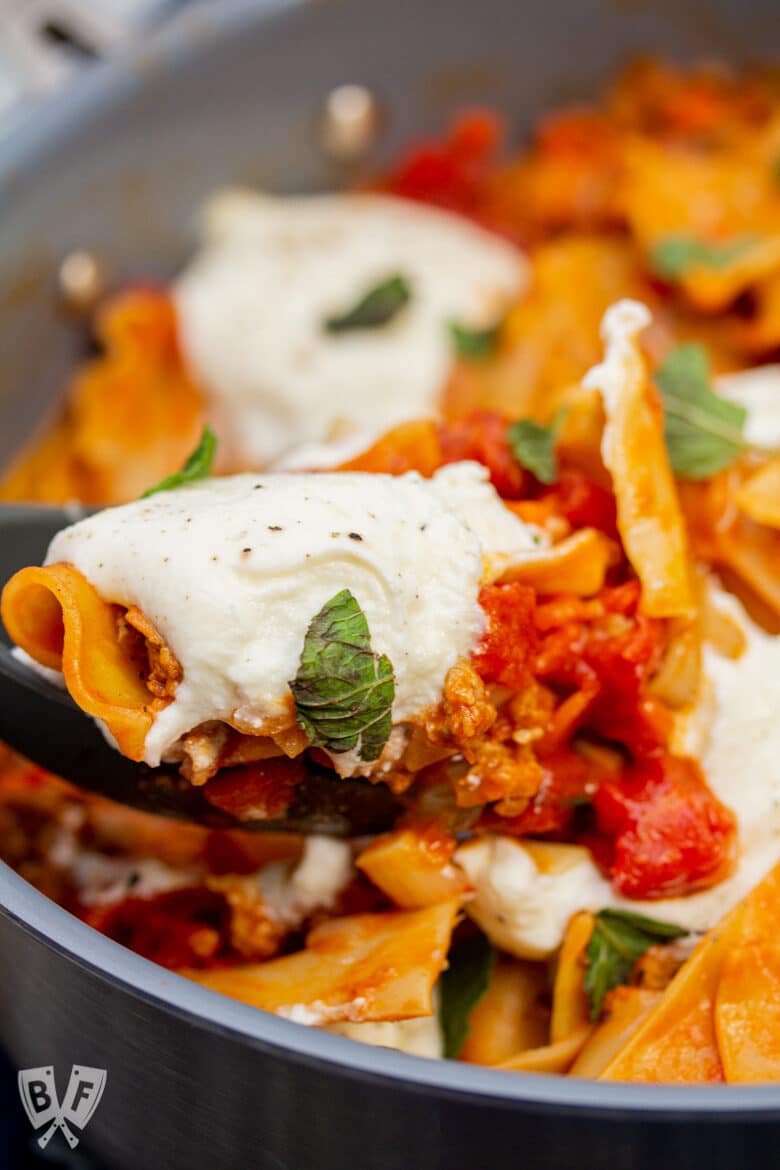
- Ravioli Lasagna
- Roasted Lemon-Rosemary Chicken & Cauliflower
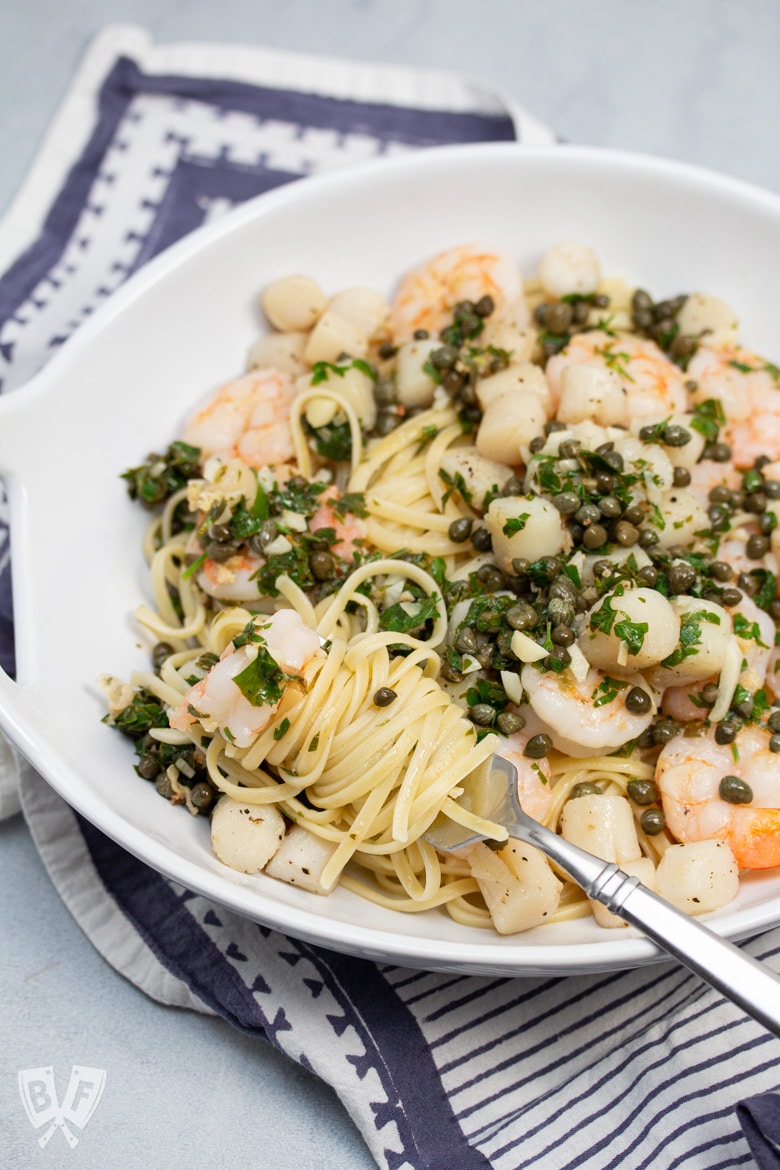
- Shrimp + Scallop Linguine with Lemon Caper Butter
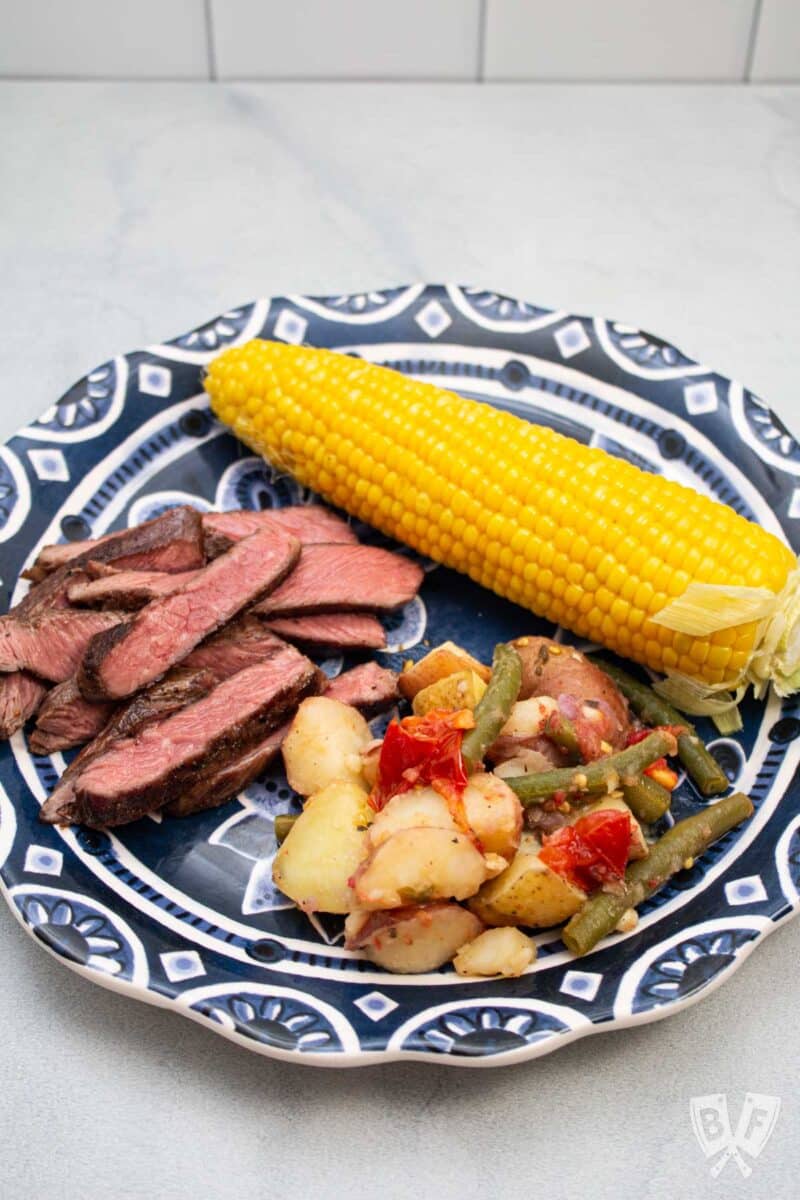
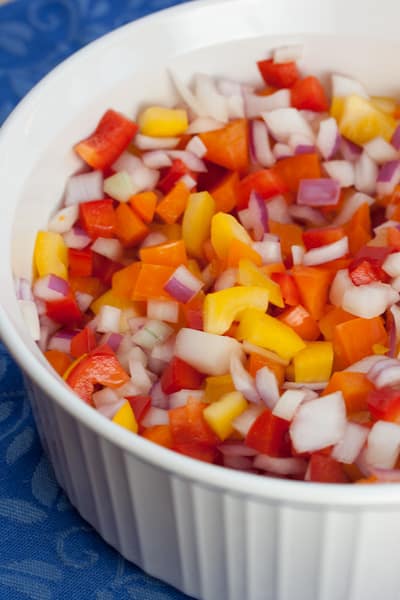
- Sous Vide Double Cut Pork Chops with Raw Summer Corn & Tomato Salad
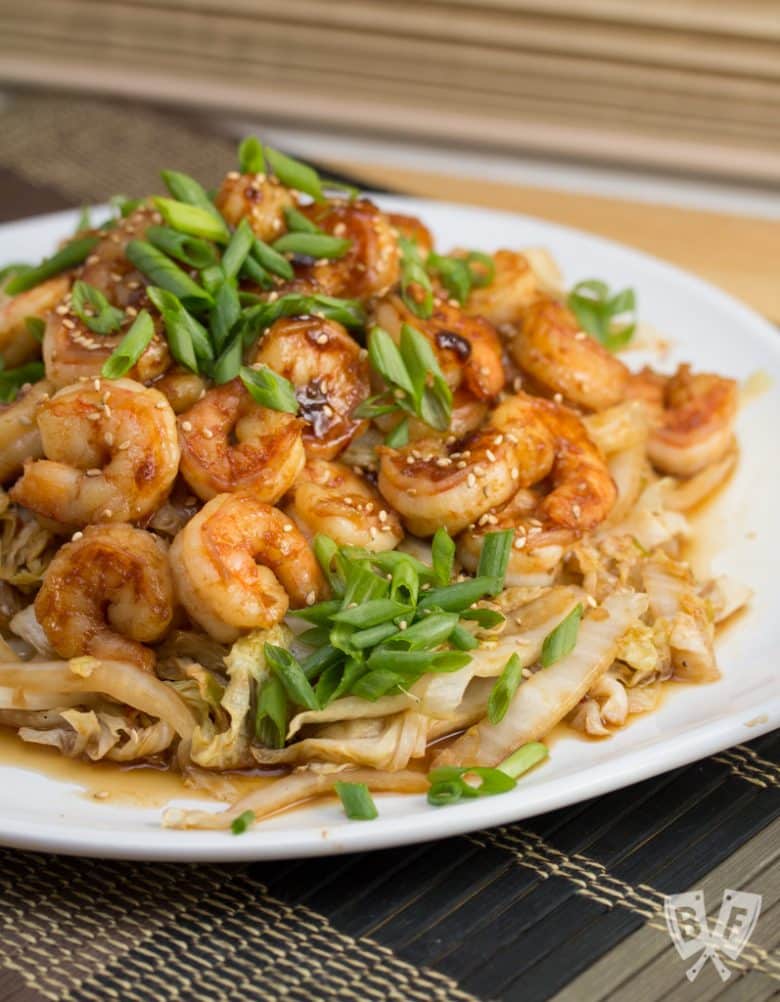
- Spicy Shrimp + Napa Cabbage Stir-Fry

🔪 Equipment
This recipe is so simple to put together. You don't need anything fancy!
- Oven
- Cutting board
- Chef's knife
- Large, rimmed baking sheet
- Measuring spoons
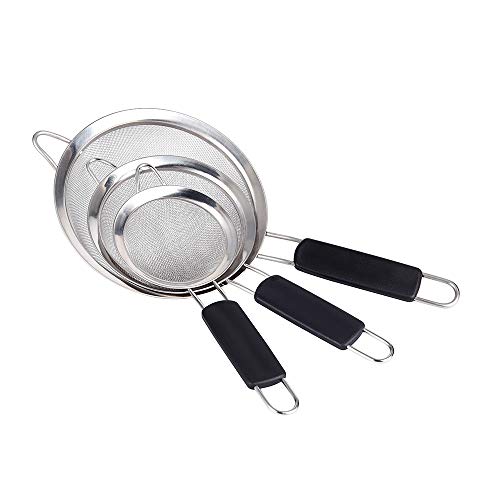
- Microplane, box grater, or zester (but you can absolutely "do this "zest" with a vegetable peeler and knife if needed)
🥡 Storage recommendations
Store any leftover roasted green beans in an air-tight container in the refrigerator. I often throw them in a Stasher bag to minimize the amount of space they take up.
I don't recommend freezing cooked green beans. The texture isn't great after thawing and reheating.
Still hungry? You may also like...

Doing some online shopping? Check out my Amazon shop page for recommendations!
📖 Recipe
Easy Sheet Pan Roasted Green Beans with Lemon
Instructions
- Preheat oven to 425°F.
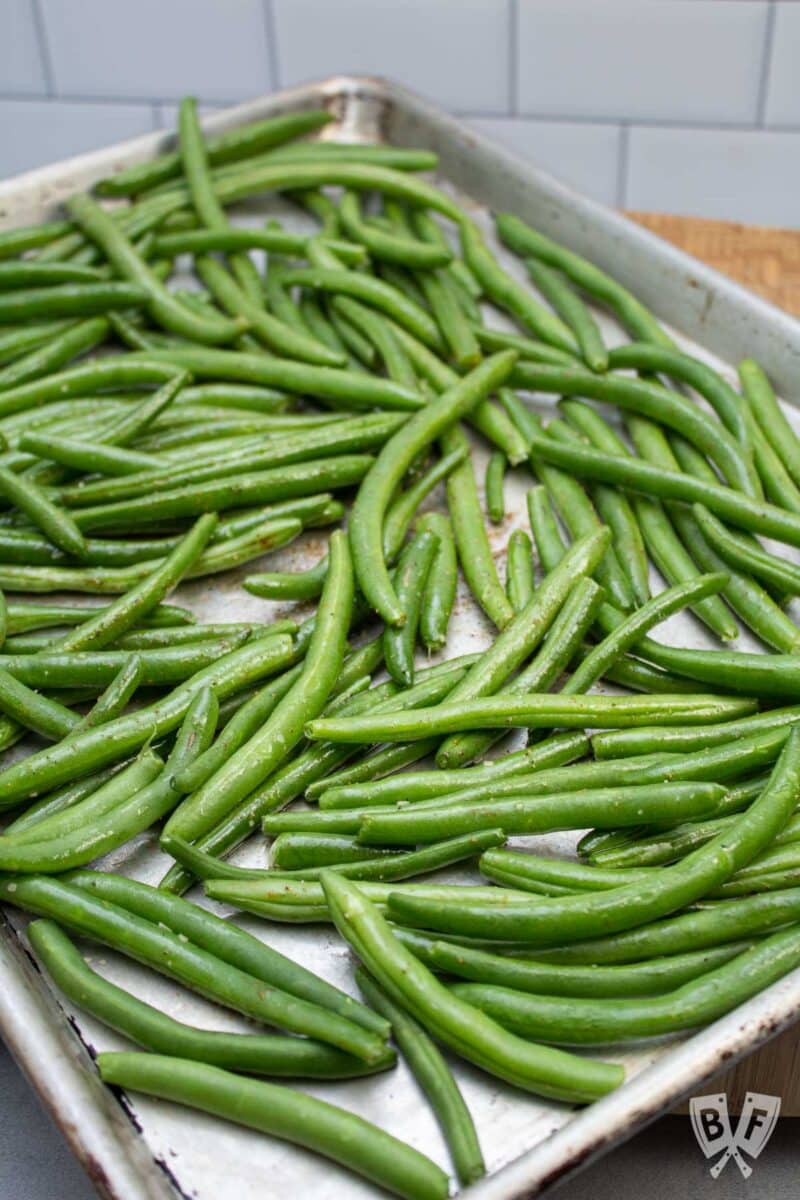
- Place trimmed green beans on a large, rimmed baking sheet. Add olive oil and season with grill seasoning (or salt and pepper, see notes). Toss well to coat, then spread beans out into an even layer.
- Transfer beans to the preheated oven. Bake for 10-15 minutes, or until tender.
- Toss beans with lemon zest and a squeeze of lemon juice. Taste for seasoning and adjust with more salt, pepper, and/or lemon juice as desired.
Notes
- If substituting salt and pepper for the grill seasoning, use ½ teaspoon kosher salt and ¼ teaspoon freshly cracked black pepper.
- You can absolutely pile up a lot of green beans onto one baking sheet. If it feels too crowded, you can divide the beans between 2 baking sheets instead.
- If you'd like a little extra brown, feel free to let them bake a little longer or switch to broil for an additional few minutes.
- For even quicker cooking, use haricot verts - thin French green beans. Check them after 8 minutes in the oven.
- I usually squeeze one of the lemon wedges over the beans and toss to combine, then serve the remaining lemon wedges alongside.