This post may contain affiliate links, which won’t change your price but will share some commission.
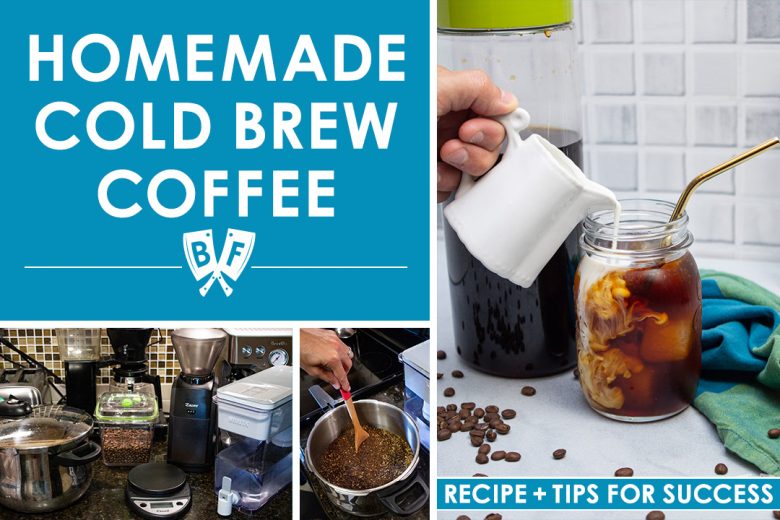
A perfectly brewed, refreshing cup of cold brew coffee is easy to make at home! This DIY guide will save you the time and expense of coffeehouse cold brew.
This post may contain affiliate links.
There's nothing better on a hot summer day than waking up to a perfectly brewed glass (or 2) of refreshing iced cold brew coffee. And if you make it at home, not only do you save money by skipping trips to the coffee shop, but you don't even need to change out of your pajamas and leave the house!
A few years ago, I was chatting with the owner of my favorite local coffee shop and asked him if he had any tips for making cold brew coffee at home. I love buying cold brew from his café, but it can be an expensive habit, so I only indulged on occasion.
He was more than happy to give me some tips for making my own cold brew, and me and my husband have been working on our method and perfecting it ever since.
And now I'm sharing my tips and tricks with you so you can make and enjoy it in your home, too!
What exactly is cold brew coffee?
One of the biggest misconceptions about cold brew coffee is that it's the same thing as iced coffee. It most certainly is not!
Iced coffee is coffee that has been brewed in a standard way and then chilled. That means that heated water has been used to brew coffee from the ground beans.
With cold brewing, no heat is applied to the ground coffee in order to turn it into a glorious glass of iced coffee.
Heat in the coffee brewing process can often bring out a bitterness in coffee. With cold brew, the nuanced flavors of your coffee beans are really able to shine in a way that you just don't get from traditionally brewed coffee.
Benefits of brewing cold brew coffee at home
There are so many perks (pun not intended, but I'm now laughing to myself, picturing a coffee percolator) to making your own cold brew coffee at home.
First of all - it's convenient! You don't need to drive out to your local coffee shop to pick up your daily cup of caffeine.
You can make it in batches! The ease of waking up and opening the fridge and having a pitcher of delicious cold brew coffee waiting for me is one of my favorite parts of this process.
We brew a batch about once a week and drink it every single day.
It's scalable! You can make as little or as much as you like. You only need one cup of water for each ounce of coffee beans that you brew.
If we had more space, we'd probably make larger quantities, but this 2-quart airtight pitcher is perfect for our current setup.
The recipe below makes the perfect amount to fill the pitcher.
Materials and equipment for brewing cold brew coffee
You don't need anything too fancy to be able to make cold brew coffee at home, but there are a few things that will make the process go more smoothly.
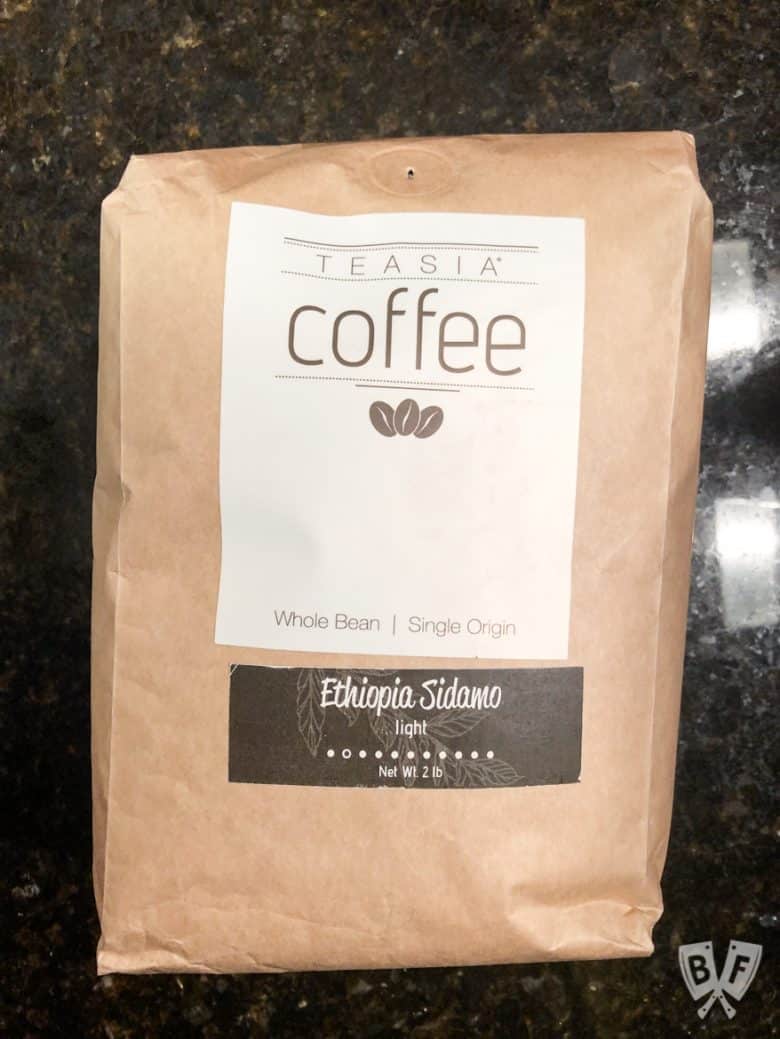
- Coffee beans - a light-to-medium roast. Our current favorite is this Ethiopia Sidamo Guji. There are tons of whole-bean Ethiopian coffee options available online.
- A kitchen scale for weighing your beans. These come in handy for so many different kitchen tasks, and weighing out precise amounts of coffee beans is an important part of the cold brew process. We have had this kitchen scale for many, many years now and it's still going strong!
- Cold water, preferably filtered. We have this 18 cup Brita water filter and love how compact it is in our refrigerator. It's larger than the pitcher-style that we used to have, so we don't need to refill it as often. (We've been having some water quality issues in my town lately, so we switched over to this pitcher from Clearly Filtered that removes a LOT more stuff from the water, and it's been working out very well.)
- A coffee grinder. More on this below, but most people have blade grinders or burr grinders. We upgraded to this Baratza Encore burr grinder several years ago and it was one of the best investments we made in our kitchen. If you don't have a grinder at home, you can have your local coffee shop do it for you.
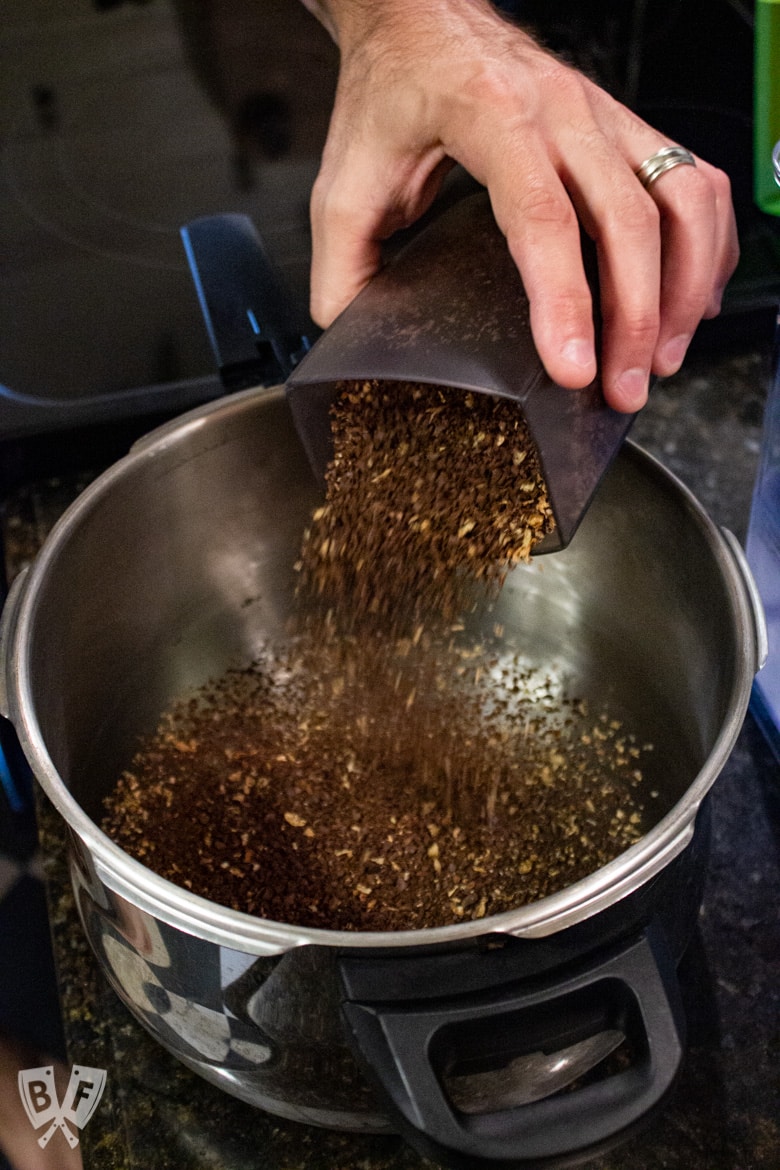
- A big container with a lid for steeping your coffee. We actually use an old stovetop pressure cooker to hold our coffee while it's brewing because it's airtight and I don't use it too often anymore since I bought an Instant Pot.
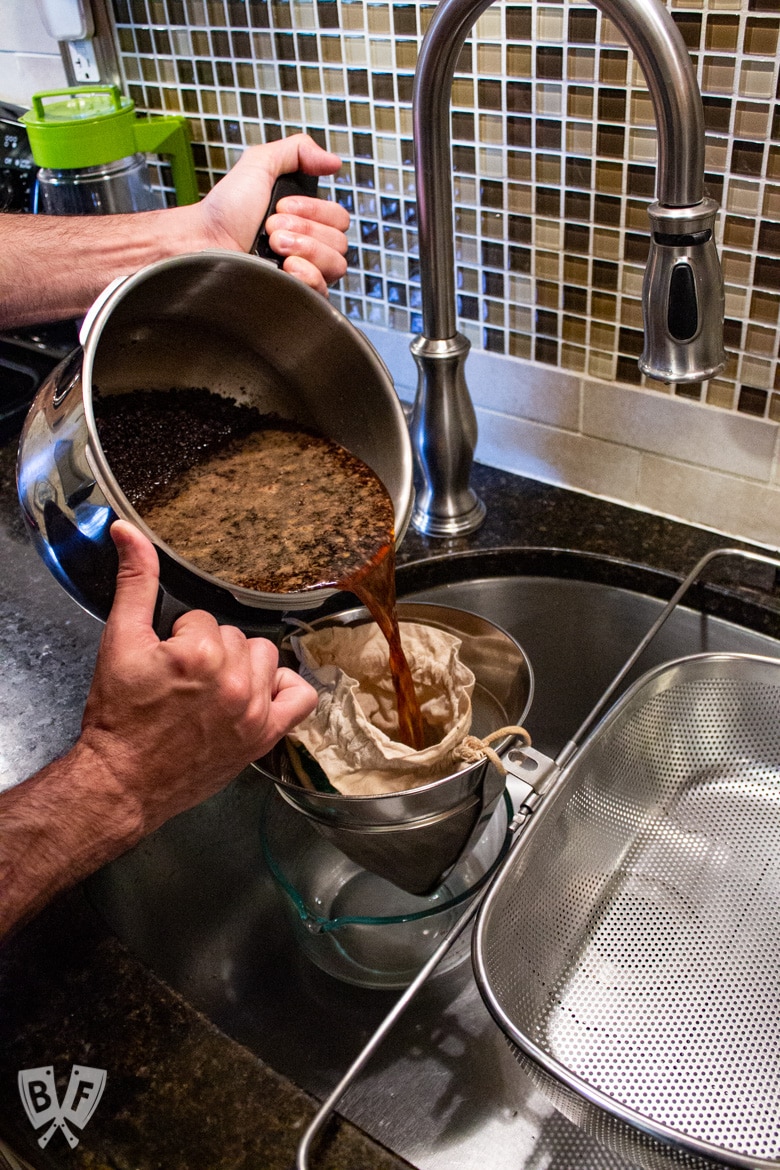
- A filter to strain the solid pieces of beans from your cold brew. You can use cheesecloth over a mesh strainer to do this. I have a hemp bag that I got years ago that we affix to a chinois and strain it that way. There are plenty of reusable filters available online. There are even pitchers that have built-in strainers that look pretty nice, but I haven't personally used any of them yet.
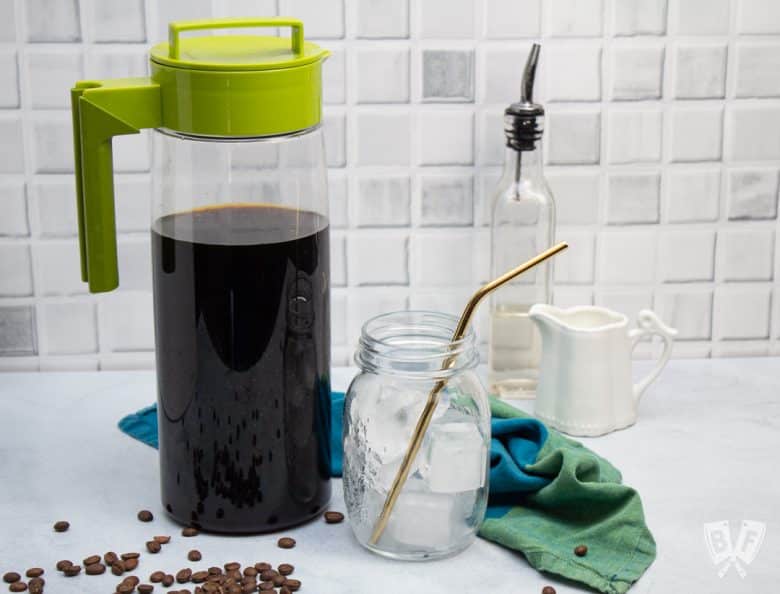
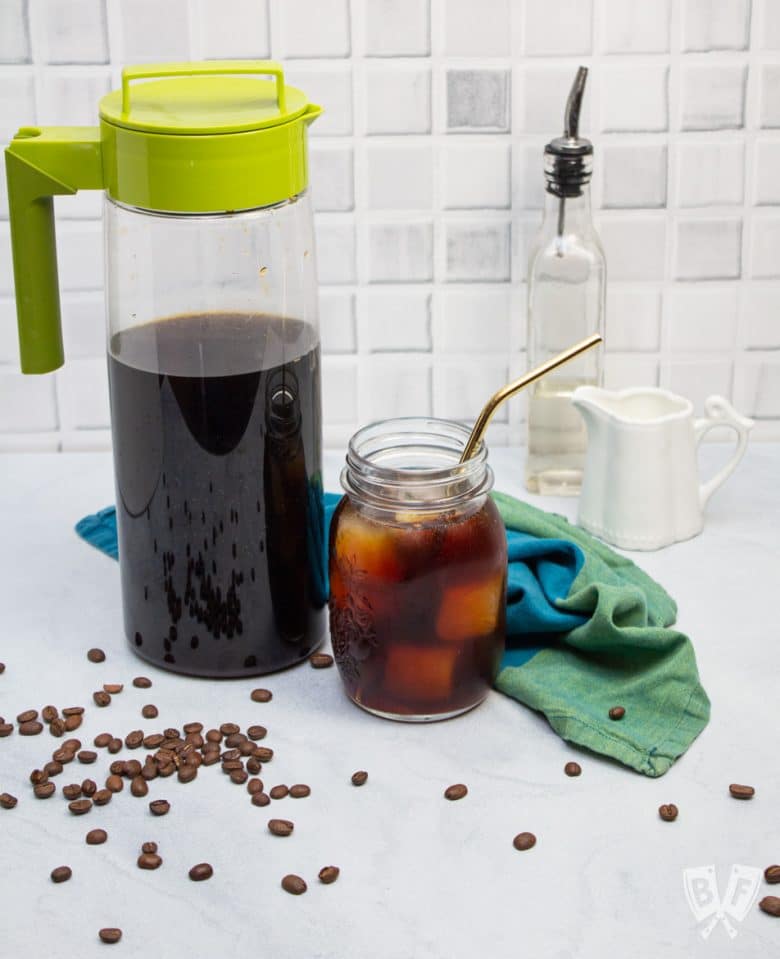
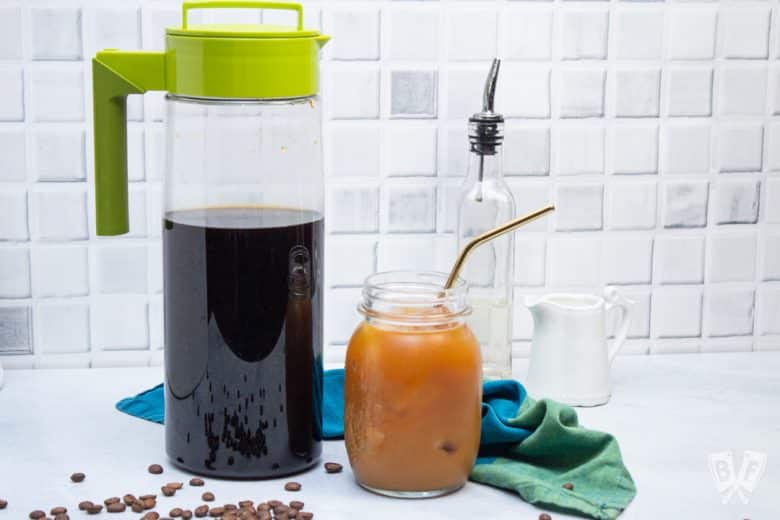
- A pitcher to store your cold brew once it moves into the fridge. Again, there are loads of options available in stores and online. We use this 2-quart pitcher and love it.
What kind of coffee beans are best for cold brew?
We most often use Ethiopian coffee beans for our homemade cold brew. Here's a great guide Ethiopian coffee, as well one with the history and coffee ceremony in Ethiopia in case you'd like to dive deeper into the world of Ethiopian coffee.
Ethiopian coffee is usually a light-to-medium roast with a bit of a floral flavor and a decent amount of acidity. The cold brew process really mellows out the acidity and bitterness and leaves you with a smooth as silk cup of coffee!
You can find Ethiopian coffee beans at many local coffee shops (especially if they roast their own beans!), at the grocery store, or online.
Of course, you don't have to use Ethiopian beans to make cold brew. I recommend using a light or medium roast, but feel free to try out your favorite beans to see how they fare.
The key to great cold brew coffee is in the way you grind your beans.
How to grind coffee beans for cold brew
Cold brew coffee is best when made with very coarsely ground coffee beans. There are a few ways that you can do this, so I'll go over how to best achieve this both at home or from a coffee shop or grocery store.
Whichever way you do it, try to grind the beans as close to when you're going to brew them as possible.
One of the best tools you can have in your home coffeehouse arsenal is a good coffee grinder. A few years ago, we upgraded from a blade grinder to a burr grinder and it has seriously changed our home coffee brewing game!
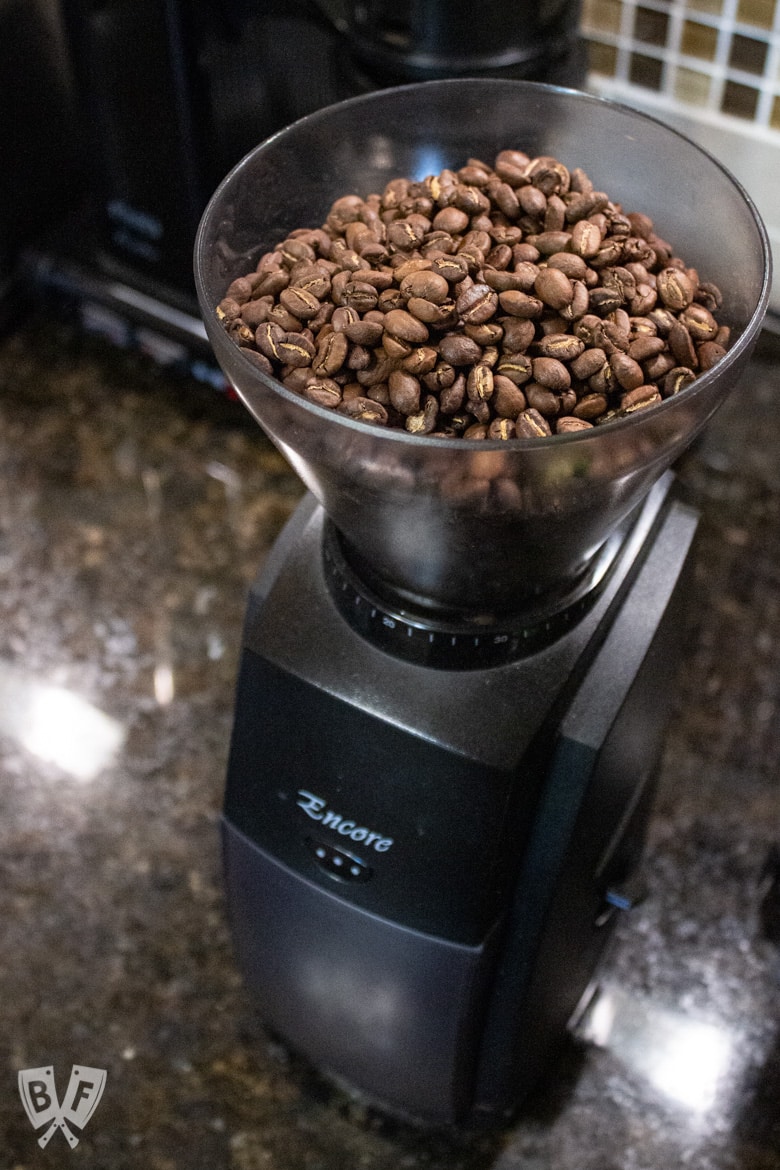
We have the Baratza Encore Conical Burr Coffee Grinder (pictured above) and it was a very solid investment.
In fact, when I see coffee shops doing pop-ups at local food events, they often have the very same one! It's pretty small, so it doesn't take up much real estate on our counter, and we use it every single day.
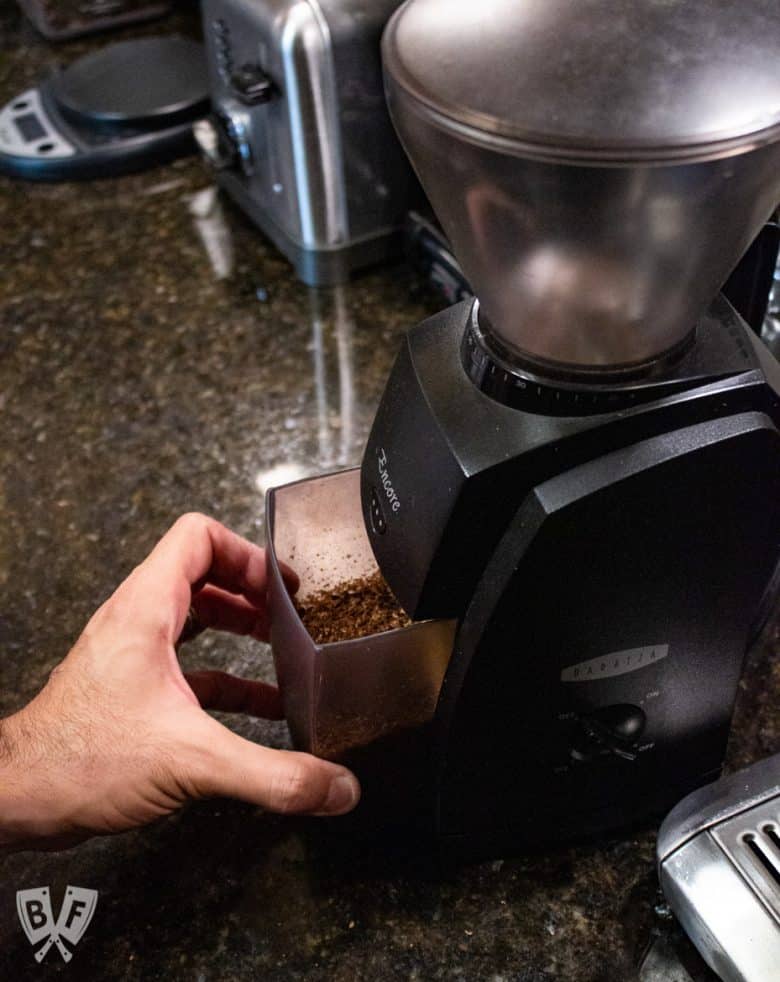
With a burr grinder, you can control the size of the grind with a dial. That means you can grind beans super fine for espresso, coarser for pour over and drip coffee, and very coarse for cold brew coffee.
And, as opposed to a blade grinder, with a burr grinder you'll get a consistent grind size for every single bean.
The Baratza has 40 different settings, and you can play around with them to see which works best for each type of coffee. And while it's a bit of an investment, it costs significantly less than a super high-end espresso machine. When I bought mine, it was a little over $100 and has been a workhorse in our tiny kitchen ever since.
We set the dial all the way to setting #40 for cold brew. My friend at the coffee shop advised us to grind it as coarsely as possible, and with a burr grinder, that task is super simple.
The most inexpensive type of home coffee grinder is a blade grinder. There are many different models to choose from. Prior to buying a burr grinder, we had a KitchenAid blade coffee grinder.
Blade grinders have a blade inside that spins around quickly to chop up the coffee beans. The longer you hold the button down, the finer the grind size. This method will get the job done, but the grind will be uneven.
If you're using a blade grinder, grind the beans for about 5-10 seconds for the first batch of cold brew.
It's all about experimentation when it comes to making this at home - you may need to make a few batches, tweaking your process a bit, until you perfect it for your particular home setup.
If you don't have a coffee grinder at home (and aren't looking to buy one), you can have it ground for you at your local coffee shop. Ask them to grind your beans coarse. You can also say that you want it ground for a French press, which also takes coarse grinds.
Lastly, if you buy your beans at a grocery store and don't have a grinder at home, they will often have a grinder there.
Note that there are a few things to look out for. Grocery stores will often have 2 grinders - one for flavored coffee, and one for non-flavored. Be sure to use the non-flavored one.
This should mean that nobody else used it to grind hazelnut coffee beans, which would leave oils in the machine that could impact the flavor of your coffee.
Select the coarsest setting on the grinder (it may be labeled "French press") and grind 'em up!
Remember, it's always best to use whole beans and to grind them right before you plan to brew your coffee. This goes for all coffee brewing methods, not just cold brew!
How long to brew cold brew coffee
The answer here varies depending on the type of beans you're using to brew your cold brew coffee.
Generally speaking, we brew light roast coffee beans for anywhere between 12 and 24 hours. If you're using a medium roast, you'll want to take them out between 12 and 18 hours or it could end up being too bitter.
When you go to drink your cold brew coffee, you'll add some cold water to it also, to dilute it a bit, so you can play around with your timing to see what works best to suit your taste preferences.
We tend to let our coffee steep a bit longer to make our cold brew on the strong side. That way we need to add more water to it when making our daily glasses of coffee. A more concentrated base means we use less of it and more water for each serving, making it last longer for us.
Be sure that the container you're brewing your cold brew in has a lid. We use an old stovetop pressure cooker to hold our coffee while it's brewing because it's airtight and we don't lose any of the liquid to evaporation. I'm all for using what you already have, especially if you don't have room for more kitchen gadgets.
Straining and storing cold brew coffee
After your cold brew is done steeping, you'll need to strain the ground coffee from the liquid. As I mentioned above, there are all sorts of tools and gadgets available to help you with this task.
Our setup is one that we came up with to use things that we already had on hand at home. We line a large, conical strainer with a hemp bag. The bag is to add a layer of finer filtration to the strainer. You could use a few layers of cheesecloth if you have that on hand.
Some people use coffee filters, but I find that those are super slow and a bit frustrating to work with for large quantities of coffee. If I had room, I'd buy something like this container with a built-in strainer.
Make sure you put a container underneath your strainer to actually catch the coffee you're straining! I can't tell you how many people I've seen forget to do this with cold brew or homemade stock and they're super disappointed when all their hard work goes right down the drain!
We put an 8-cup glass measuring cup underneath our strainer to catch the coffee. The pitcher that we store it in is really narrow on top, so this makes pouring it into the pitcher much easier.
Once it's all filtered and we've squeezed the remaining water from our coffee grinds, we seal the pitcher and stash it in the fridge.
Serving cold brew coffee
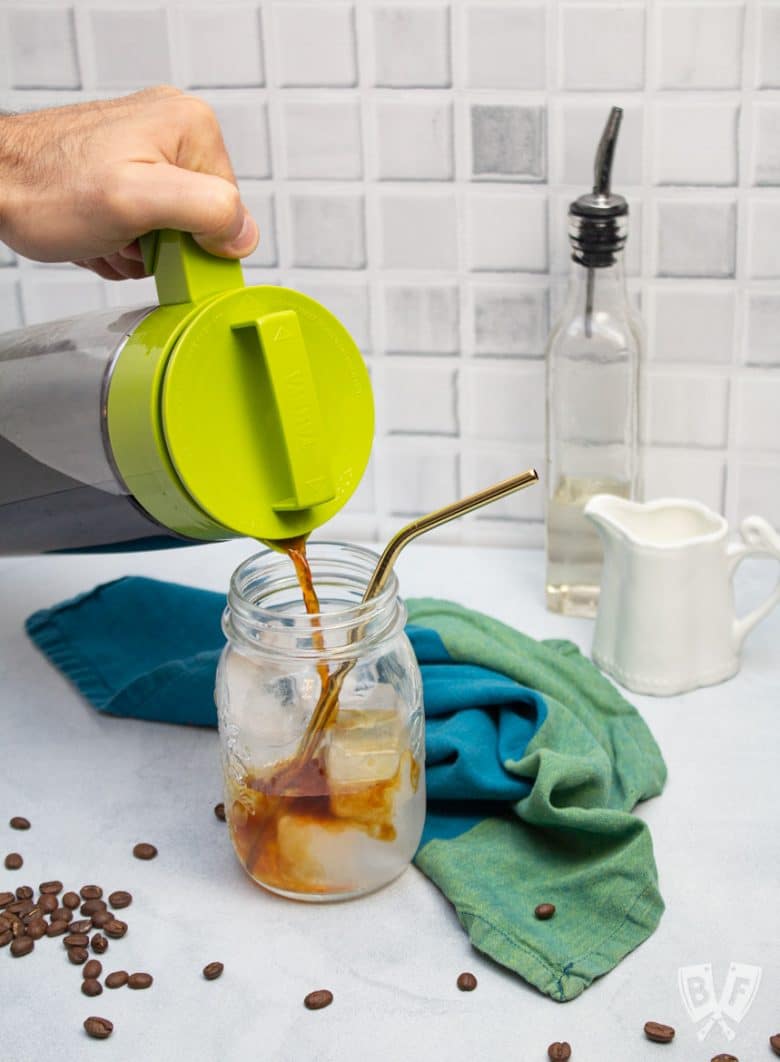
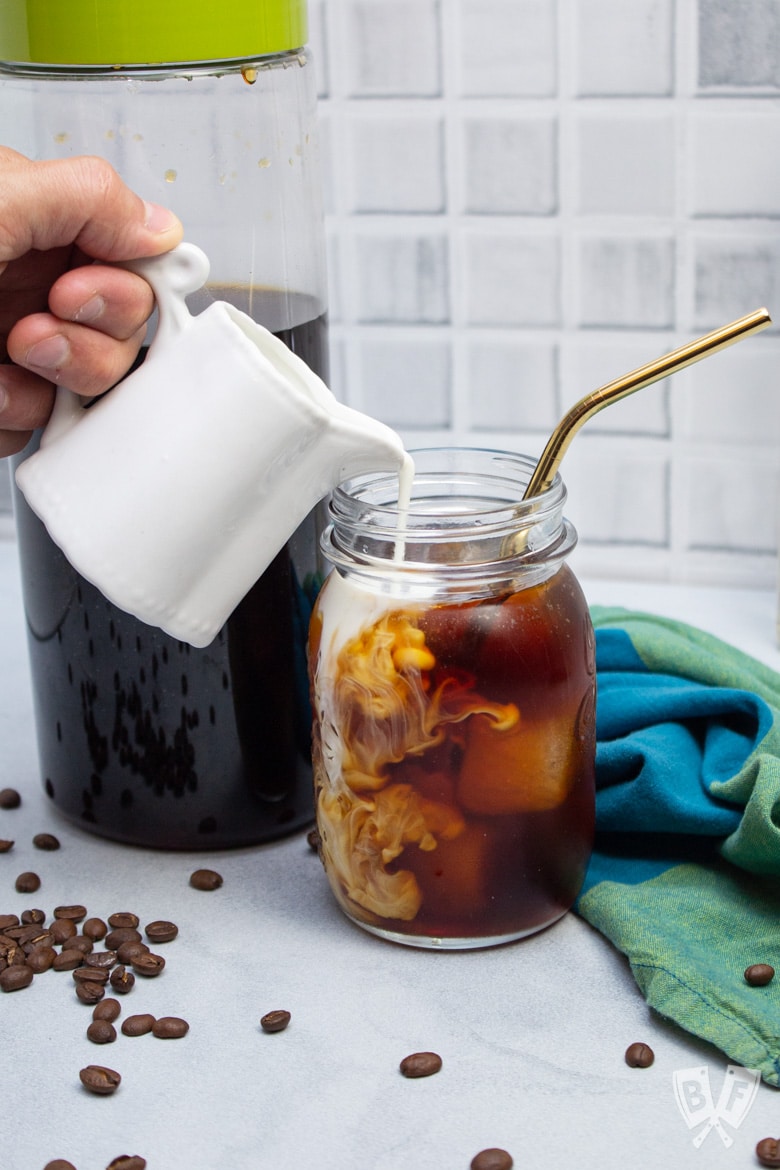
Grab a glass or mason jar, some ice cubes, and a metal straw if you're feelin' fancy and get ready to enjoy the fruits of your labor!
Each batch of cold brew may vary slightly. You'll need to dilute it anywhere from just a little bit to halfway with water.
Pour a splash of your cold brew over ice and taste it straight. From there you can determine how much water to add to get the strength to your liking. Generally speaking, we serve a shorter brew with ¾ coffee and ¼ water, and a longer brew ½ coffee ½ water.
When my husband commutes to work, he fills up his steel insulated coffee cup with cold brew and it stays cold for hours! He likes to savor it all morning until lunchtime, and it does a great job of keeping his beverage nicely chilled.
Can you heat up cold brew coffee?
Yes! And I highly recommend trying it!
I know it sounds counterintuitive since it's brewed cold. But if you gently heat it up on the stovetop in a small saucepan or Turkish coffee warmer, you're rewarded with a super smooth, piping hot cup of coffee.
Since the coffee beans are no longer in the coffee, there's no additional bitterness that will come from heating it up. Just the smooth, almost sweet coffee flavor of cold brew, just served warm.
I was pleasantly surprised at how different the flavor was versus a standard cup of hot coffee.
How to sweeten cold brew coffee
Cold brew coffee is what converted me into a black coffee drinker. I used to always add a little milk and sugar to my coffee. It was just too bitter without anything extra in my opinion.
But since we started with this brewing method, I was able to enjoy it without any additives. And after growing accustomed to drinking that coffee black, I was slowly able to wean myself off of adding any milk or sugar to my hot coffee, too.
If you're looking for something a little sweeter, you can most certainly jazz up your cold brew.
Since it's not w warm beverage, sugar won't dissolve easily into a glass of cold brew coffee. Your best bet is to use a liquid sweetener.
Our favorite liquid sweetener is simple syrup. We make a batch and store it in a bottle in our fridge and use it when needed. It's great for mixing cocktails, too!
To make simple syrup, just add equal parts granulated sugar and water to a saucepan and simmer it until the sugar dissolves. Let it cool completely, then store it in a closed container in the fridge.
We like storing simple syrup in a bottle with a pour spout to make using it easier.
You can also buy flavored syrups to add to your cold brew coffee if you want a little extra flavor boost. We usually keep a bottle of sugar-free vanilla syrup on hand for any low-carb/keto coffee and cocktail drinkers who happen to be hanging out.
The syrups are great for coffee, cocktails, and homemade soda!
Feeling suddenly parched? Here are some of our favorite beverage recipes:
- The Grace Lane Graduate
- Cucumber Moscow Mule
- Mom & Tot Creamsicle Smoothies
- Wine-Beyond-the-Wall (or, Wine-ter is Coming)
- Cucumber Gin Elderflower Smash
- DM Old Fashioned
- Carrot Apple Ginger Refresher
- The Aztec
- DM Espresso Martini
- Bourbon Rouge
- Chile Libre
- Ruby Radiance Juice
- DM Bloody Mary
- The Herbalist
- Hot Hot Hot Chocolate
- Rooster Shots
- Antipasto Bloody Mary
Doing some online shopping? Check out my Amazon Shop page for recommendations! I even have a whole section of my shop specifically dedicated to setting up a Home Café!
Recipe for Easy Homemade Cold Brew Coffee
If you try out this recipe, please come back and give it a star rating and comment below. I’d love to know what you think of it!
Print📖 Recipe

Easy Homemade Cold Brew Coffee
- Prep Time: 15 minutes
- Total Time: 12 hours 15 minutes
- Yield: about 2 quarts 1x
- Category: Beverage
- Method: No Cook
- Cuisine: American
Description
A perfectly brewed, refreshing cup of cold brew coffee is easy to make at home! This DIY guide will save you the time and expense of coffeehouse cold brew.
Ingredients
- 8 cups cold, filtered water
- 8 ounces whole coffee beans, preferably light or medium roast
Instructions
- Place water in a large container. Grind your coffee on the coarsest setting you can. On our burr grinder, that's setting #40.
- Gently stir the ground coffee into the water to make sure all of it is submerged. Cover the container and let sit at room temperature for 12-18 hours, up to 24 for light roast coffee.
- Strain the coffee into and store in a pitcher in the refrigerator.
- To serve, fill a glass with ice. Pour in the cold brew coffee and cold water to taste (see notes).
Notes
This recipe is easily scaled up or down - you just need 1 cup of water per 1 ounce of coffee beans.
You may need to grind your coffee beans in batches, depending on the size of your grinder and how many beans you're processing.
Each batch of cold brew may vary slightly. Taste it straight and from there determine how much water to add to get the strength to your liking. Generally speaking, we serve a shorter brew with ¾ coffee and ¼ water, and a longer brew ½ coffee ½ water.






Helen Thomas
Thanks for finally sharing! 😉 I can’t wait to make this. I have this grinder too and recently bought a pitcher but had yet to find something to make straining less of a headache so I totally added this one to my wishlist.
Ashley
Thanks so much for patiently waiting for this post, Helen! I wanted to be sure to answer allllll of the questions that could come up during the cold brew process. Straining does take a little time commitment sometimes. Let me know how the pitcher works out if you end up getting it!
Helen
Finally made this! I love the pitcher you recommended as it fits on my fridge door and my MIL bought me that strainer for Mother’s Day. I had a nut milk bag here already so I was all set! Super easy method with great results. I’ve been doing 4 oz coffee to 3 oz milk and splash of water and some liquid stevia.
Ashley
That’s awesome, Helen! I’m so glad it’s been working so well for you. And yesssss! I love that pitcher so, so much. It gets a LOT of use over here, that’s for sure. Thanks so much for taking the time to share your review!