This post may contain affiliate links, which won’t change your price but will share some commission.
My grandma's classic roll-out cookie recipe makes deliciously soft cookies that hold their shape well for decorating. A Christmas tradition!
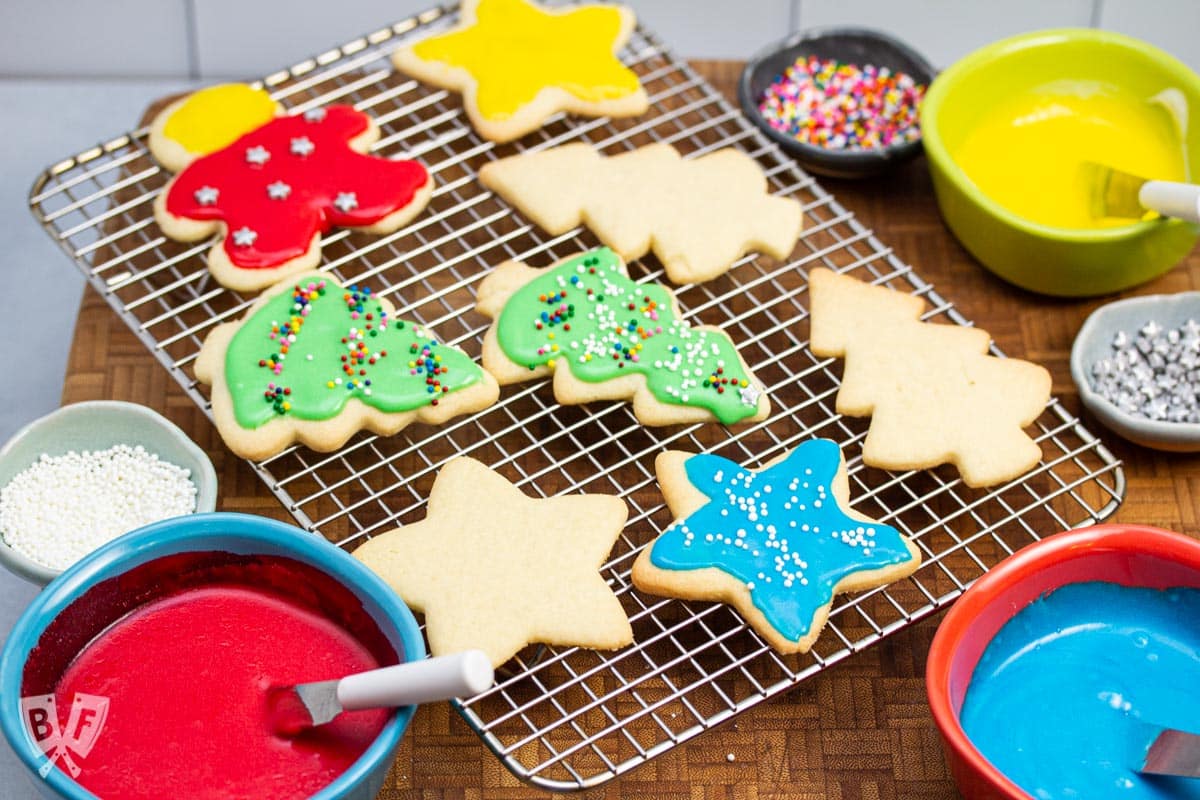
No holiday baking session is complete without a signature cookie. And when it comes to Christmas cookies, this cut out cookie recipe is the one that comes to mind.
Sure, my Italian ricotta cookies are a great tradition for the winter holidays. But if I'm thinking about my childhood favorite, these rolled-out sugar cookies reign supreme.
My grandma Helen used to bake these cookies every year for Christmas and would give boxes of them to all of my aunts, uncles, and cousins.
I loved helping her in out in her (also tiny, now that I think about it!) kitchen in Leo, Indiana. As an adult, I've been making these cookies for all sorts of holidays - Christmas, Easter, Valentine's Day, Halloween, and more!
I've got lots of tips and tricks for cookie baking success in the post below. Grab your favorite cookie cutters and let's get baking!
Jump To:
- 🧡 Why we love this recipe
- 📝 Ingredients
- 🔎 Ingredient spotlight: cream of tartar
- 🎬 Video tutorial
- ✅ How to make this recipe
- 📌 Tips
- 🥣 How to decorate sugar cookies
- 🔪 Equipment
- 🥡 Storage recommendations
- 📖 Recipe
🧡 Why we love this recipe
- They're a true classic cookie, perfect for any occasion.
- You can re-roll the scraps of dough after cutting out your cookies, eliminating any food waste.
- These cookies are soft and tender and hold their shape very well!
- The icing is simple to put together and absolutely delicious.
- Cut out cookies are great for cookie decorating parties, and kids have a blast helping to make and decorate them.
- Let's face it, grandma's recipes are always the best! In addition to these cookies, my grandma made some fabulous devilied eggs, Dutch apple pie, and my grandpa made the best beef stew.
📝 Ingredients
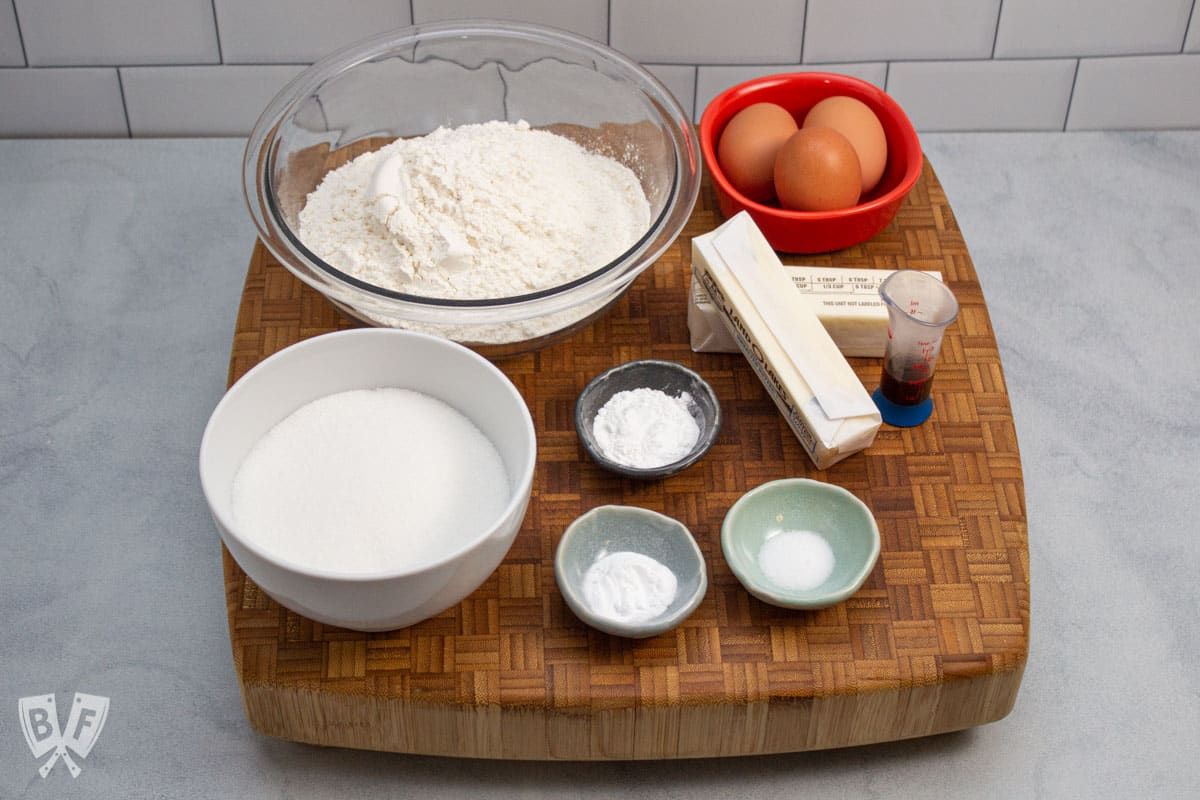
Here's everything you need to make my grandma's cookie recipe (see recipe card below for ingredient amounts and full directions):
- Unsalted butter - this goes both into the cookie dough and the icing. It needs to be softened, so you'll need to plan ahead just a bit.
- Granulated sugar
- Vanilla extract
- Eggs
- All-purpose flour
- Cream of tartar
- Baking soda
- Fine-grain salt
- Powdered sugar
- Milk
- Food coloring
- Sprinkles (optional, but encouraged!)
🔎 Ingredient Spotlight: Cream of Tartar
This recipe uses cream of tartar which can be found in your grocery store located in the baking aisle.
Cream of tartar is one of those ingredients that tends to confuse people. The name doesn't sound like something you'd necessarily find in baked goods.
There are several recipes that I make that rely on cream of tartar as an ingredient (like my grandma's cut out Christmas cookies, double chocolate chip cookies with vanilla icing, classic snickerdoodle cookies, cranberry orange snickerdoodles, or chai spiced snickerdoodle cookies).
You can also use cream of tartar to turn baking soda into baking powder. This can come in handy if you find yourself without any baking powder on hand.
If you have baking soda and cream of tartar, simply mix them together at a ratio of 2 parts cream of tartar to 1 part baking soda (and optionally, add 1 part cornstarch). This will make an acceptable substitute for standard double-acting baking powder in most cases.
You can find more information about cream of tartar in this ingredient guide from Simply Recipes.
✅ How to make this recipe
These roll out cookies come together really easily. You'll need to plan ahead a bit when making them since there's some chilling time for the dough and cooling time for the cookies before you decorate them.
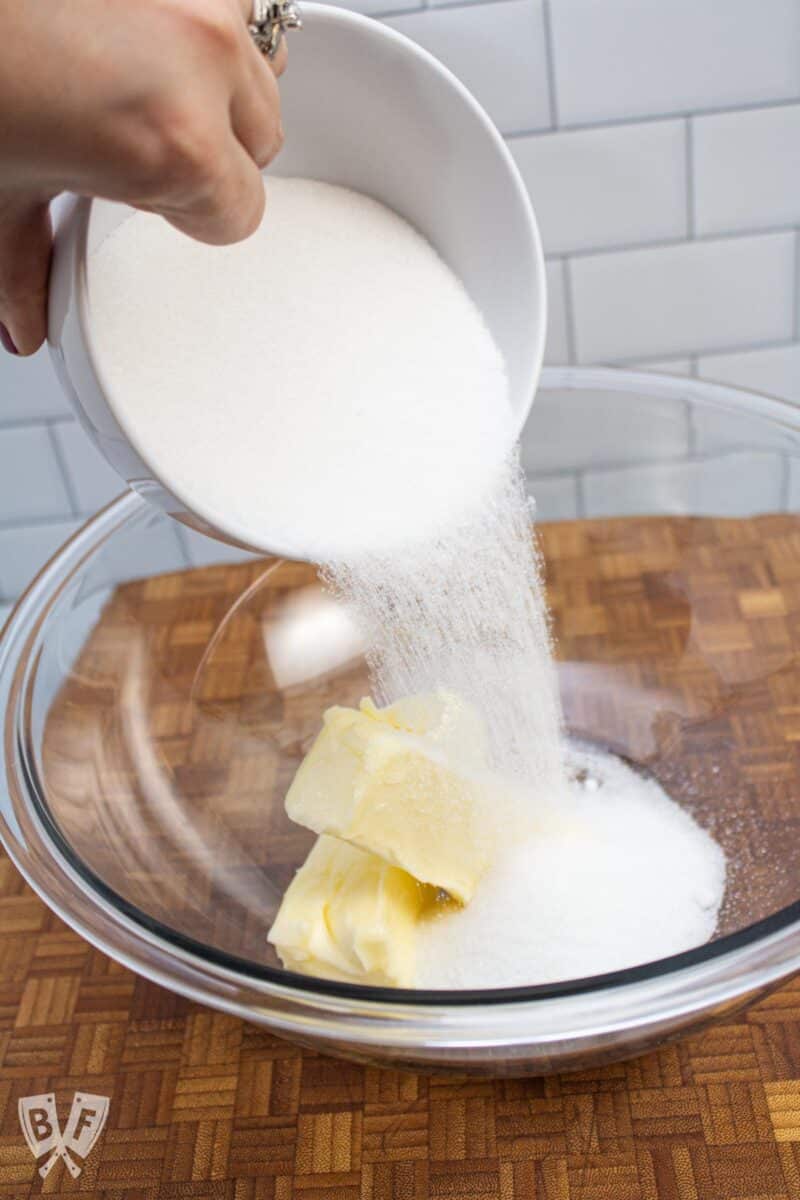
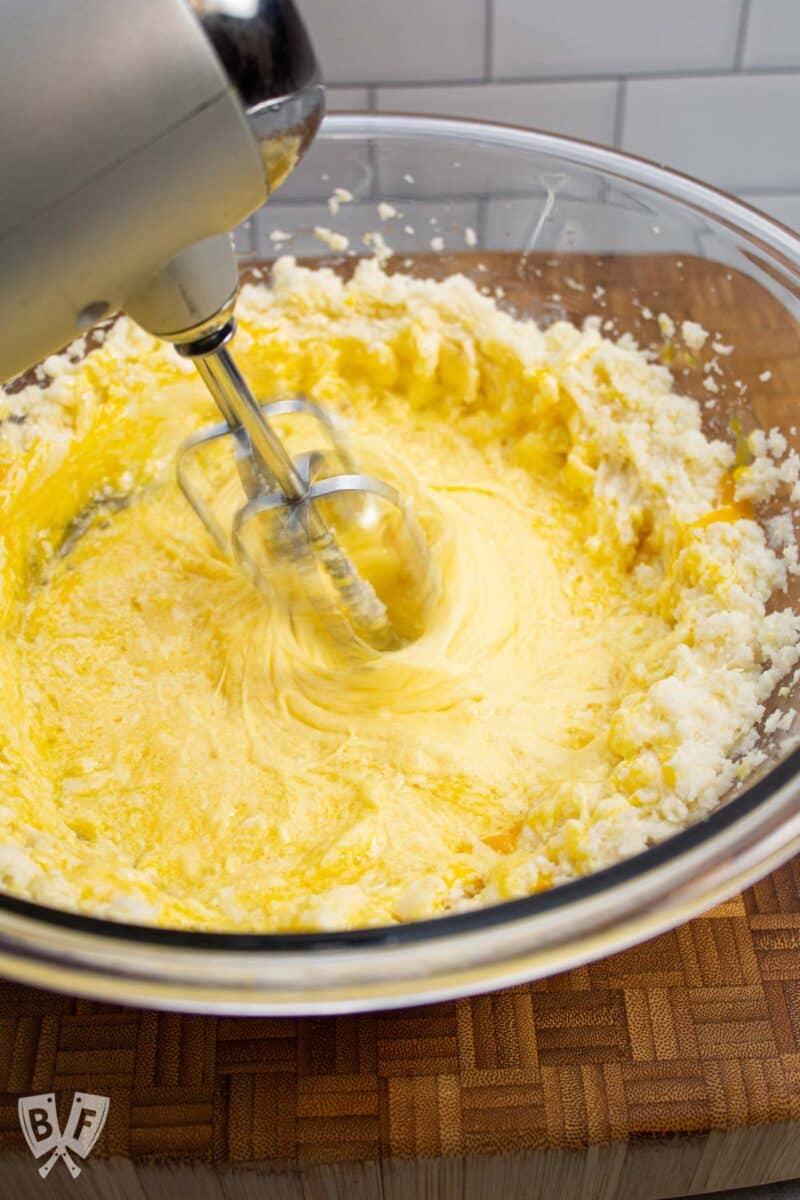
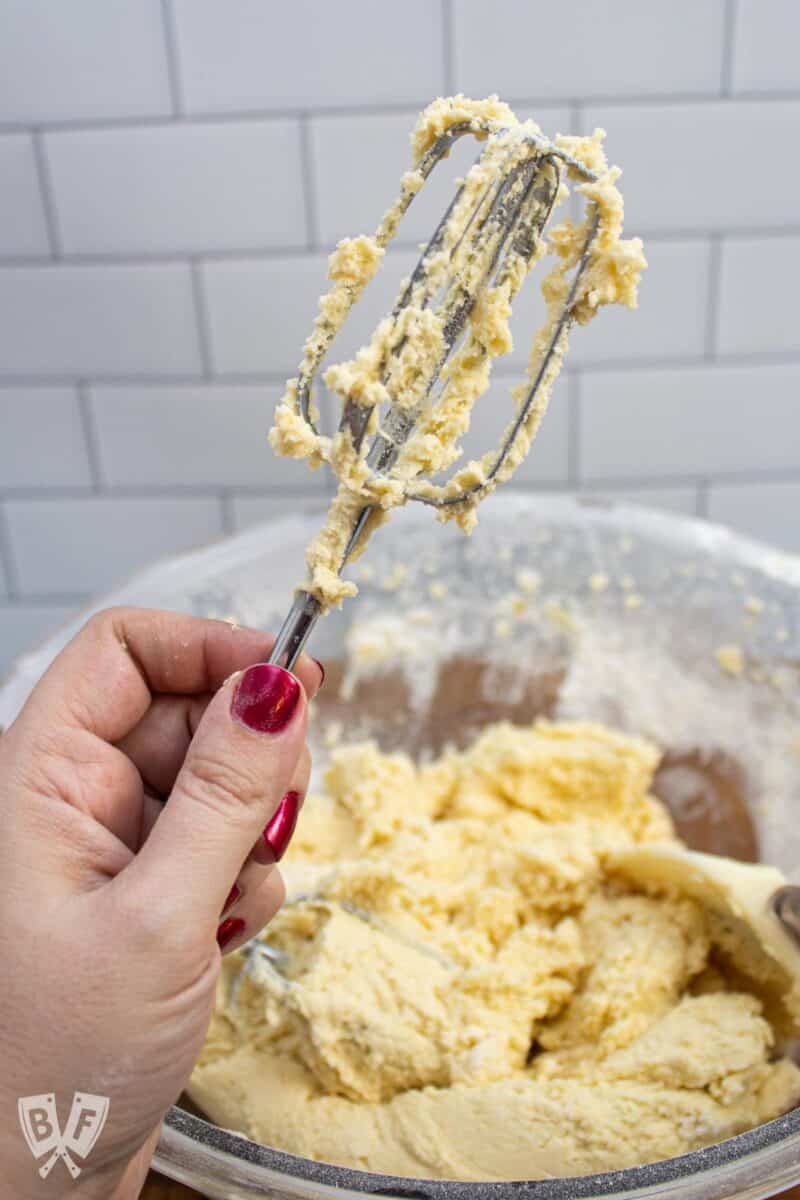
- Cream together softened butter, sugar, and vanilla in a large bowl with an electric mixer.
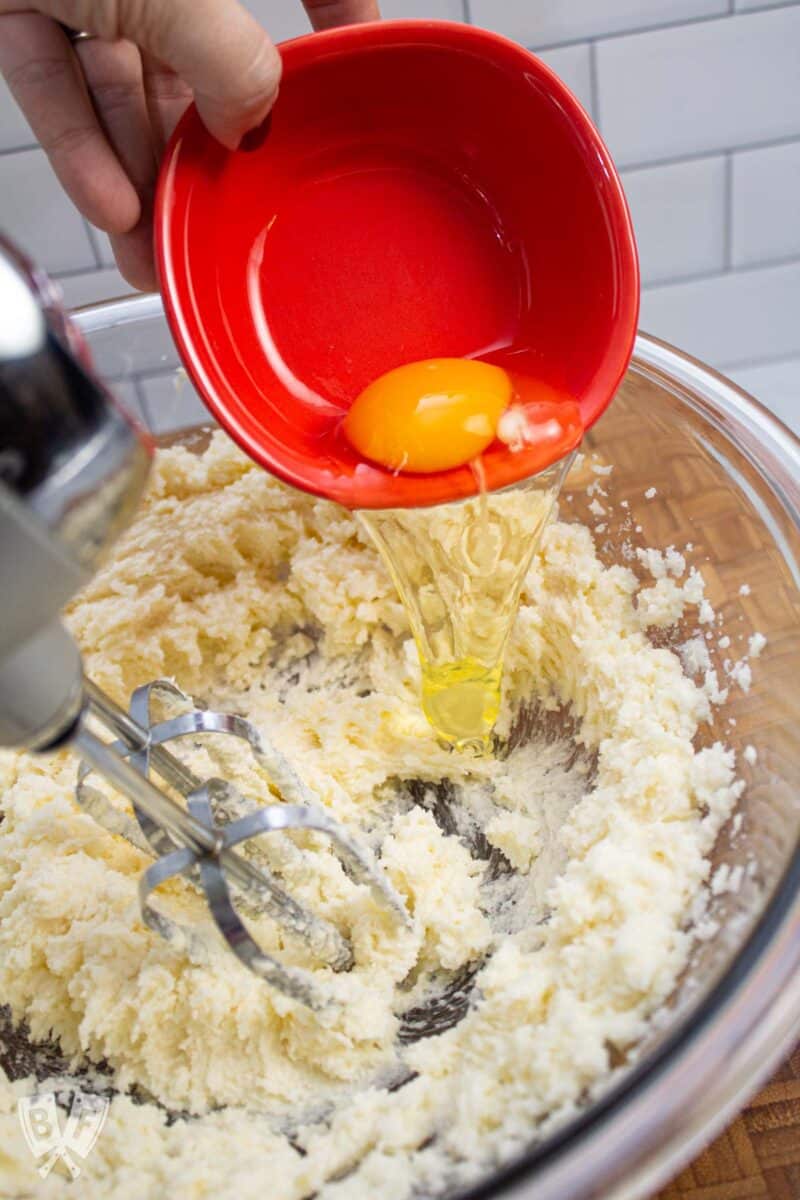
- Add eggs and beat until light and fluffy.
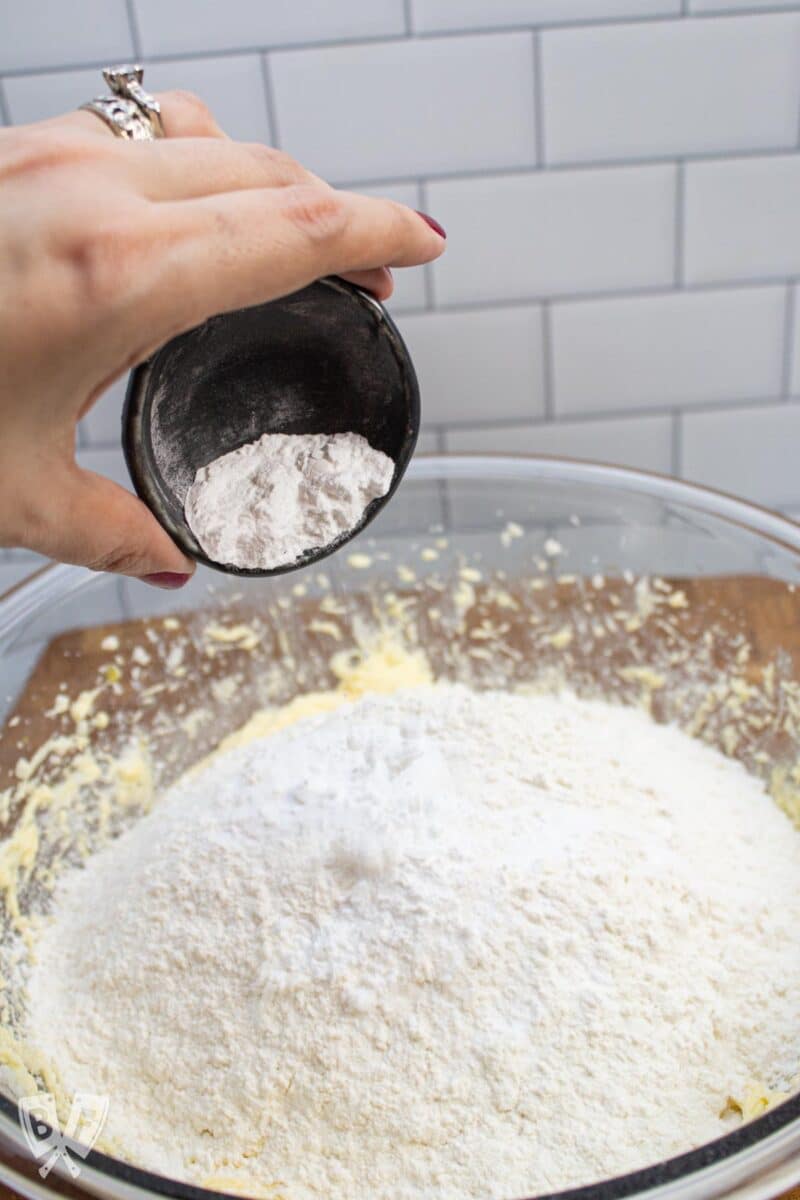
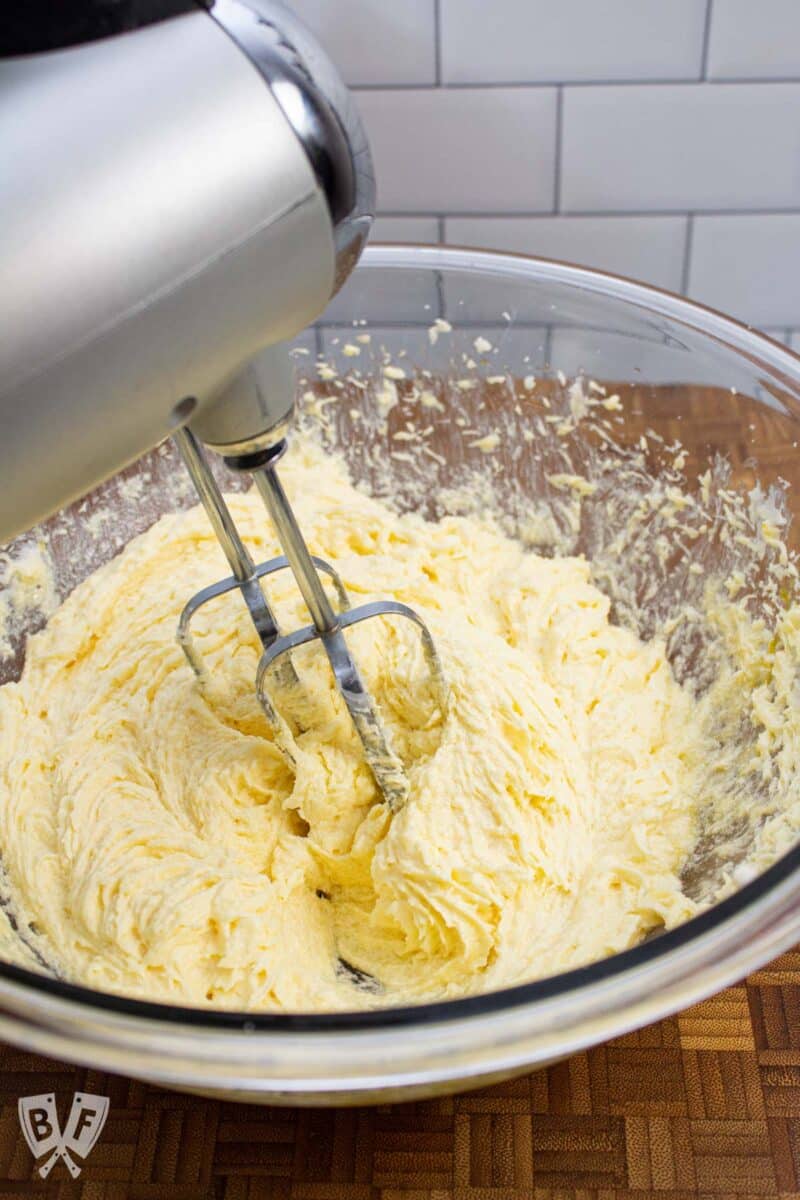
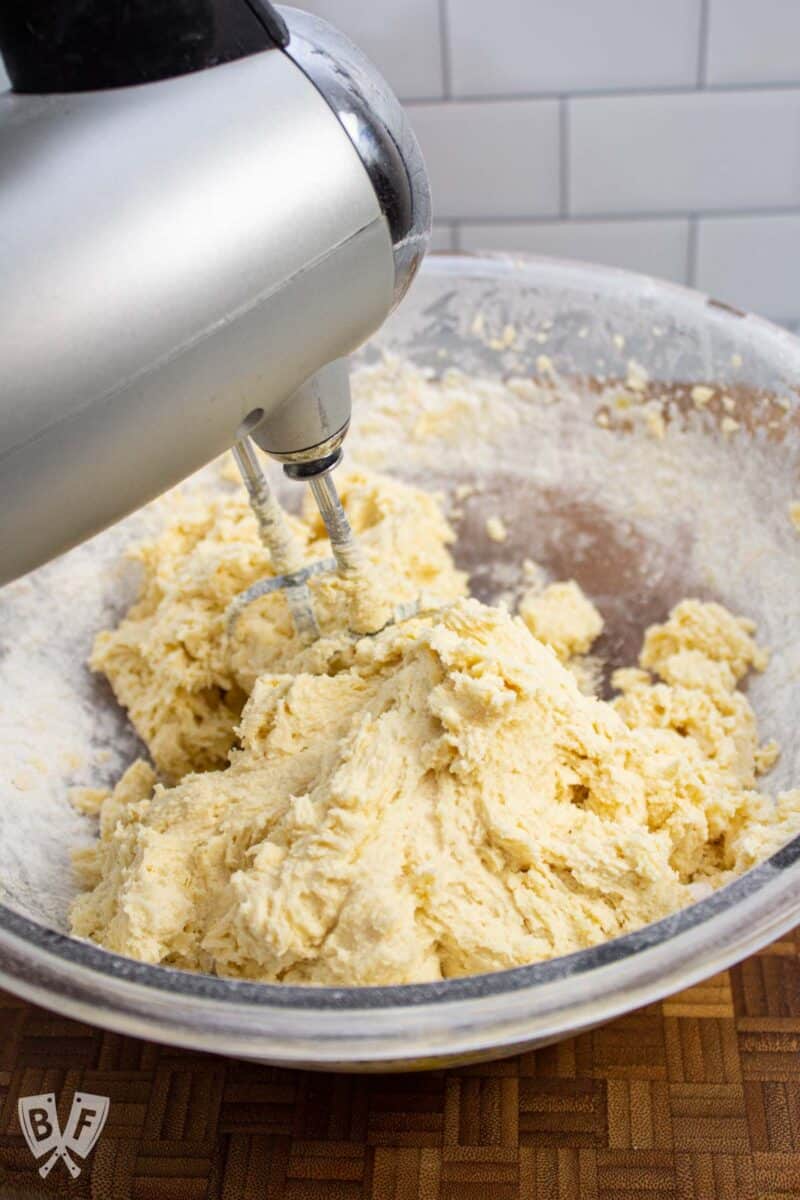
- Add the dry ingredients and beat until combined.
- Divide the dough in half and refrigerate for an hour (you can shortcut this a bit by using the freezer - see tips below).
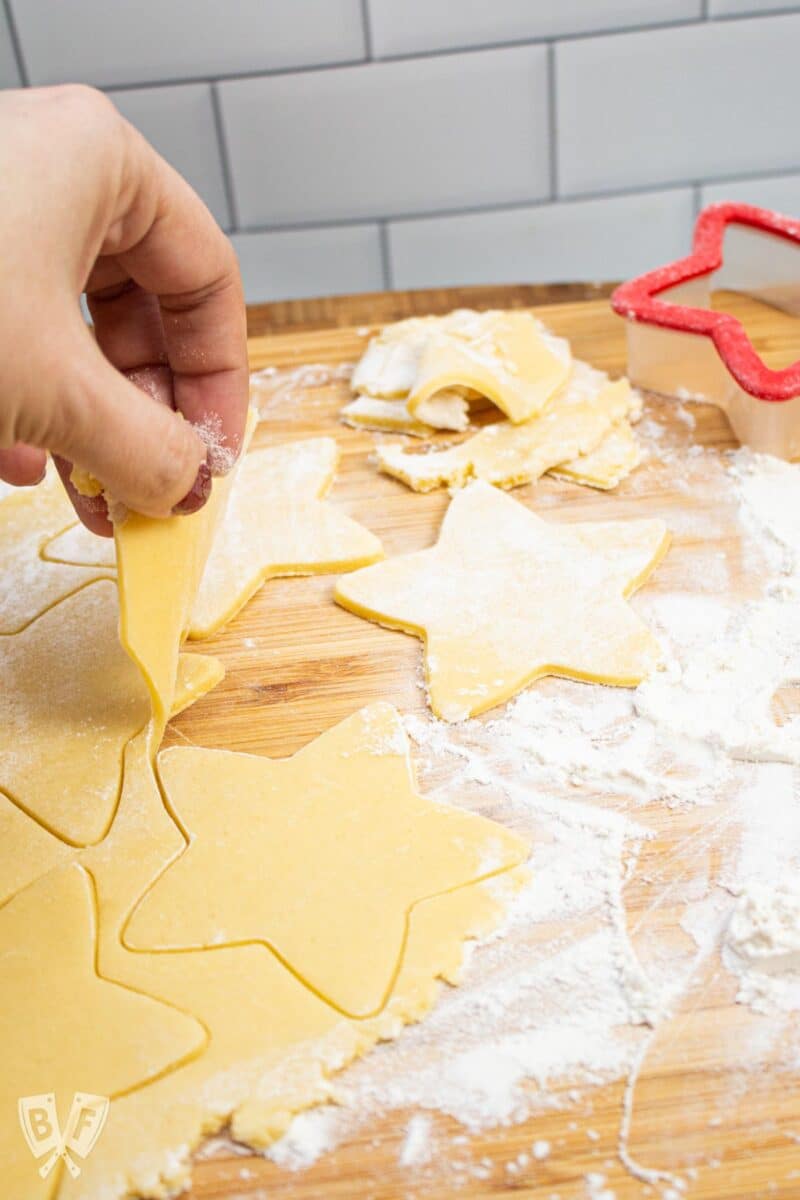
- Roll out the cookie dough on a well-floured surface. Cut with your favorite festive cookie cutters. You can also use a glass, turned upside-down, for round cookies.
- Bake at 375°F for 8 minutes, then transfer to wire racks to cool.
- Mix the icing ingredients together in a large bowl, then divide into smaller bowls and tint with food coloring.
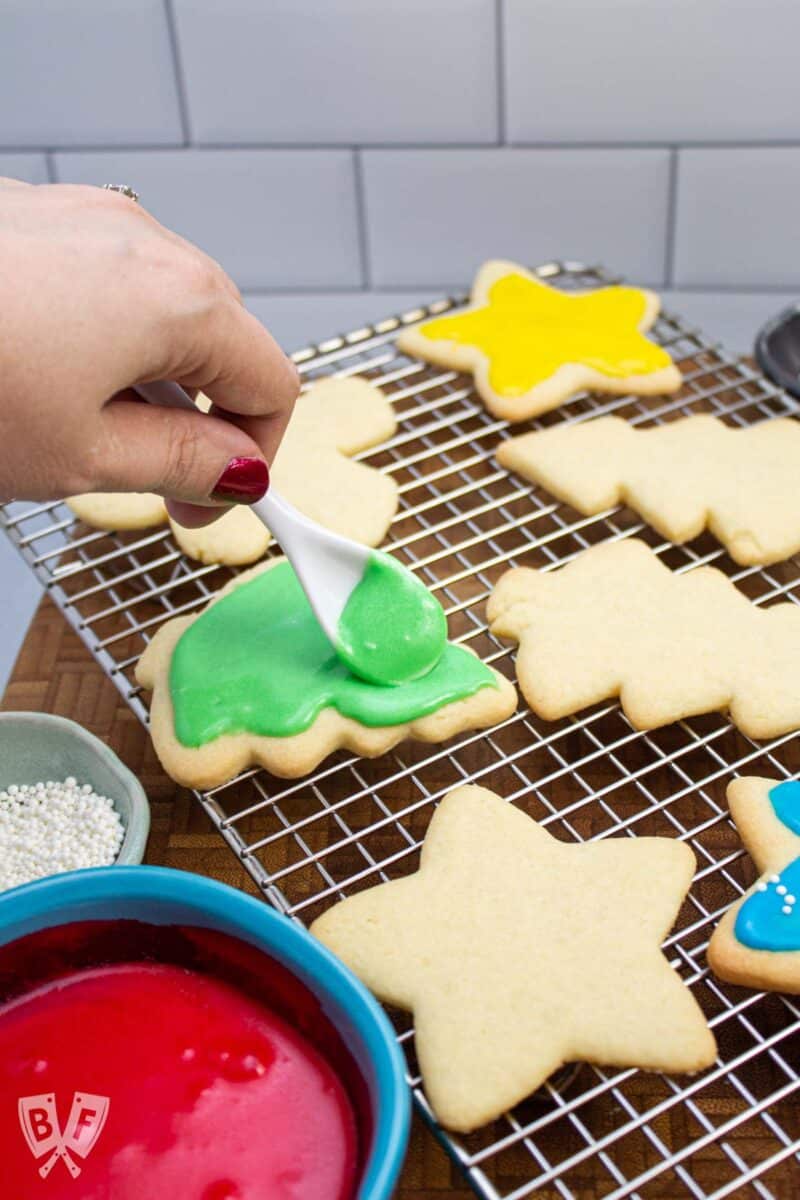
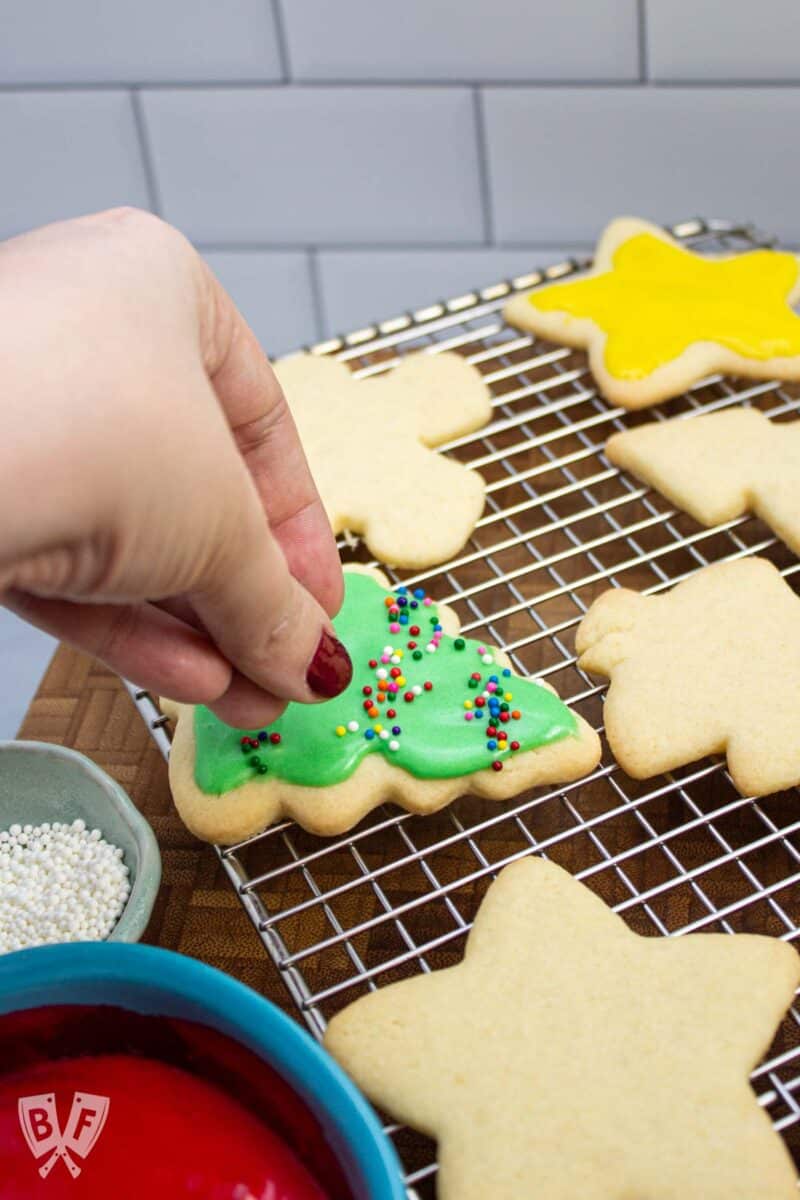
- Decorate the cooled cookies with icing and sprinkles as desired.
See recipe card below for full instructions.
📌 Tips
Here are a few tips that will help you have success when baking this chewy sugar cookie recipe.
- Roll your cookie dough to an even thickness. I usually go around ⅛-inch thick. Even thickness means that they'll all bake at the same rate.
- Be sure to chill your cookie dough. You should let it chill in the refrigerator for an hour or longer for the best results. I'll be the first to admit that I get a little impatient waiting for cookie dough to chill, so I will say that you can absolutely shortcut this process a bit. I like to divide my dough in half, put them in containers with lids. Put one container in the fridge and one in the freezer. Instead of waiting an hour, I'll wait just 30 minutes (and clean up the dough-making mess), preheat the oven, and then start rolling out the dough that was in the freezer. By the time you've rolled, cut, and baked those cookies, the refrigerated dough will be chilled plenty. You can read more about the benefits of (and the science behind!) chilling cookie dough in this article from King Arthur Baking.
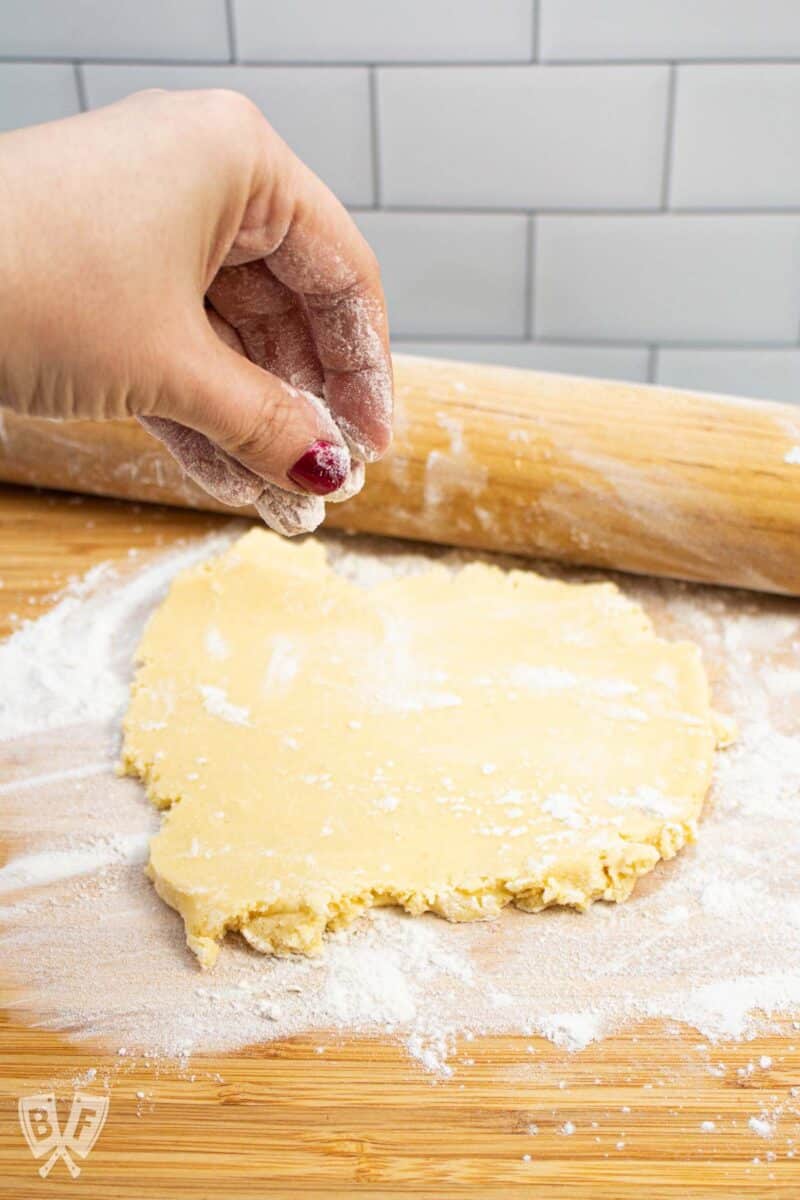
- Keep sprinkling flour onto your work surface, rolling pin, and cookie dough while you're rolling it out to help keep it from sticking.
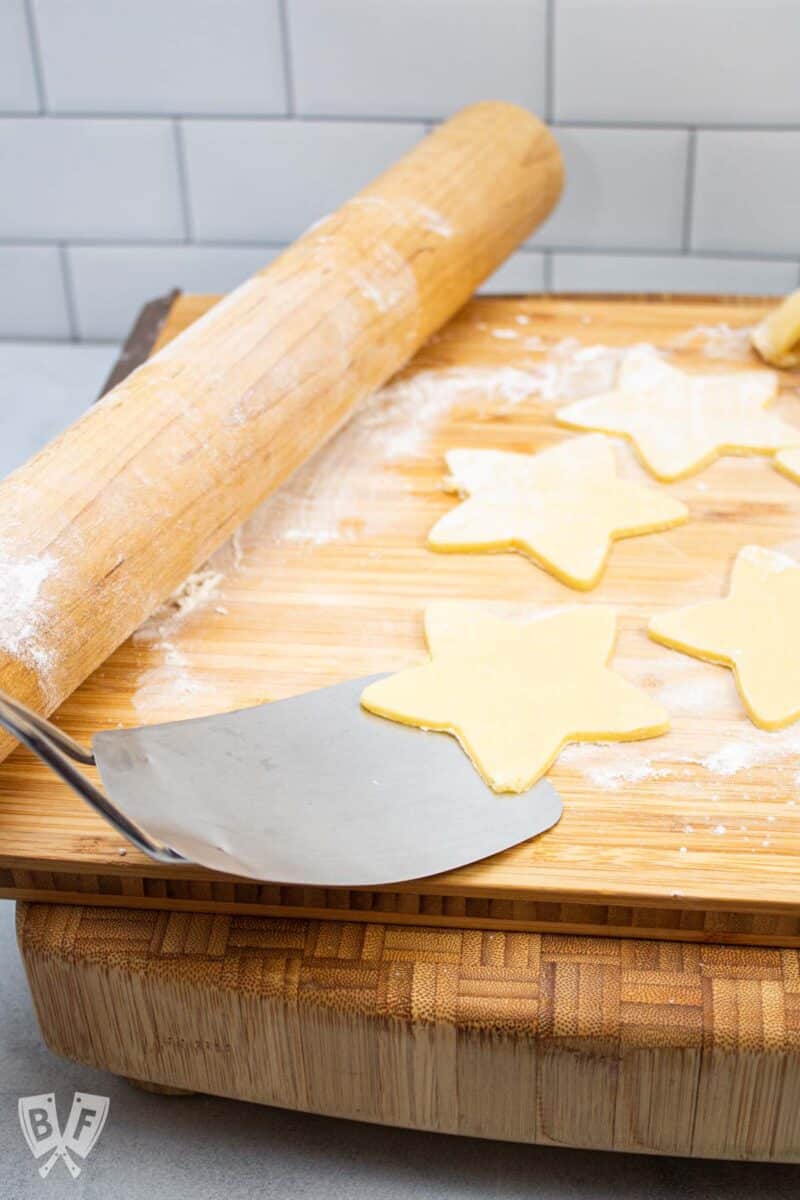
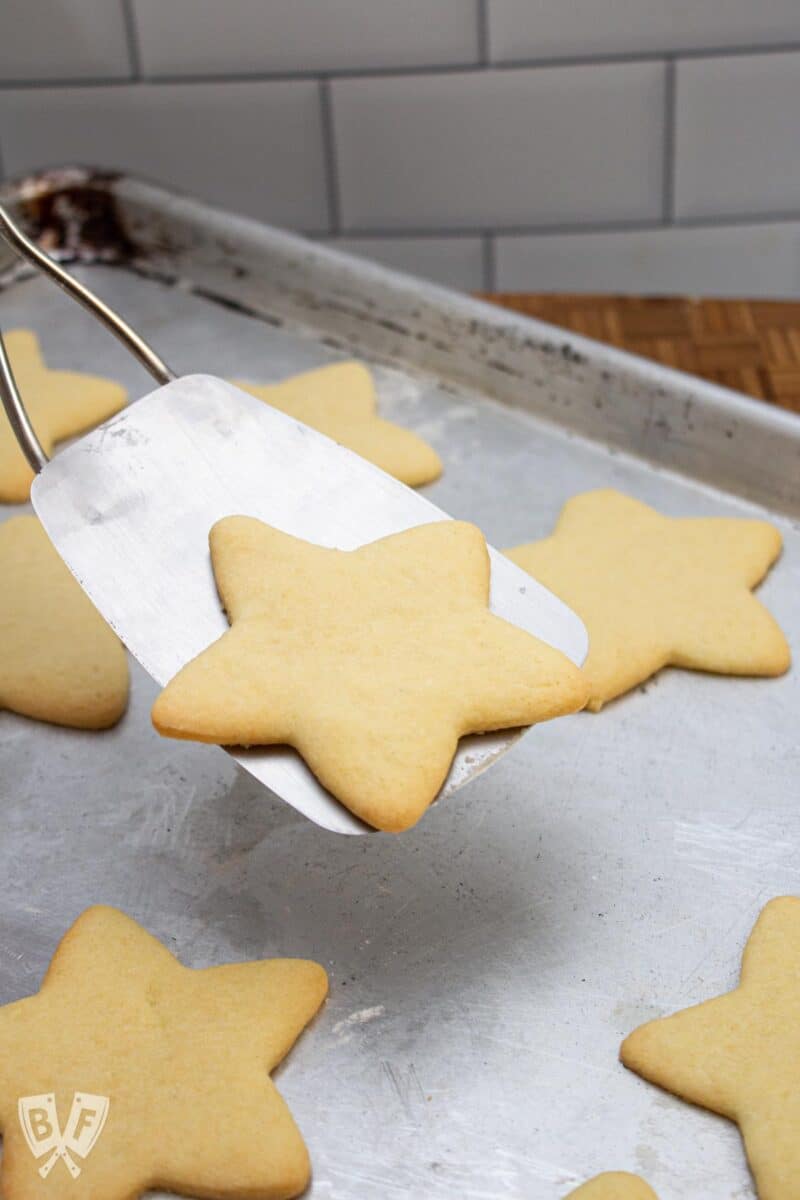
- Use a thin metal spatula to help transfer your cut out cookie dough shapes from your work surface to the baking sheet.
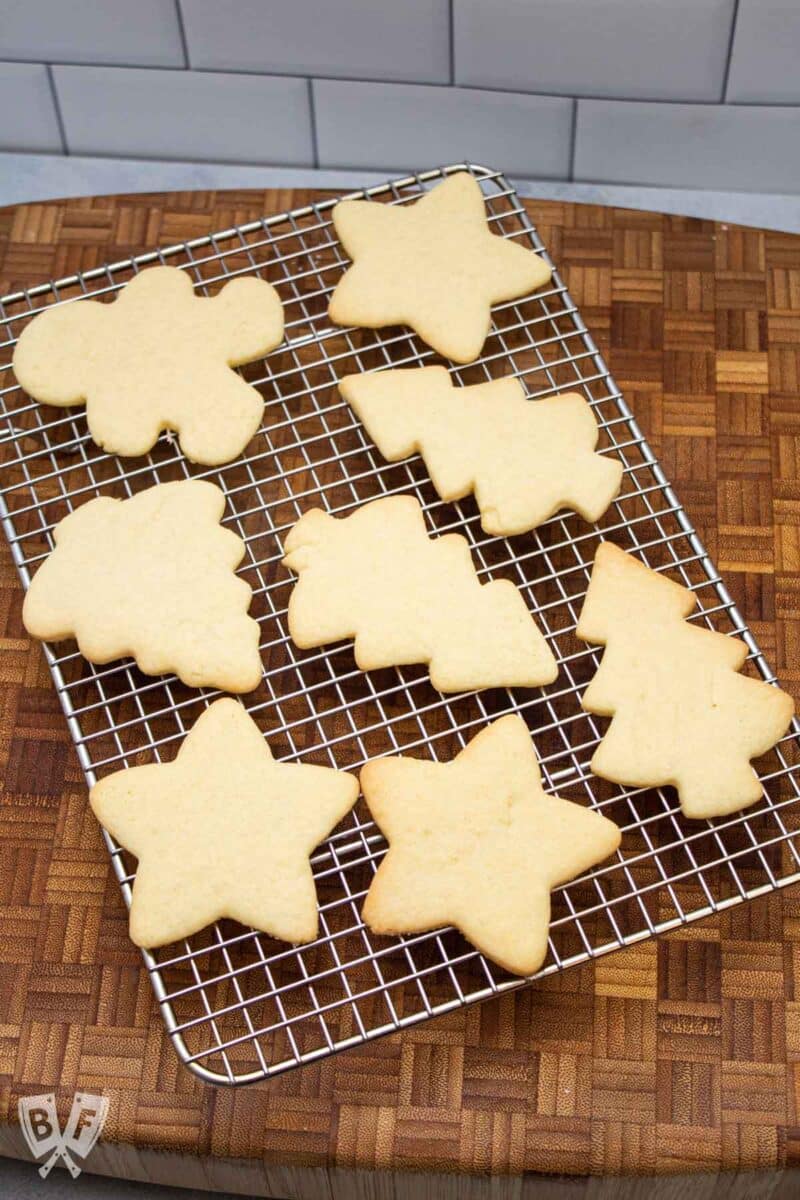
- Let your cookies fully cool before icing. If they're still warm, the icing will melt off.
- Use a fork when making the icing. I find it really helps to mix the ingredients together more easily to use the tines to smash the softened butter and mix it all together.
- If your icing is too thick, add a splash of milk and stir it in to thin it out a bit.
- If your icing is too thin, add more powdered sugar and stir it in.
- Let your decorated cookies sit until the icing has hardened before storing them in airtight containers.
🥣 How to decorate sugar cookies
For these cut out sugar cookies, I like to keep the decorating fairly simple and approachable. This makes the process less intimidating and it's fun for kids and grown-ups alike.
If you're looking to get into some more complex decorating, Wilton has a royal icing video tutorial, and Sally's Baking Addiction has some fun options that involve piping bags and piping tips.
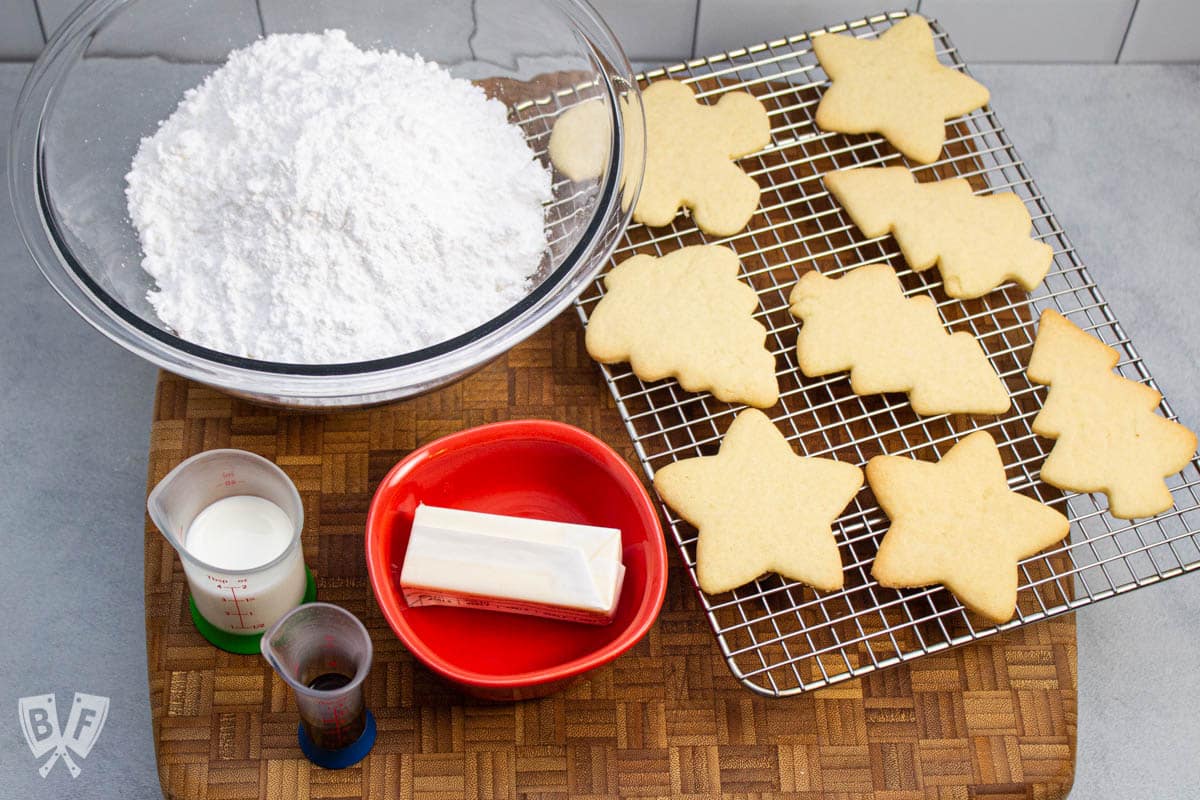
I like to keep it pretty simple and have a few bowls of colored icing on the table. There are a few different ways to color your icing - I most often use liquid food coloring or gel food coloring.
Liquid food coloring can sometimes thin your icing out, depending on how much you use. More drops = more vibrant color.
I find this especially impacts red food coloring, as you'll need a lot of it in order to get a deep red, not pink.
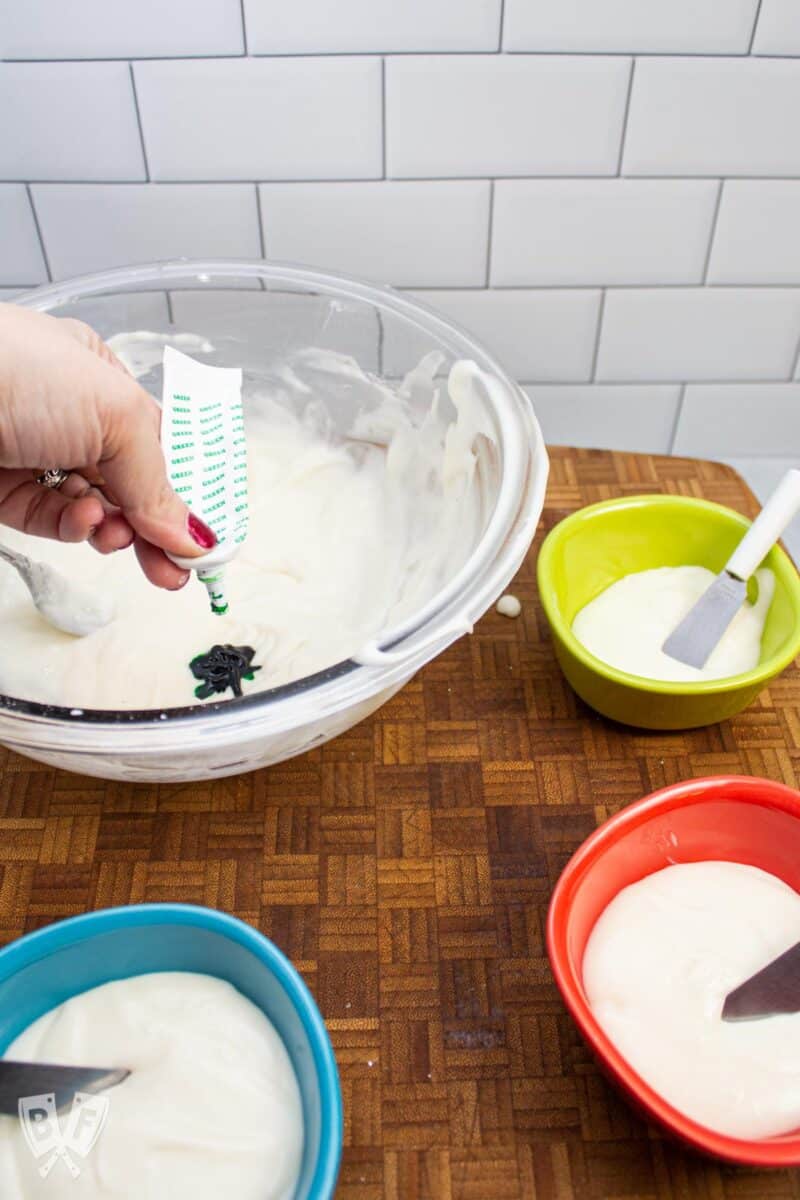
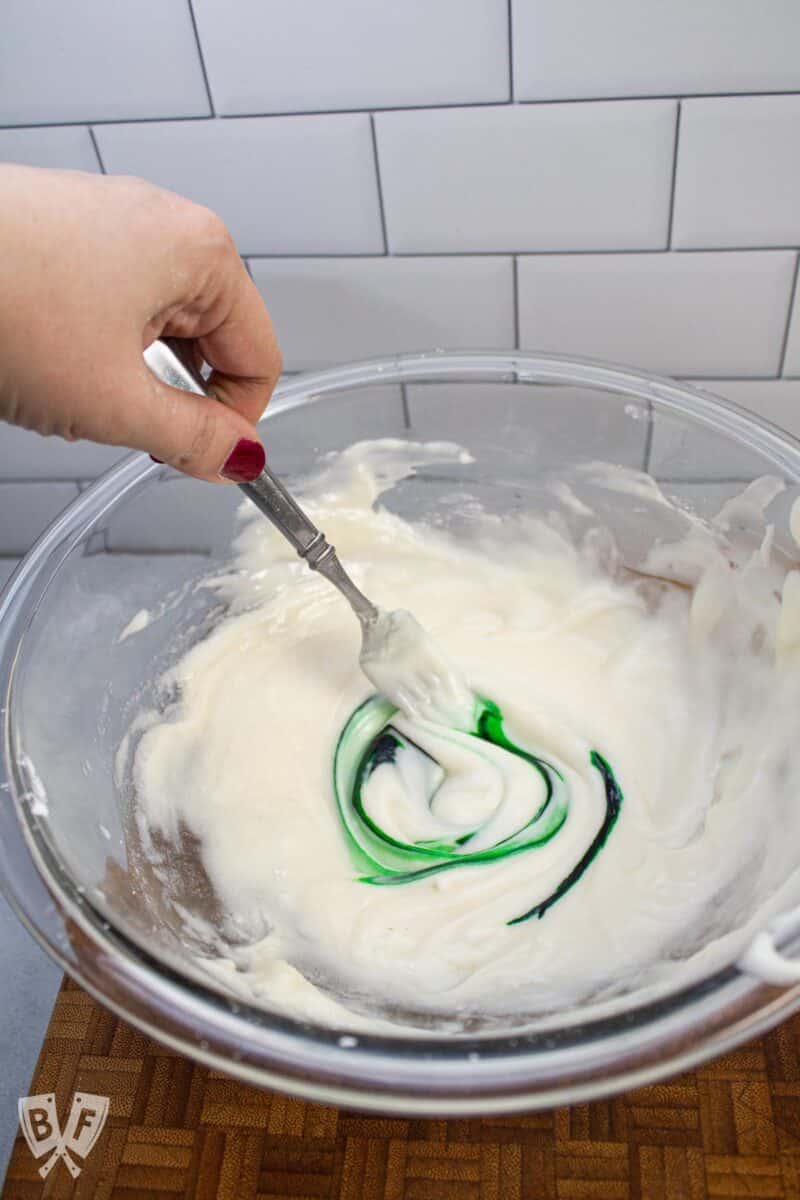
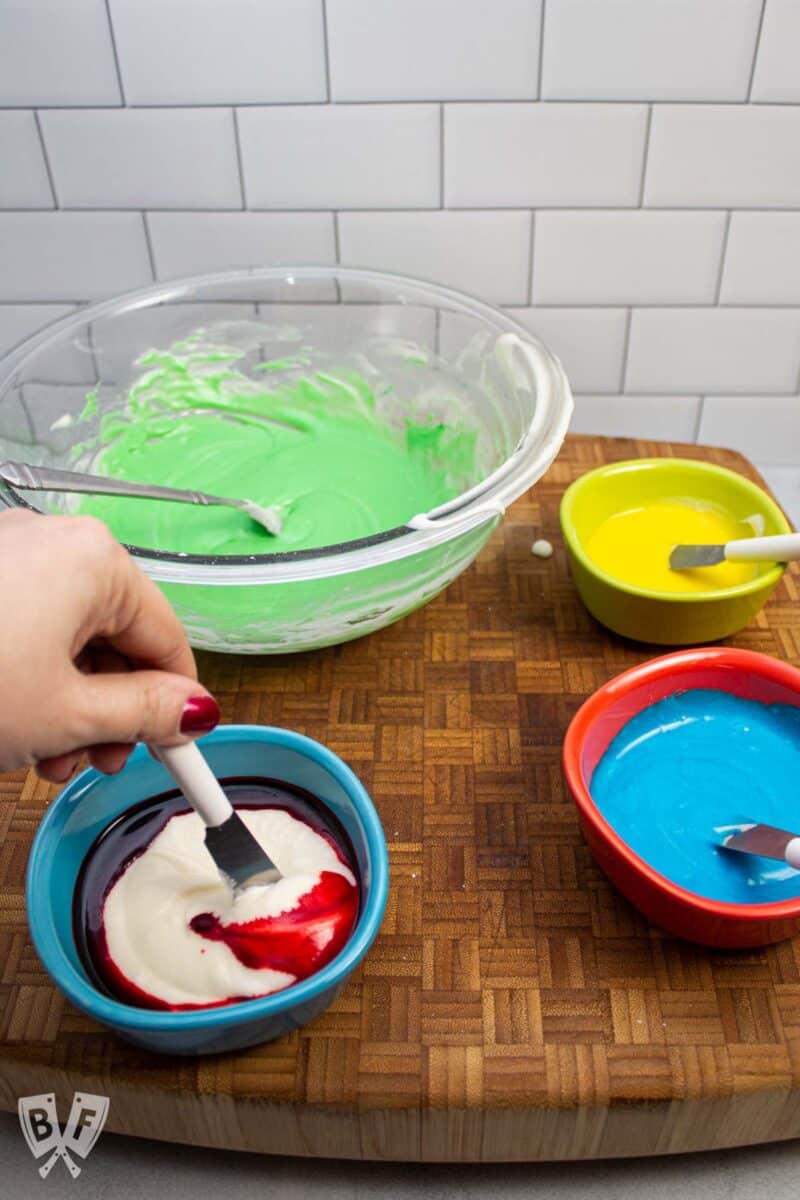
Gel food coloring is more pigmented and doesn't thin out the icing consistency as much as the liquid-style. There is also powdered food coloring pigment that I haven't personally worked with, but I've heard great things about it.
In addition to icing, an assortment of sprinkles is always fun. I like to include a mix of multi-colored and single-colored options, as well as different shapes/sizes of sprinkles, and sanding sugar.
Have lots of little utensils handy for decorating! We like using demitasse spoons, small butter knives, and toothpicks (or even cocktail picks) for tiny details.
Holiday baking is all about having fun. In my experience, you need to let go of any perfectionist tendencies and just enjoy the process.
This is especially true if you're decorating with kids. We want this to be laid back and fun, right?

🔪 Equipment
You don't need a lot of fancy equipment to make this recipe, but a few things do come in very handy.
- Measuring cups and measuring spoons
- Mixing bowls
- A handheld electric mixer or a stand mixer to really cream the ingredients together.
- Silicone spatula - for scraping the sides of the mixing bowls.
- Rolling pin - if you don't have one, you can use a tall glass or even a wine bottle.
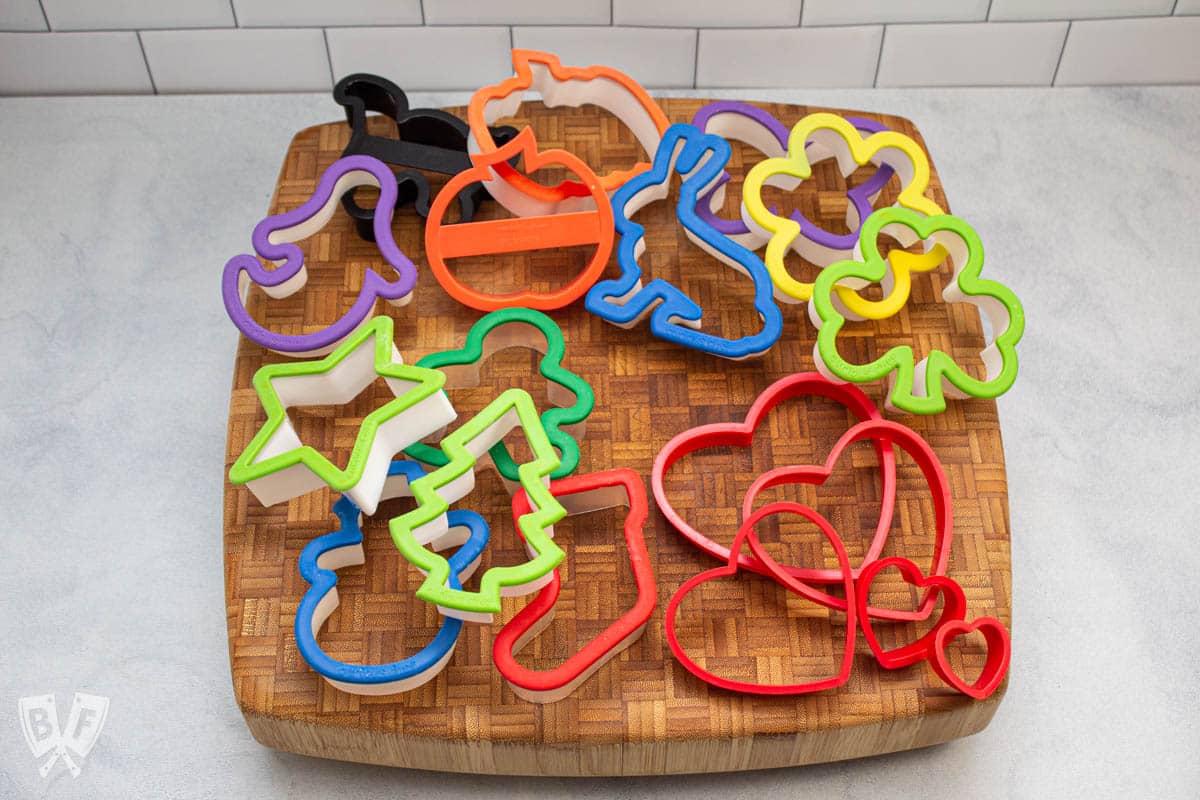
- Cookie cutters - you can use holiday-specific ones, or simply turn a glass or mug upside-down and use that to cut circular cookie shapes out of your dough.
- Baking sheets
- Thin metal spatula - for gently transferring cookies from the baking sheets to cool.
- Wire cooling racks - for helping the air circulate around your cookies while they cool. I bought a collapsible cooling rack recently and have been LOVING it. It saves counter space while cooling multiple batches of items and collapses nice and small for storage when it's not in use.


🥡 Storage recommendations
Once the decorated cookies are fully cooled and the icing has set, store them in an airtight container on the counter. They'll keep for quite a few days.
If you're stacking layers of decorated cookies and you want to preserve the designs, place a layer of parchment paper or wax paper in between each layer of cookies to help protect them.
These are great to give to friends, family, and neighbors as gifts. There are lots of great cookie tin options out there. You can find them in many grocery stores, dollar stores, and online.
Still hungry? You may also like...
Doing some online shopping? Check out my Amazon shop page for recommendations!
📖 Recipe

Grandma's Christmas Cookies - My Family's Holiday Tradition
- Prep Time: 75 minutes
- Cook Time: 8 minutes
- Total Time: 1 hour 40 minutes
- Yield: About 6 dozen cookies 1x
- Category: Cookie
- Method: Baking
- Cuisine: American
Description
My grandma's classic roll-out cookie recipe makes deliciously soft cookies that hold their shape well for decorating. A Christmas tradition!
Ingredients
For Cookies:
- 1 cup unsalted butter, softened
- 1 ½ cups granulated sugar
- 1 ½ teaspoons vanilla extract
- 3 large eggs
- 3 ½ cups all-purpose flour
- 2 teaspoons cream of tartar
- 1 teaspoon baking soda
- ½ teaspoon fine-grain salt
For Icing:
- ⅓ cup unsalted butter, softened
- 3 cups powdered sugar
- 2 tablespoons milk
- 1 ½ teaspoons vanilla extract
For Decorating:
- Food coloring
- Sprinkles
Instructions
- For Cookies: In a large bowl with a handheld electric mixer (or use a stand mixer), cream together 1 cup softened butter, 1 ½ cups sugar and 1 ½ teaspoons vanilla. Scrape down the edges of the bowl, add 3 eggs, and beat until light and fluffy.
- Add 3 ½ cups flour, 2 teaspoons cream of tartar, 1 teaspoon baking soda, and ½ teaspoon salt. Beat until combined.
- Divide dough in half and place each in a sealed container, or wrap in plastic wrap. Chill for at least 1 hour (see shortcut tips in my post above).
- Preheat oven to 375°F.
- Take 1 portion of dough out of the refrigerator. On a well floured surface, roll out to about ⅛-inch thick. Cut into shapes using cookie cutters, and place directly onto baking sheets, leaving a few inches in between each cookie.
- Bake in preheated oven for 8 minutes. Using a thin spatula, gently transfer the cookies to a wire rack to fully cool before decorating.
- For Icing: In a large bowl, stir together 3 cups powdered sugar, ⅓ cup softened butter, 2 tablespoons milk, and ½ teaspoon vanilla extract until smooth (a fork works well for this). Divide into bowls and tint with food coloring, if desired.
- Decorate cooled cookies with icing, adding sprinkles while the icing is still wet if desired. Let dry completely before storing in an airtight container.
Notes
Recipe yield varies depending on the size of your cookie cutters and how thickly you roll out the dough.
Do not line your baking sheets - place the cookie dough directly onto them.
See my post above for more tips for this recipe!
Nutrition
- Serving Size: 1 cookie
- Calories: 92
- Sugar: 9.1 g
- Sodium: 37.6 mg
- Fat: 3.7 g
- Saturated Fat: 2.2 g
- Carbohydrates: 13.9 g
- Fiber: 0.2 g
- Protein: 0.9 g
- Cholesterol: 16.8 mg
Check out my latest posts...
- Easy Homemade Taco Seasoning Mix
- Passionfruit Margaritas
- Espresso Chocolate Chip Brownies {Starbucks Copycat}






lorhen82
I remember making those cookies! It is a great recipe, and yours look yummy!
Medifast Coupon
No Christmas is complete without these cookies. The photo's look wonderful, especially when these cookies are presented in a tin! Great work.
lynne
Love your cookies! They look yummy!
Megan
Grandmas always have the best cookies recipes for the holidays.
Ashley
Agreed!!
Lisa K
These were so much fun to make with my 3 and 5 year old. My kids had a blast. Plus they are delicious!! Thanks for the great recipe!
Ashley
I’m so glad it was a hit with you and the littles! Their approval is the most important when it comes to cookies
Lori H
Dahn
This is definitely a Christmas tradition in our home. I don't think you can have Christmas without cutout sugar cookies. 🙂 I love your video!
Ashley
Aww thanks so much, Dahn! They're such a wonderful way to remember my grandma, too.