
This post may contain affiliate links, which won’t change your price but will share some commission.

Freshly baked crispy pita chips are easy to make at home from pita bread in under 10 minutes! Just 5 ingredients plus salt and pepper and you're ready to dig in.
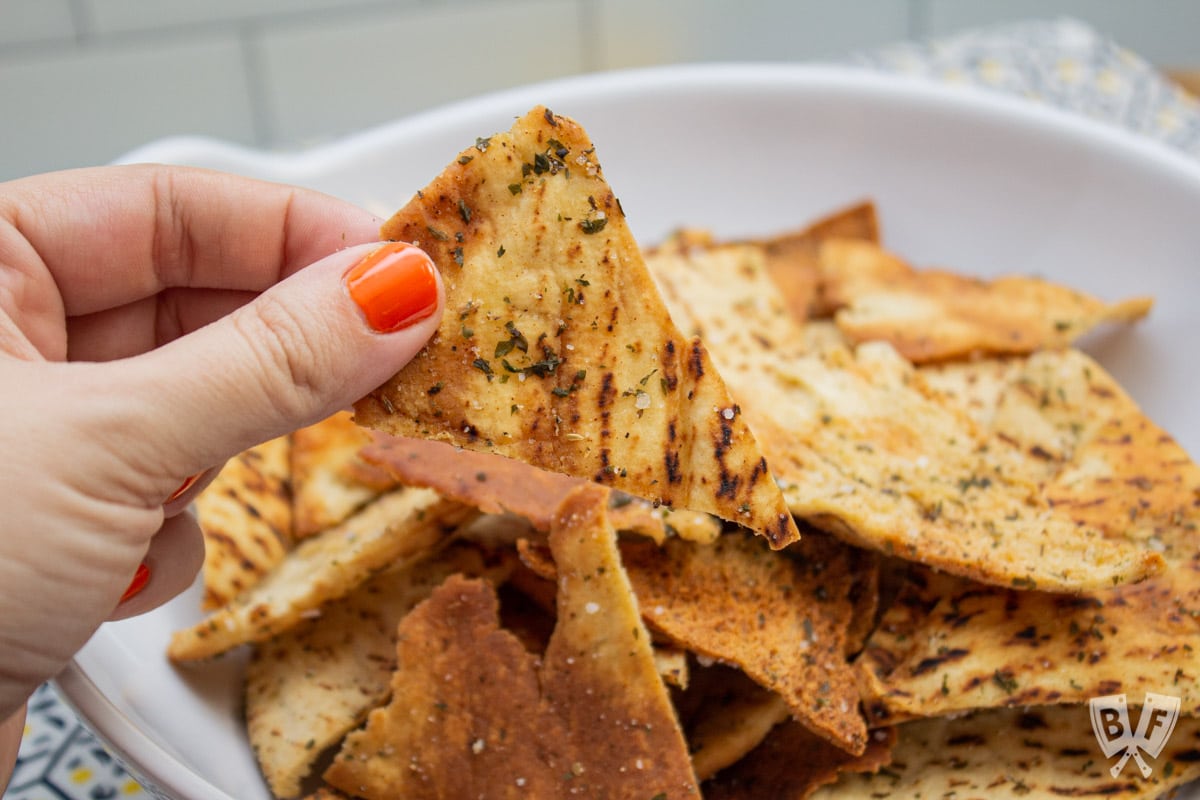
Who doesn't love a crispy, delicious pita chip? They're perfect for scooping up hummus, babaganoush, muhammara, buffalo chickpea dip, and more.
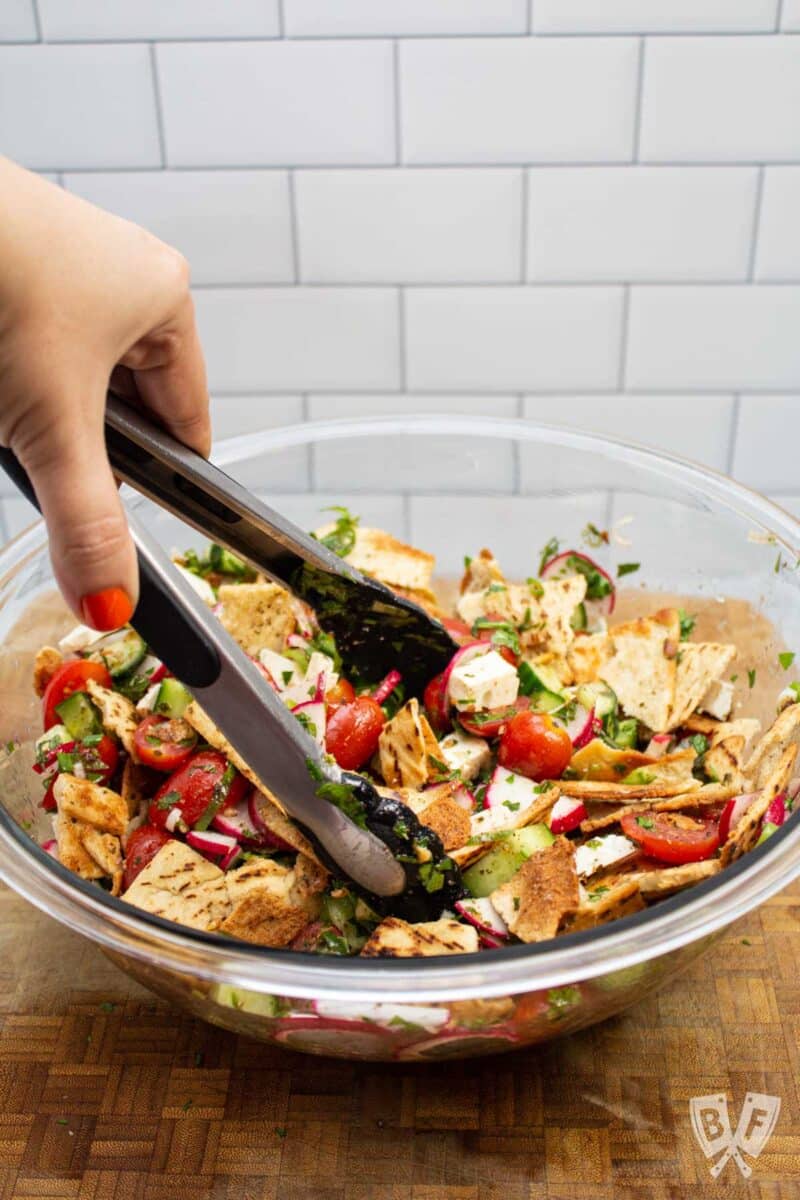
These pita chips have been a huge hit during my cooking classes (both virtual and in-person) for years now, and I'm finally bringing the recipe to my website. They're also a staple in my favorite fattoush salad.
So grab a package of pita bread and buckle up. Your home snacking game is about to get a major upgrade!
Jump To:
- 🧡 Why we love this recipe
- 📝 Ingredients
- 🧂 A note about salt
- ✅ How to make this recipe
- 📌 Tips for crispy pita chips
- 💡 What to serve with pita chips
- 🥣 Variations and other seasoning ideas
- 🥡 Storage recommendations
- 📖 Recipe
🧡 Why we love this recipe
- Baking the pita chips is a much healthier (and easier!) option than frying.
- The seasonings are super versatile! You can use the suggested seasonings below or change things up. The sky (and your pantry) is the limit!
- You can control the amount of each ingredient (fat, salt, etc.) so they can fit in with whatever your current dietary needs may be.
- They can be made in advance and stay fresh and crispy for several days in an airtight container (see storage tips below).
- Homemade pita chips make a fantastic addition to snack boards, appetizer spreads, picnics, and lunch boxes.

📝 Ingredients
Here's everything you need to make your own baked pita chips (see recipe card below for ingredient amounts and full directions):
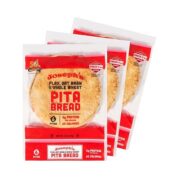
- Pita bread - I like using pocket-style pita bread for thinner pita chips, but pocketless pita bread will work, too.
- Olive oil - just a few tablespoons to help the pita chips get nice and crispy.
- Dried parsley
- Dried oregano
- Kosher salt
- Ground paprika
- Black pepper
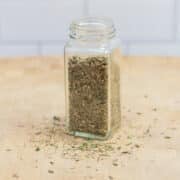
🧂 A Note About Salt
This recipe uses kosher salt which can be found in your grocery store located in the baking aisle.
Prior to 2025, I used Morton coarse kosher salt in my cooking. I switched over to Diamond Crystal kosher salt after having size inconsistencies over multiple packages of Morton.
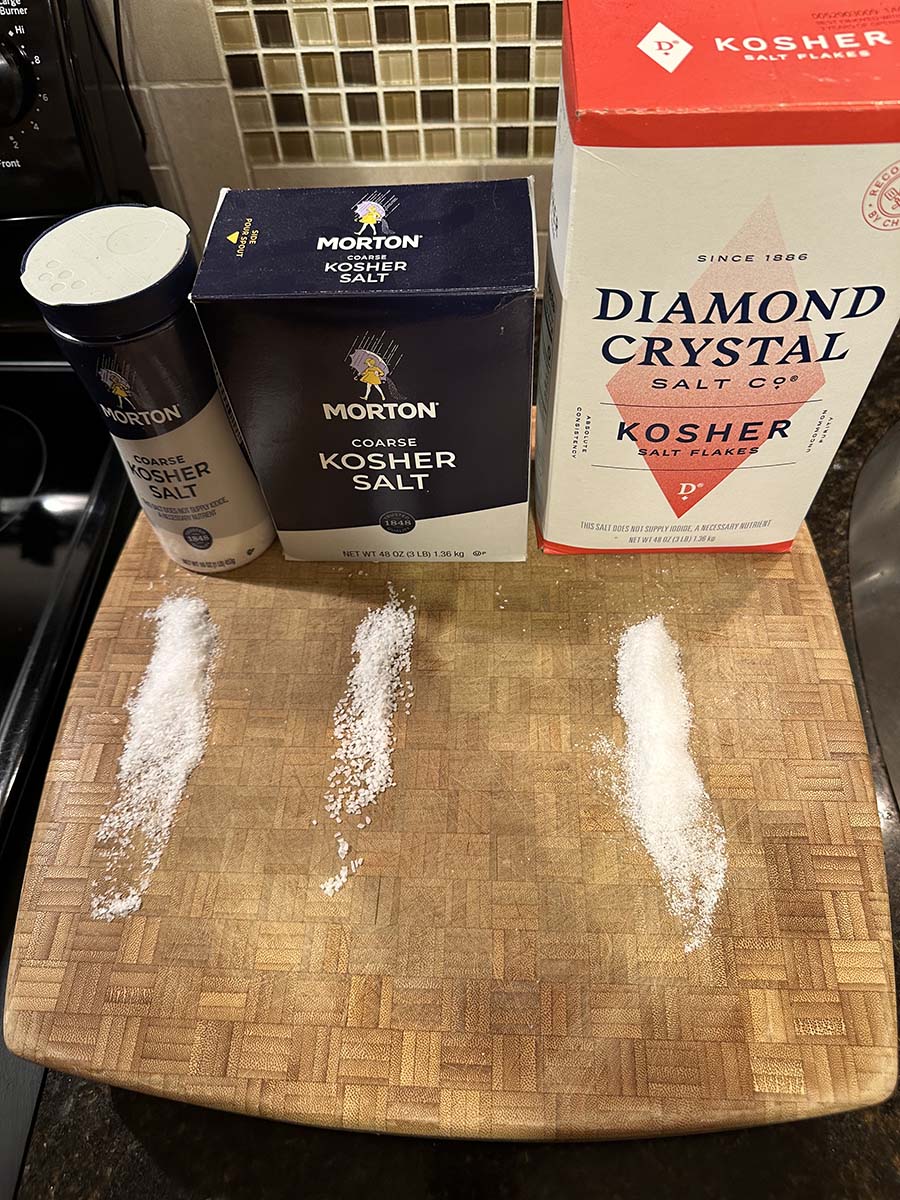
In the photo above, you'll see the size that this particular salt has always been (left), what seems to be the "new" size (center), and Diamond Crystal Kosher Salt, which is the other major brand that is used in most professional kitchens (right).
Why does salt crystal size matter? 🧂
When the crystal size is larger, salt doesn't dissolve as quickly as its smaller counterpart. This proved problematic when my husband made eggs for breakfast, and me and my son kept getting super salty bites. We realized it was because those larger salt crystals weren't dissolving or dispersing evenly.
You can also fit a larger quantity of salt in your measuring spoon when the grains are smaller. So you'll have a saltier ½ teaspoon of a finer-grained salt than a coarser one.
What this means is that you need to be aware that salt measurements can vary. If you follow a recipe and it's too salty using those measurements, it's possible that the recipe writer used a different size of salt than what you used.
There's no right or wrong brand to use, but be sure to get a hang of the characteristics of what you're using when you're cooking. Nobody wants to have overly salty food!
Because of the inconsistency in size, I'm switching to Diamond Crystal in my kitchen. It may take a little getting used to, but it's something that seems necessary to the consistency of my home cooking.
One further note - this article from Food 52 goes into more detail about the differences between these 2 brands of kosher salt (not the grain-size difference in one single that sparked my switch), and it's a great read!
✅ How to make this recipe
- Preheat your oven to 400°F.
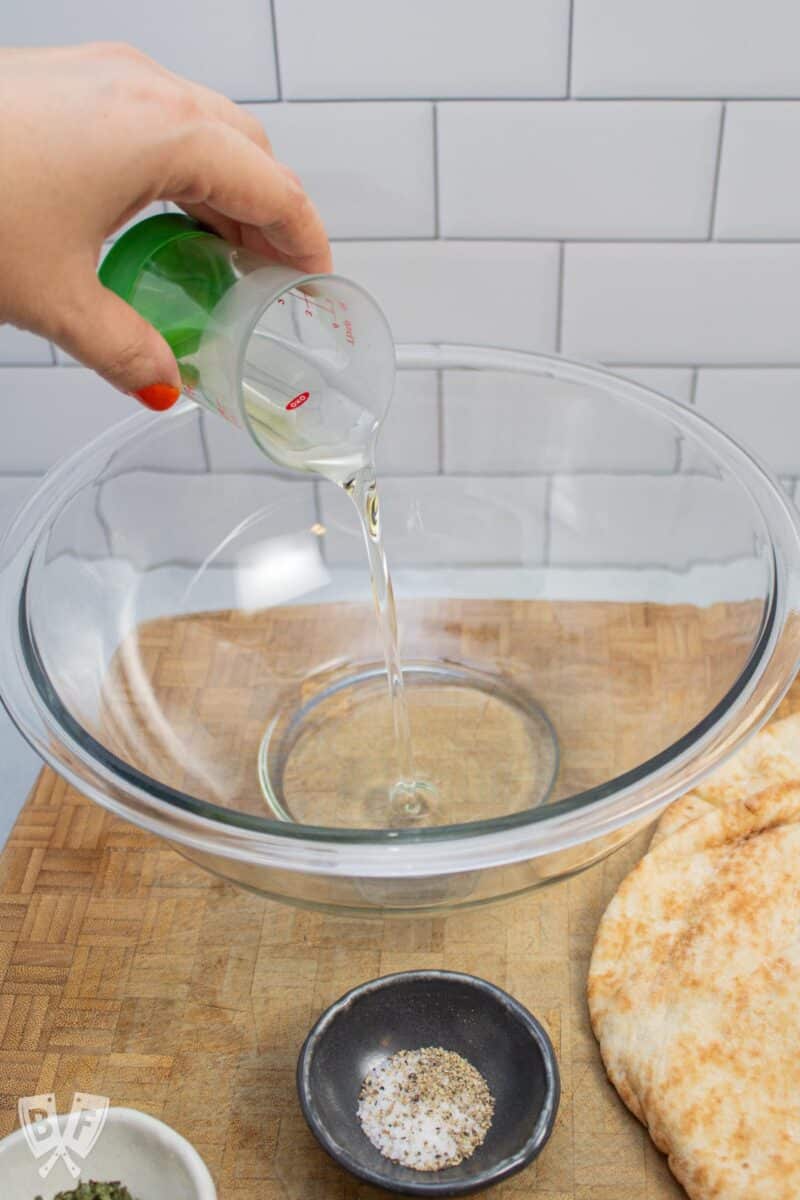
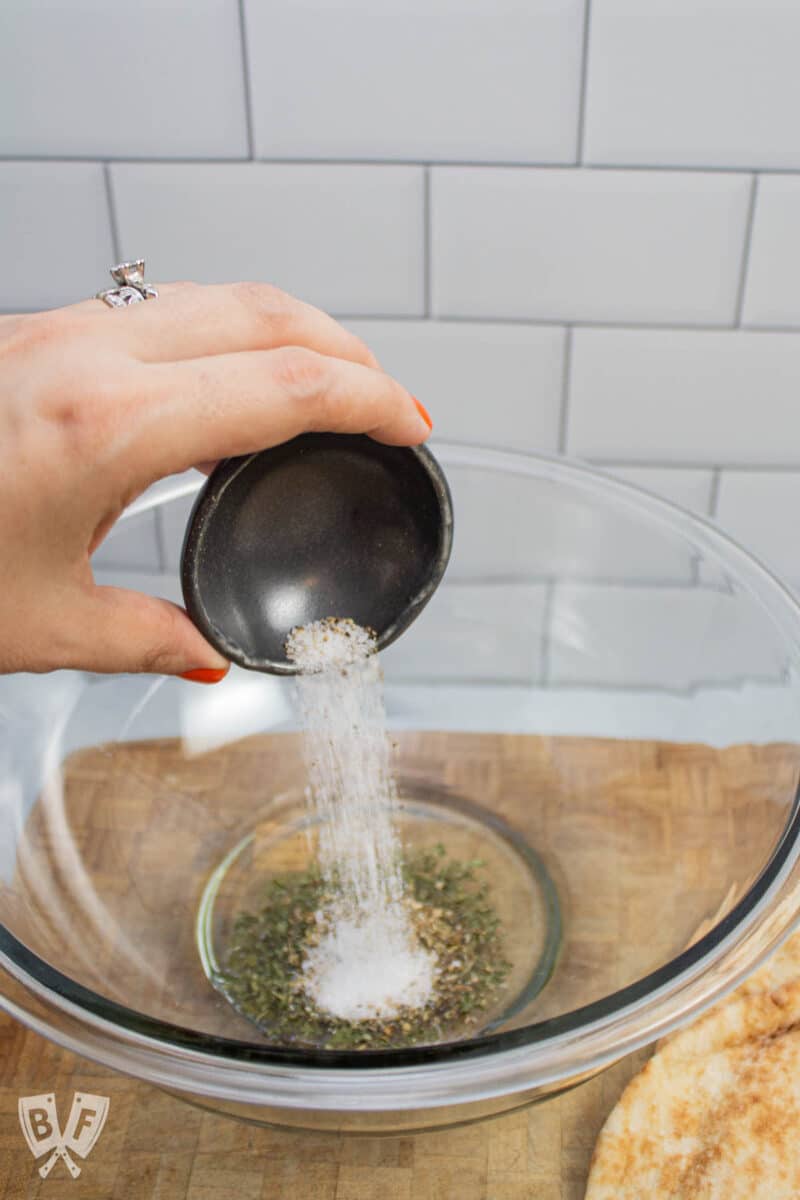
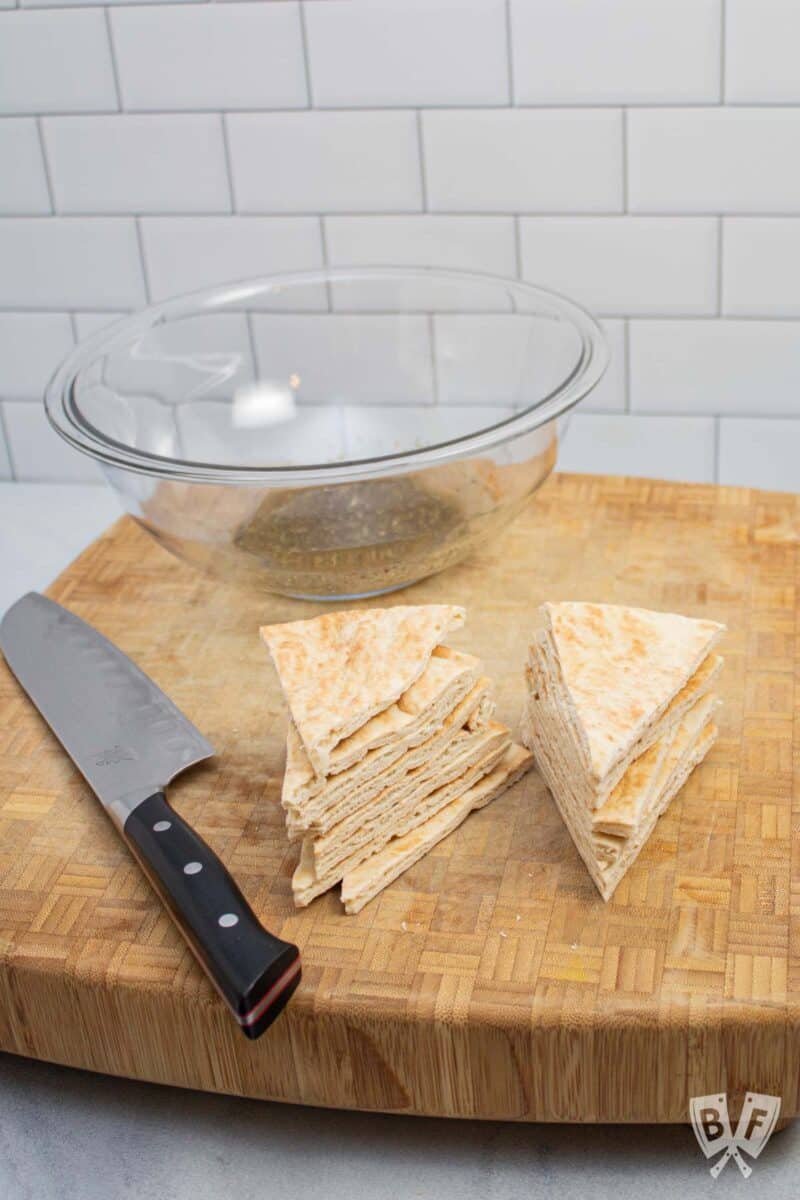
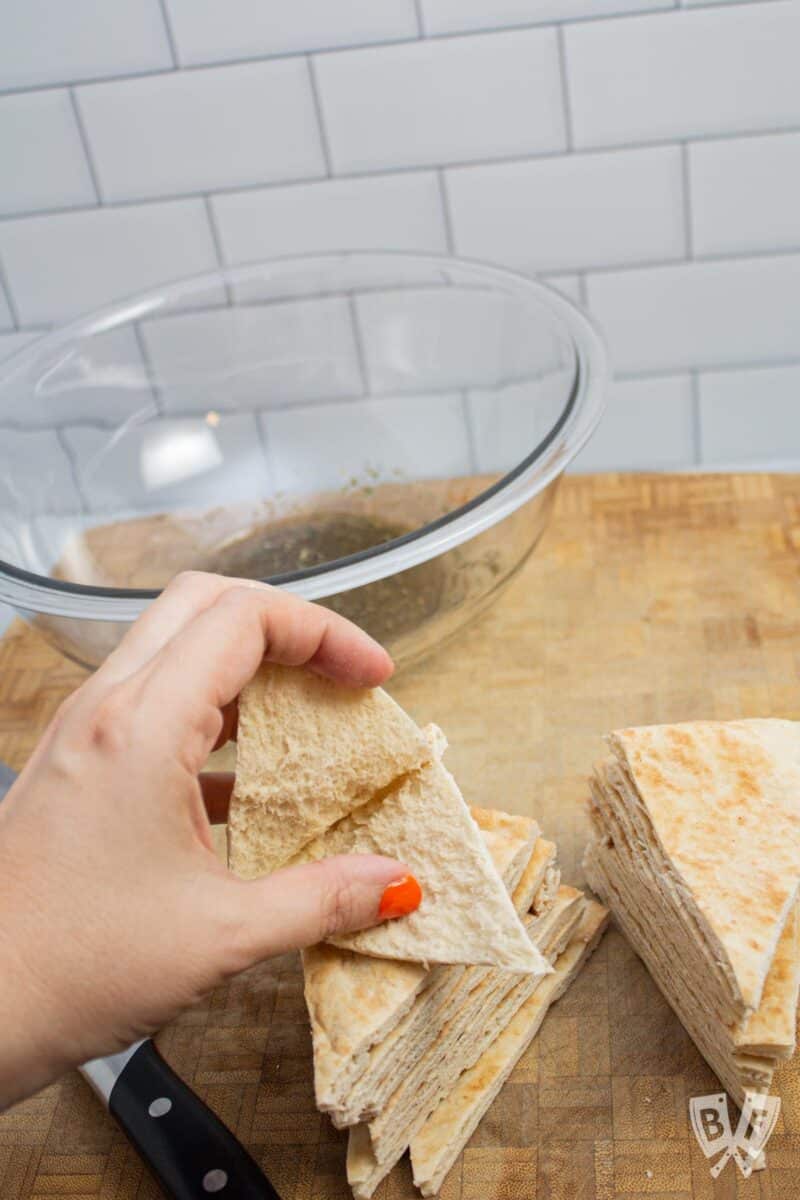
- Cut each piece of pita bread into triangles and separate the layers.
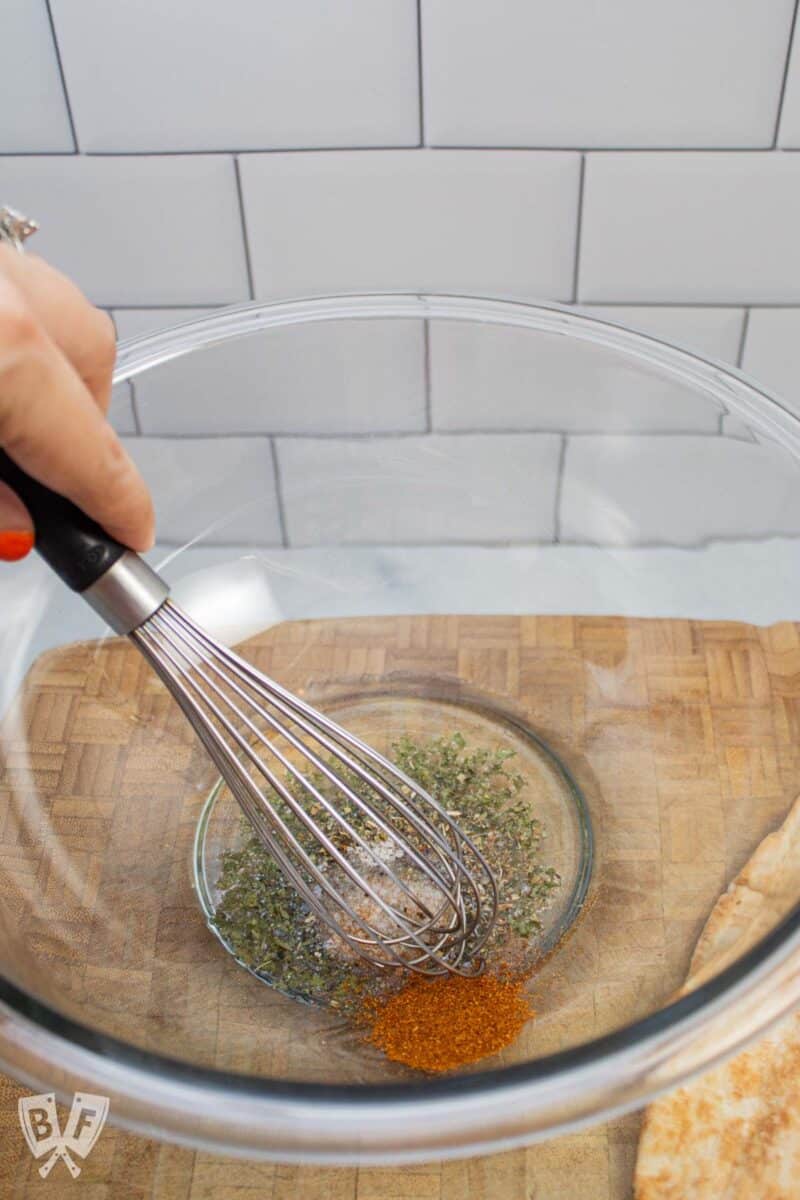
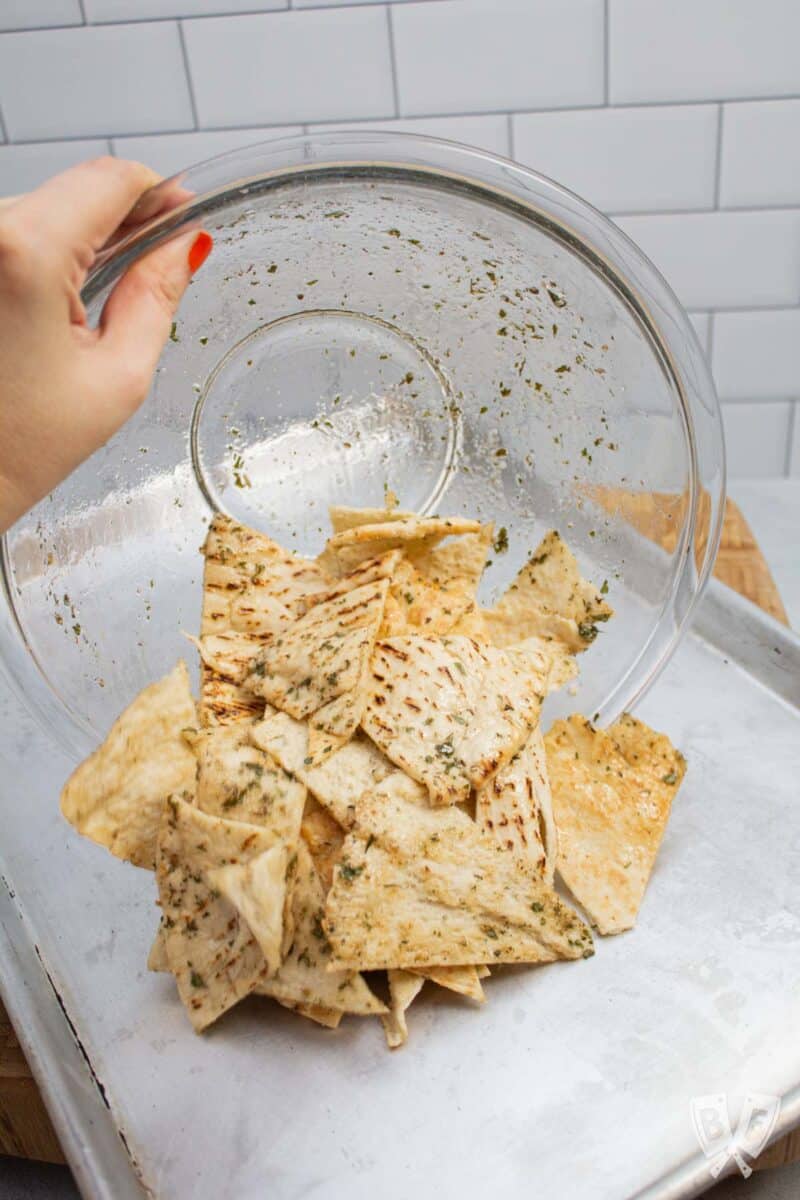
- In a large bowl, whisk together oil and seasonings.
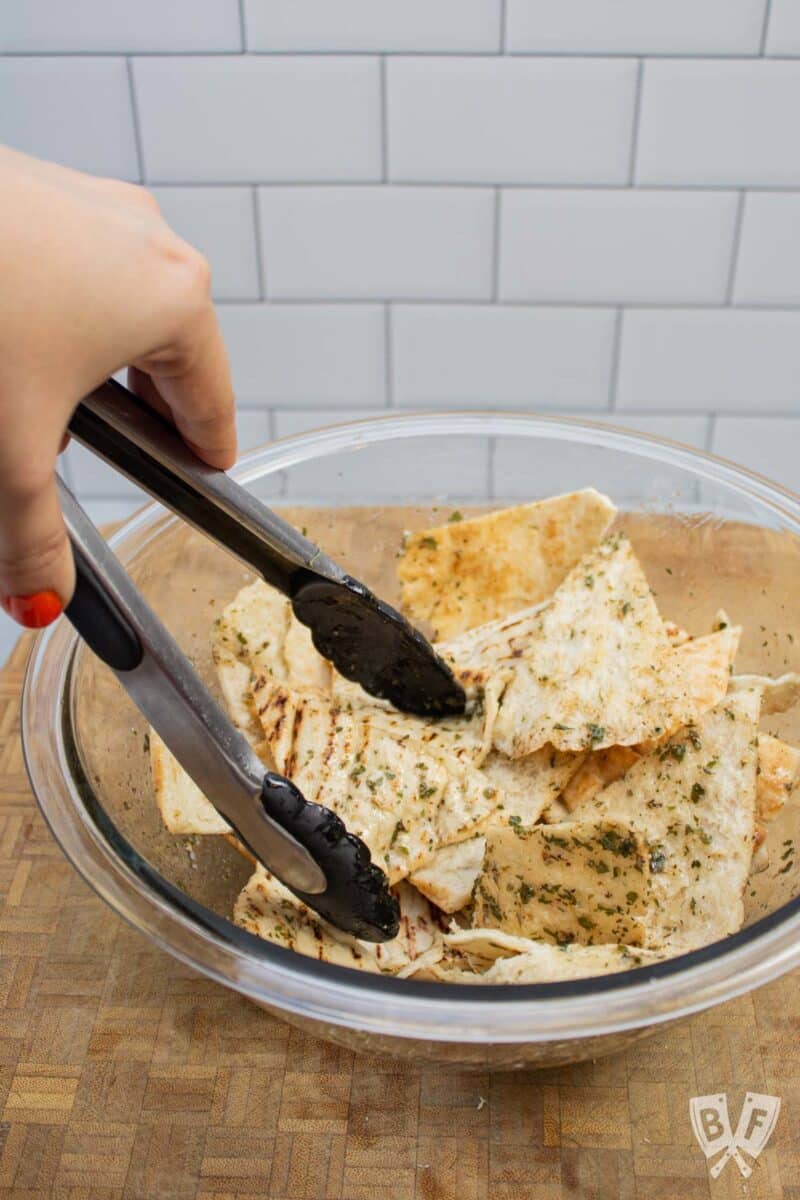
- Add pita to the bowl and toss to coat with the seasoned oil mixture.
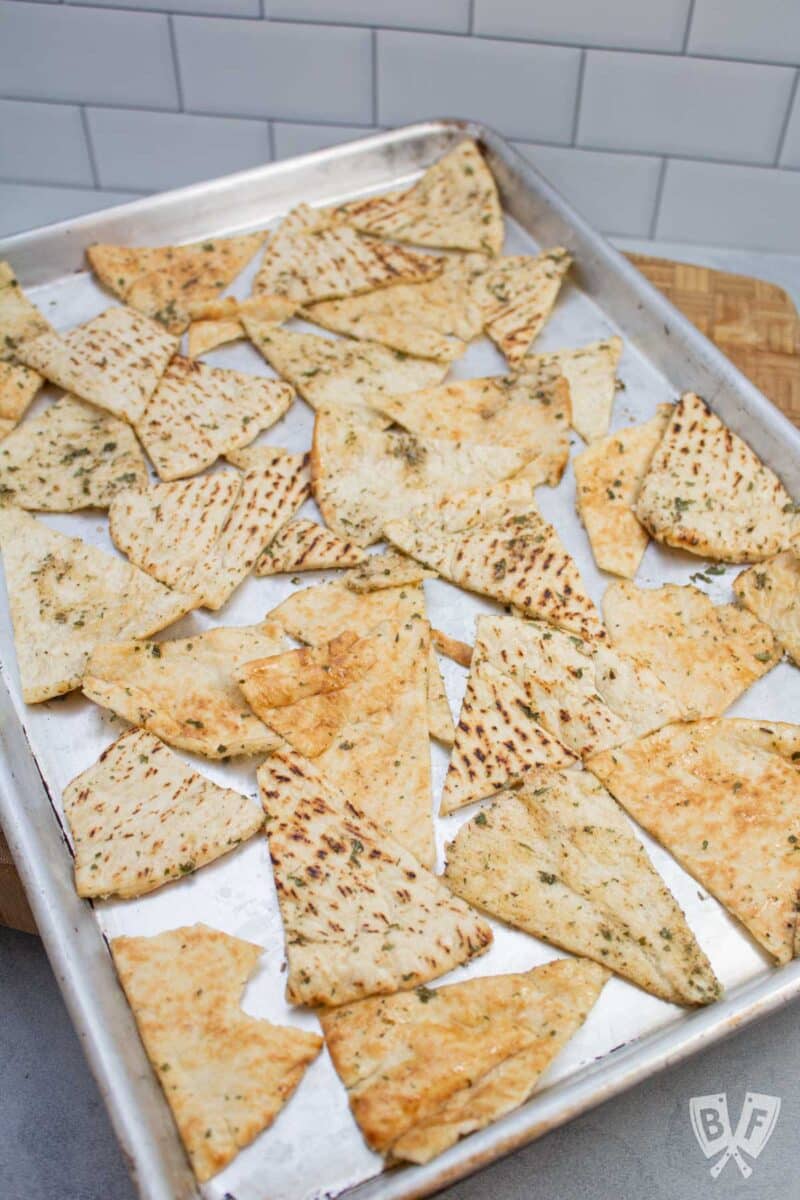
- Spread into a single layer on a baking sheet.
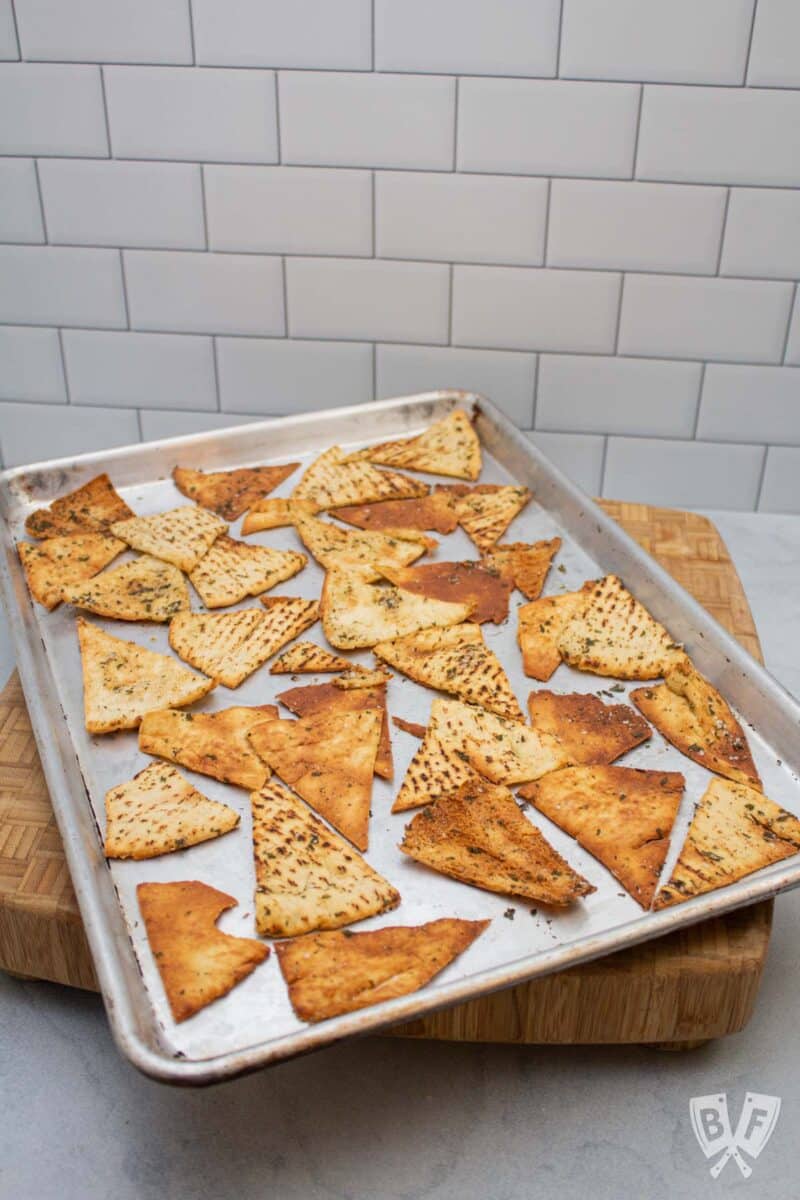
- Bake until golden brown and crispy.
See recipe card below for full instructions.
📌 Tips for crispy pita chips
There are a few things to help ensure your pita chips get nice and crispy in the oven.
First off, only make one batch at a time using the middle rack of your oven. I've tested this recipe several times. Having 2 baking sheets in at once means that some of the chips are pretty close to the top heating element of the oven.
This led to uneven baking, and chips that curled up a bit toward the heat. Baking them down a little further helps them stay nice and flat.
If you want to make a double (or triple) batch of this recipe you absolutely can. Just do it in shifts, one sheet at a time, for best results.
Try to keep your pita pieces in a single layer when they're heading into the oven. A little overlap is OK, but a single layer will ensure the crispiest chips.
Be sure to let your chips cool completely before storing them in an airtight container.
If they're still warm when you seal your container, the residual heat will create condensation causing moisture to soften your (previously) crispy chips.

💡 What to serve with pita chips
Pita chips are super versatile! Here are some of our favorite dishes to enjoy alongside pita chips.
- Babaganoush
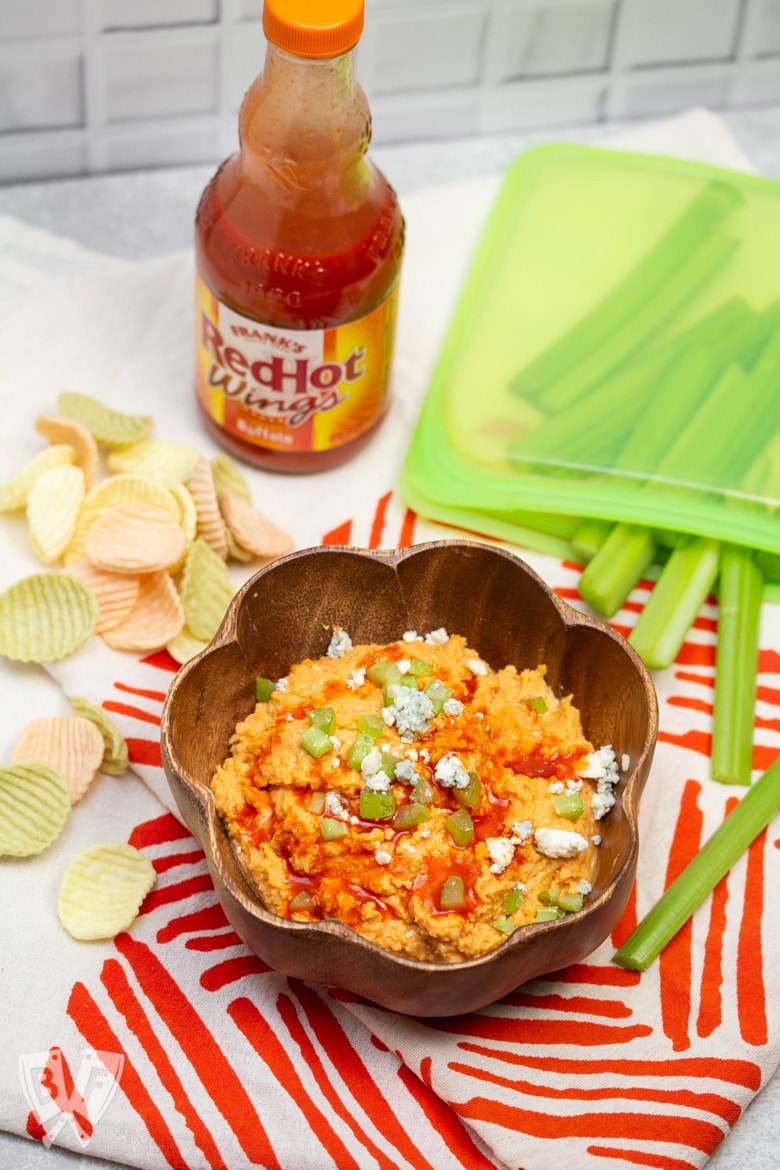
- Buffalo Chickpea Dip
- Caramelized Onion Dip
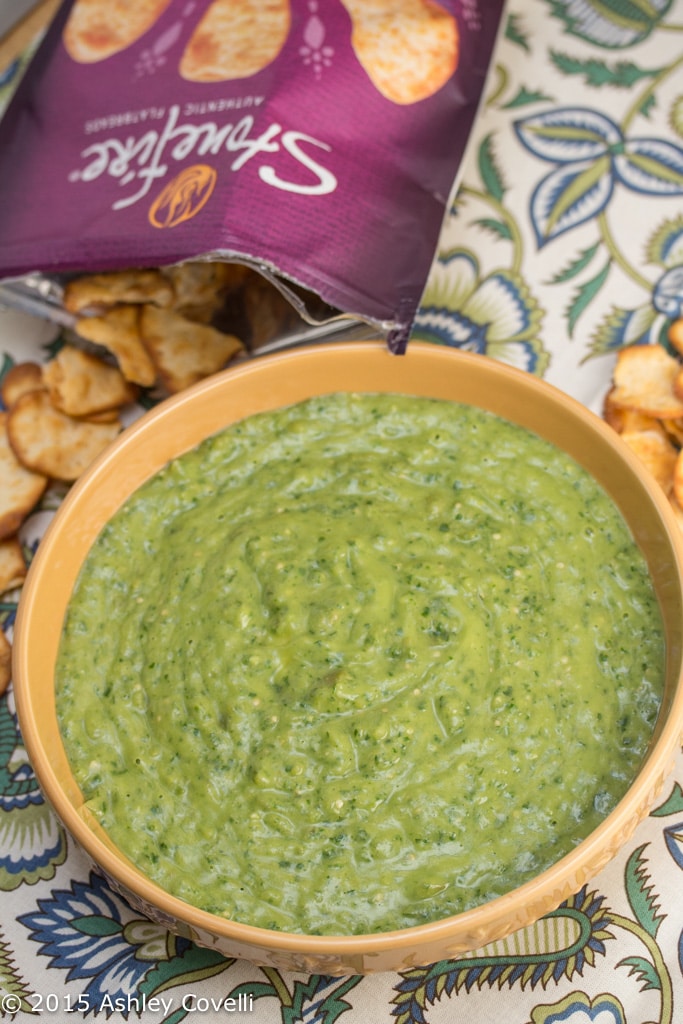
- Chimi-Verde Dip
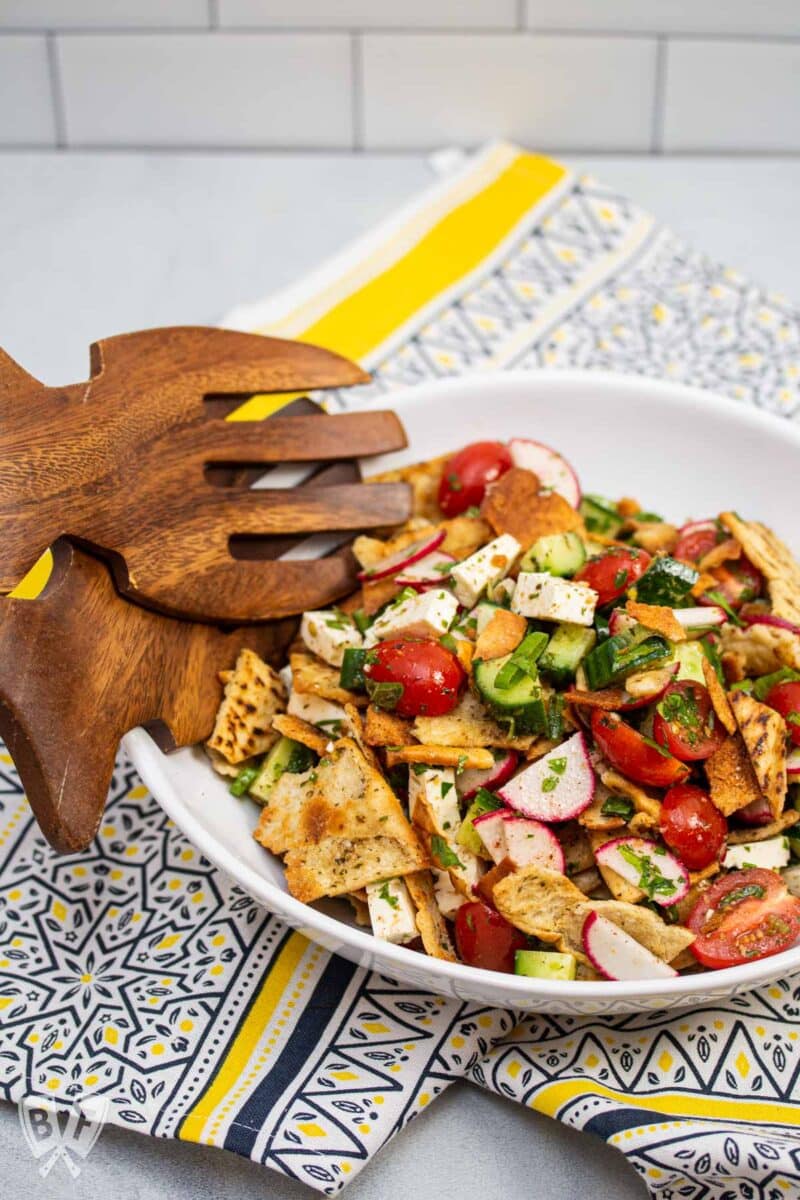
- Middle Eastern Fattoush Salad with Homemade Pita Chips
- Falafel-Spiced Chickpea Salad with Tahini-Lemon Vinaigrette
- Easy Classic Hummus Using Canned Chickpeas
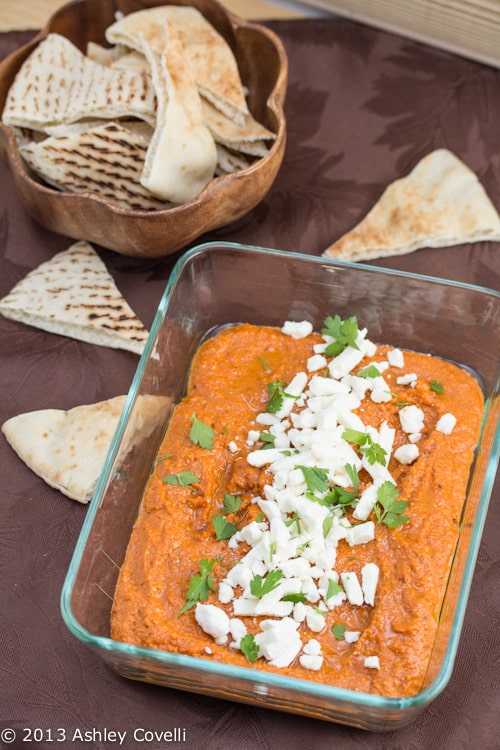
- Muhammara
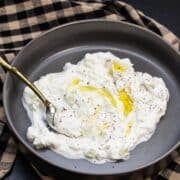
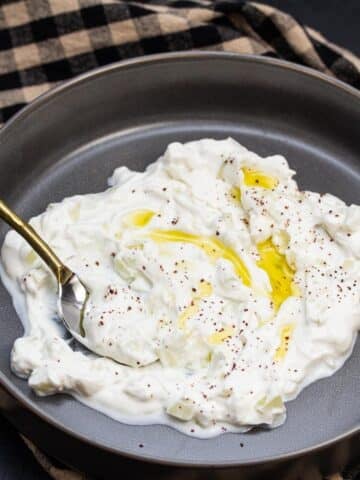
- Spinach and Yogurt Dip with Caramelized Onion
- Tabbouleh
- Tzatziki
- Whipped Feta
Pita chips are also great as an addition to snack boards, cheeseboards, and mezze boards. They can also be used as croutons on top of your favorite salad or soup.
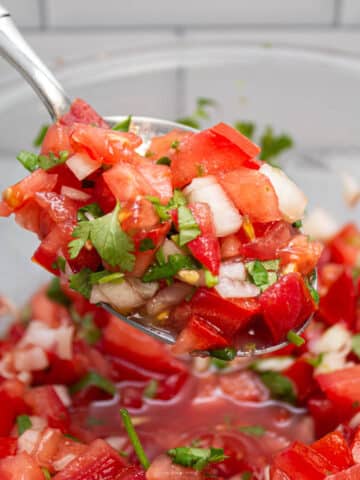
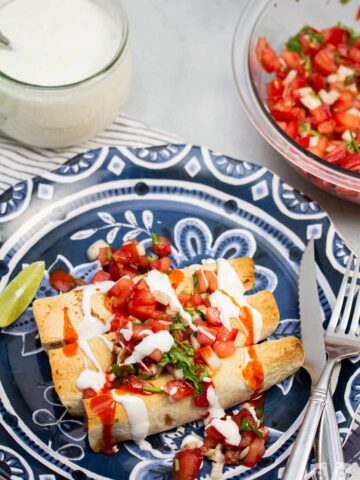
They're a key ingredient in my Fattoush Salad with Homemade Pita Chips pictured below.
🥣 Variations and other seasoning ideas
The seasonings in this recipe are by no means written in stone! Feel free to spice things up by swapping out and substituting different herbs and spices to really customize your pita chip experience
Below are a few suggestions, but feel free to play around with the recipe. Swap out just one or all of the spices I have listed in the recipe card below!
The baking time should be the same regardless of your choice of seasonings. If you try out a new combo, I'd love to hear about it in the comments section at the bottom of this post!
Seasoning ideas for your baked pita chips:
- Cheddar cheese powder
- Cinnamon sugar
- Fajita seasoning
- Garlic & herb
- Ground sumac
- Italian seasoning
- Smoked salt
- Southwest seasoning
- Taco seasoning
- Tajín
- Truffle salt
- Za'atar
🥡 Storage recommendations
Your homemade seasoned pita chips will stay nice and crispy for several days (if they last that long!) stored in an airtight container.
The most important thing is to make sure they are completely cool before moving them into your storage vessel of choice.
If you put them in a closed container while they're still warm from the oven, condensation will form, causing them to get soggy.
I like storing my pita chips in a stasher stand-up bag. It has plenty of room, and I just squeeze out any extra air (without crushing the chips) before sealing it up.
A large food storage container is another great option for storing your cooled chips. A glass jar with a lid is another option. Whatever you go with, just make sure it's airtight to maintain maximum freshness.
Still hungry? You may also like...
Doing some online shopping? Check out my Amazon shop page for recommendations!
📖 Recipe
Homemade Seasoned Pita Chips: Easy, Baked, 5-Ingredient Recipe

Instructions
- Preheat oven to 400°F.
- Cut each piece of pita bread into triangles and separate the layers.
- In a large bowl, whisk together oil, parsley, oregano, salt, and pepper.
- Add pita to the bowl and toss with your hands or kitchen tongs until all of the pieces are coated with the mixture.
- Spread into a single layer on a baking sheet.
- Bake until golden brown and crispy, about 5-8 minutes total.
Notes
- Pita chips will crisp up a bit more as they cool down once removed from the oven.
- Let pita chips cool completely before storing in an airtight container.
- You can use pocketless pita bread, but it will take longer to get crispy and will make half the number of total pita chips.


diana lennon says
I am obsessed with Ashley's Pita Chips recipe! They're delicious, and so easy! I make them all the time with either pita bread or whole wheat tortillas -- a great snack with dip or alone!
Ashley says
I am so glad you’ve been enjoying them so much, Diana!! And I enjoyed when you brought some to our lunch meeting, too
Chef Ryan says
My daughter makes pita chips similar to this. So delicious, and very versatile! Everybody loves them.
Ashley says
My son is obsessed with these, too! So glad your family enjoys them
Caitlin says
I absolutely love making these pita chips when we have leftover pita bread. Recipe always comes out perfectly. So flavorful!
Ashley says
I'm so glad these are a hit for you, Caitlin! It's a great way to use up leftover pita 🙂