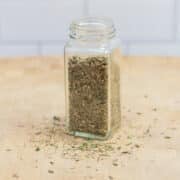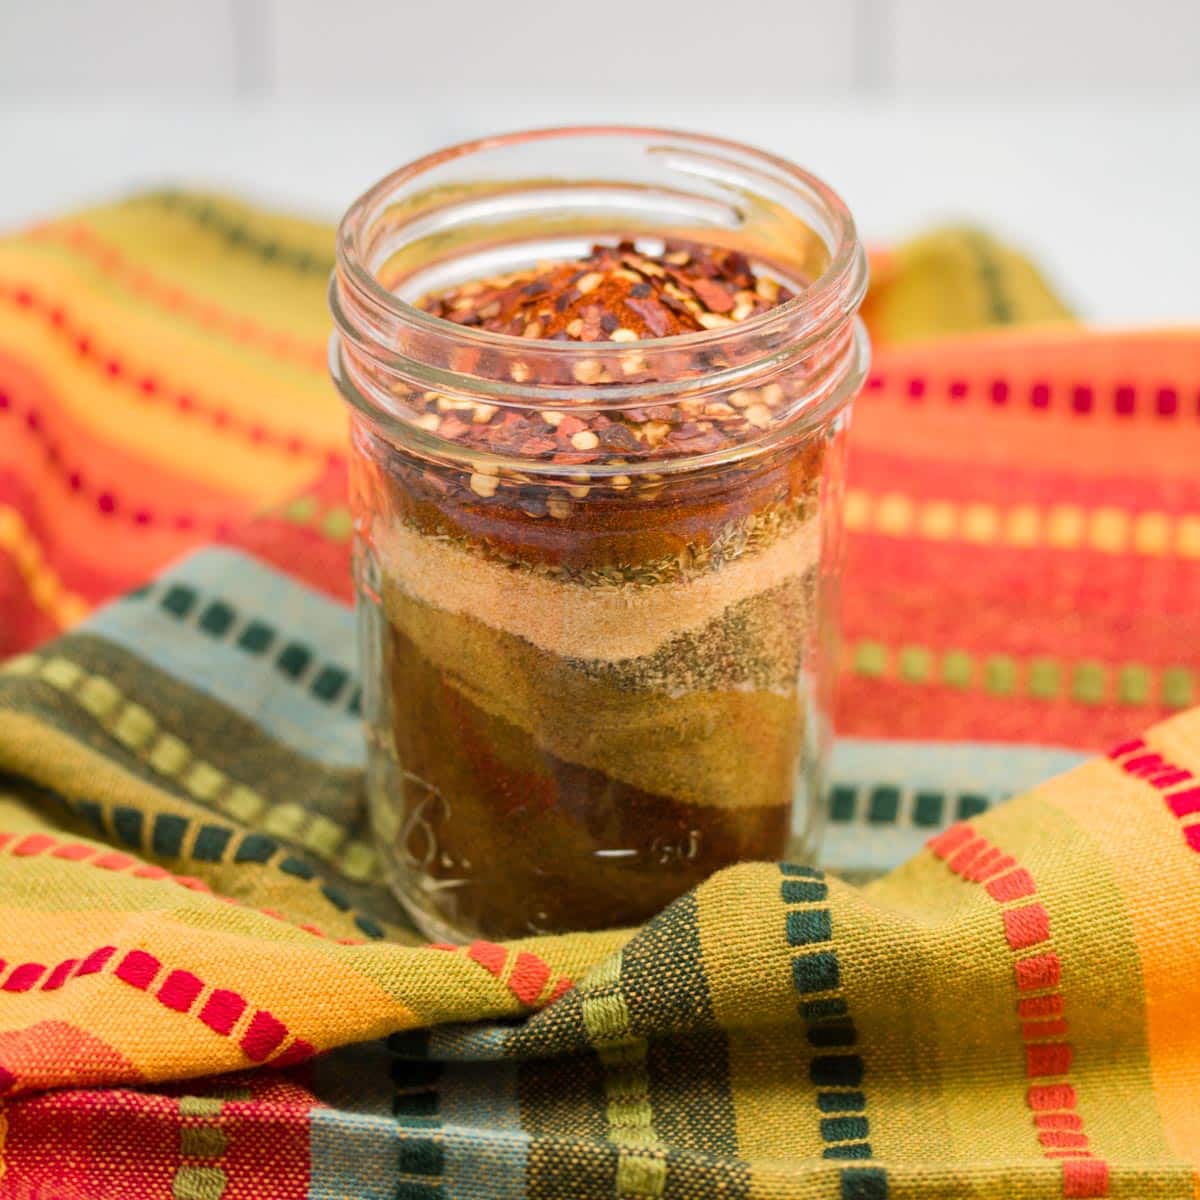
This homemade Italian seasoning blend is made with pantry staples from your spice cabinet for an easy way to add Italian flair to your meals! Just 7 ingredients and a few minutes and you have a versatile spice mix to add to your kitchen rotation.
Let me start off by saying that there's absolutely nothing wrong with buying spice blends from the store. But if you already have the ingredients to make one on hand, and maybe you've been neglecting those spice jars anyway, it may make sense to make your own!
Homemade spice mixes are super easy to put together and come in handy so often. Just mix together a batch and use it whenever a recipe calls for it.
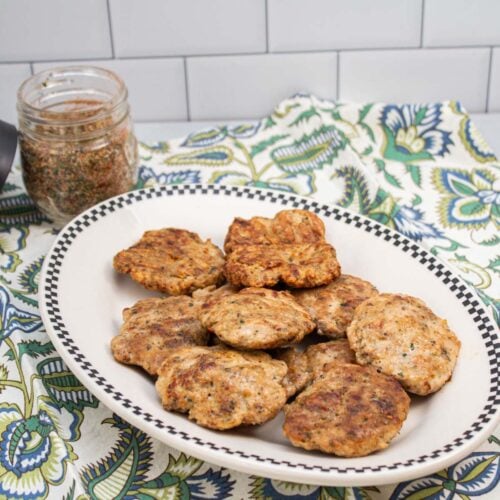
This Italian seasoning mix is right at home in my kitchen cabinet alongside other homemade favorites like taco seasoning, grill seasoning, breakfast sausage seasoning, and fajita seasoning.
[feast_advanced_jump_to]🧡 Why we love this recipe
- It comes together with just 7 ingredients that you likely already have in your pantry.
- Making your own spice blends is less expensive than buying them from the store.
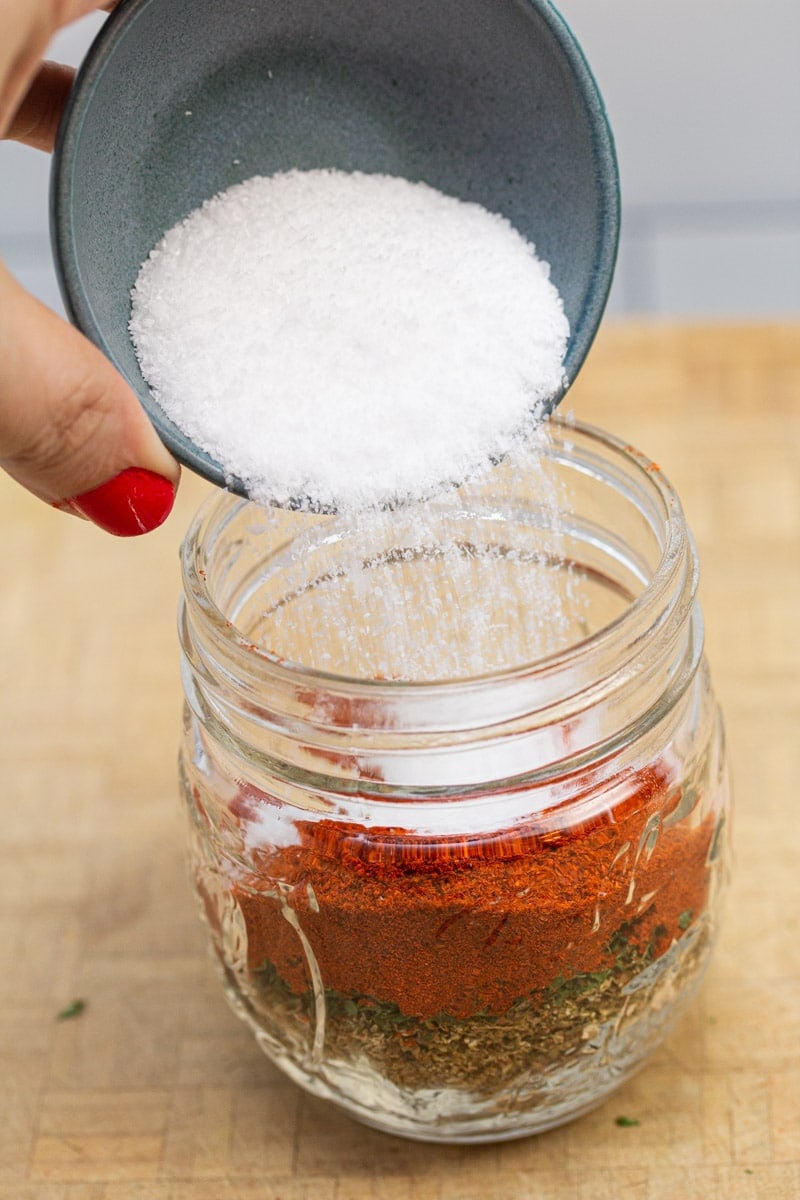
- This seasoning blend is salt free, allowing you to adjust the amount of salt you add (if any) to your family's preference.
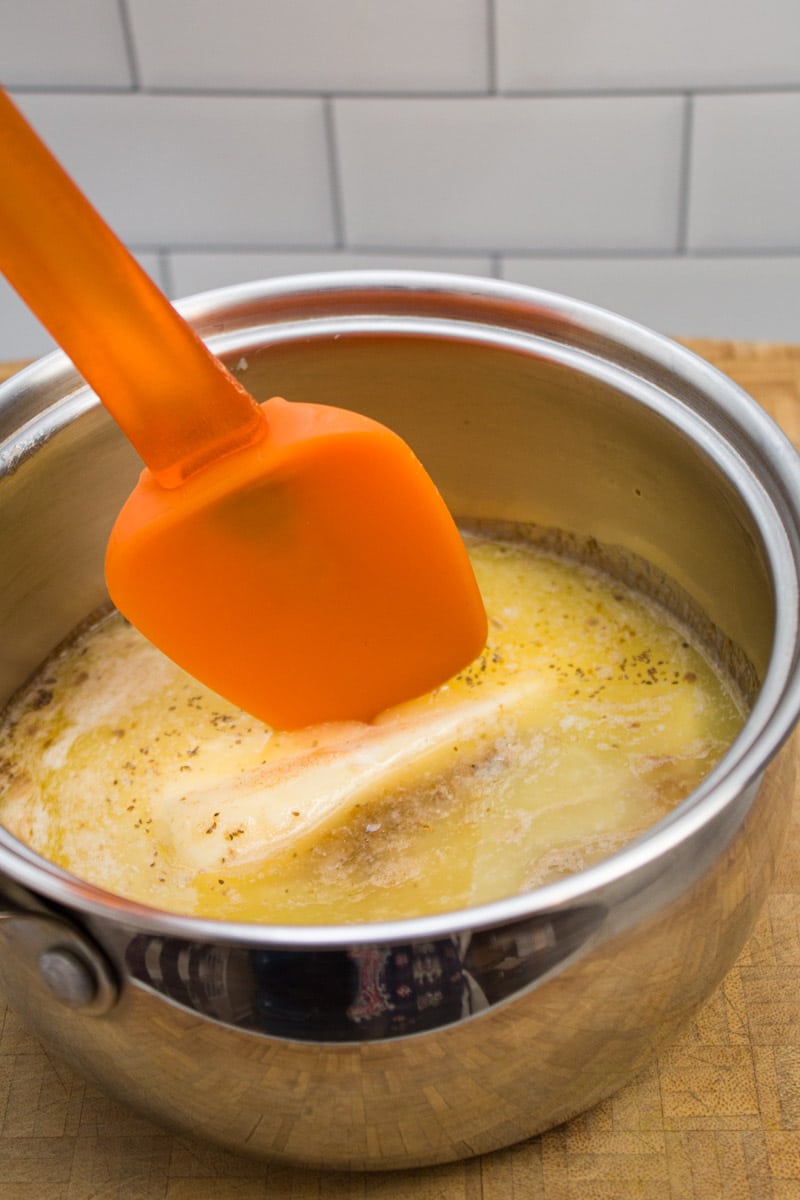
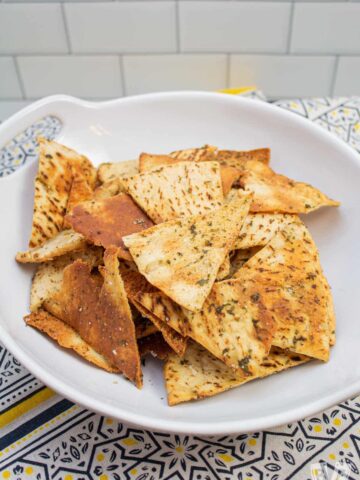
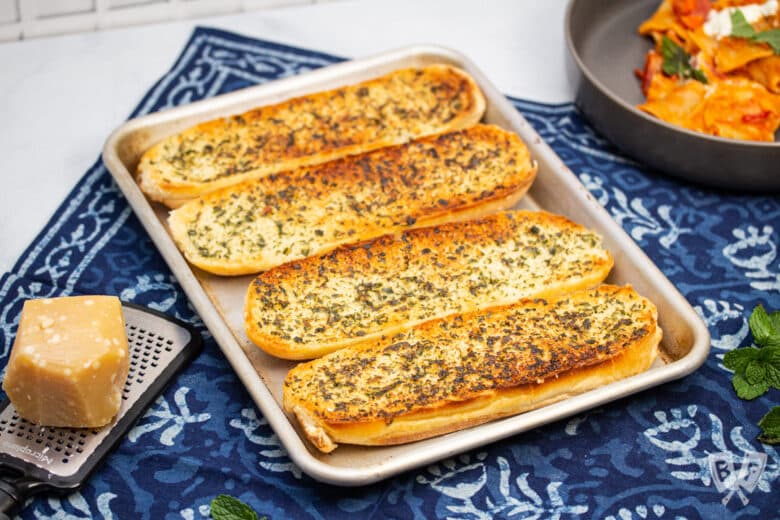
- It's a great way to jazz up "plain" items like breadcrumbs, tomato sauce, and garlic butter.
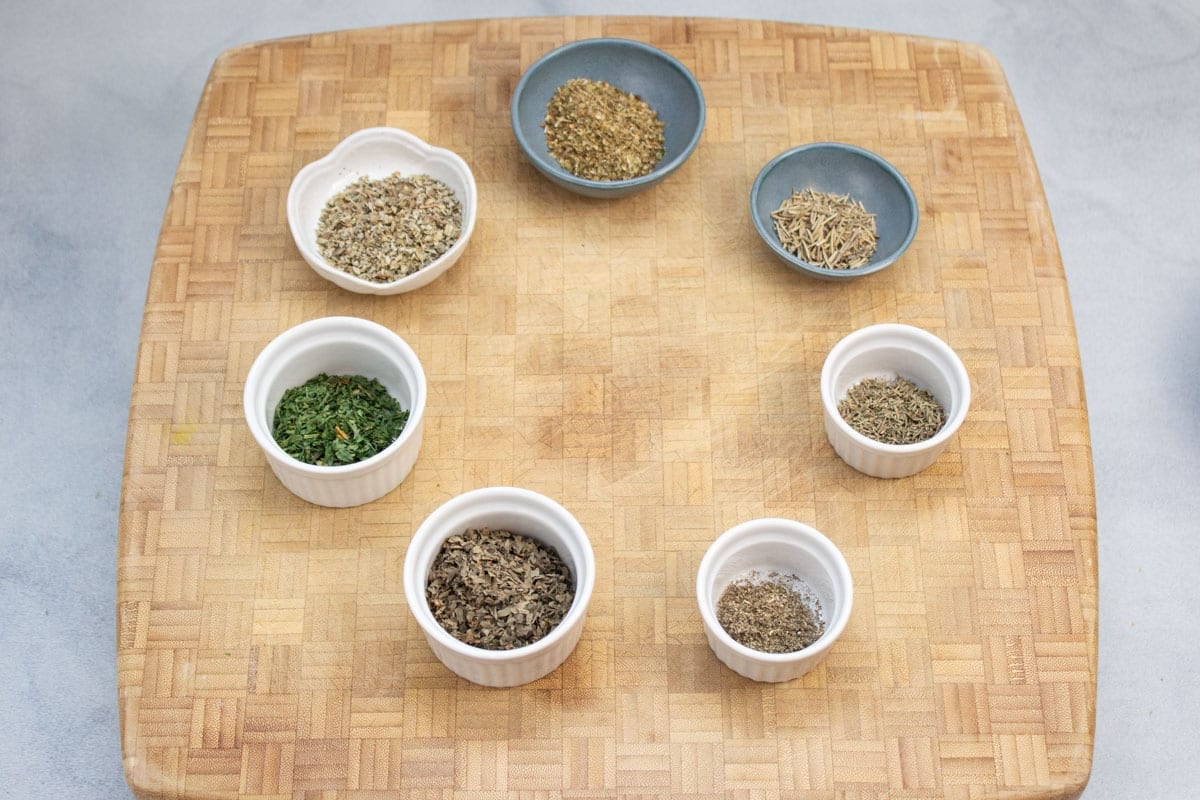
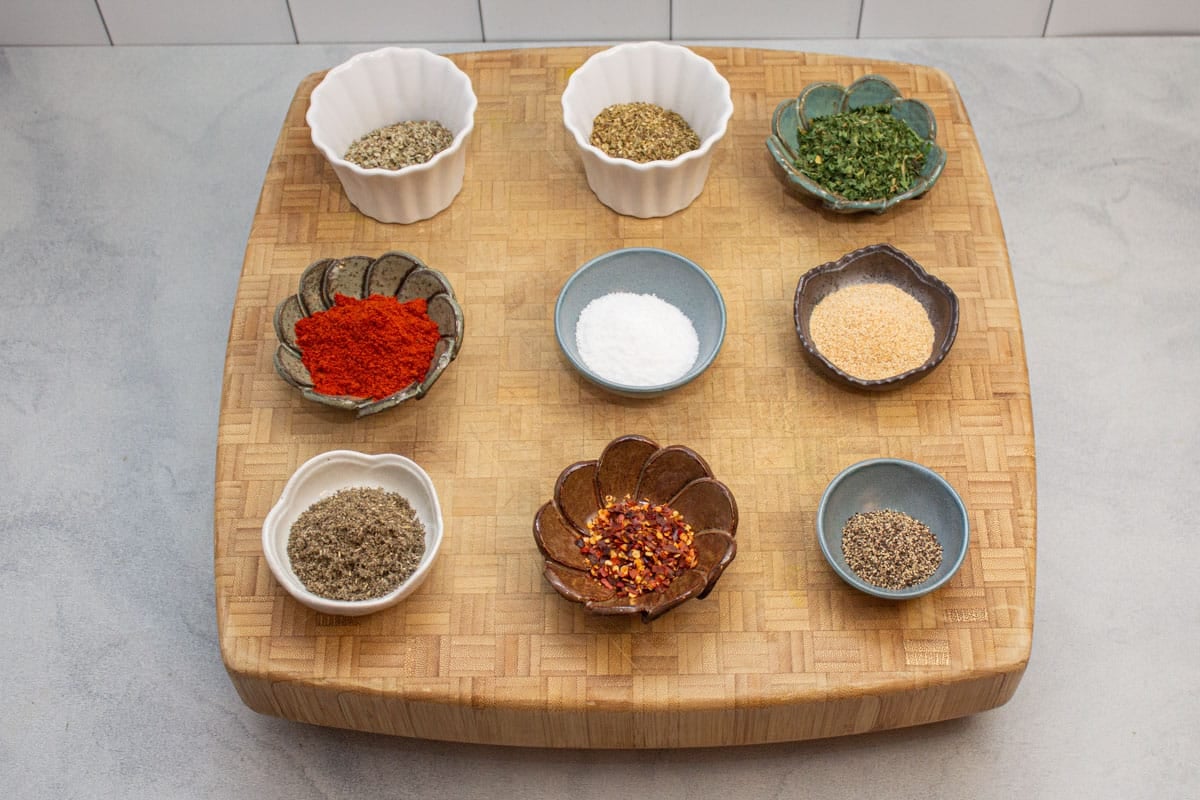
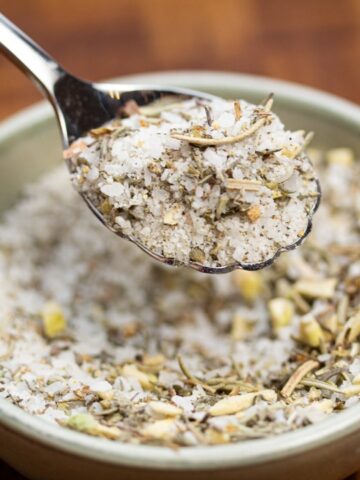
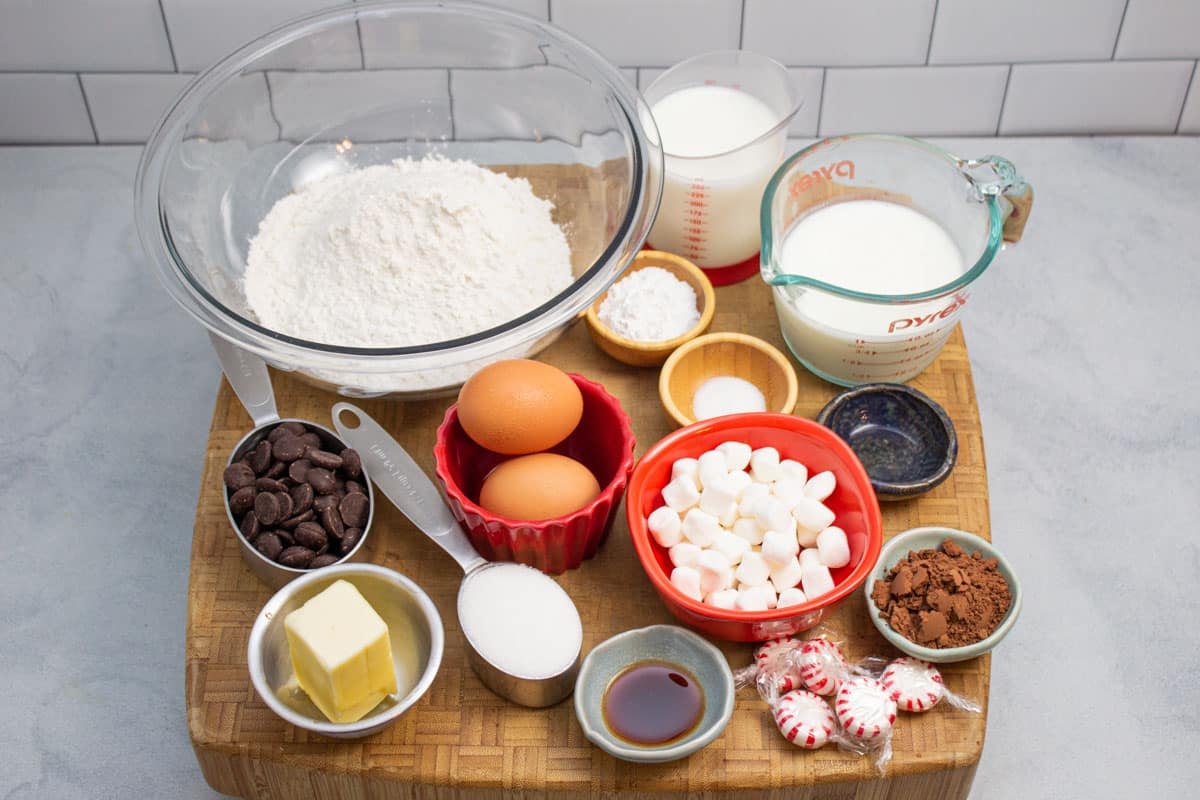
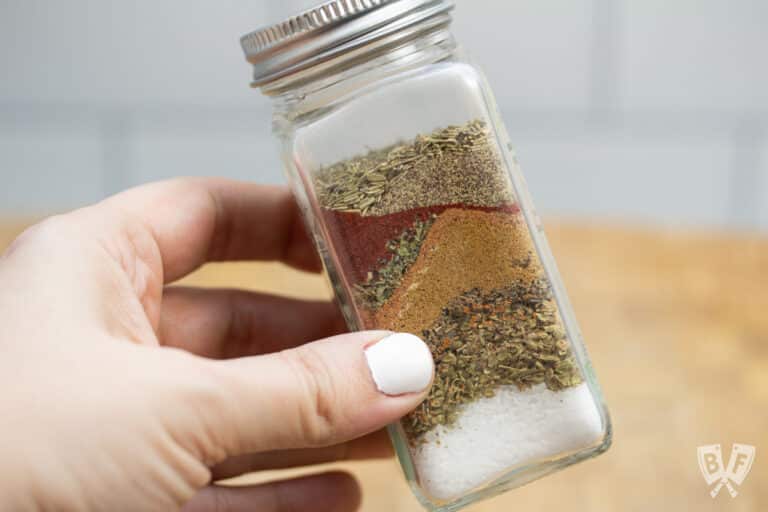
📝 Ingredients
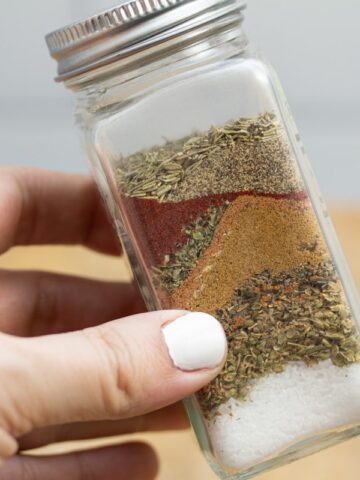
Here's everything you need to make this Italian seasoning blend (see recipe card below for ingredient amounts and full directions):
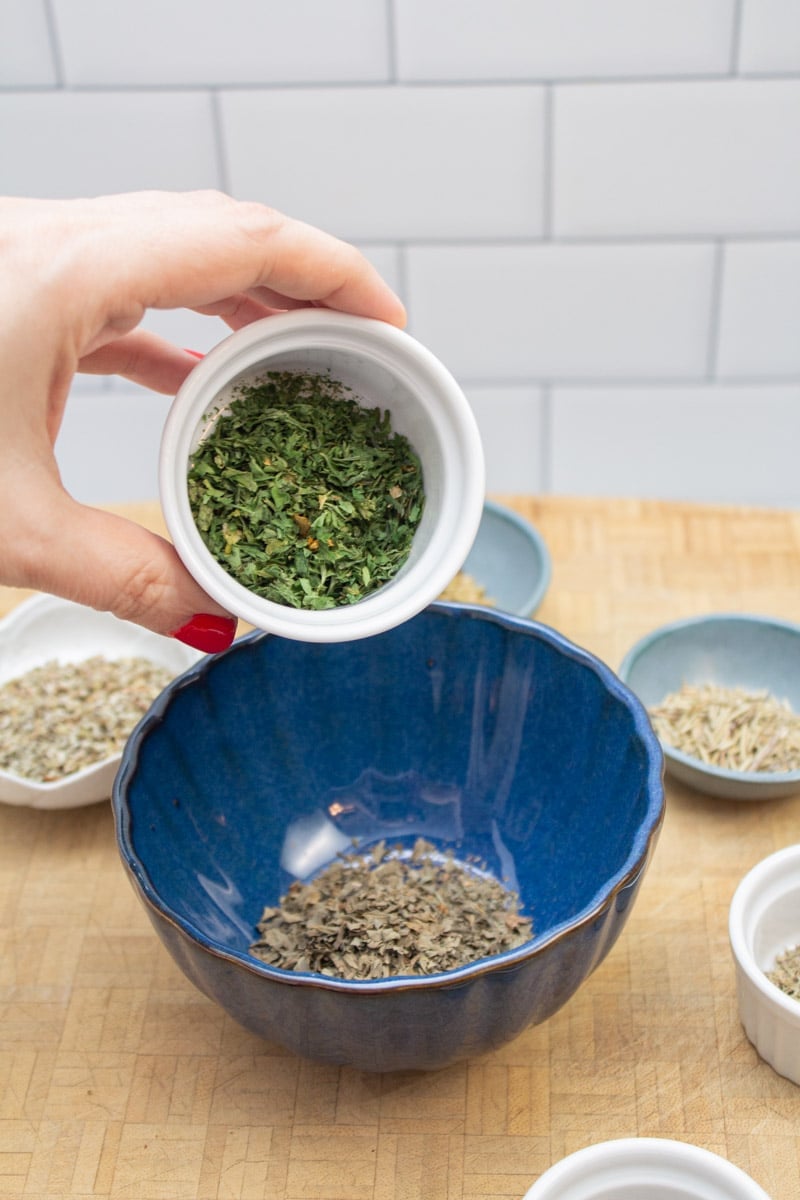
- Dried basil
- Dried parsley
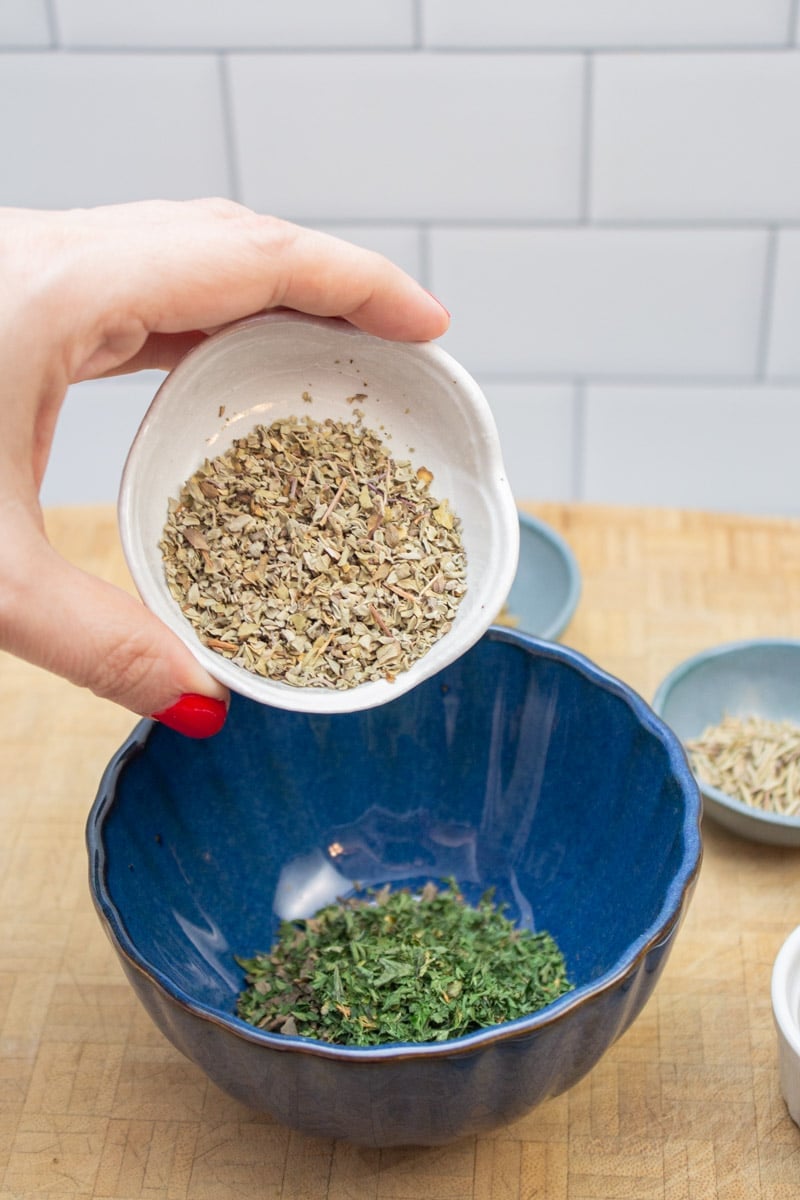
- Dried marjoram
- Dried oregano
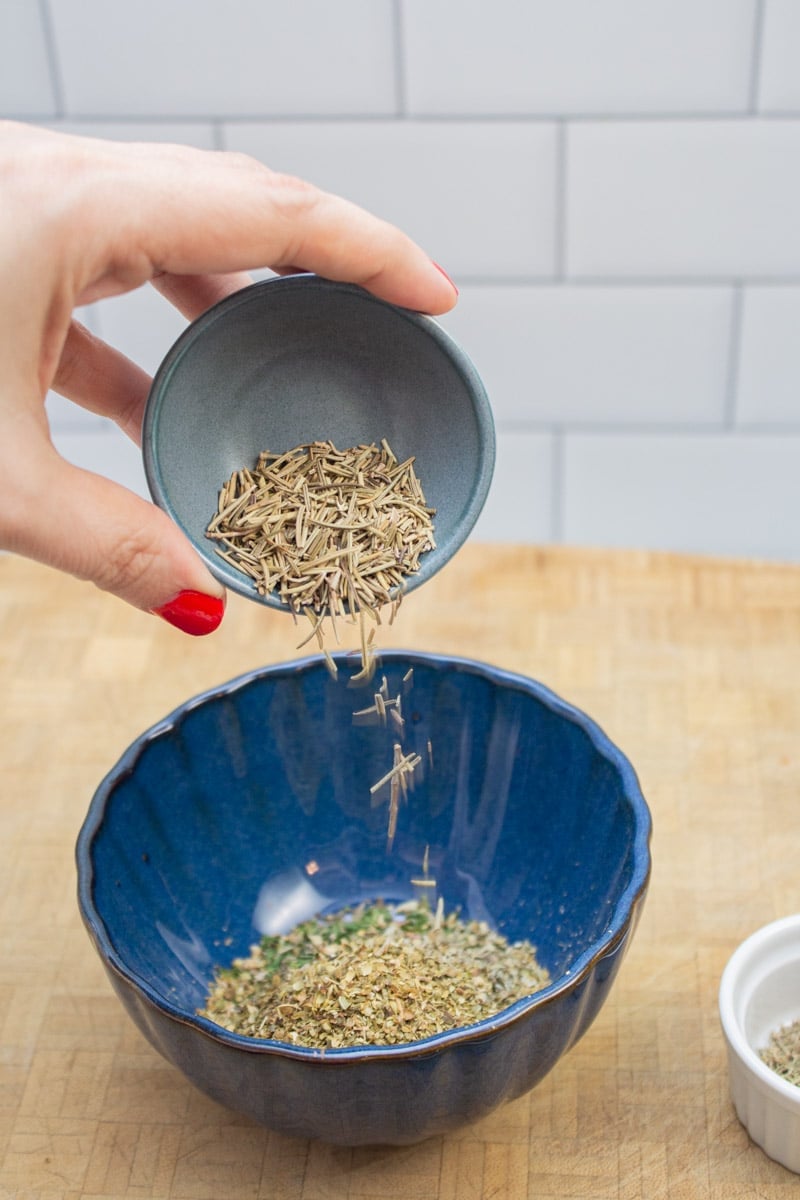
- Dried rosemary
- Dried thyme
- Rubbed sage

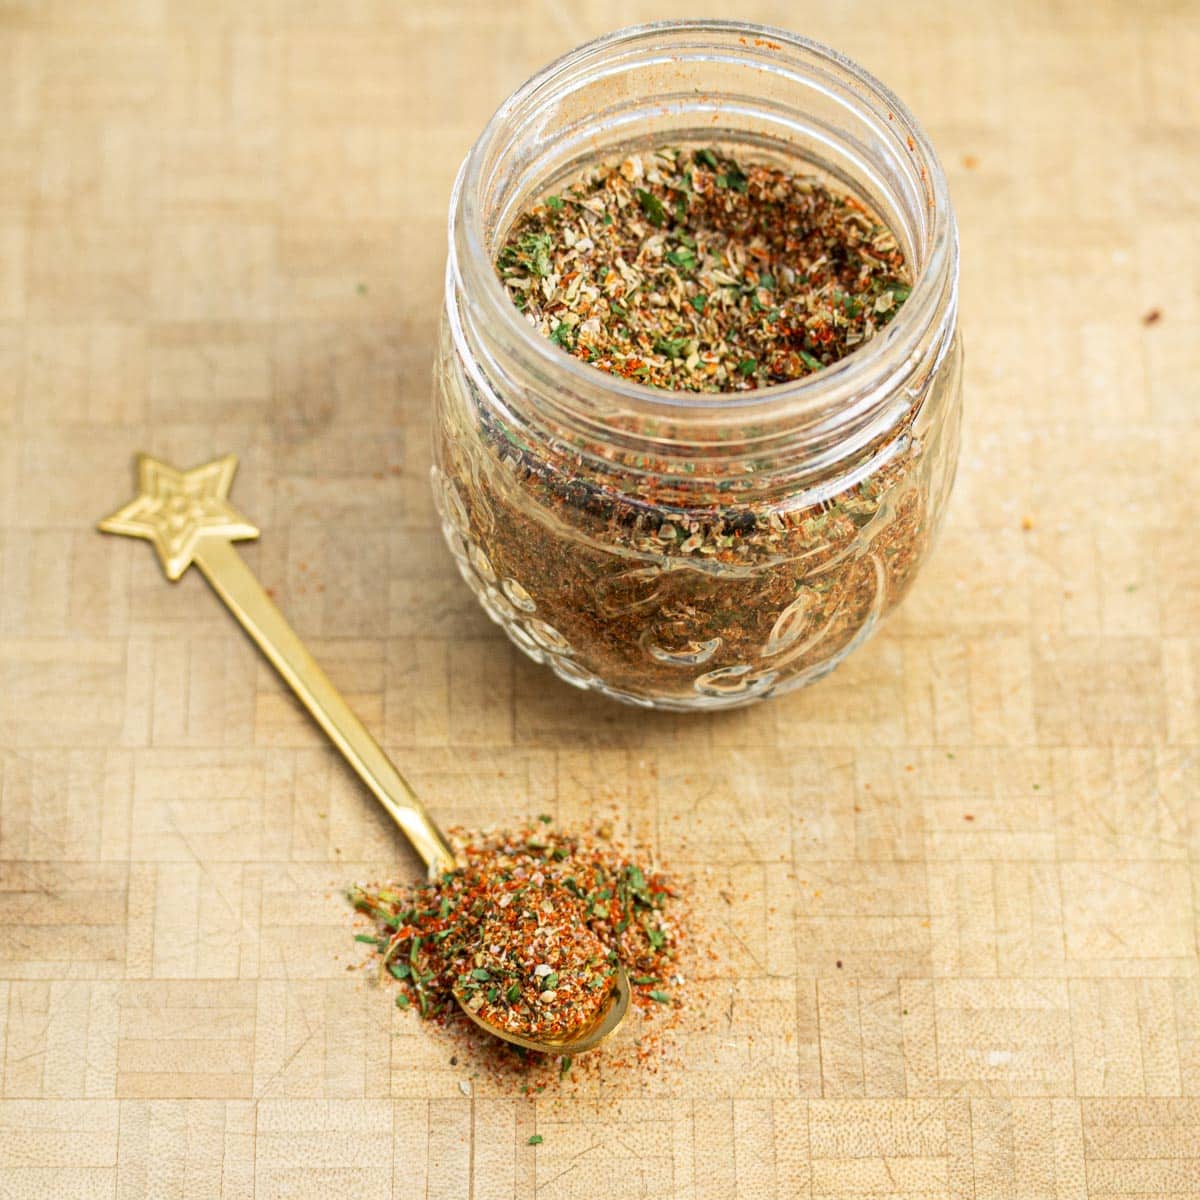
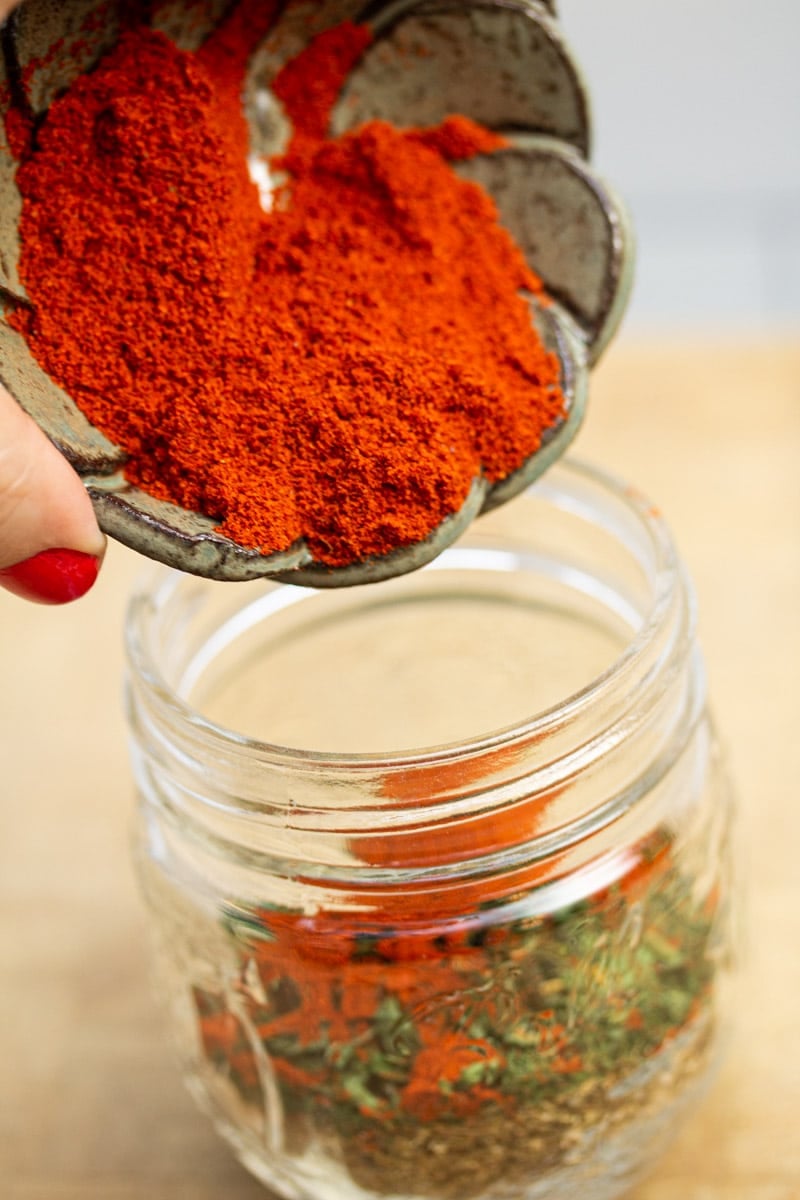
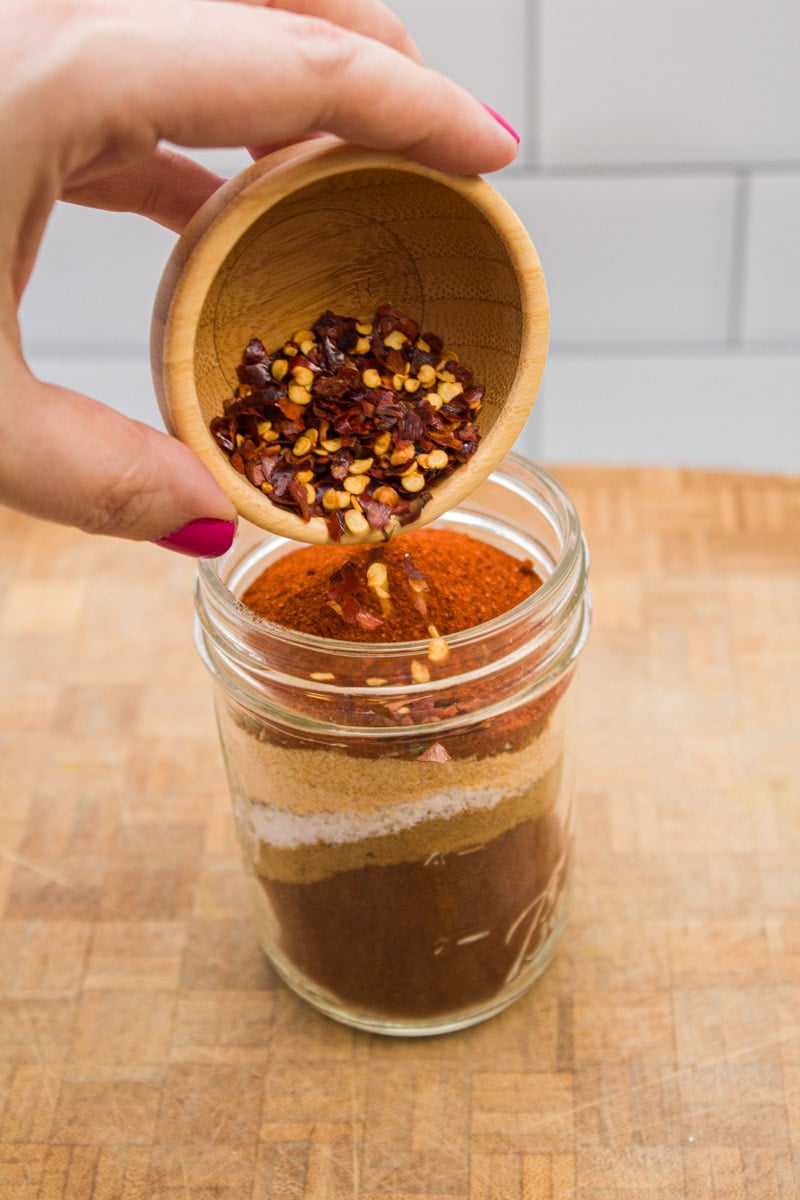
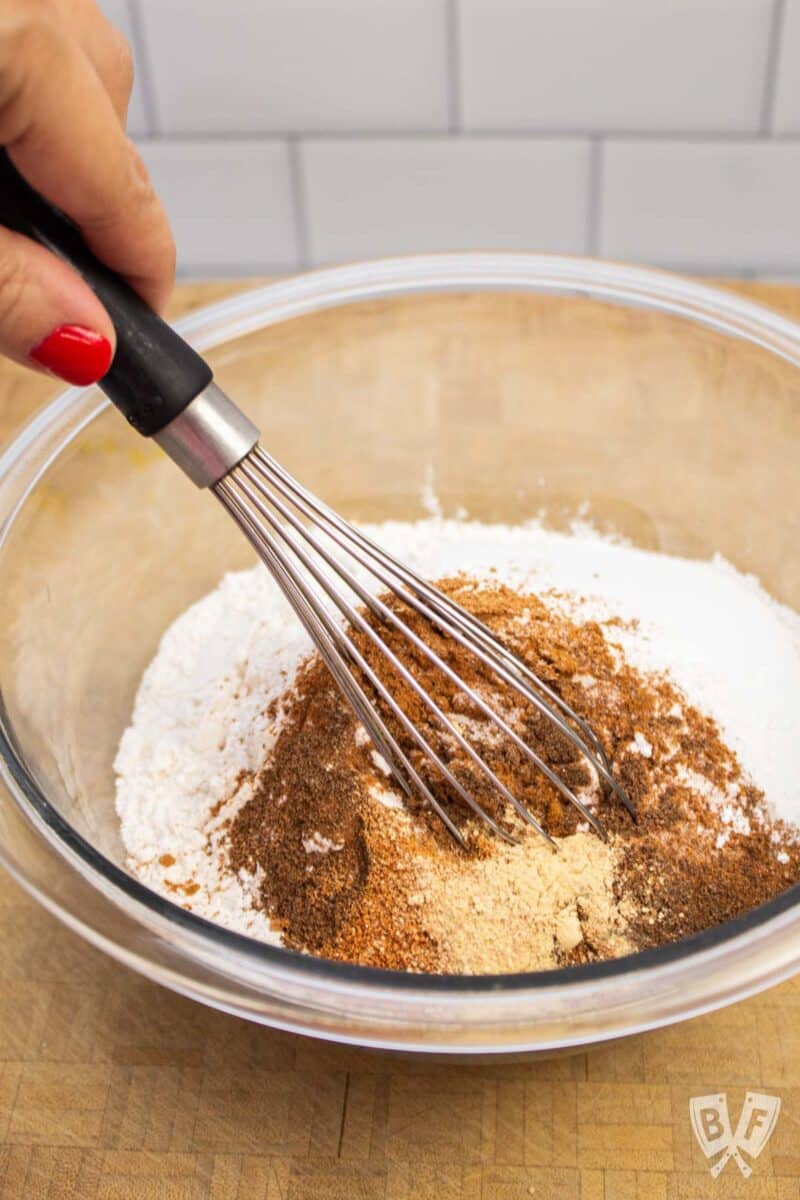
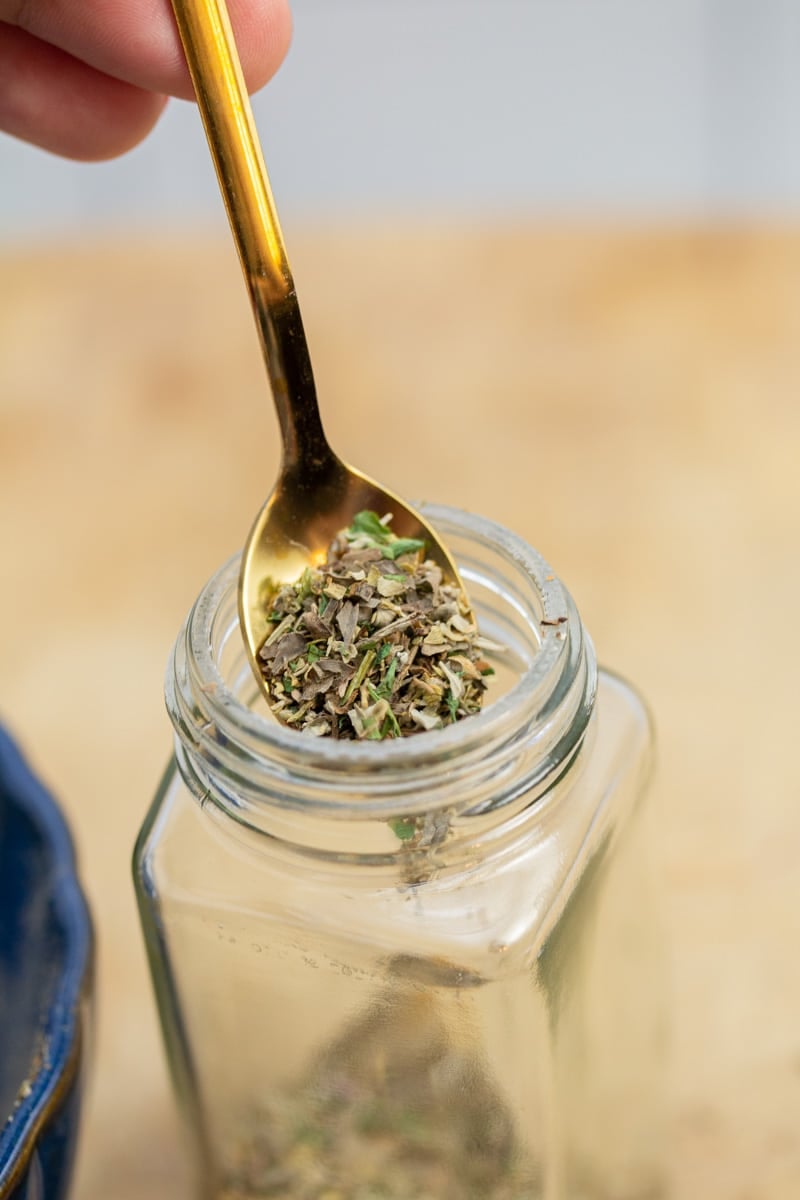
✅ How to make this recipe
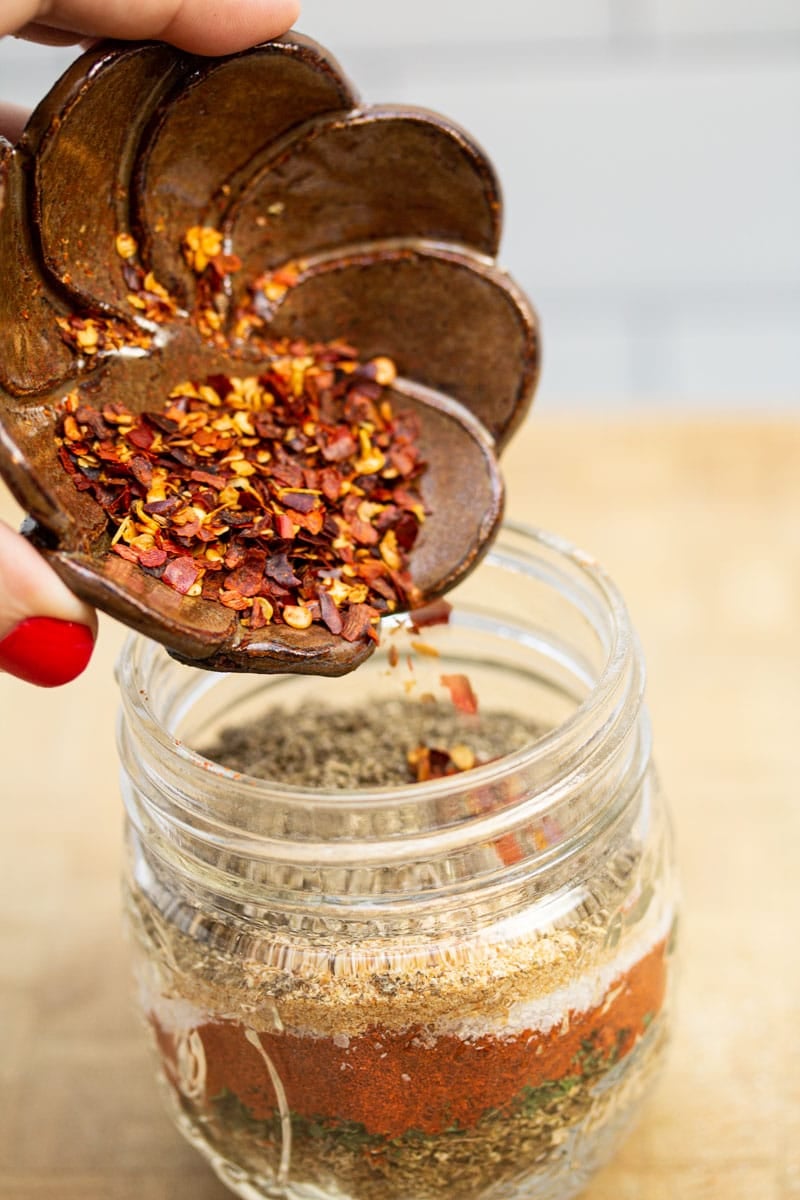
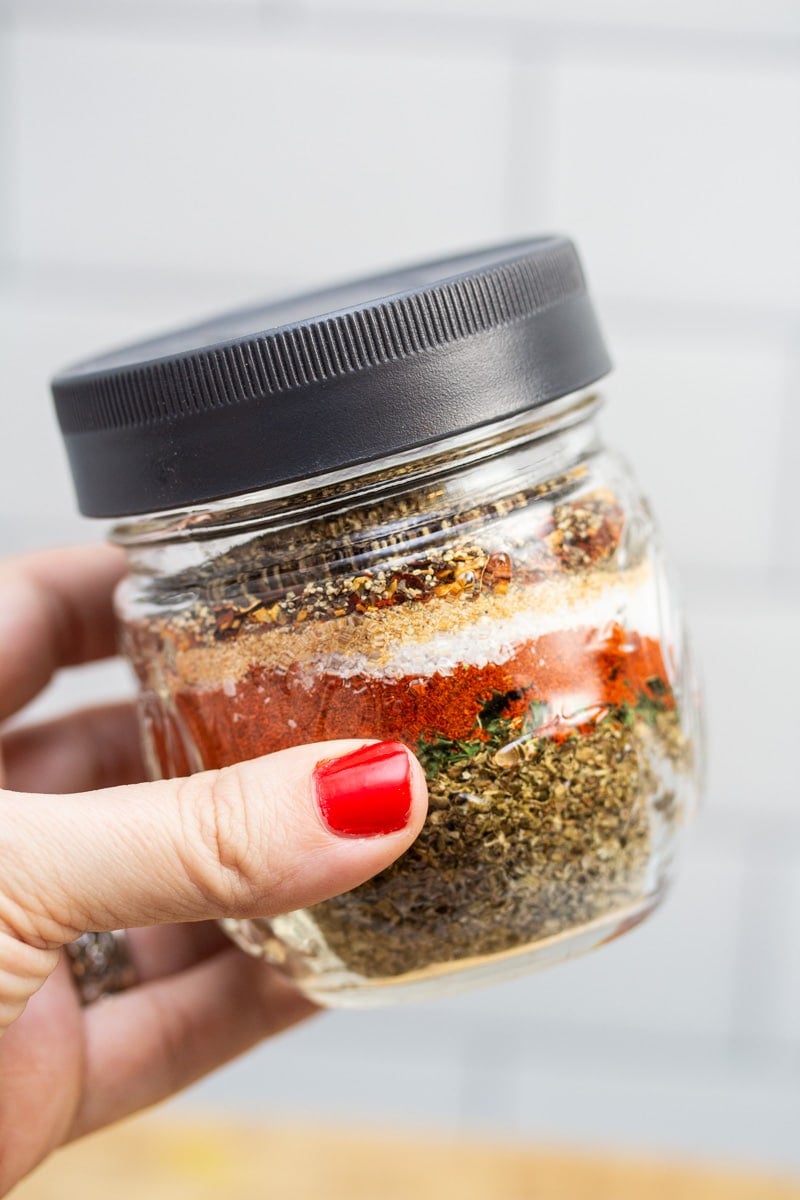
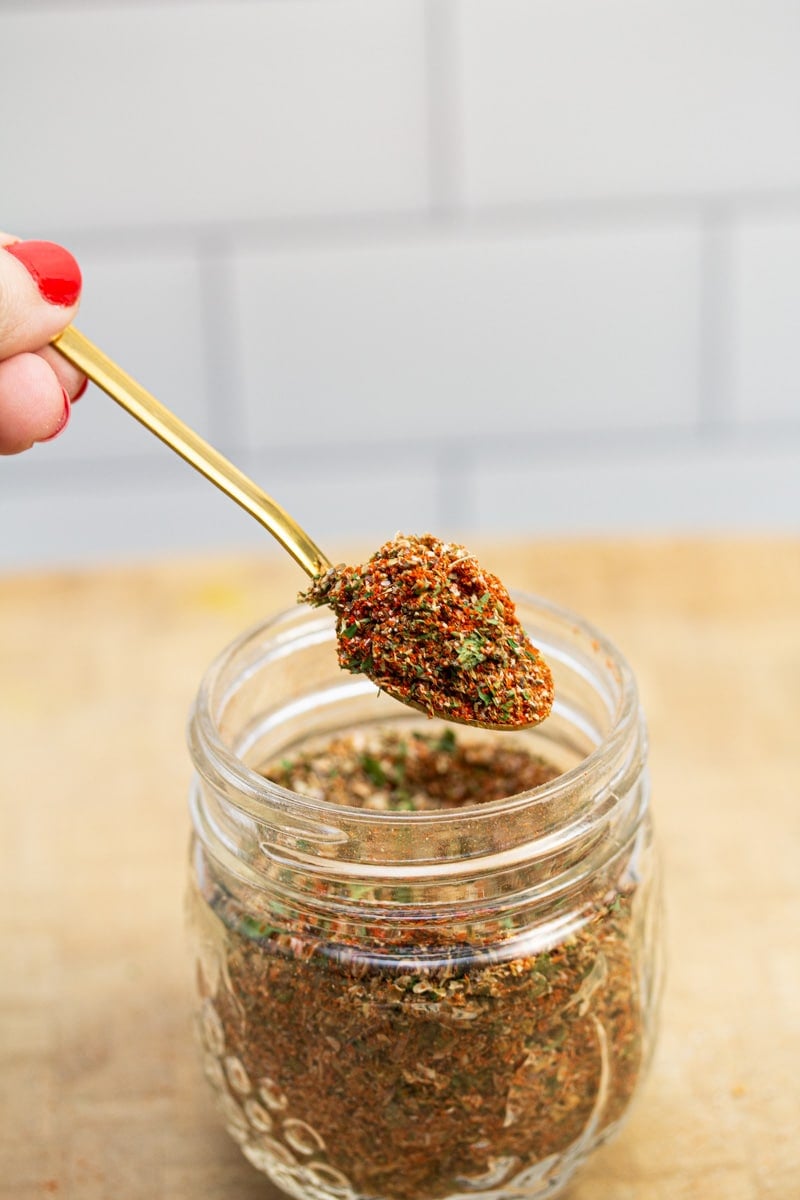
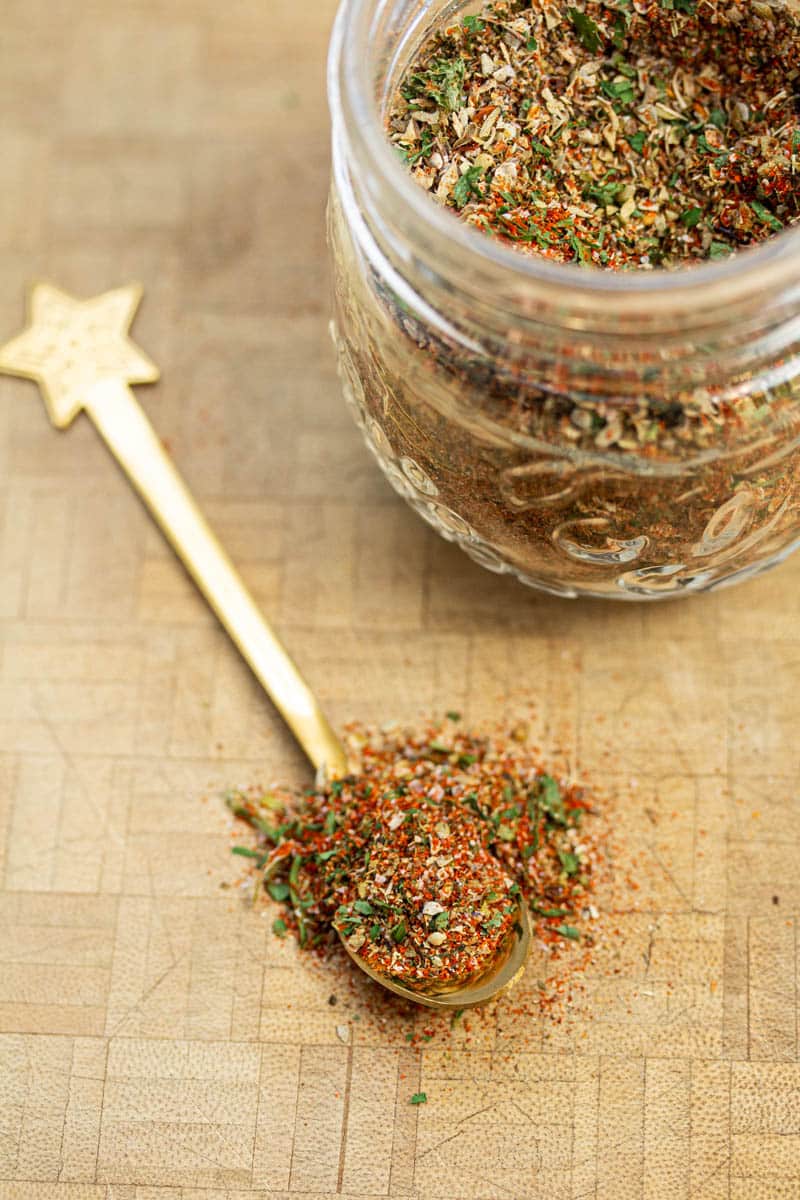
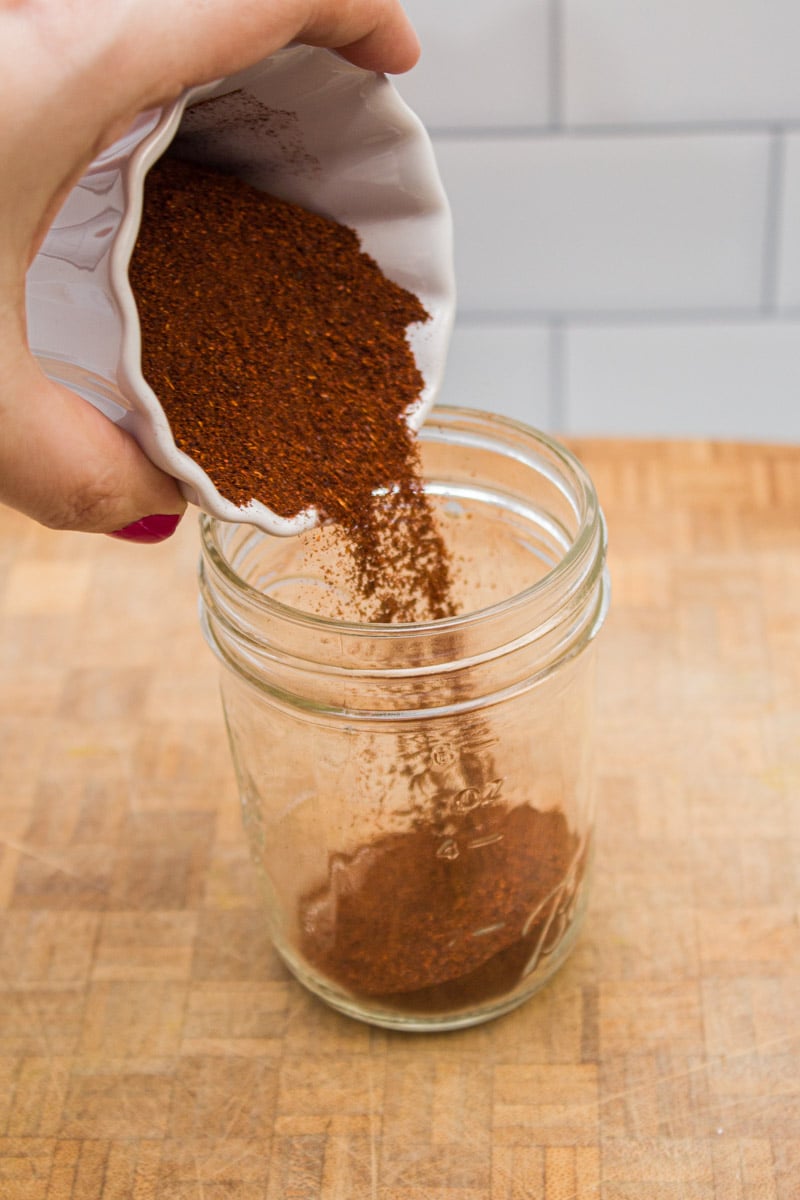
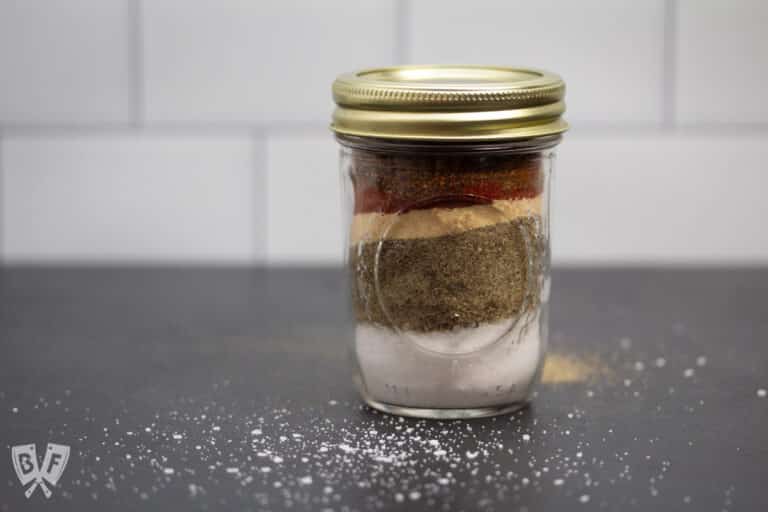
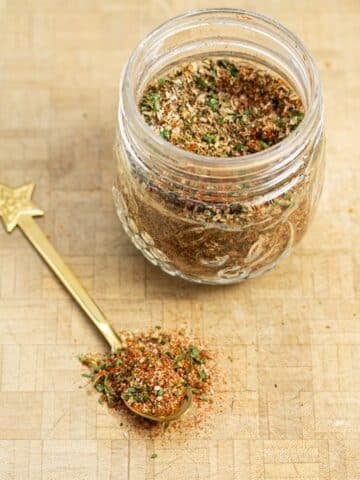
This recipe is super simple to put together! Just add all of your ingredients to a jar and shake to combine!
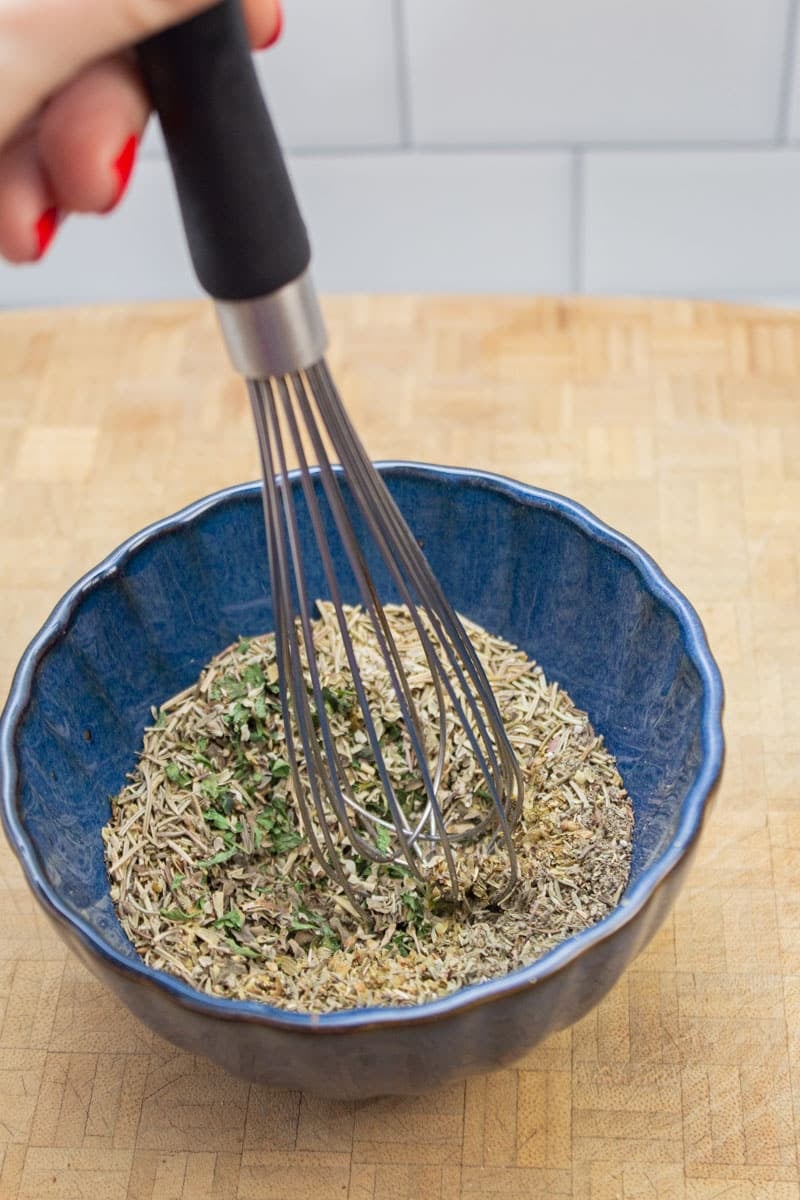
You could also stir or whisk everything together in a bowl and then transfer it to your storage container(s) of choice.
See recipe card below for full instructions.
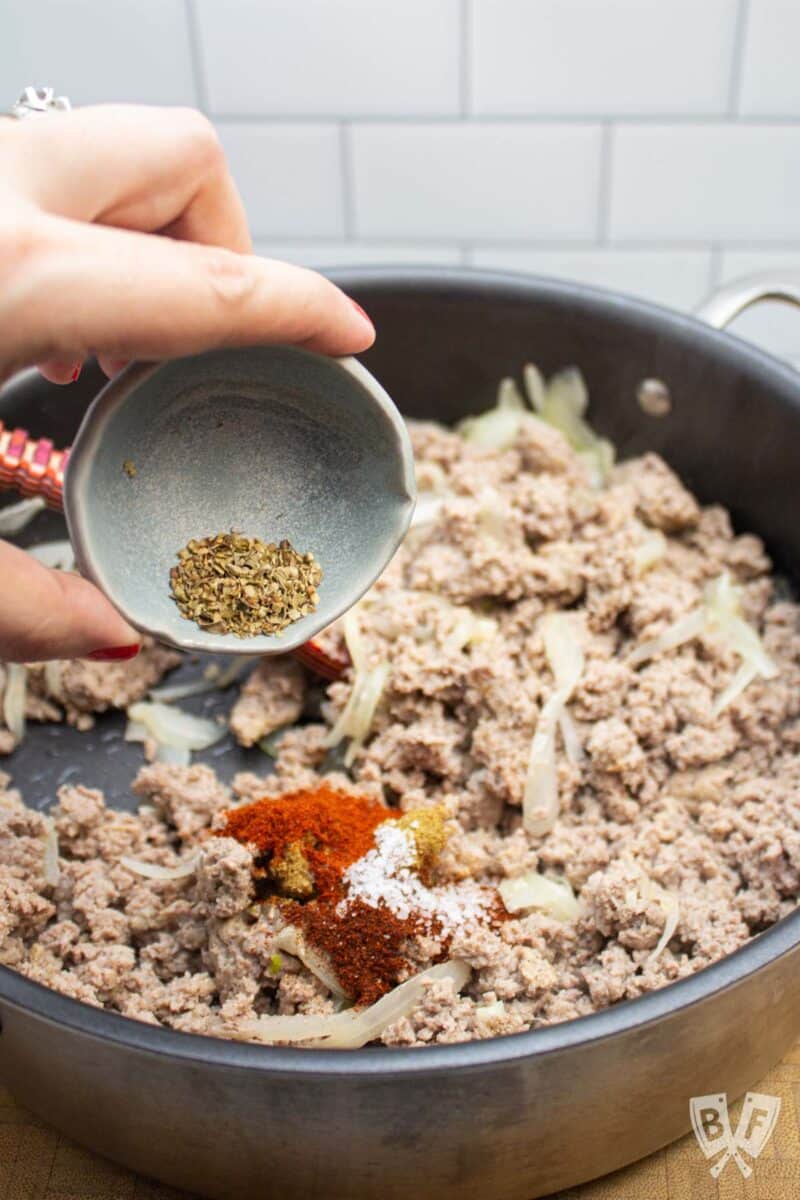
💡 Ways to use Italian seasoning
There are lots of ways that you can use this Italian seasoning blend. Here are a few of my favorite ways:
- Season plain breadcrumbs (no need to buy pre-seasoned!)
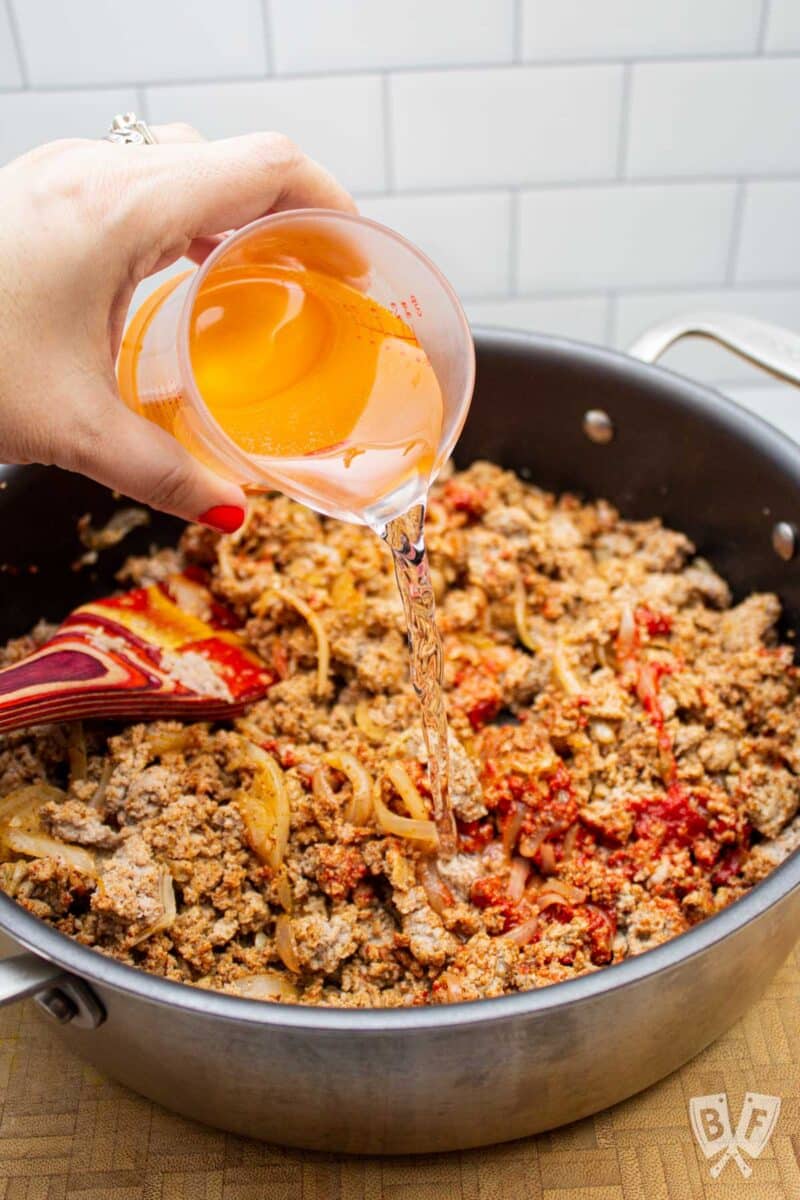
- Use it to turn canned tomatoes into Italian seasoned tomatoes
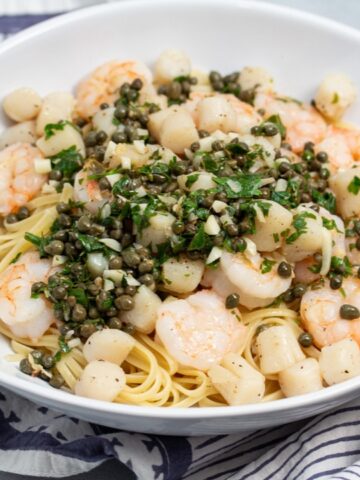
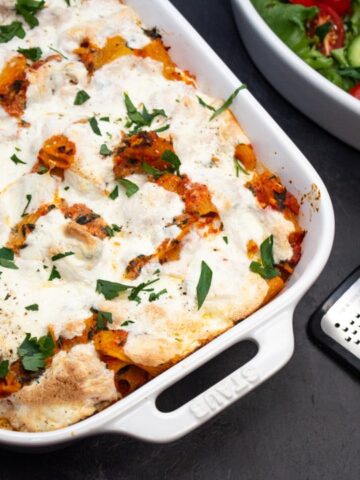
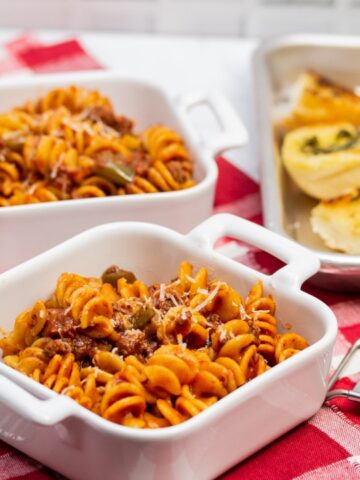
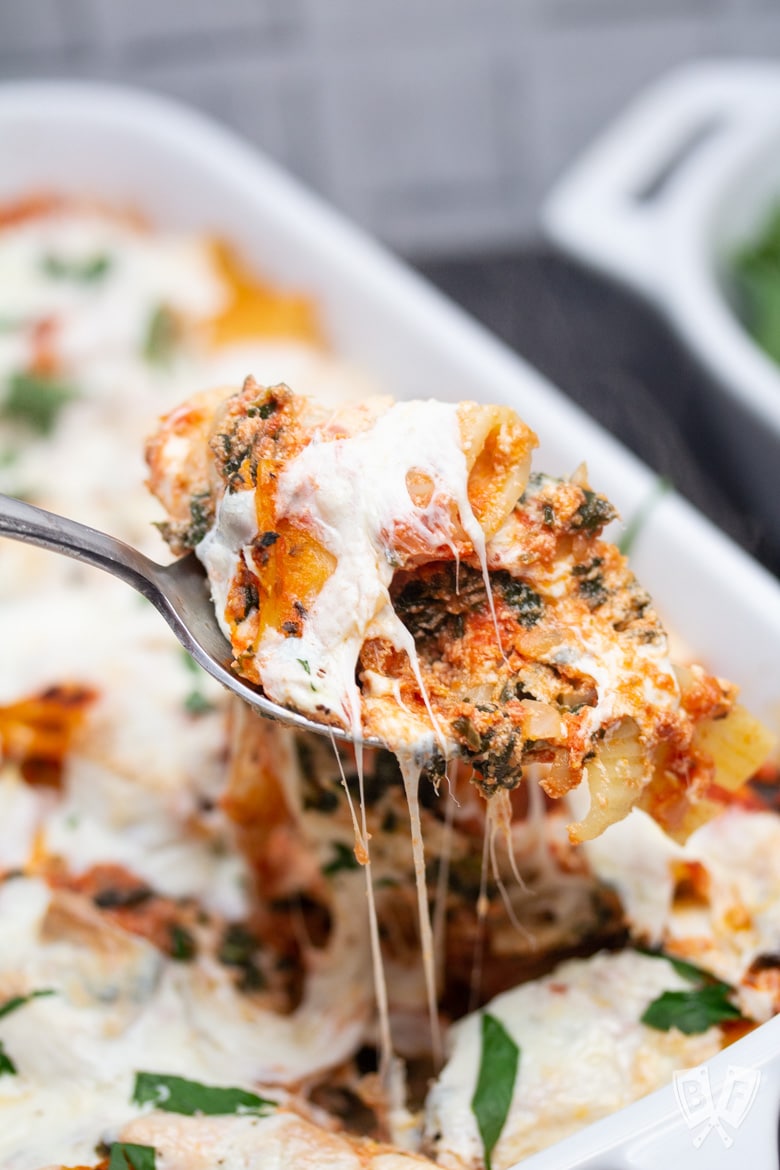
- Add to pizza or pasta sauces to amp up the Italian flavor
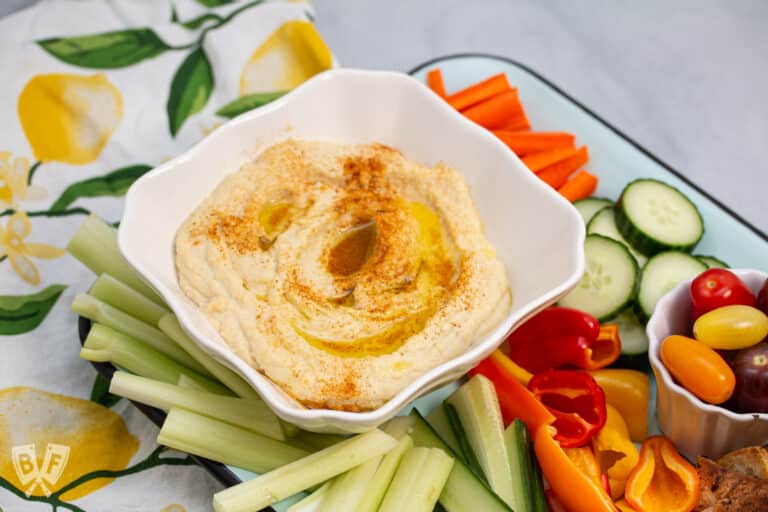
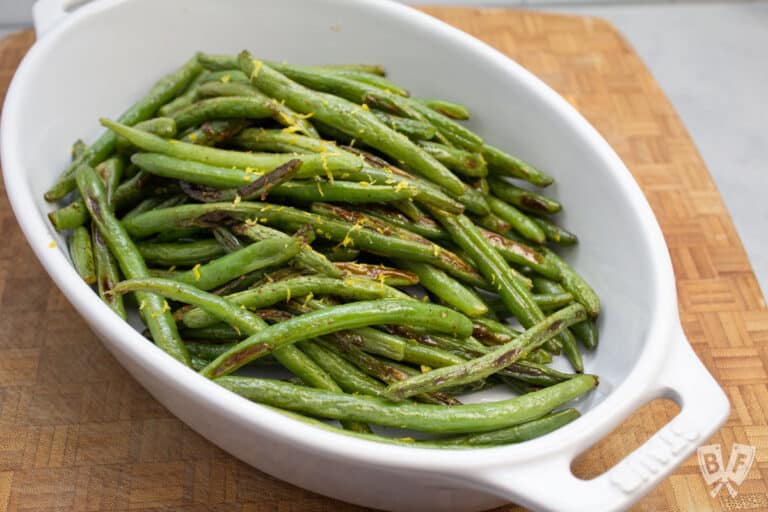
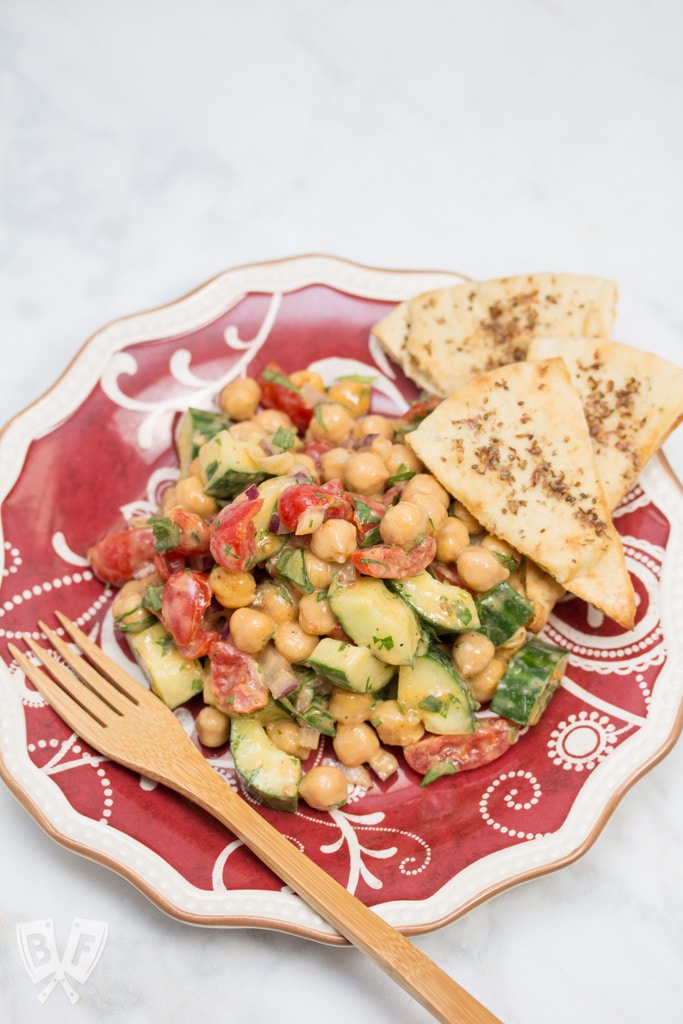
- Drizzle vegetables with olive oil and sprinkle with Italian seasoning before roasting
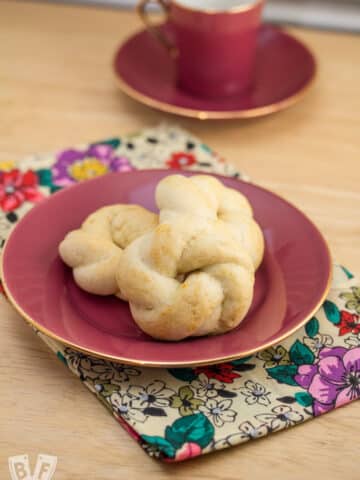
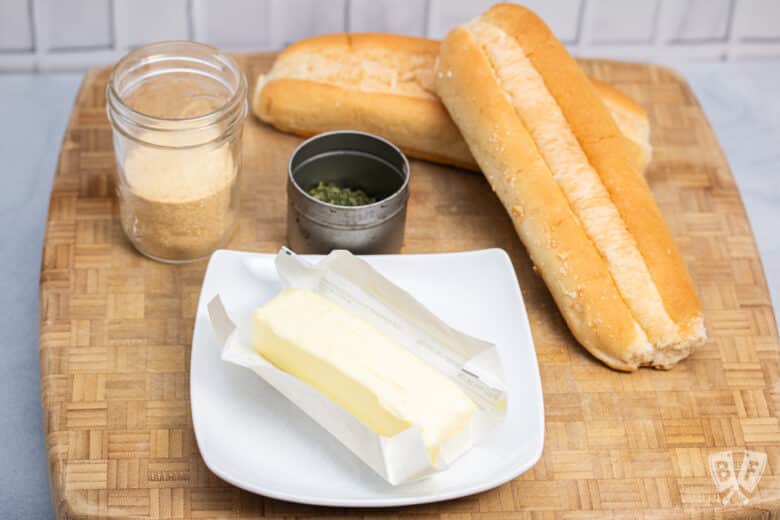
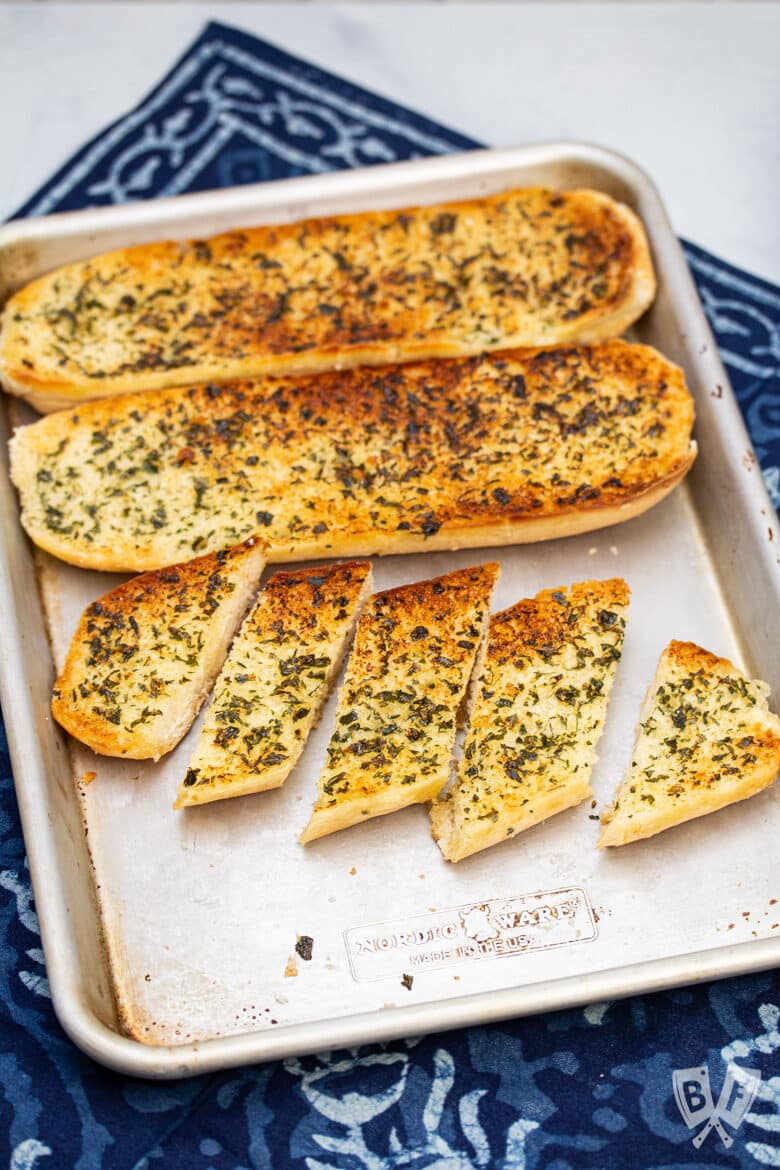
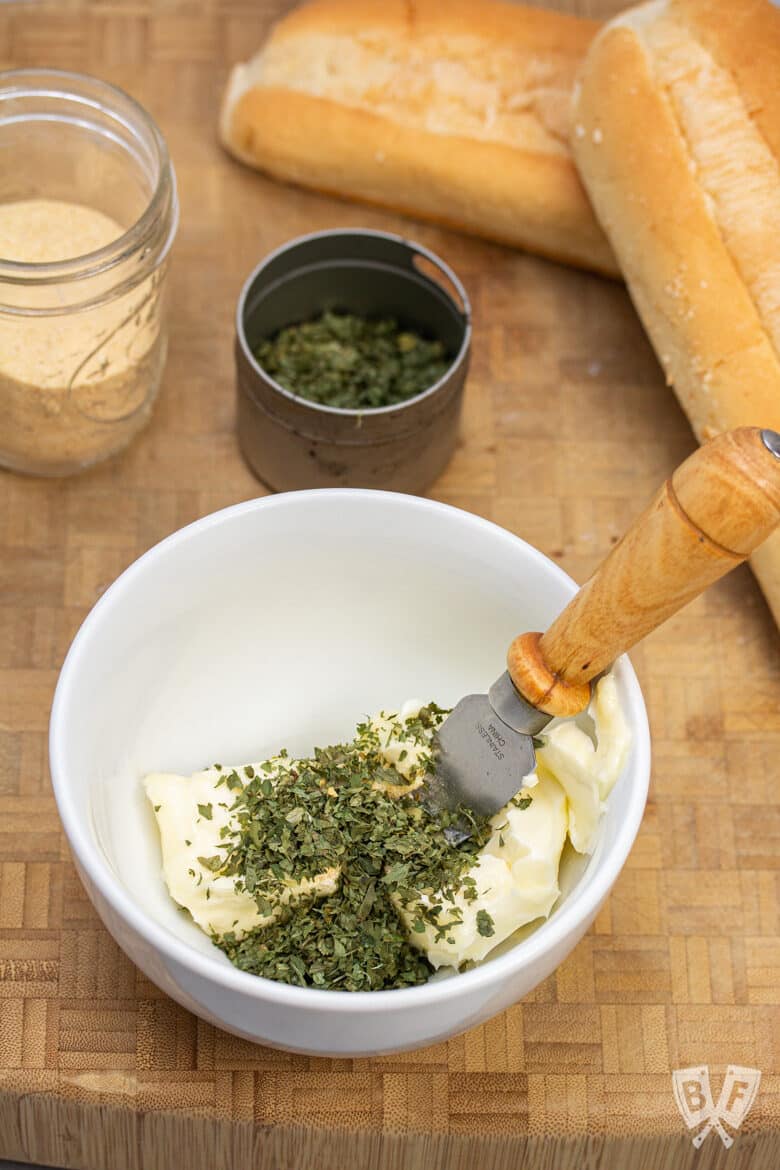
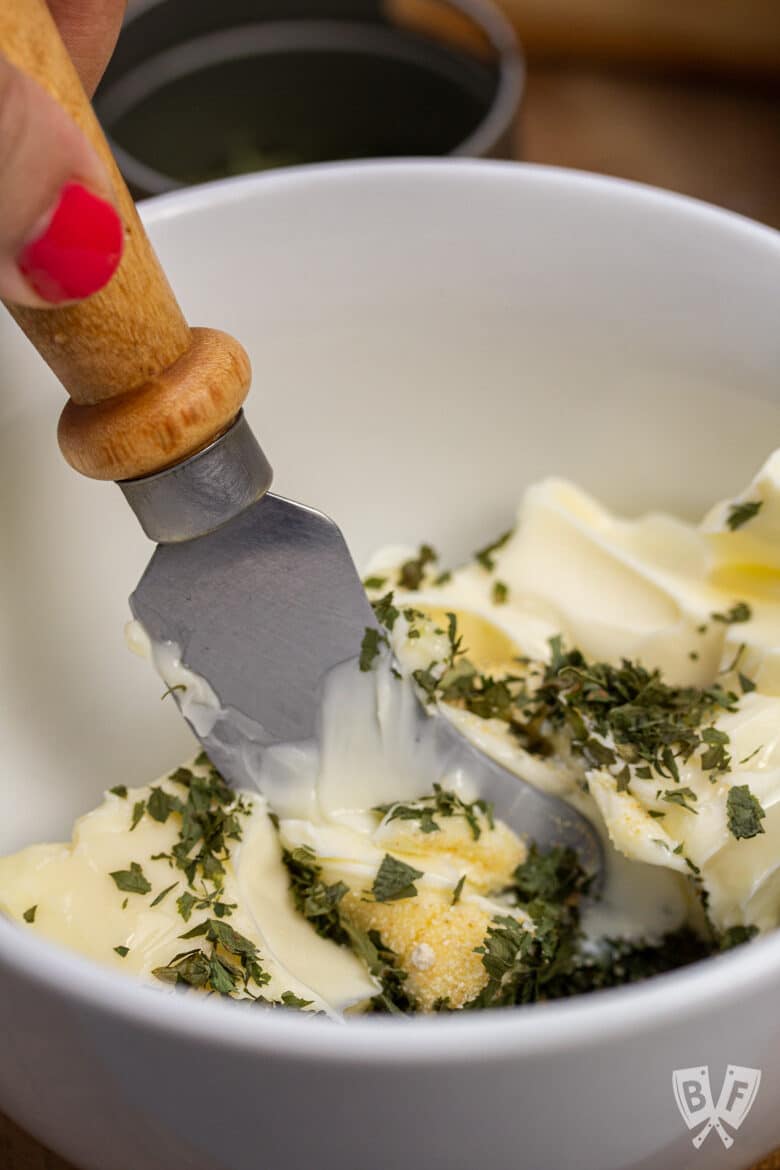
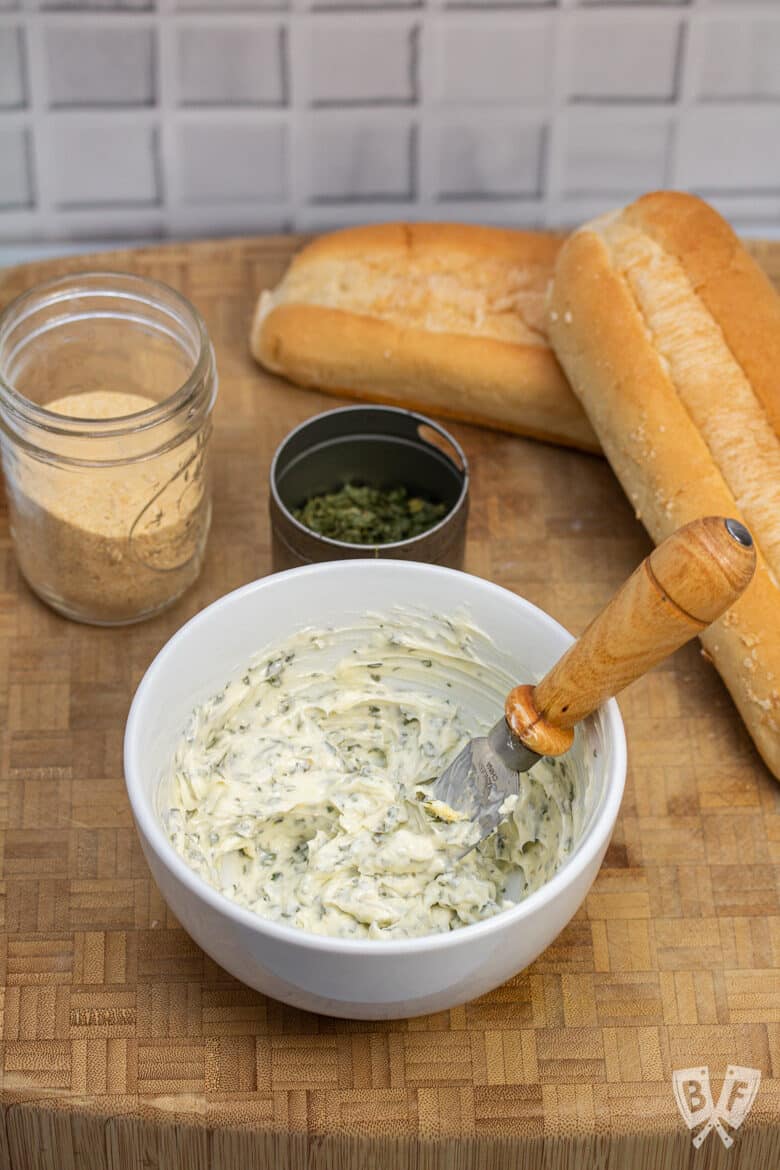
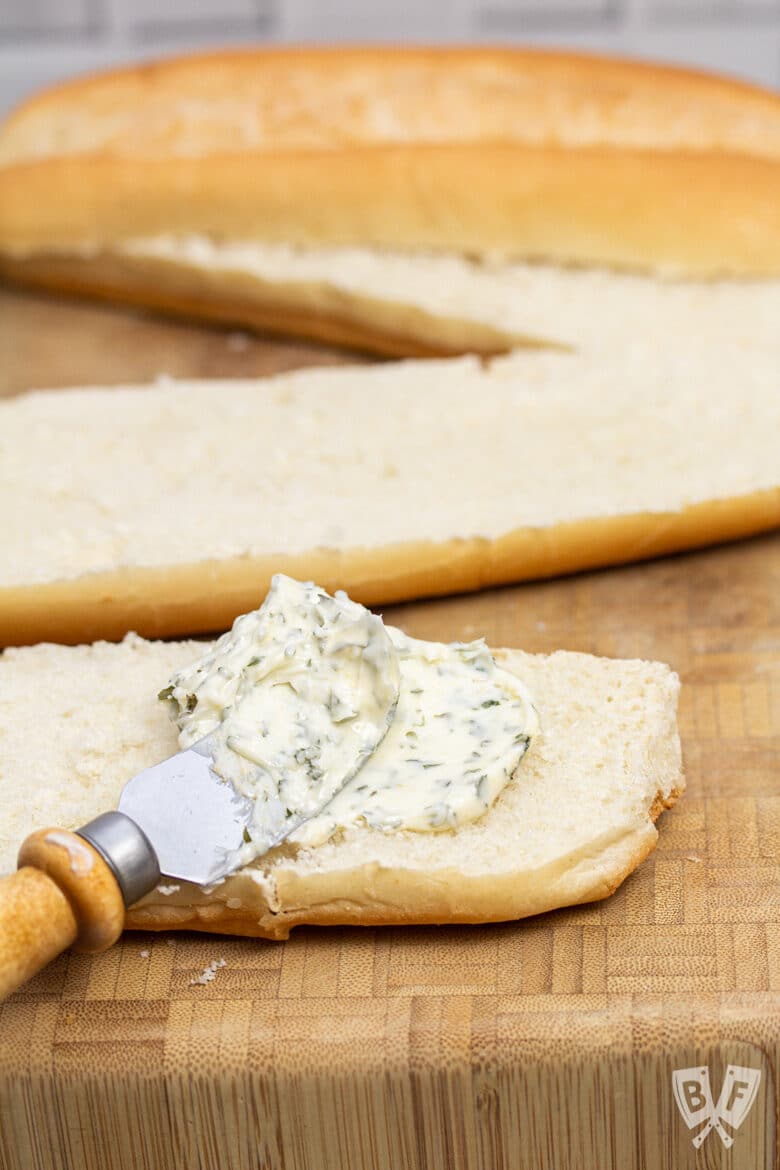
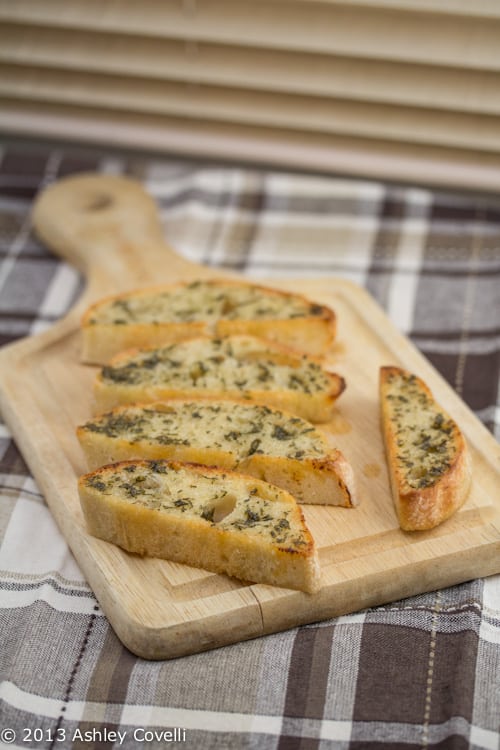
- Swap out the dried parsley for Italian seasoning when making garlic butter for homemade garlic bread
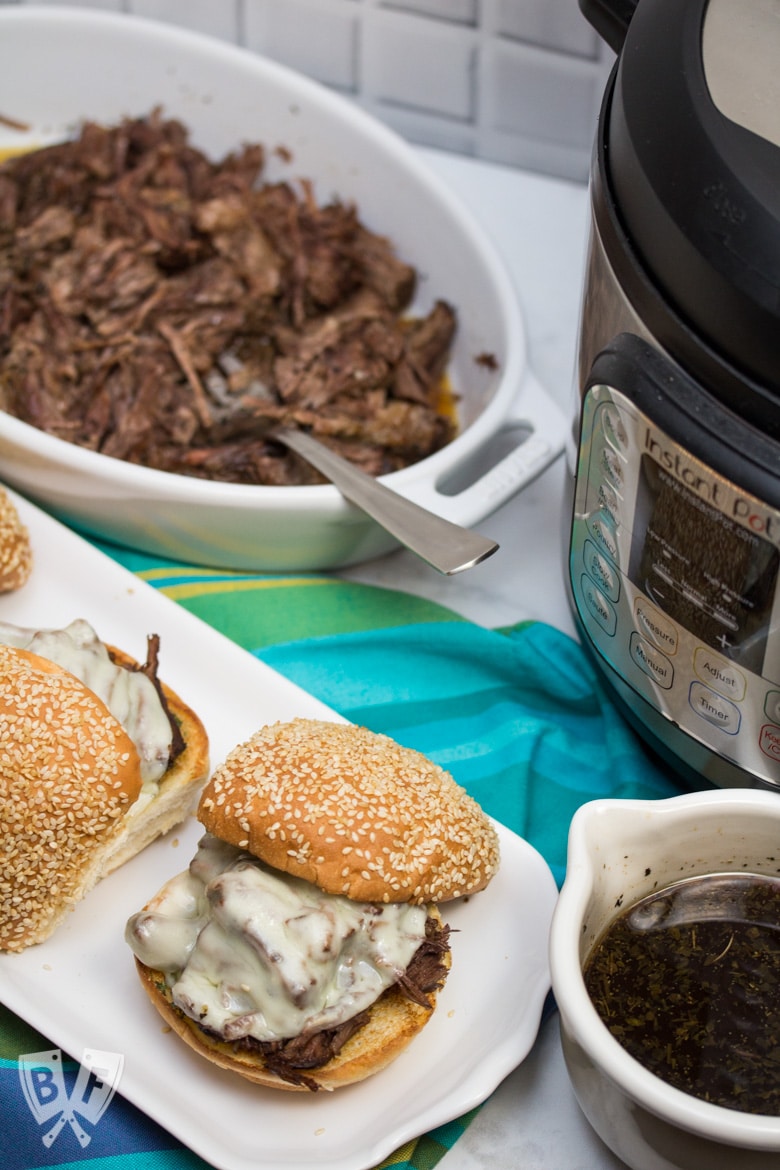
- Add it to the butter mixture when making French dip sandwiches
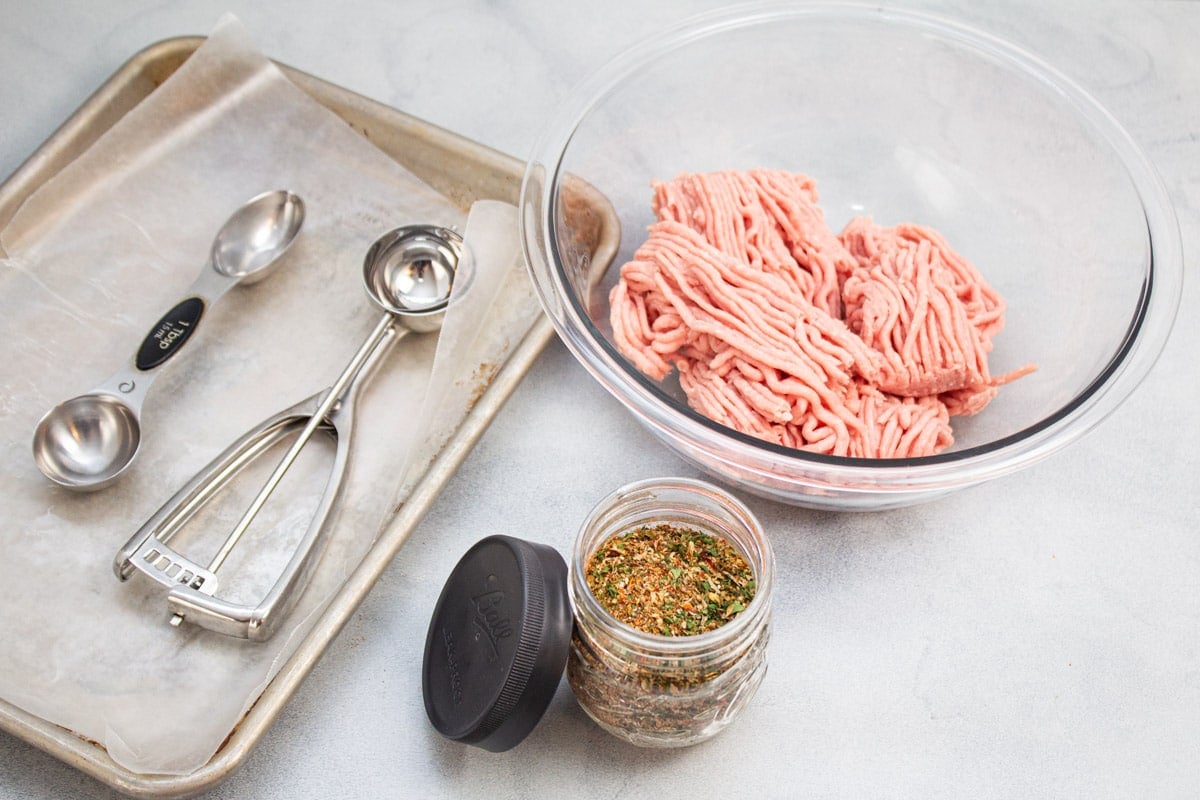
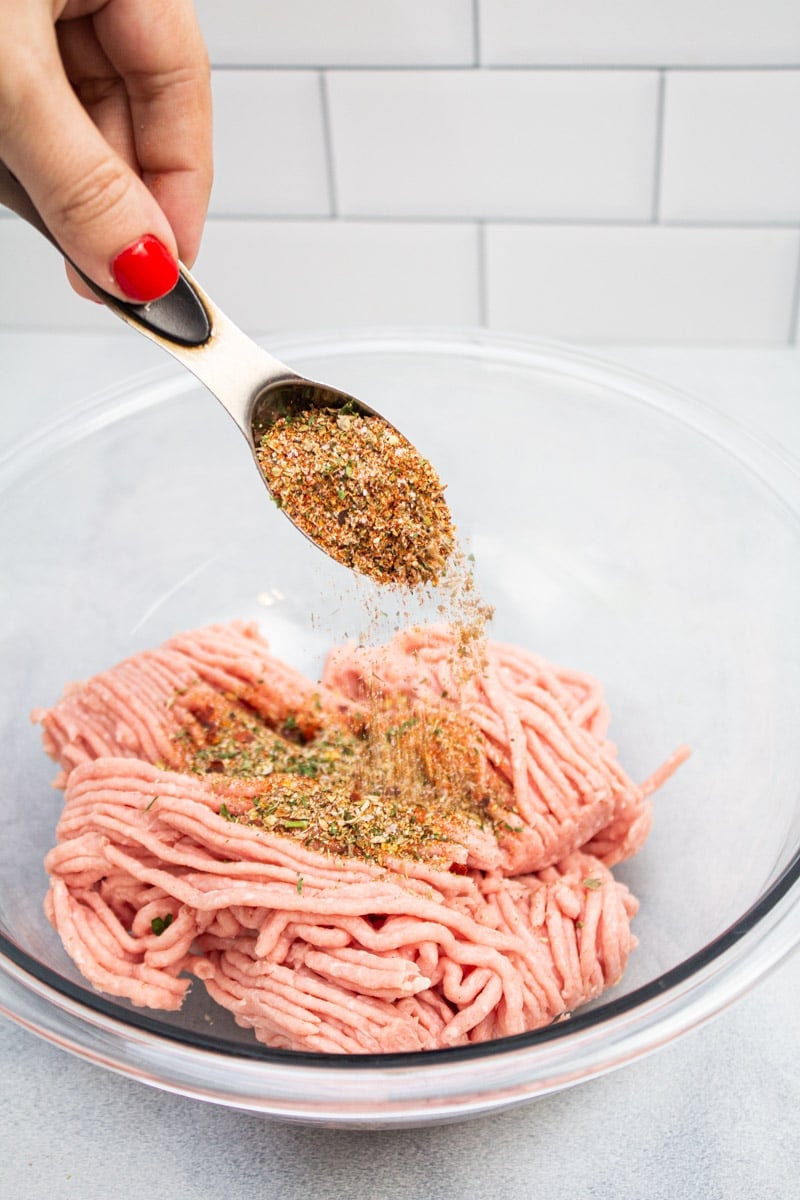
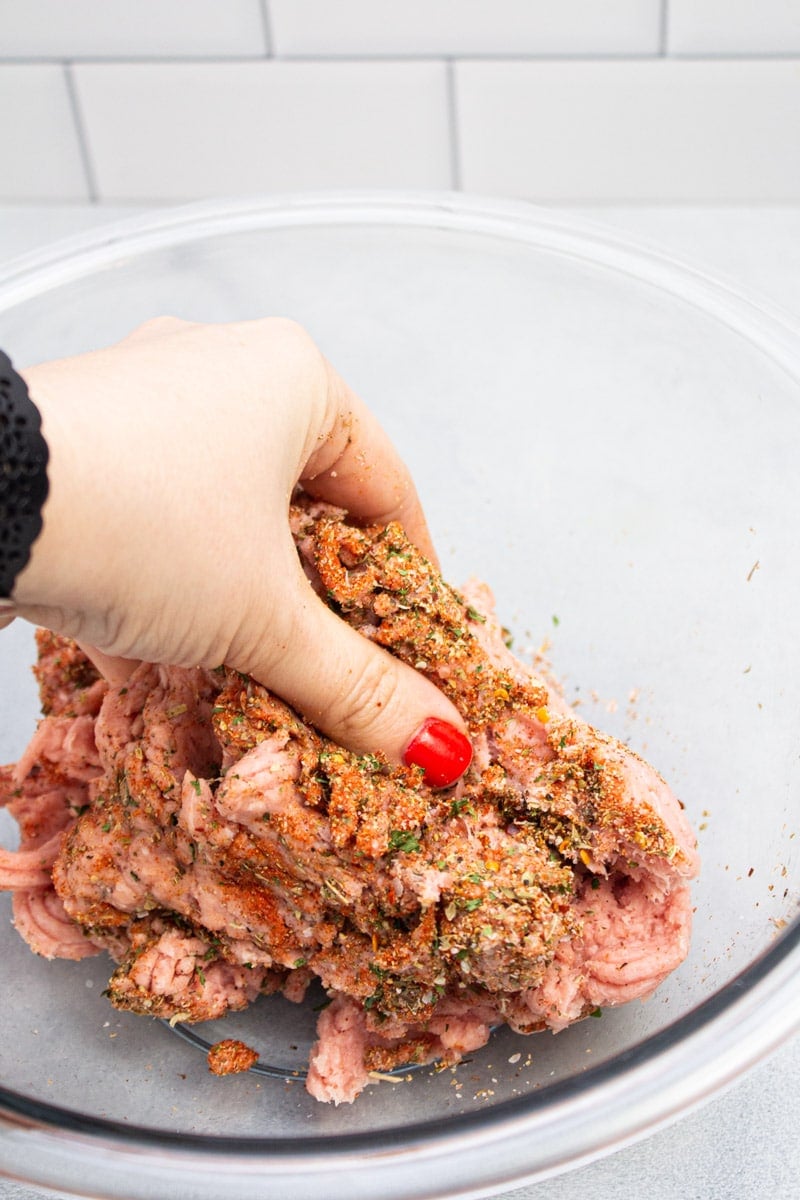
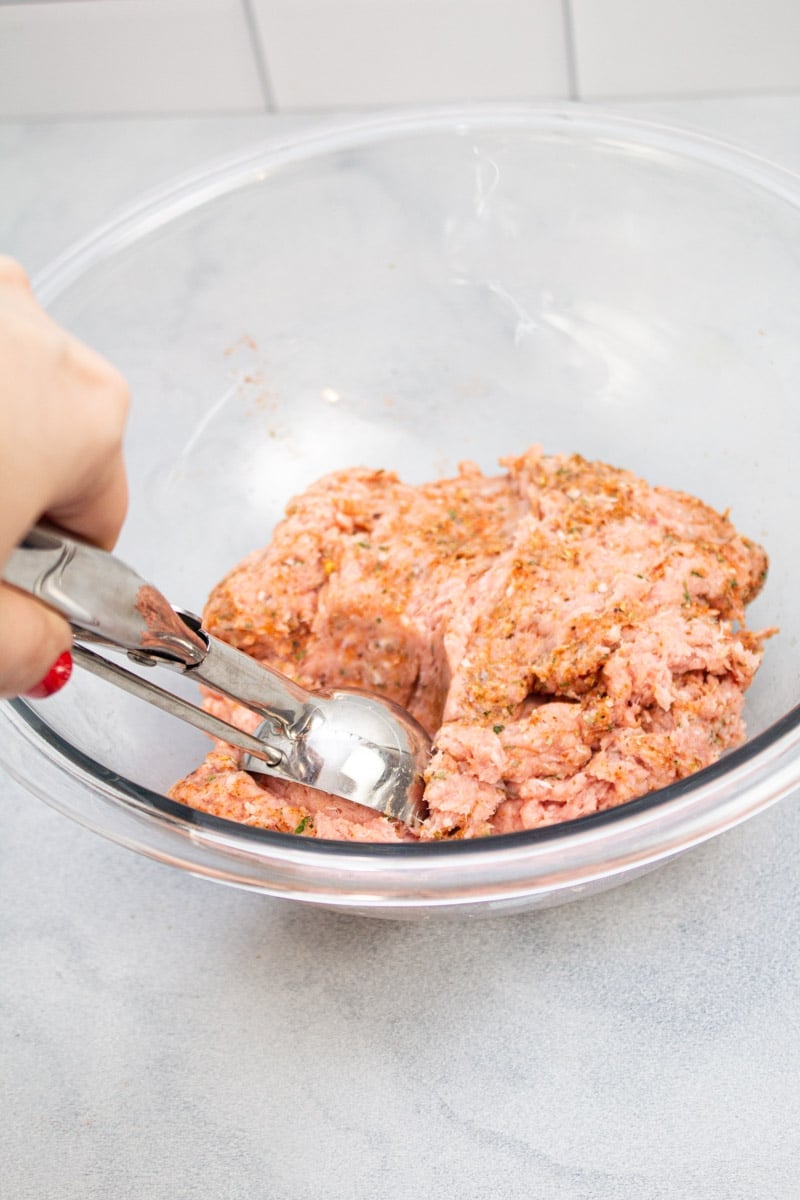
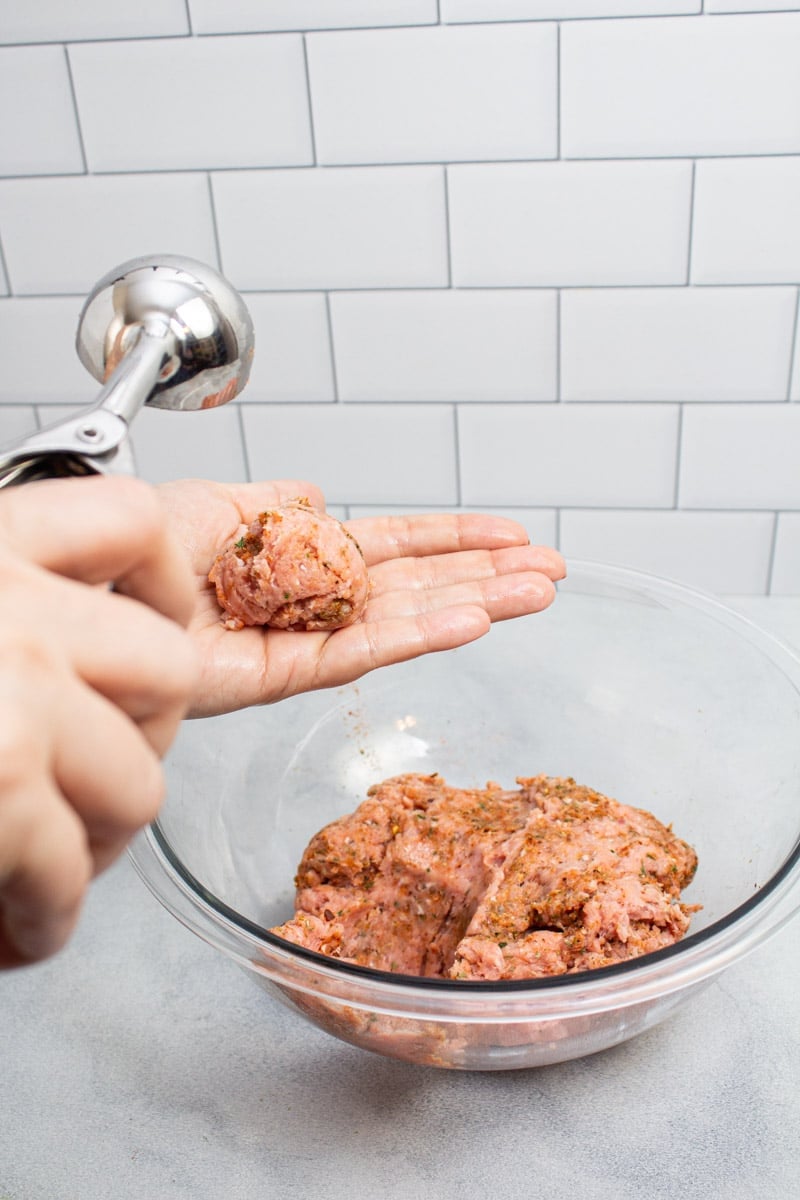
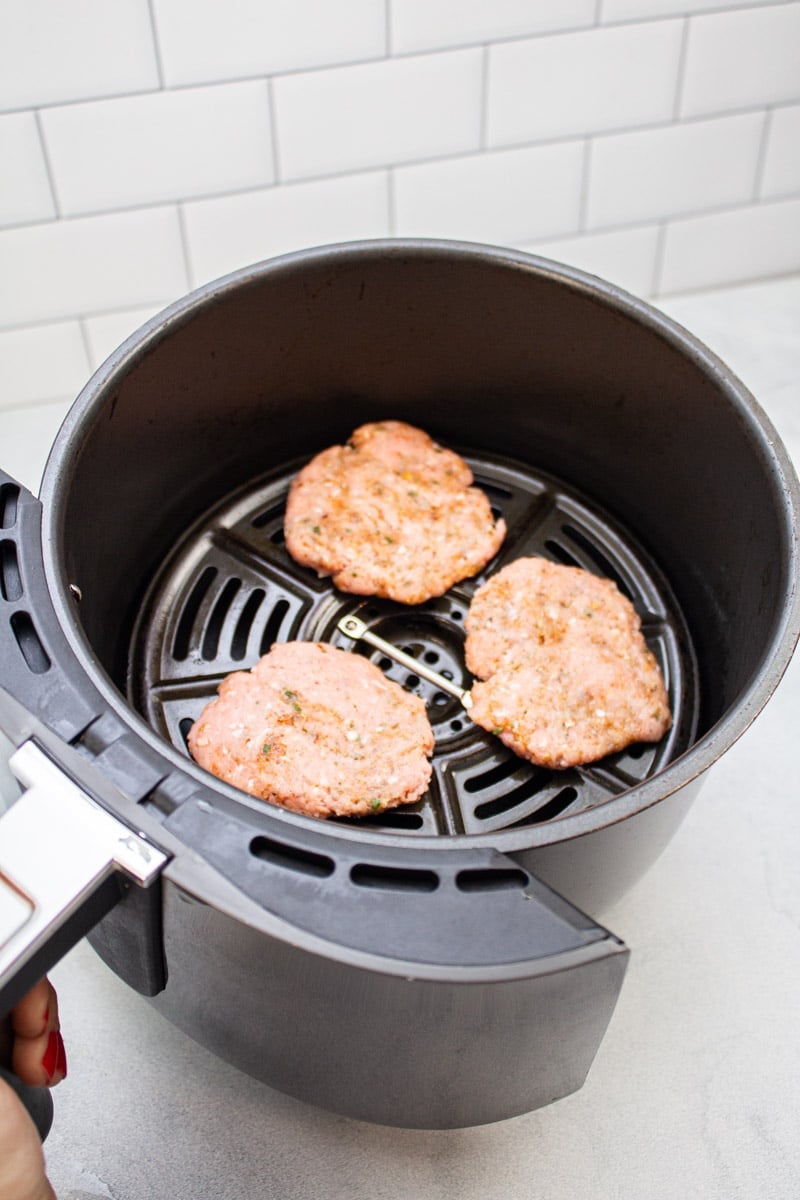
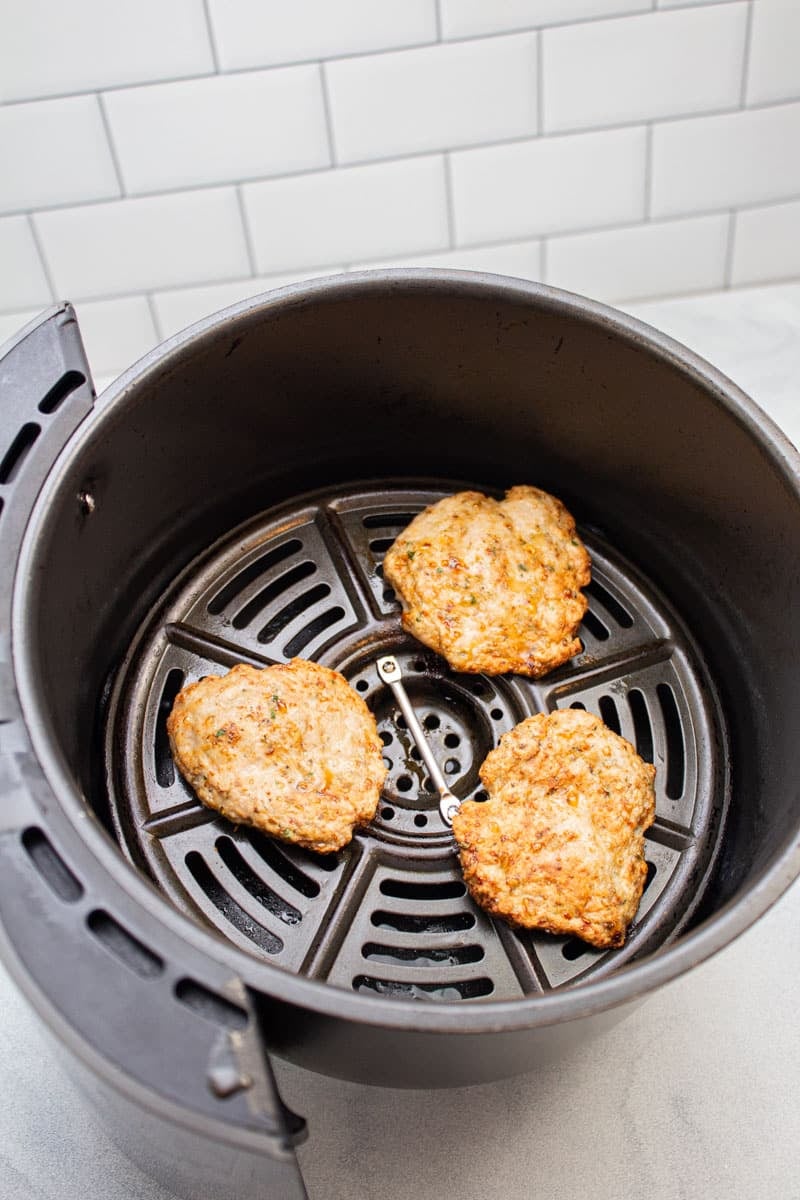
- Mix into meatballs or burger patties before cooking
- Add it to homemade vinaigrette to add some Italian flavor
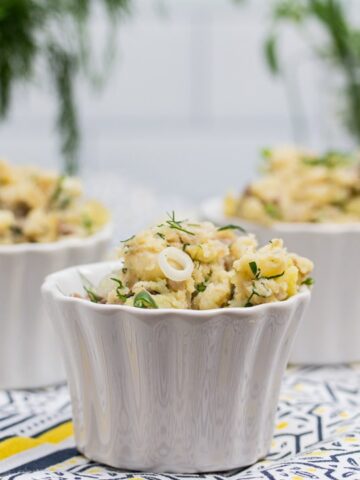
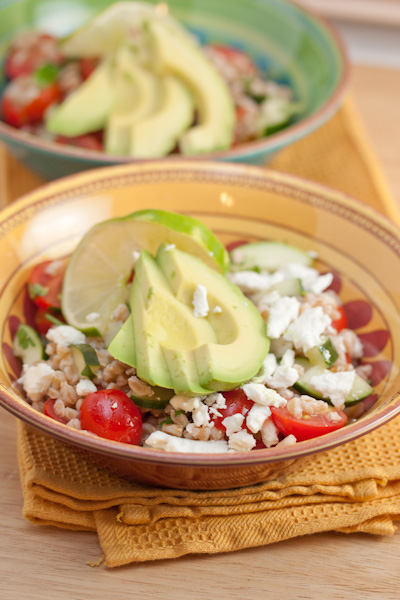
- Sprinkle into the dressing for your favorite pasta salad

🌱 Eco-Friendly Tip
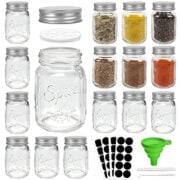
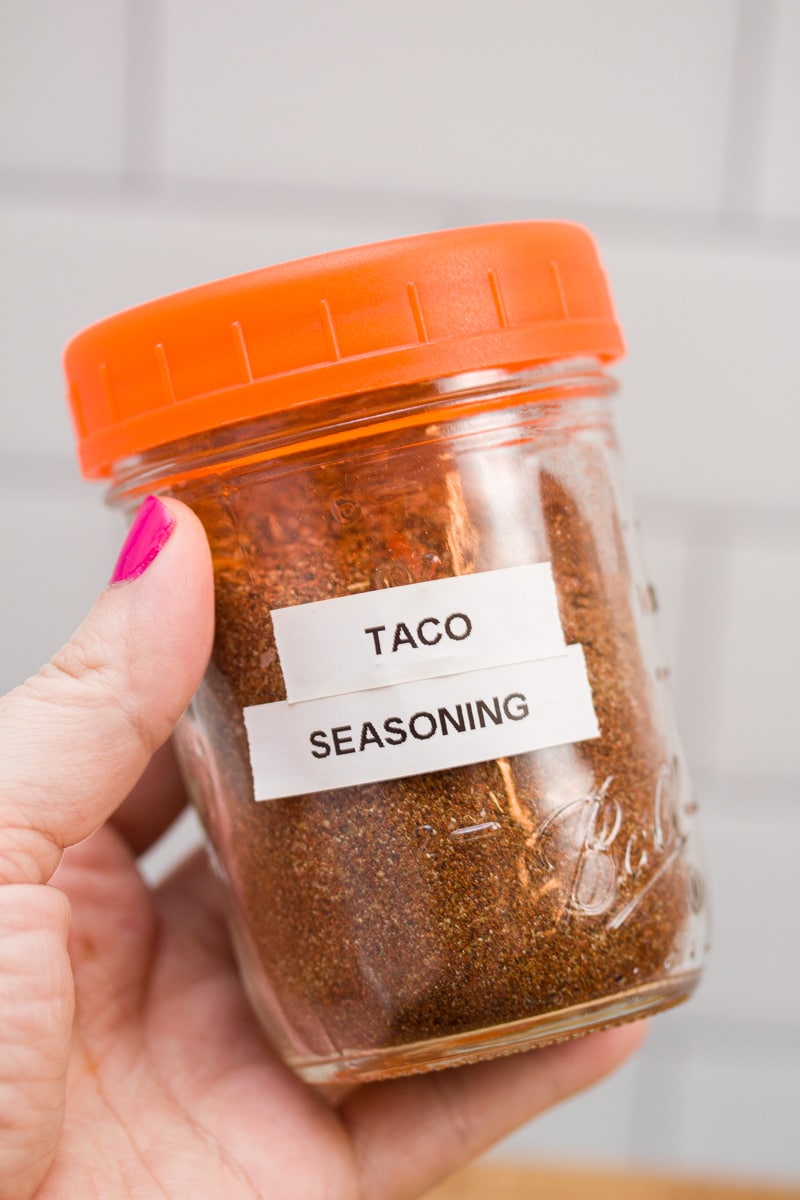
Eco-friendly tip: Hang on to empty spice jars as you use them in your kitchen. That way when you have a homemade spice blend, you already have a perfect storage container!
You can remove the label from old jars and tins and write on them with a permanent marker. Or bust out your label maker and make a pretty new label if that's more your style.
I personally have a mix of both handwritten and "properly" labeled mixes in my house.
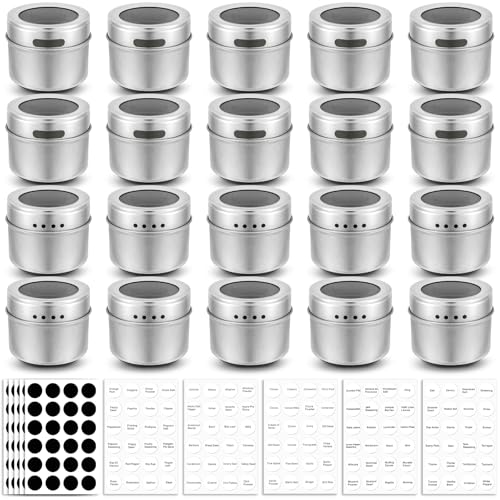
🫙 Equipment and storage recommendations
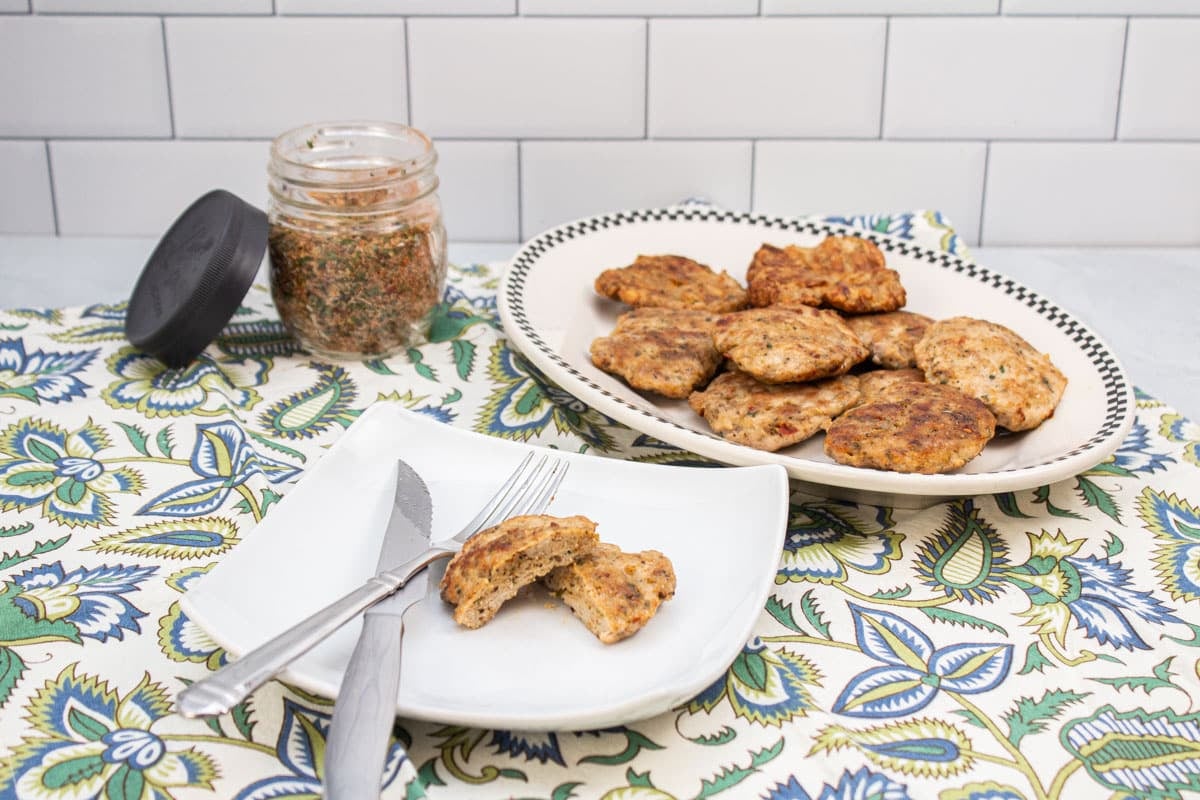
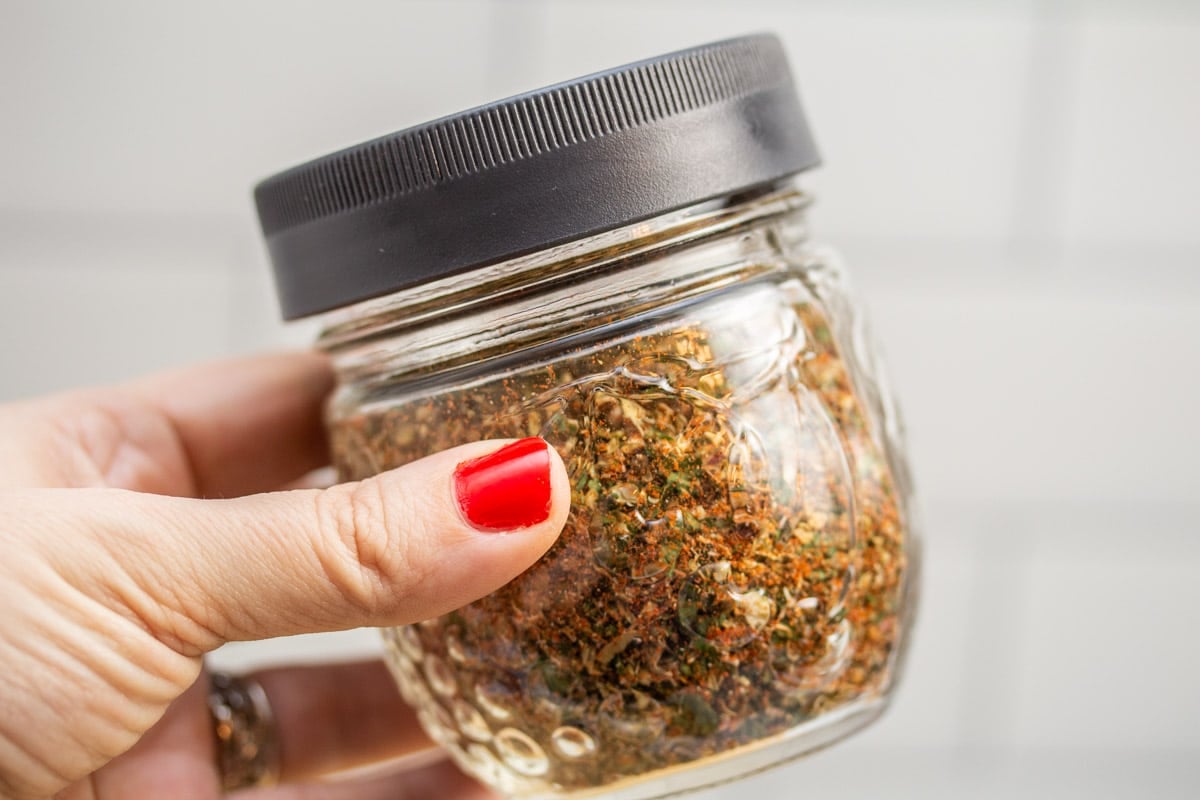
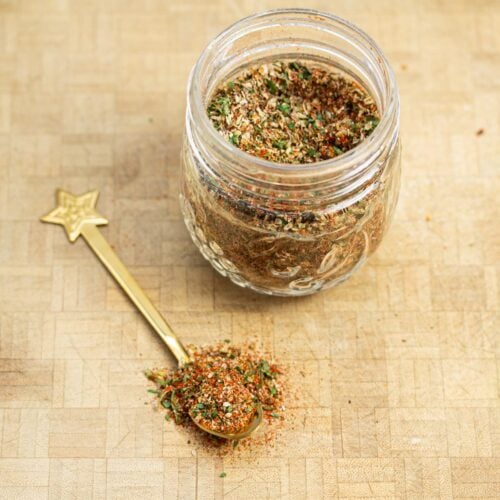
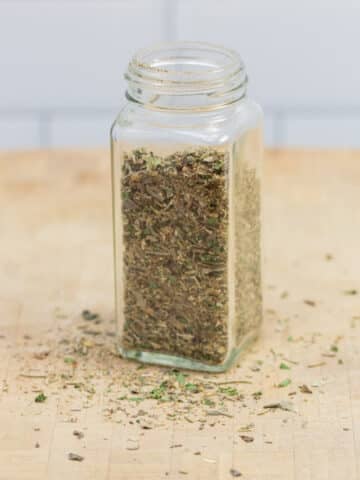
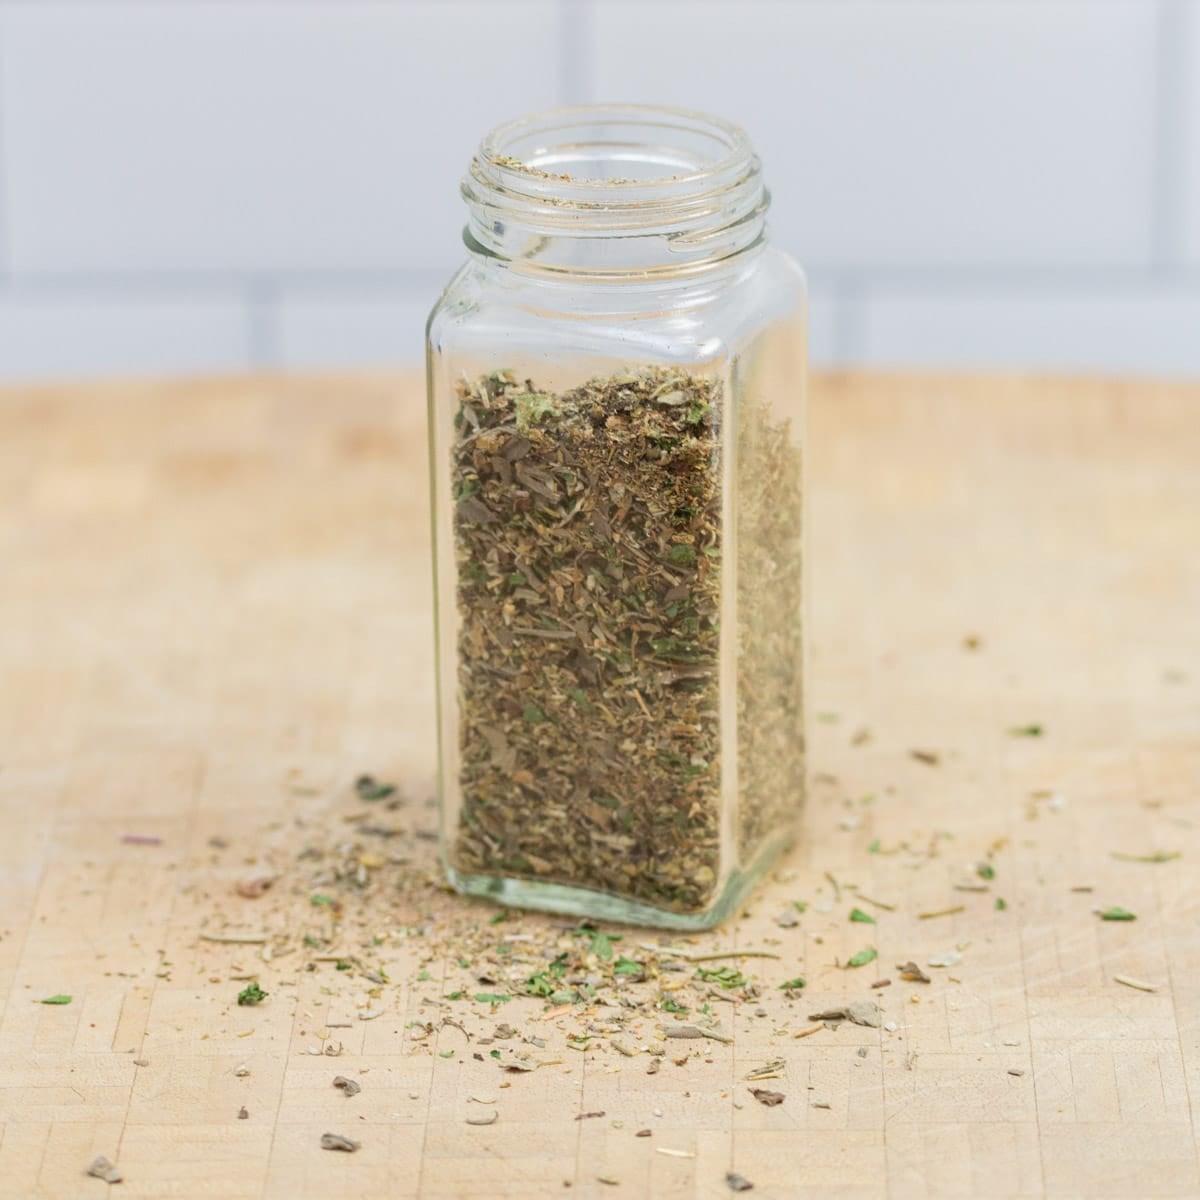
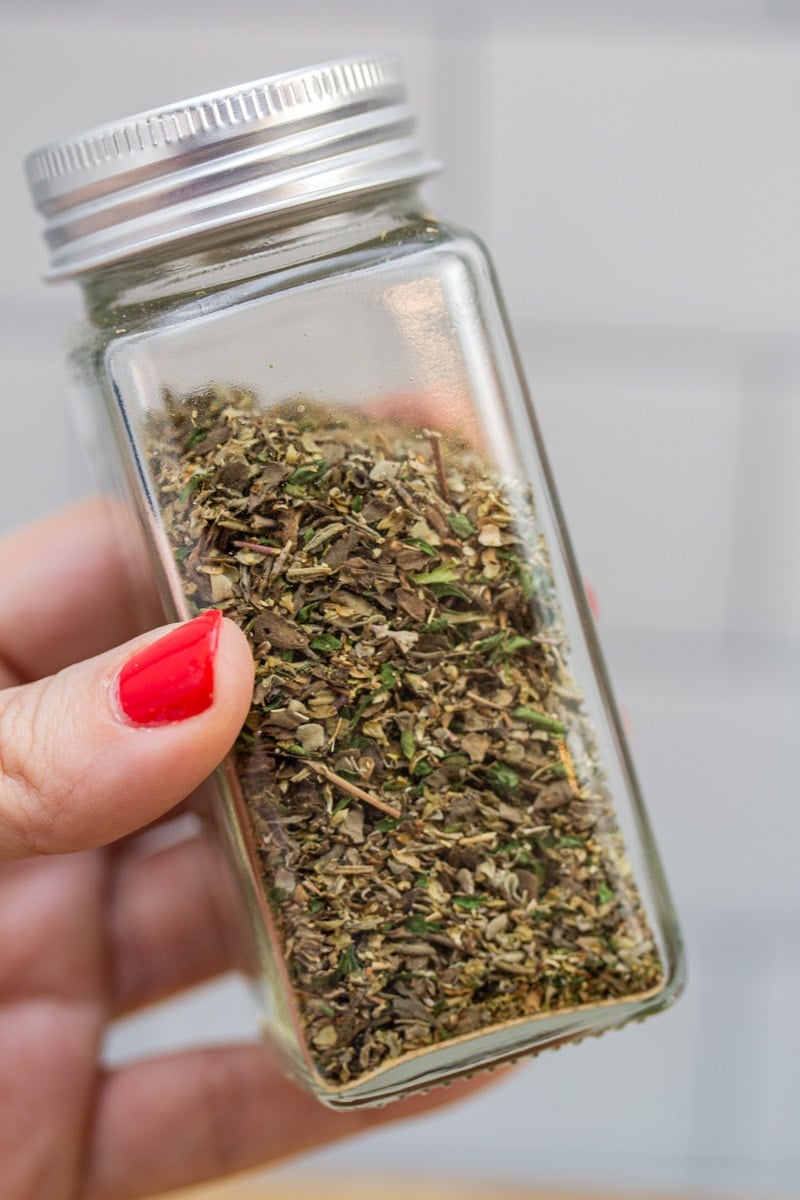
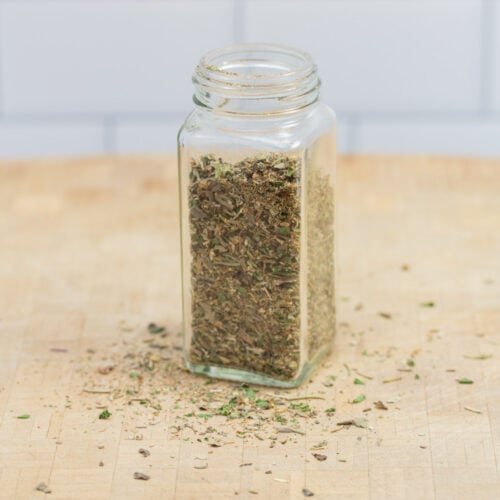
Once your Italian seasoning is mixed, you can pour it into your storage container(s) of choice.
You may need to use a small metal funnel to help guide some of the spices into the jars. I find it helpful when working with more finely ground ingredients.
Store your homemade seasoning blend in an airtight container (like a tightly closed spice jar) in a cool, dry place.
When choosing a storage location for your spices, it's best to keep them away from heat sources. That's why storing them next to your oven isn't recommended.
It's preferable to keep them in a dark place, or at least away from direct sunlight, to retain maximum flavor.
This blend will keep for several months, stored properly in your pantry or cabinet.
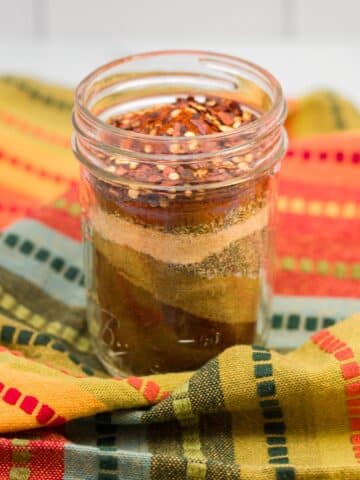
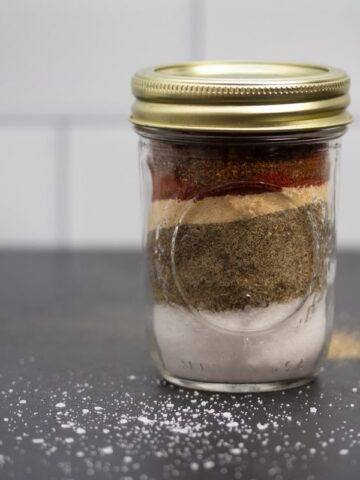
🍽️ More DIY seasoning blends
Looking for other homemade seasoning blend recipes? Try these:
Doing some online shopping? Check out my Amazon shop page for recommendations!
📖 Recipe
Italian Seasoning Blend
Instructions
- Add dried basil, dried parsley, dried marjoram, dried oregano, dried rosemary, dried thyme, and rubbed sage to a jar. Close the lid and shake well to combine. Alternately, you can stir or whisk everything together in a bowl and then transfer your storage container(s) of choice.
- Store in a sealed container in a cool, dry place away from heat.