
This post may contain affiliate links, which won’t change your price but will share some commission.

Smooth, delicious homemade hummus using canned chickpeas comes together in minutes with just a few ingredients. An easy appetizer or snack!
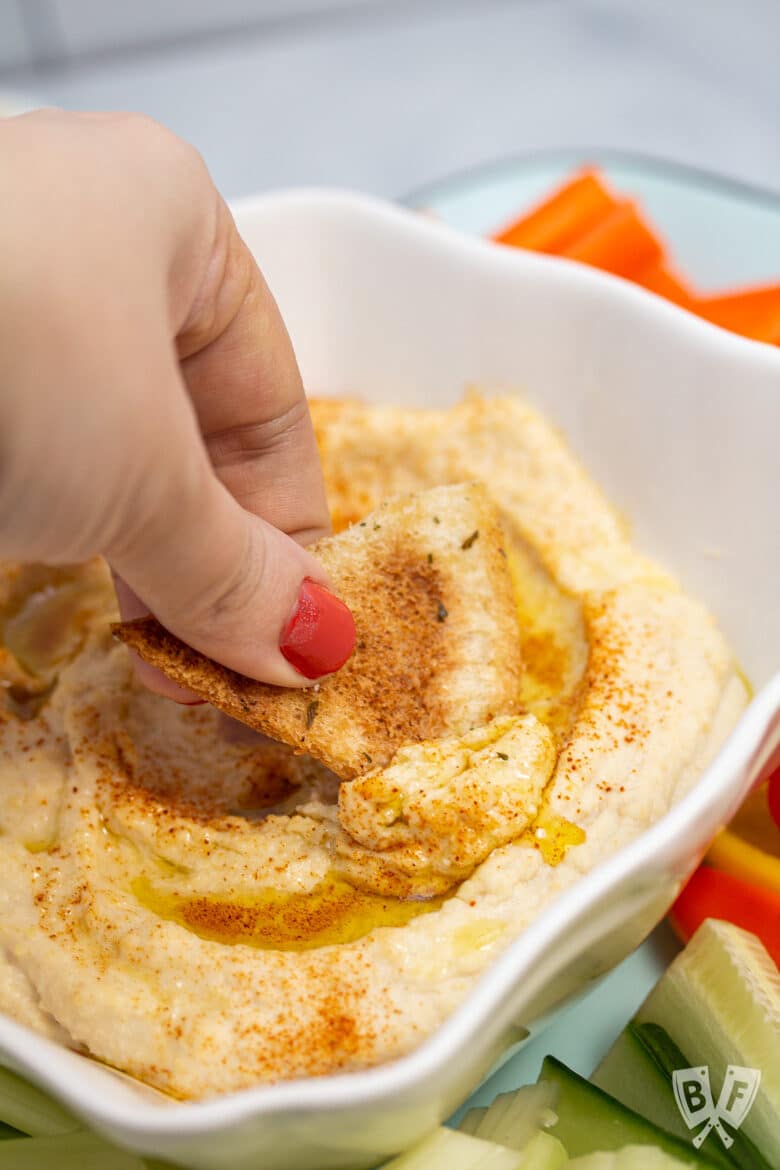
This hummus recipe has been getting rave reviews in my cooking classes for yeeeears now. I've been teaching it alongside my homemade seasoned pita chip recipe, and it's always a hit.
This recipe is easy enough for kids to make and adults love it, too!
Jump To:
- 🧡 Why we love this recipe
- 📝 Ingredients
- 🥣 Ingredient spotlight: tahini
- ✅ How to make this recipe
- 🧄 Top tip: quickly mince garlic
- 💡 What to serve with hummus
- 🍴 Finishing tips
- 🥡 Storage recommendations
- 📖 Recipe
🧡 Why we love this recipe
- Making hummus at home is less expensive than store-bought.
- It's easily scaled up to feed a crowd or for entertaining.
- Homemade hummus is a healthy option for school lunch boxes and snack time.
- This recipe comes together quickly with no need to soak dried chickpeas or turn on the stovetop.
- You can control the ingredients and texture of the finished product.
- It can be made in advance and stays fresh for several days when stored in the fridge.
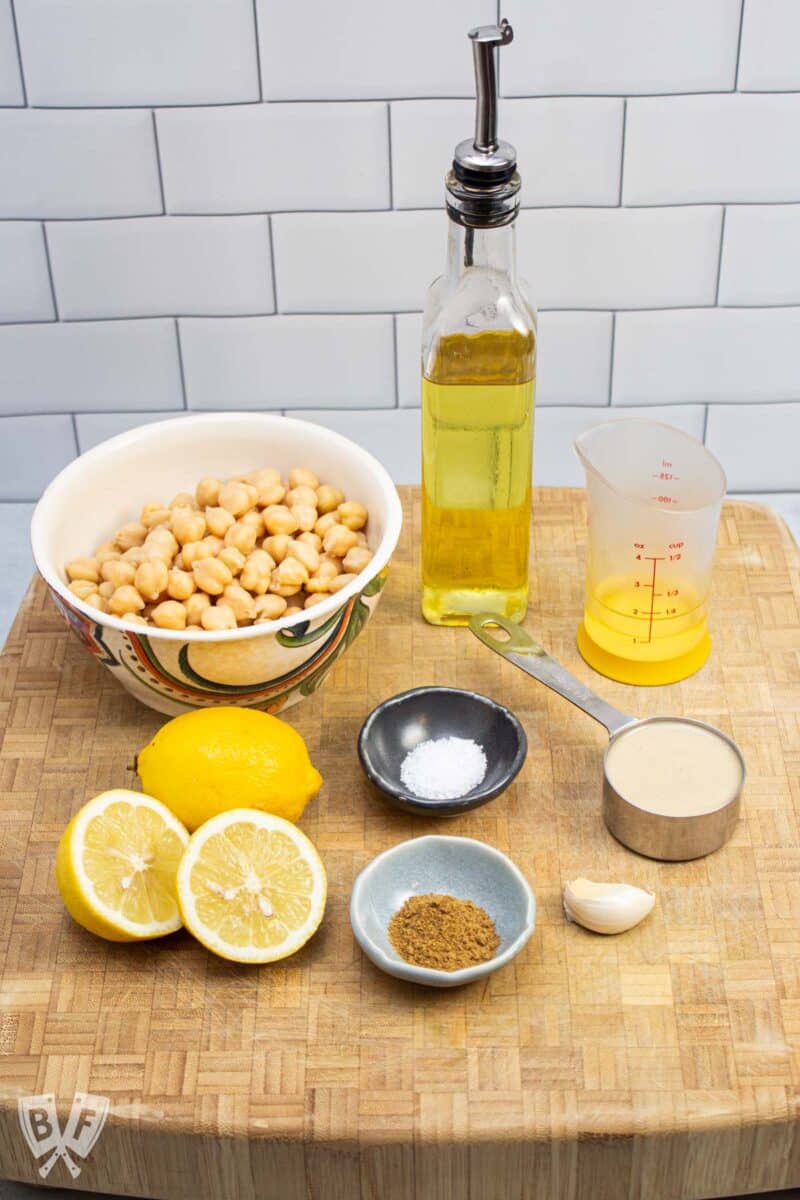
📝 Ingredients
Here's everything you need to make our very favorite classic hummus (see recipe card below for ingredient amounts and full directions):
- Canned chickpeas
- Garlic
- Freshly squeezed lemon juice
- Tahini
- Olive oil
- Kosher salt
- Ground Cumin
- Water
You can also opt to drizzle it with a little extra-virgin olive oil and ground paprika or ground sumac before serving.
🥣 Ingredient Spotlight: Tahini
This recipe uses tahini which can is usually found in your grocery store in one of the following aisles: condiments, organic/health foods, or international foods. It's also sometimes found in the same aisle as bread and peanut butter.
Tahini is a condiment made from sesame seeds. It's used a lot in Middle Eastern cuisine.
Depending on the brand and how it's stored, tahini can vary from a thin, pourable, sauce-like consistency to a thicker, paste-like one.
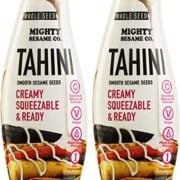
Tahini that's sold in a squeeze bottle is my personal favorite. You can also buy cans or jars of tahini. There are lots of brands to choose from - I'll share a few of my personal favorites below.
Tahini recommendations
 Buy Now →
  Buy Now →
Similar to natural-style peanut butter, some brands of tahini will separate as they sit. You'll end up with a layer of oil on top of the paste. Give it a good stir before using and/or measuring it to reincorporate that oil.
Since sesame seeds can tend to spoil quickly, especially at higher temperatures, it's often advisable to store tahini in the refrigerator. Again, this is where I find the squeeze bottle style of tahini much more practical.
It doesn't require any stirring to reincorporate oil that has separated. Storing it in the refrigerator doesn't seem to impact the consistency, so the tahini stays nice and smooth, even when cold.
Tahini is used in many recipes and is a key ingredient in hummus. A few of my favorite ways to use tahini include my Falafel-Spiced Chickpea Flatbreads, these cucumber bites, and this chickpea salad.
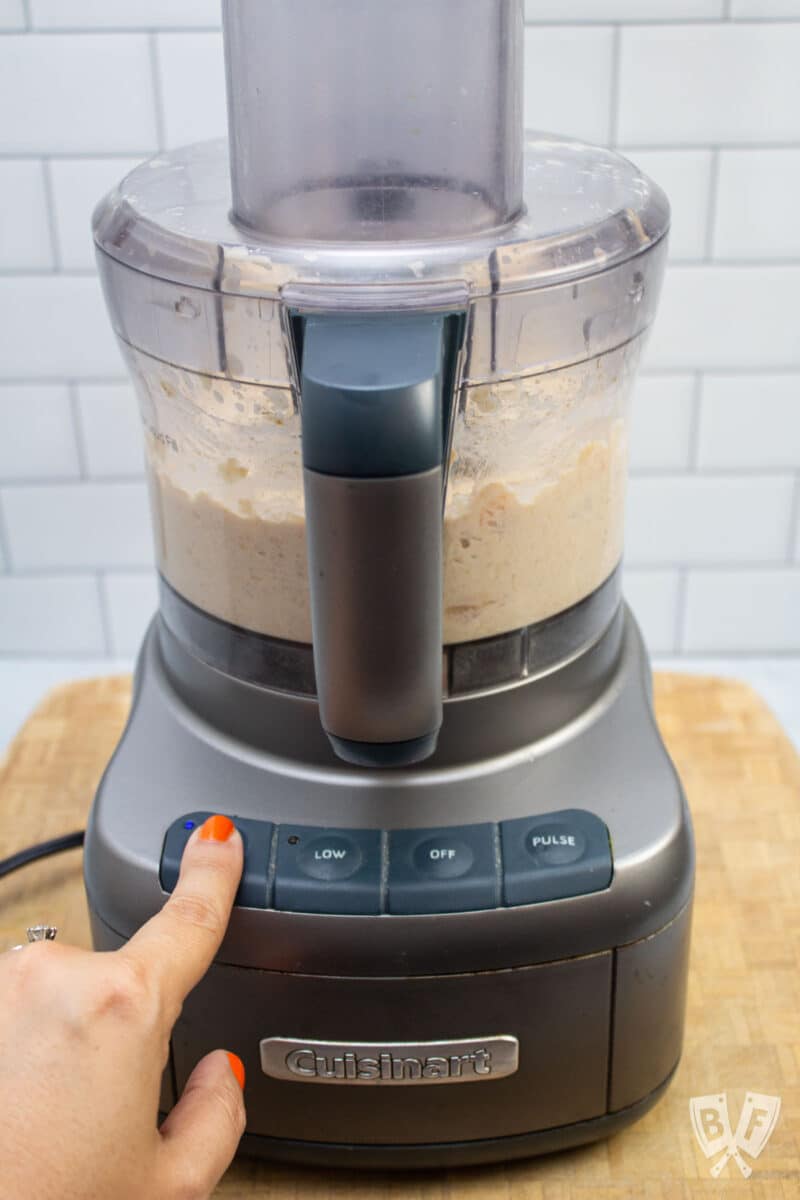
✅ How to make this recipe
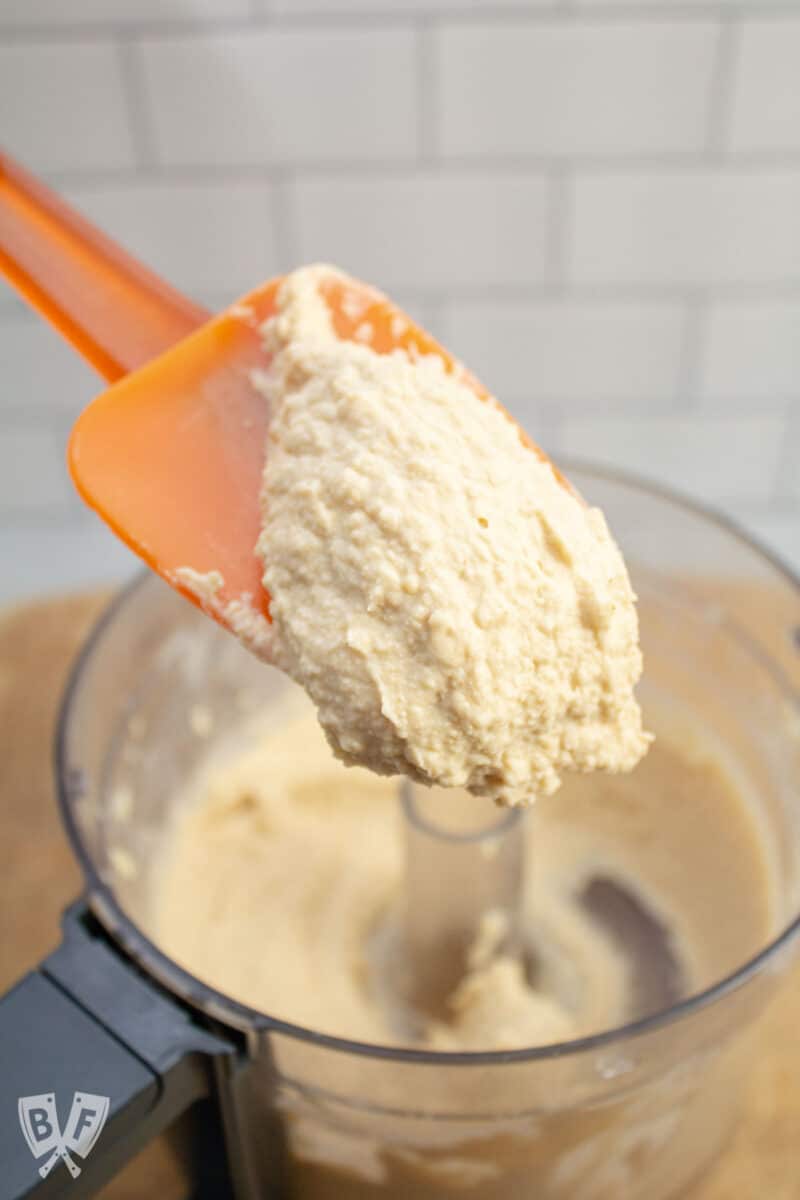
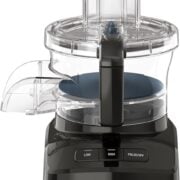
Hummus is super simple to make with a food processor or blender. My preferred method is the food processor. The longer you let the motor run, the smoother the consistency of your finished hummus will be.
- Rinse and drain your chickpeas.
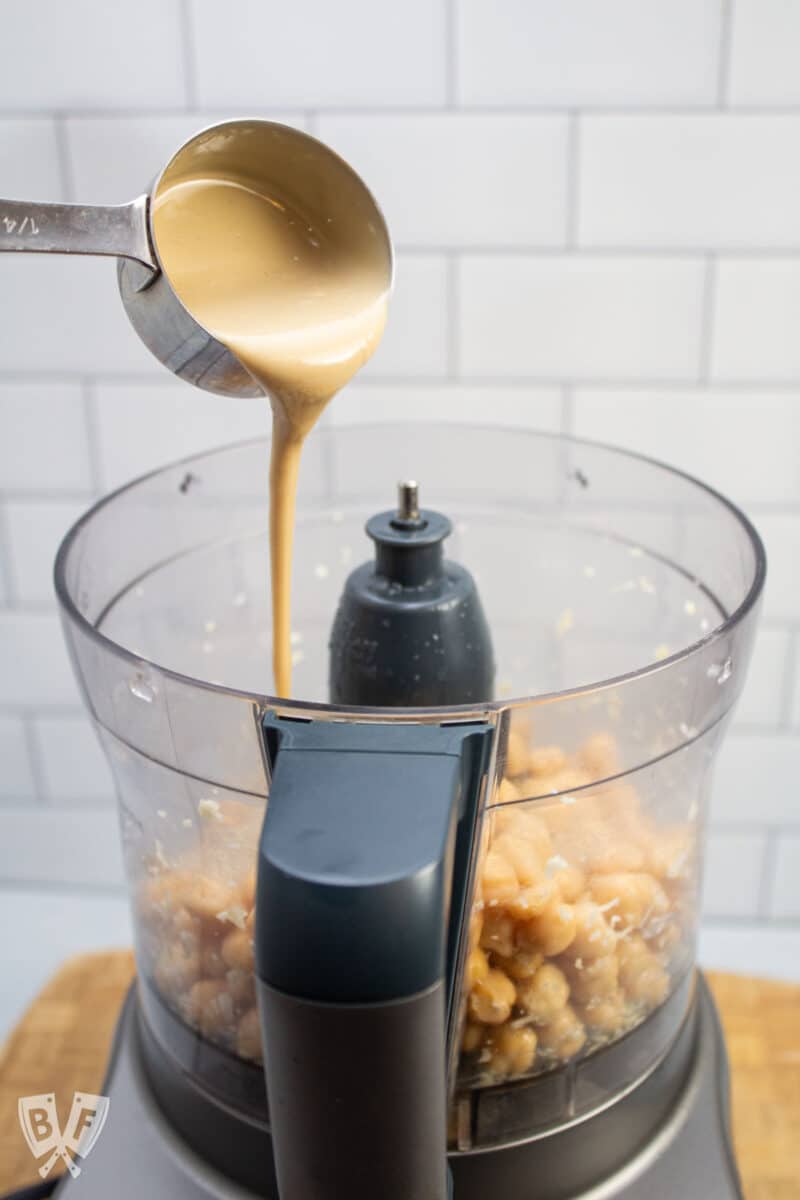
- Process all of the ingredients in a food processor or blender until smooth, scraping the sides of the bowl occasionally to make sure it's evenly blended.
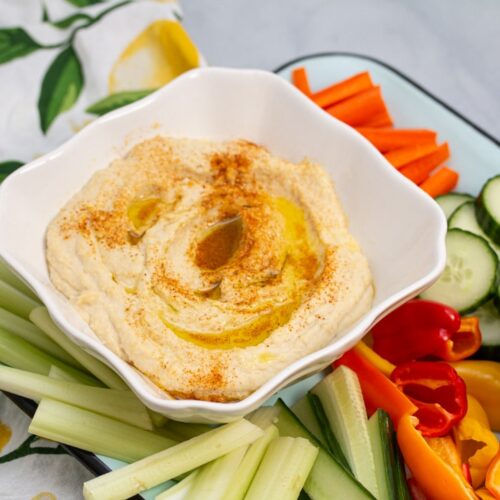
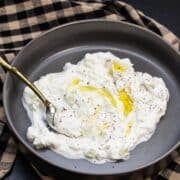
- Transfer your hummus to a serving bowl and garnish with a drizzle of extra-virgin olive oil, ground paprika, and/or ground sumac if desired.
See recipe card below for full instructions.

The longer your run your food processor or blender, the smoother your hummus will be.
Make sure to stop the motor occasionally to scrape down the sides of the bowl with a silicone spatula as needed. This will ensure that all the bits of chickpeas break down evenly.
🧄 Top Tip: Quickly Mince Garlic
This is my all-time favorite method for quickly mincing garlic. It has been a big hit with people who take my cooking classes, and I wanted to share it with you today.
I use this method for mincing a single clove of garlic for recipes like my classic hummus, as well as for mincing several cloves like for our favorite cilantro chimichurri.
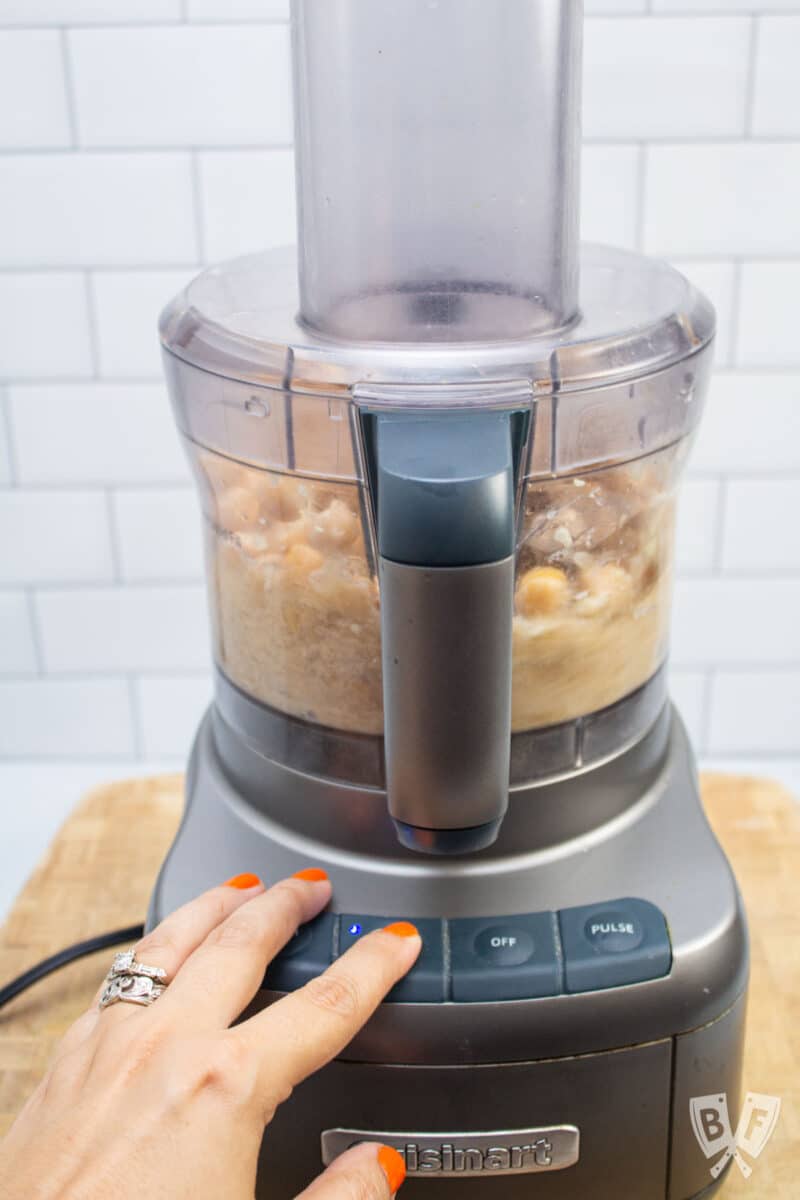
The key piece of equipment you'll need for this garlic mincing trick is a food processor. I haven't tried this out in a blender yet, but I'll be sure to update this post once I do. I suspect it will work that way as well.
Peel your garlic and set it aside.
Remove the pusher from your food processor - it's the little piece that slides into the feed tube.
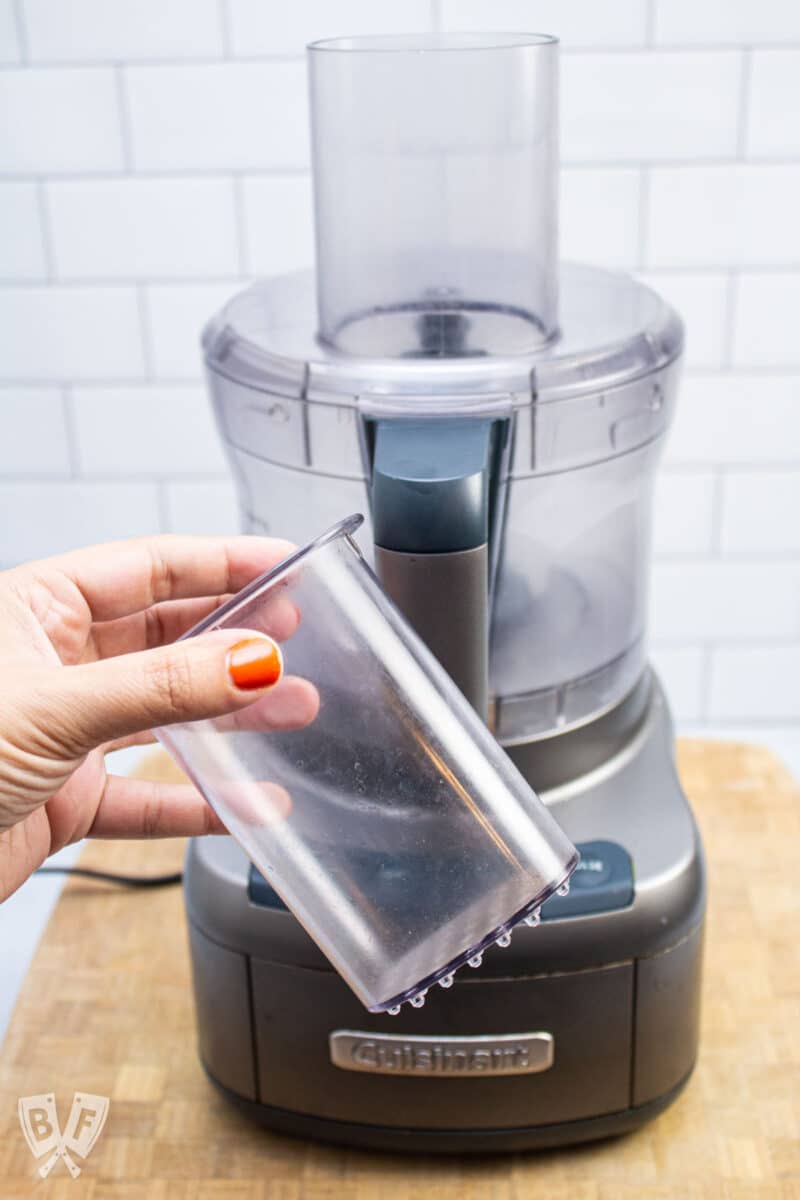
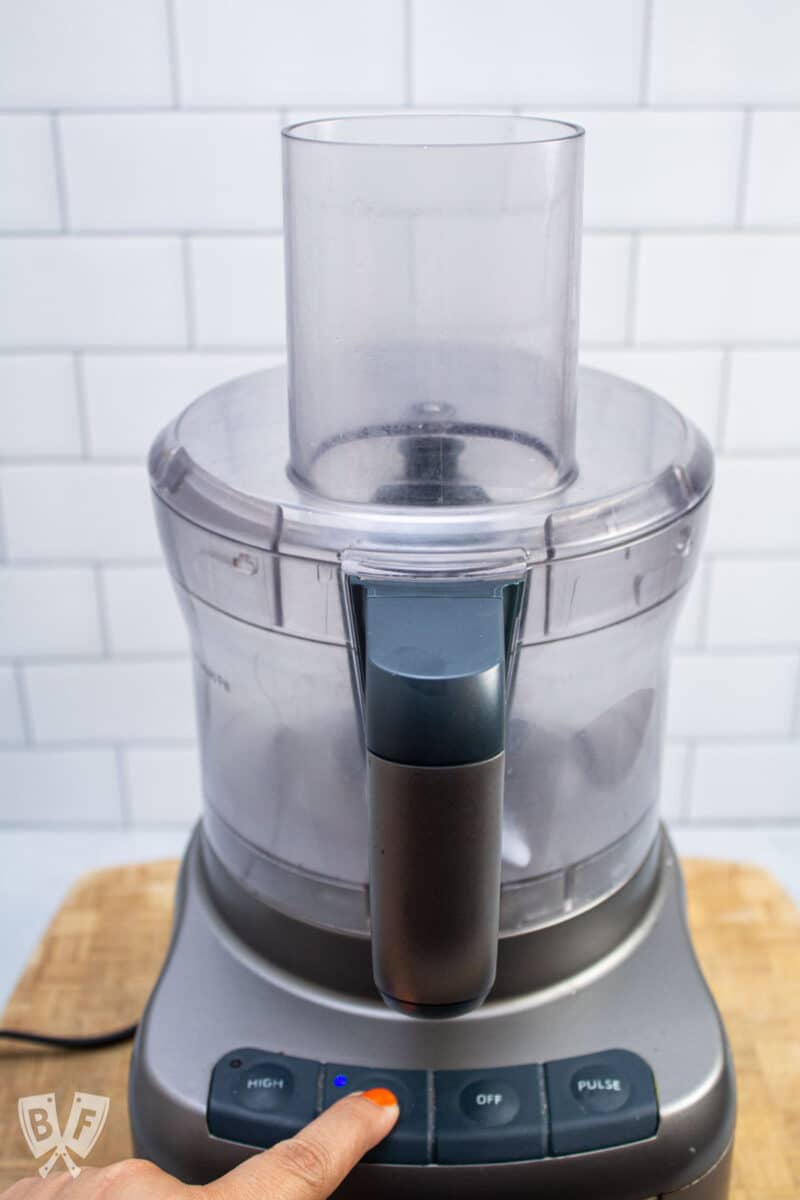
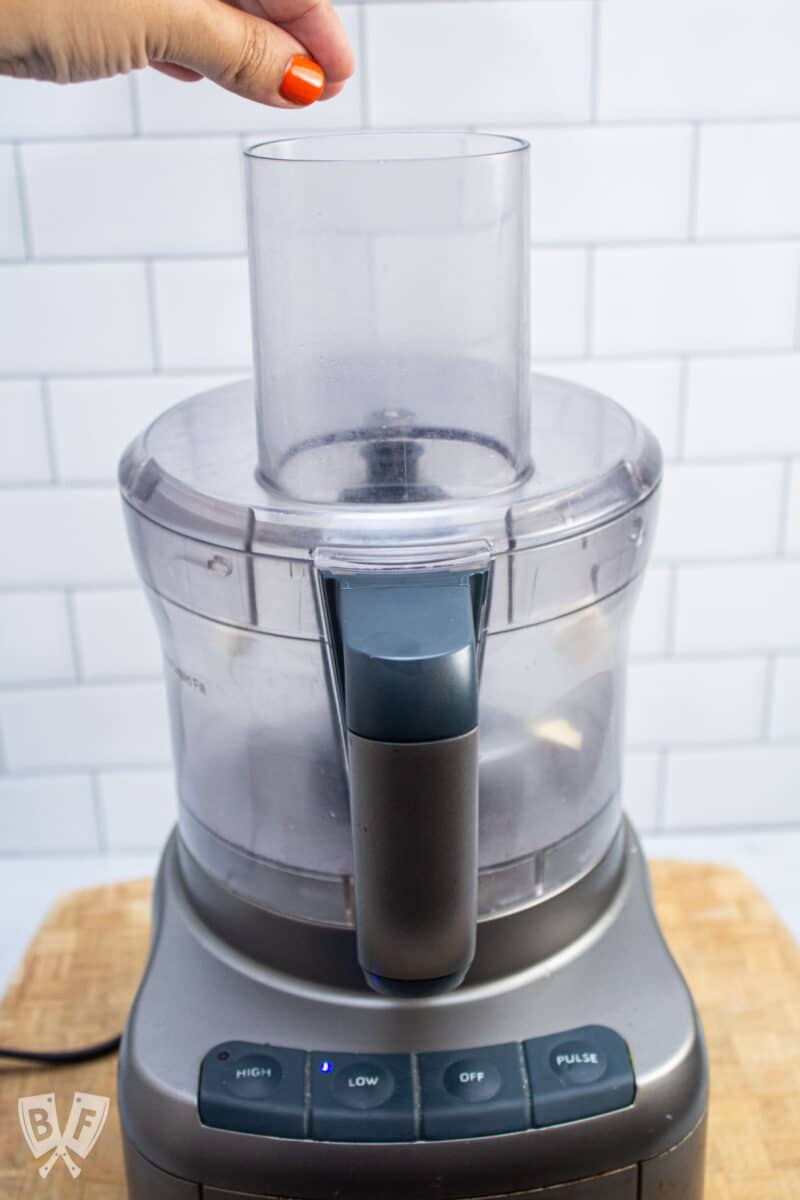
Next, turn the power on - I usually start at low speed. Drop your peeled garlic clove(s) down the feed chute while it's running.
You can place the pusher back in now if you'd like. Just let the spinning blade do its thing - the cloves will bounce around and get minced.
If it doesn't seem to be chopping them up quite small enough, you can increase the speed to high.
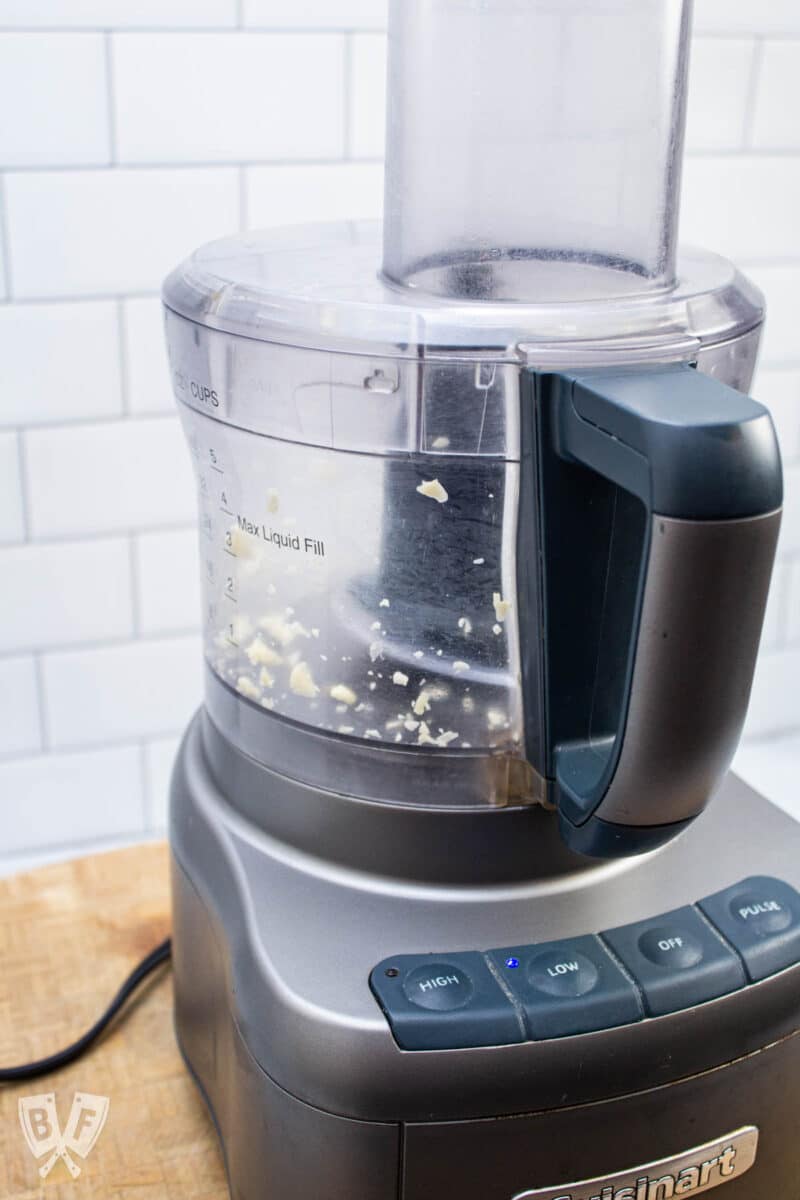
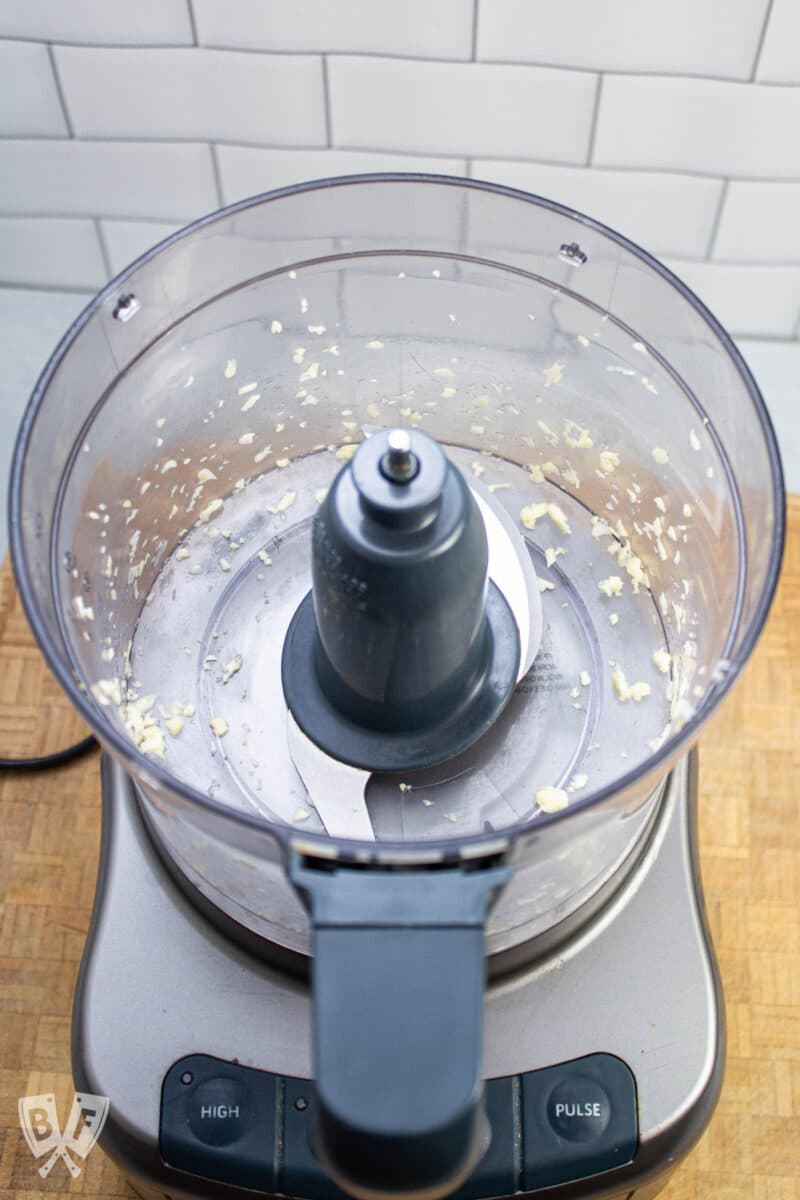
The whole process should only take a few seconds, and then you're rewarded with pretty evenly minced garlic. No knifework required!
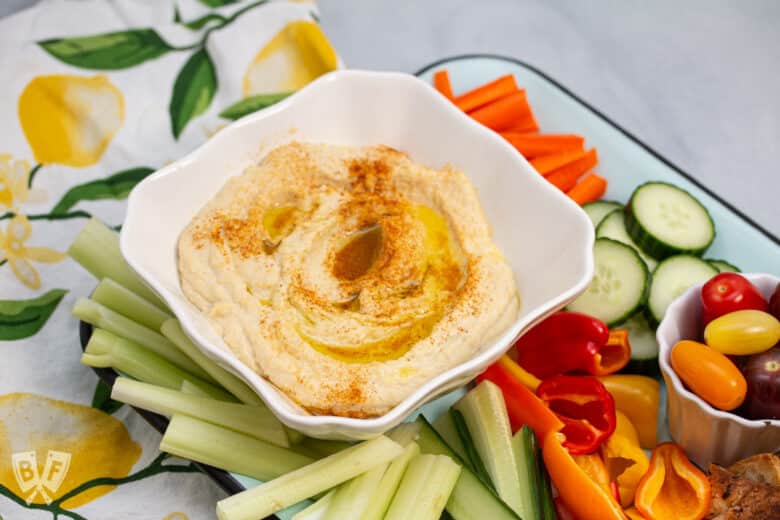
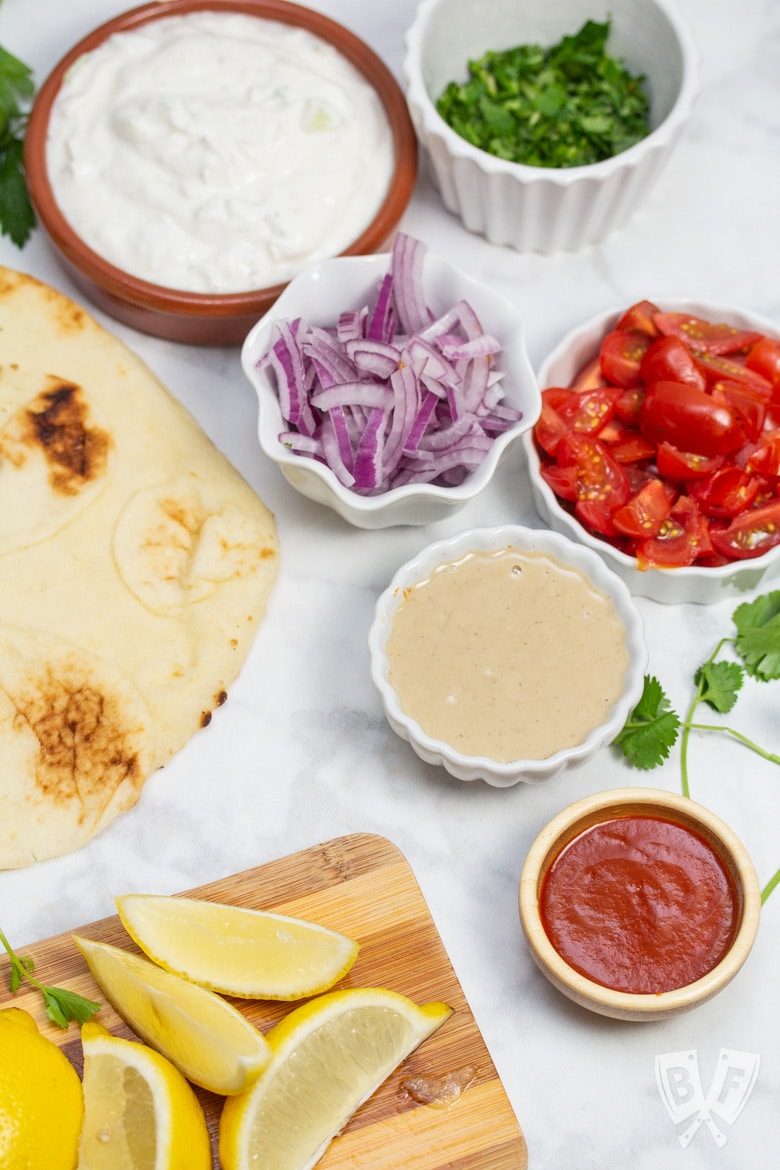
💡 What to serve with hummus
Hummus is such a versatile dish - it can be used in a myriad of ways. Here are some of our favorites:
- Use it as a dip for fresh veggies like cucumbers, celery sticks, grape or cherry tomatoes, radishes, bell peppers, carrots, sugar snap peas, broccoli, or cauliflower.
- Spread onto pita bread, sliced bread, or tortillas as a condiment for your favorite sandwich or wrap.
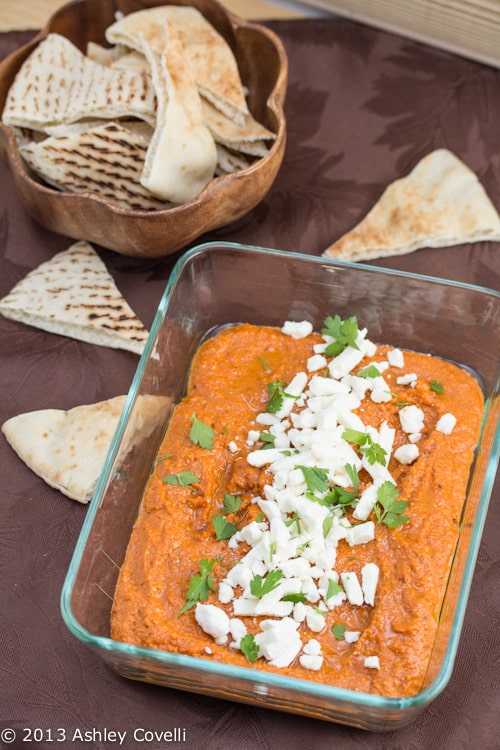
- As part of an assortment of Mediterranean or Middle Eastern dips along with tzatziki, babaghanoush, muhammara, baba ganoush, etc.
- Serve your homemade hummus alongside crispy dippers such as pretzels, crackers, tortilla chips, or our favorite homemade pita chips.
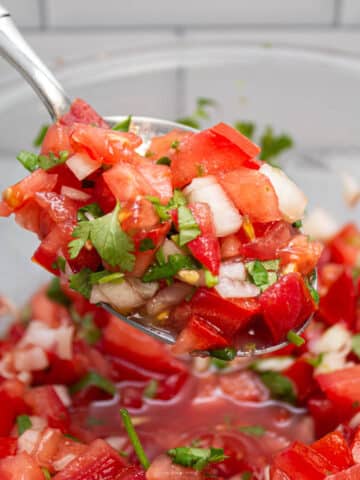
- Layer it with tzatziki, chopped cucumbers, tomatoes, and top with a sprinkle of feta cheese for an easy, Greek-inspired dip.
- Add it to a Mediterranean platter along with stuffed grape leaves, tabouli, grilled meat, veggies, or kebabs, and pita bread or lavash.

🍴 Finishing tips
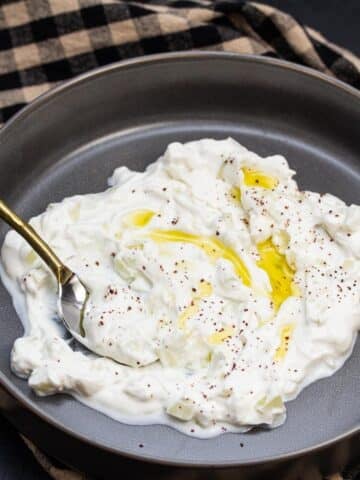
You can really dress up your hummus based on how you finish it off.
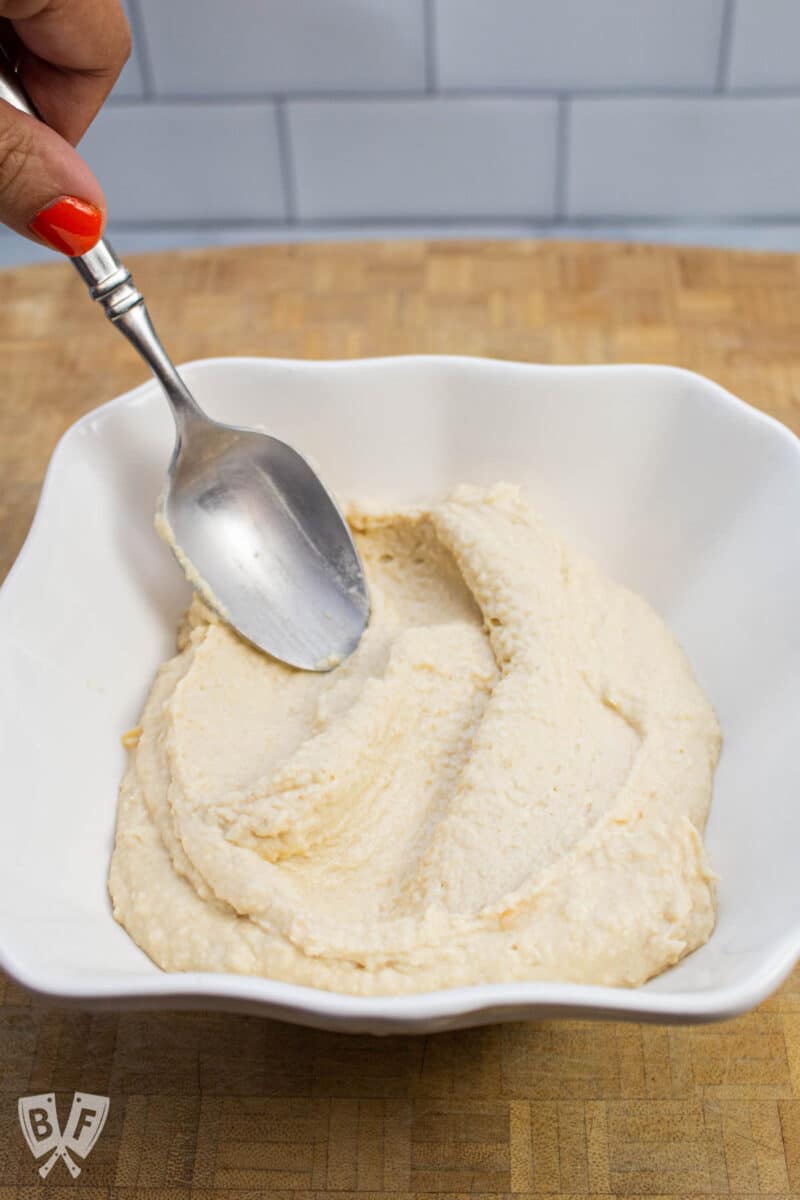
For a simple presentation, you can smooth the hummus out with a spoon, creating little indentations of varying heights. This will add a little interest to an otherwise smooth pile of chickpea purée.
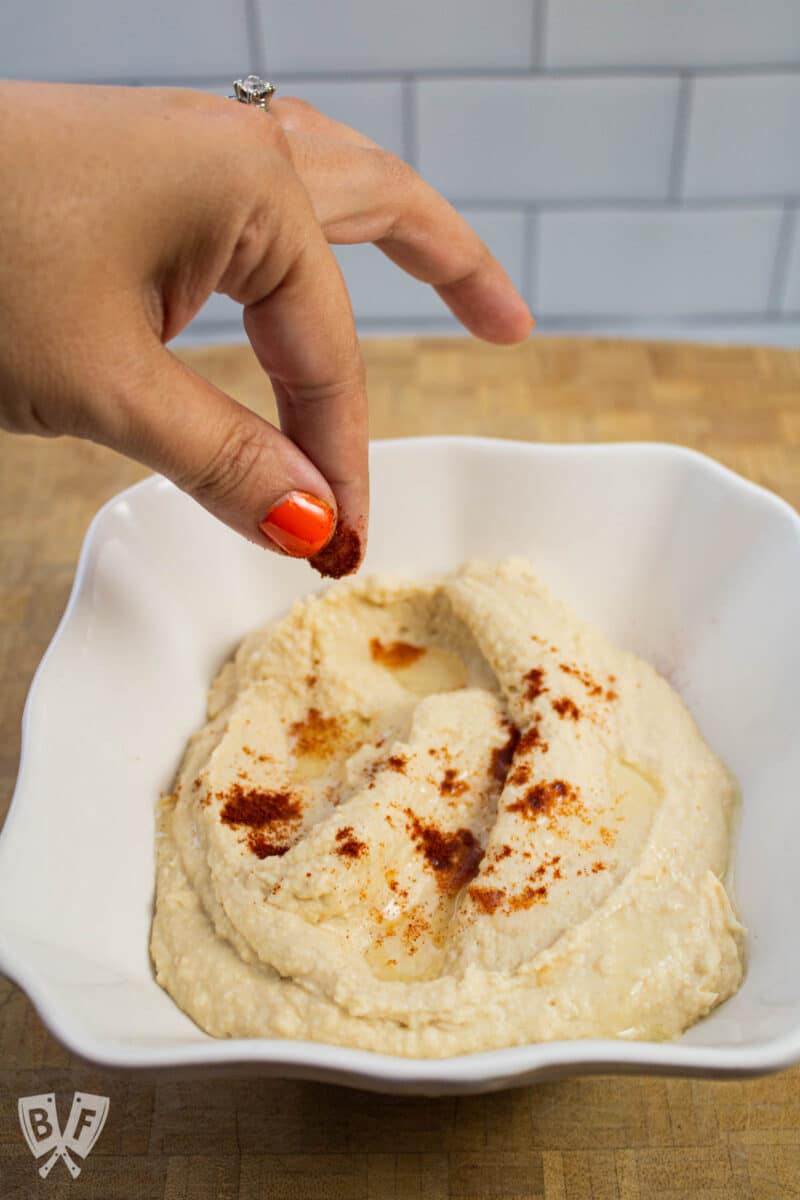
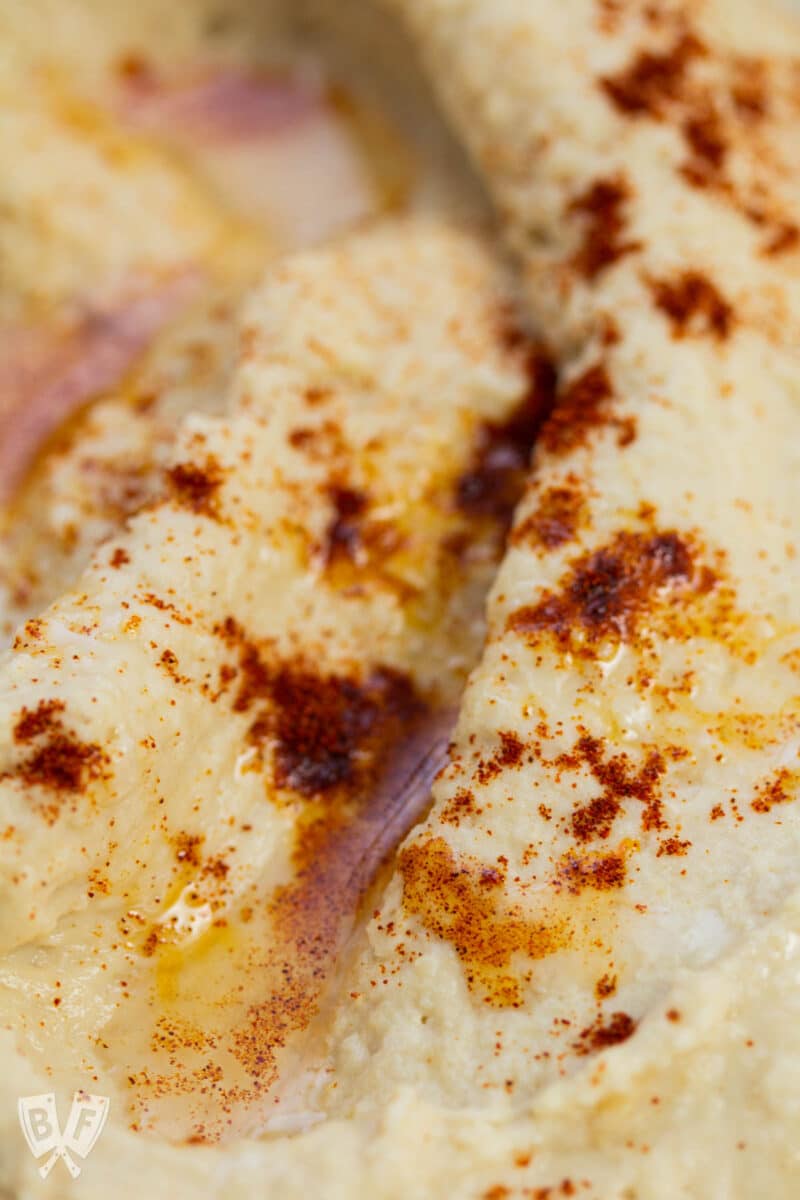
I like to then drizzle a little bit of extra-virgin olive oil on top and then sprinkle it with ground paprika or ground sumac for a pop of color.
You could also add freshly chopped herbs to the top, or a few delicate sprigs. Parsley is a favorite of mine for topping hummus.
A drizzle of flavored oil would be nice addition, too! Basil, chili, or citrus-infused oils are all quite tasty.
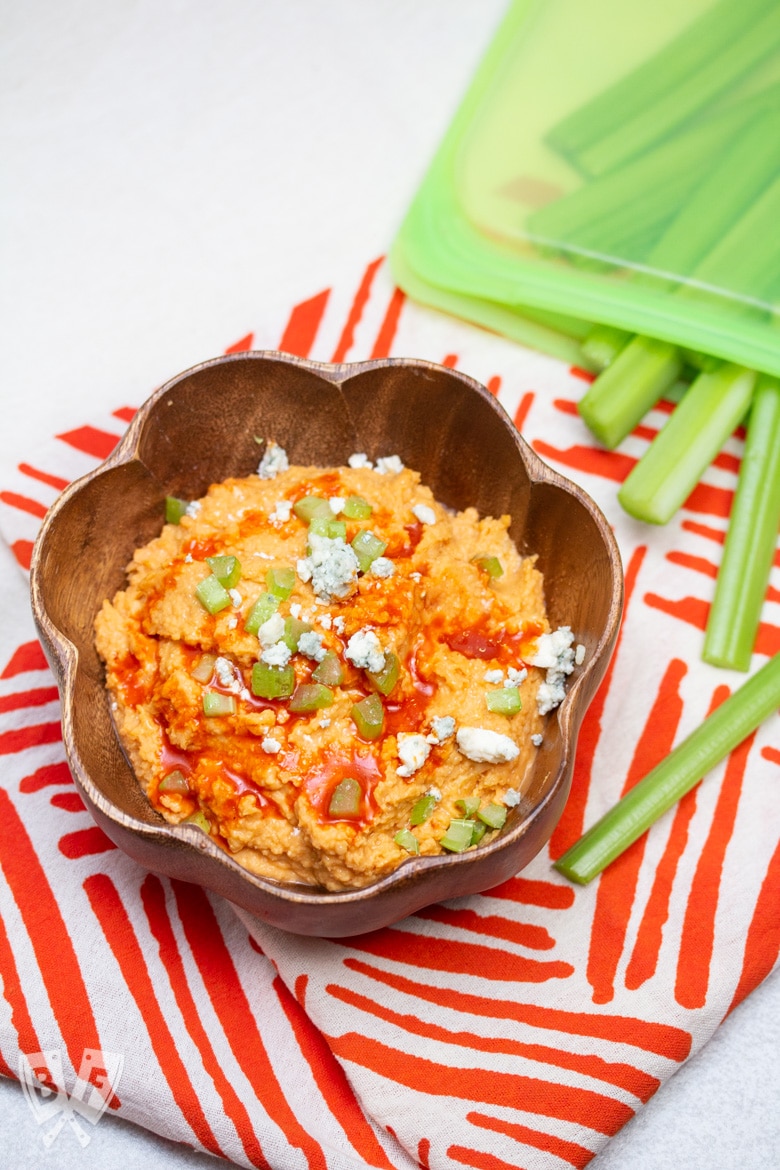
Toasted nuts or a bit of chopped or thinly sliced roasted red pepper are nice as well. A sprinkle of pomegranate arils or crumbled feta cheese would also be lovely!
You can also reserve a few whole chickpeas from the can before making your hummus to place on top for visual interest.
🥡 Storage recommendations
Your homemade hummus will keep well in an airtight container in the refrigerator for several days.
You can absolutely make your hummus in advance, and store it in the fridge until serving. I recommend holding off on any garnishes until right before serving, to keep them looking their freshest.
Still hungry? You may also like...

Doing some online shopping? Check out my Amazon shop page for recommendations!
📖 Recipe
Easy Classic Hummus Using Canned Chickpeas
Instructions
- Drain chickpeas in a colander or sieve. Rinse well and drain again.
- Peel garlic clove. With the motor of a food processor running, drop the garlic through the feed chute and let process until minced.
- Add the drained chickpeas, lemon juice, tahini, olive oil, salt, cumin, and water. Process for 1 minute.
- Scrape down the sides and bottom of the bowl, close the lid, and continue to process until smooth.
- Transfer hummus to a bowl. Drizzle with a little more olive oil and sprinkle with ground paprika or ground sumac if desired.
Notes
- See my notes on tahini in the post above. If your tahini separates and has a layer of oil on top, be sure to stir it well to incorporate before measuring.
- Suggested dippers: pita bread, pita chips, cucumber slices, carrot sticks, snap peas, broccoli, radishes, veggie straws, or pretzels. Hummus is also good as a sandwich spread.


John says
Humas is a staple for me when I'm trying to stay on a Mediteranian diet. That being said and keeping health in mind I'm gonna try this recipe with from stratch chic peas to see if it comes out as good. I notice that Sprouts across the street has drasitcally increase the price on the premade human. Thanks a ton for this recipe.
Ashley says
Let me know how it works out for you, John! I haven't tried it yet with dried chickpeas but I intend to try it with ones cooked in my Instant Pot. Hummus is such a great source of protein, and I love being able to contro the ingredients. It's definitely more cost-effective to make it at home if you're able!