A super simple sauce takes this flavorful one-pan keto roasted lemon-rosemary chicken & cauliflower recipe to the next level. Perfect for busy weeknights!
When you've been writing about food for as long as I have, you befriend quite a few food bloggers. And if you're lucky, you befriend ones that do some really cool stuff, like write their own cookbooks!
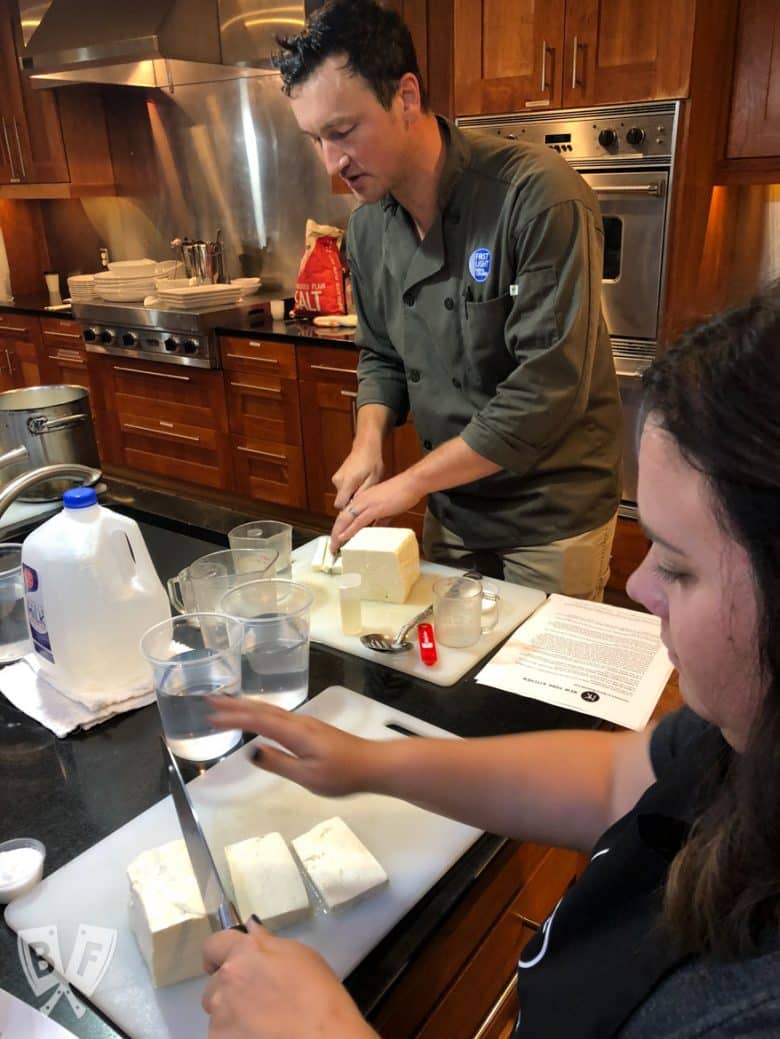
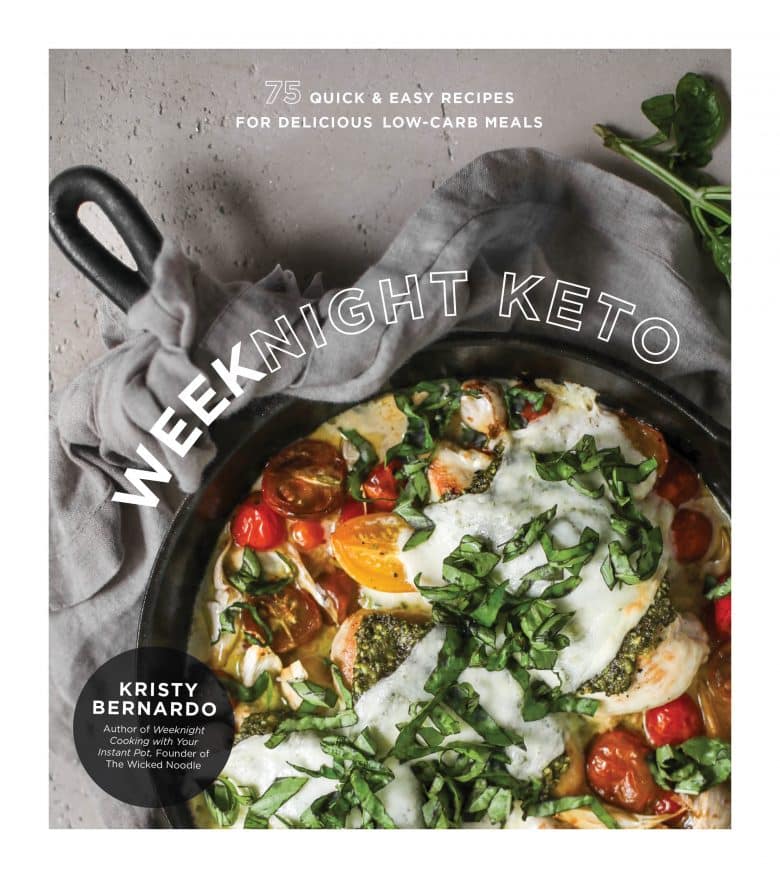
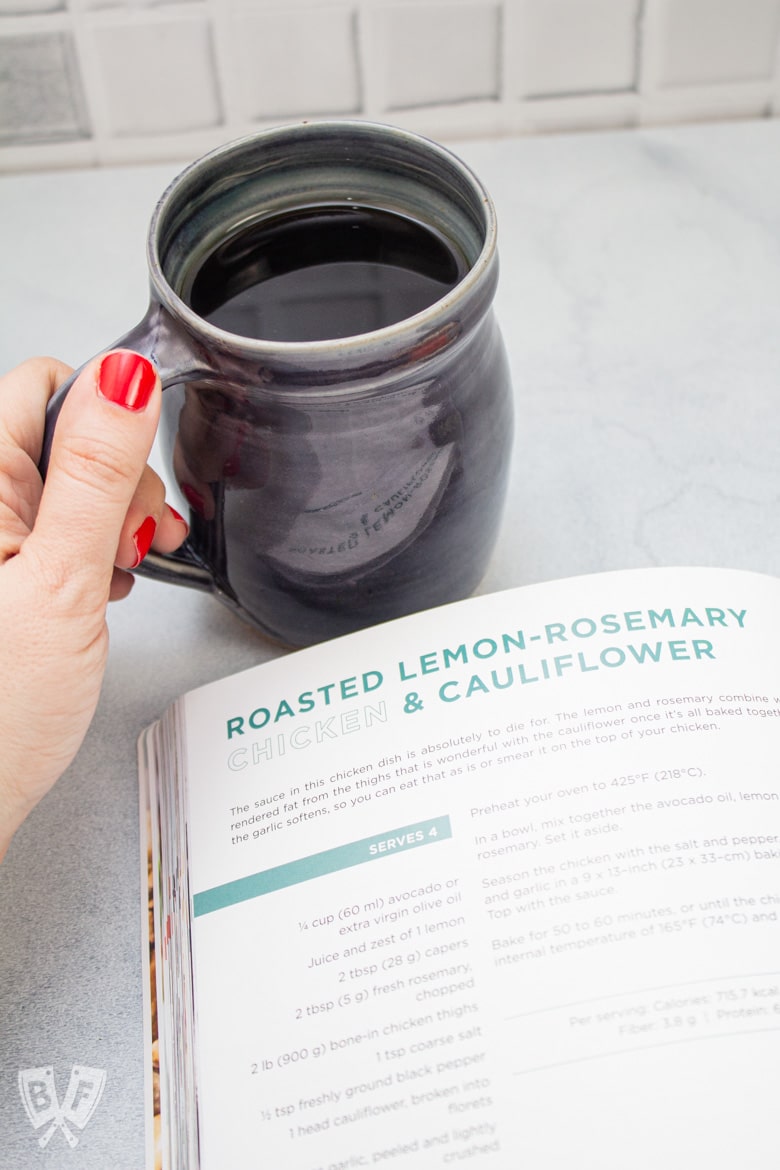
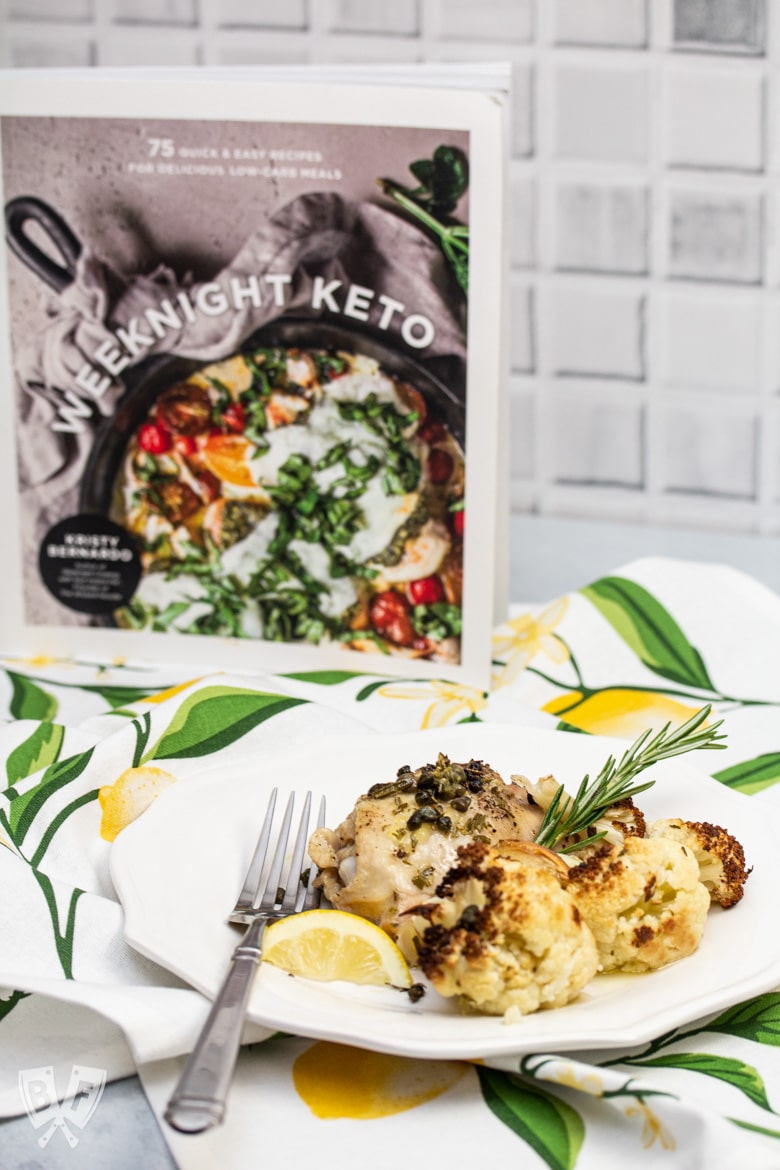
Kristy Bernardo is one such friend. She's been writing about food over at The Wicked Noodle since 2009 and I'm beyond excited to finally share a recipe from her latest cookbook, Weeknight Keto.
I'll confess - I've been holding out on getting this post up for a while now. She had a review copy of the book sent to me before it came out, but we were in the middle of some home renovations at the time.
And then life got intense for a while, but here we are, still kicking, ready to share!
I'm very familiar with the keto diet since my husband did keto for about a year a while back. I also have a good friend who has been doing keto for quite some time now.
I enjoy cooking for my loved ones, so I'm always on the lookout for solid recipes to fit their dietary restrictions.
Bonus points for recipes that those of us who aren't on a restricted diet can enjoy, too.
Weeknight Keto has so many solid recipes in it, and knowing Kristy, these recipes have been tested over and over so you know you'll have success with them in your own kitchen.
There are 75 low-carb recipes in this cookbook - there's something for everyone.
The sections in the Weeknight Keto cookbook are:
- Delicious 30-Minute Dinners
- Classic Carb Favorites Made Keto
- Light & Fresh Keto Dishes
- One-Pot Meals
- Scrumptious Soups & Salads
- Tasty & Tempting Side Dishes
- Sweet Keto Bites
- Pantry Staples
Making Roasted Lemon-Rosemary Chicken & Cauliflower
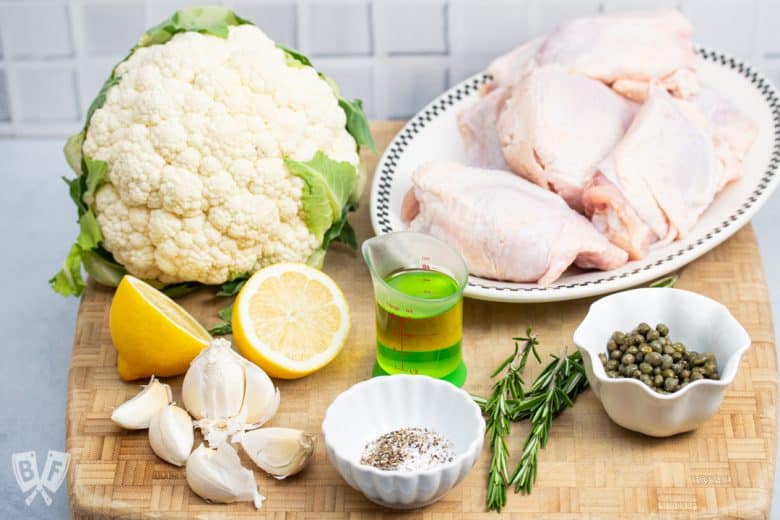
I chose this particular keto recipe as the first to try because it met a lot of very important criteria for me. Namely, it was a one-pan comfort food dish with minimal ingredients.
And those few ingredients included garlic, lemon, and capers. That's basically my love language.
Nothing beats a quick and easy weeknight dinner, and this keto chicken recipe seriously fits the bill.
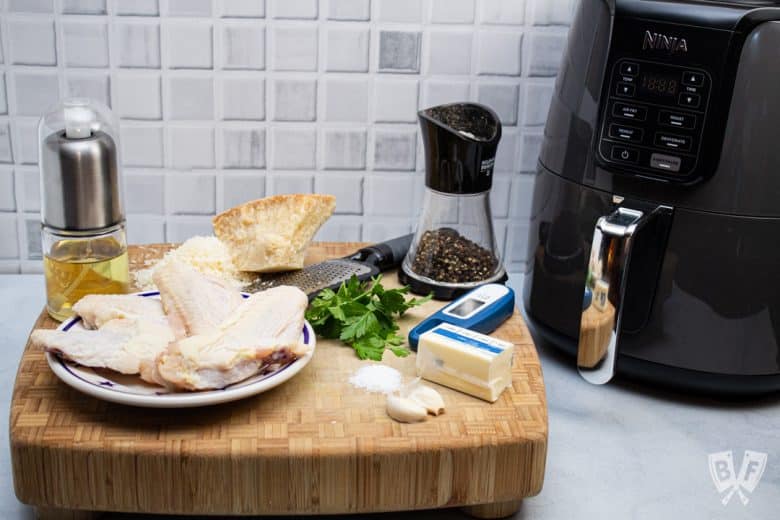
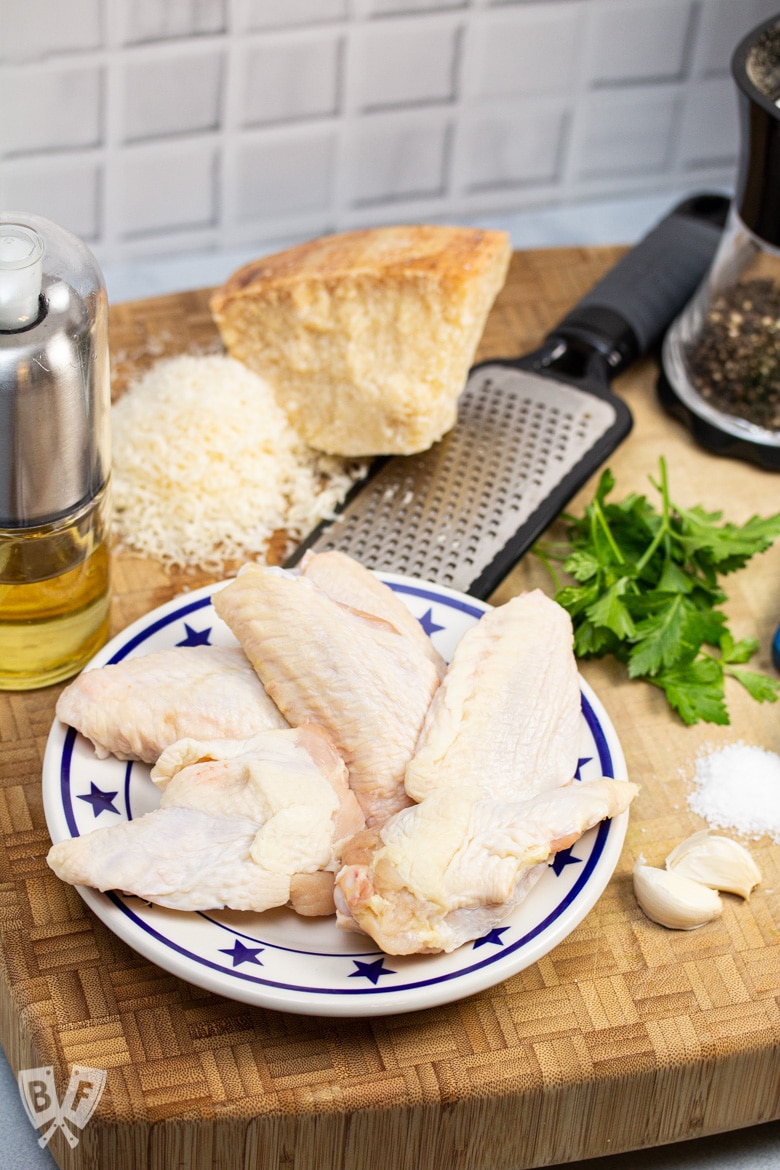
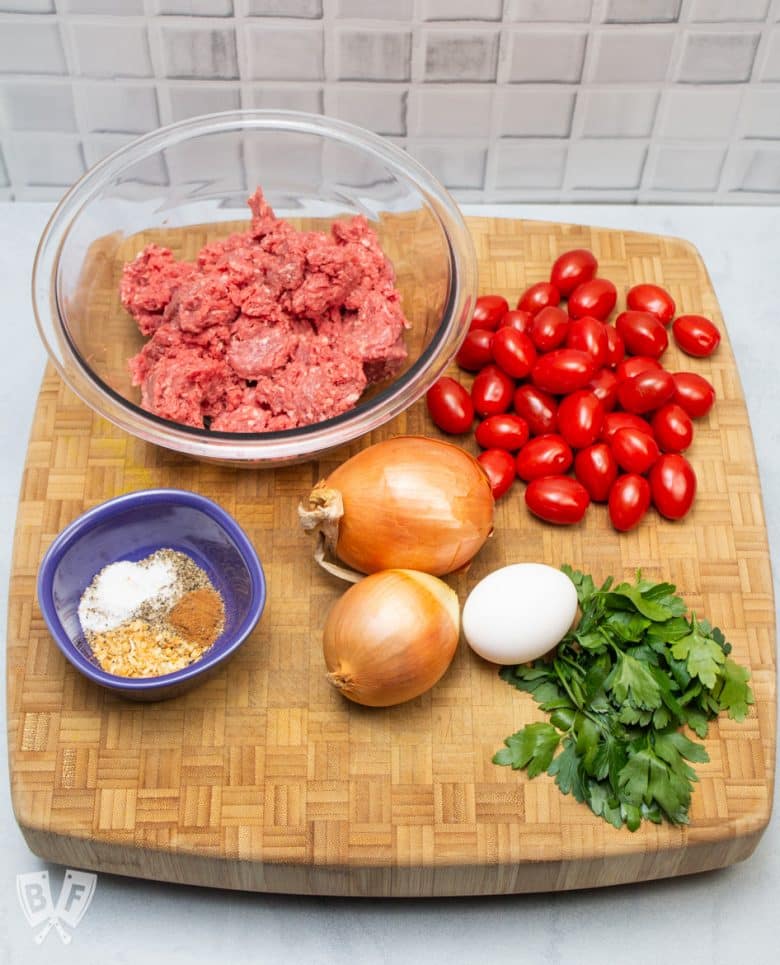
I gathered my ingredients, grabbed a 13x9-inch baking dish, and began the super simple task of dinner prep.
A quick note on capers
I want to take a moment to share a quick note about capers.
The type of capers I buy are non-pareil capers in brine. They're small, delicate, and absolutely delicious!
There are also larger capers, but they aren't marked "non-pareil". Caper berries are larger yet and include a stem. They are also sometimes packed in salt instead of brine, and the flavor of that type of caper is very different from a brine-packed caper.
Cooking Light has a good article on non-pareil capers.
The bottom line is that capers are sold by size. The smaller the caper, the more delicate in texture and flavor it is. The smallest of capers, which measures under 7mm, is considered "non-pareil" (pronounced ,nän-pə-ˈrel). Translated from French, "has no equal."
There's also an extensive article on capers and caper berries 101 over on The City Cook.
I learned about these differences the hard way many years ago when I used salt-cured capers where I should have used the brined ones. I figured I'd share the info here to help prevent any of you from accidentally getting a salt bomb that could potentially ruin your dinner.
On a related note, if you have any favorite ways to use for the salt-cured capers, I'd love to hear about them in the comments below! I'm not sure I've found the right way to enjoy them quite yet.
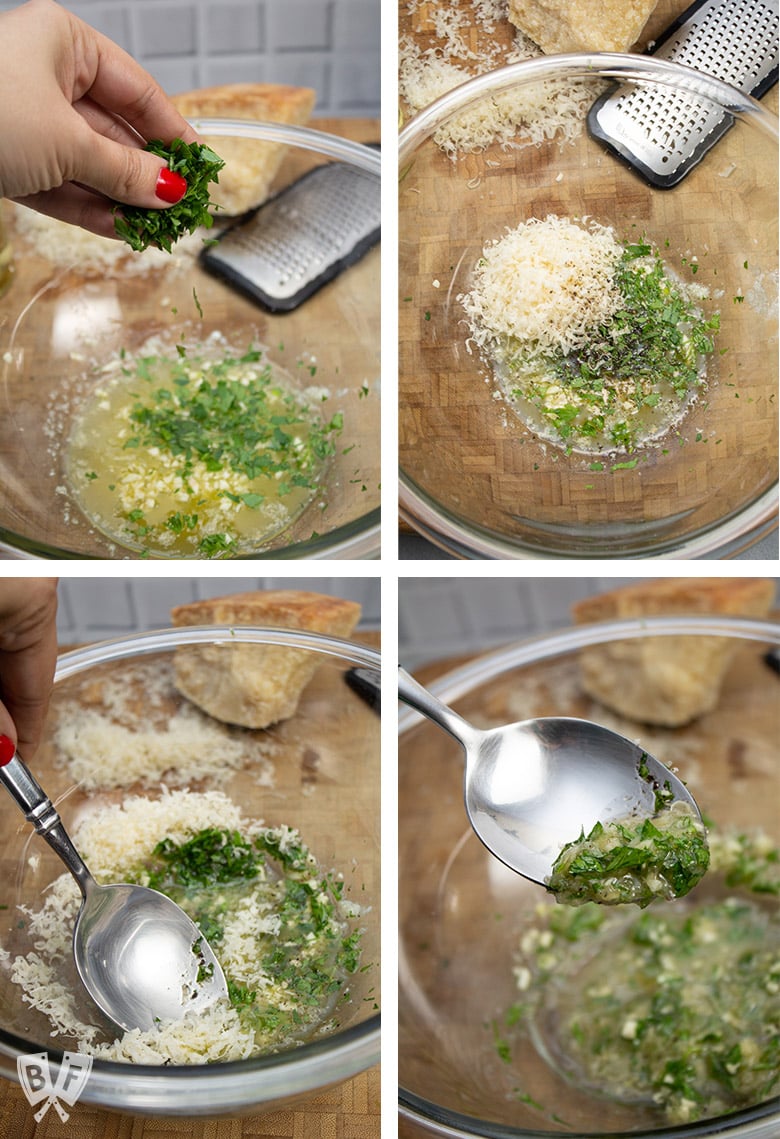
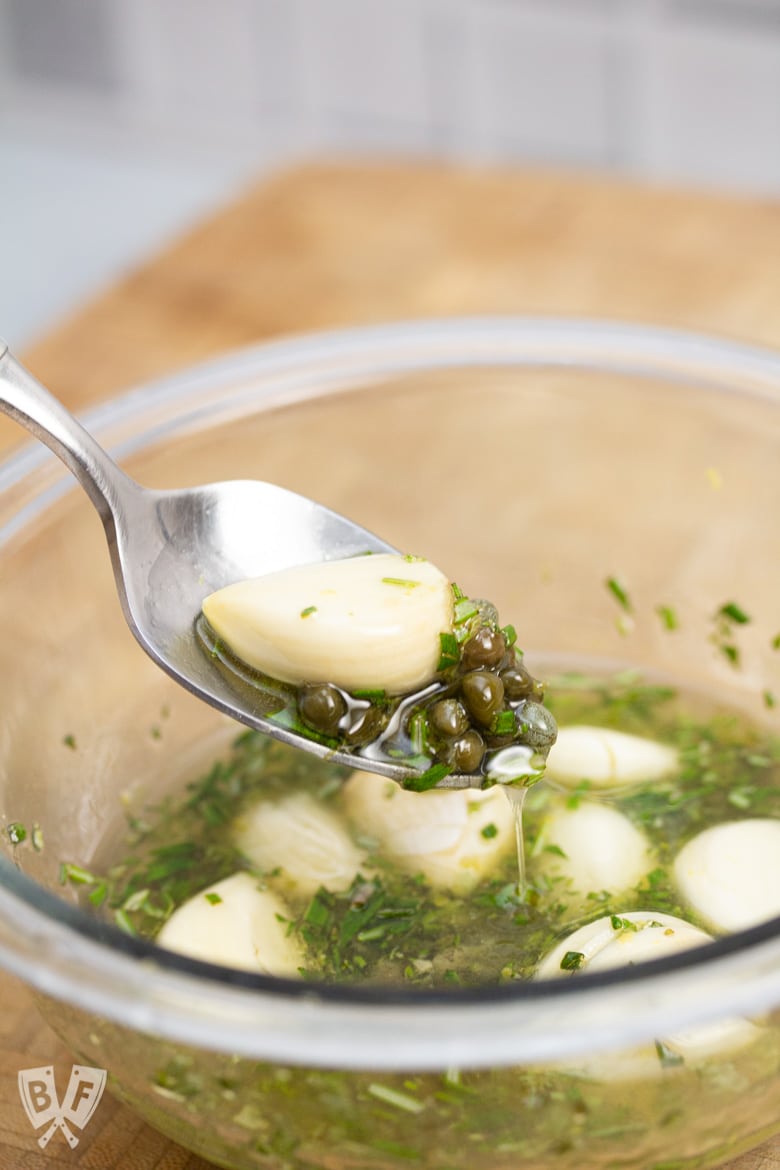
The sauce
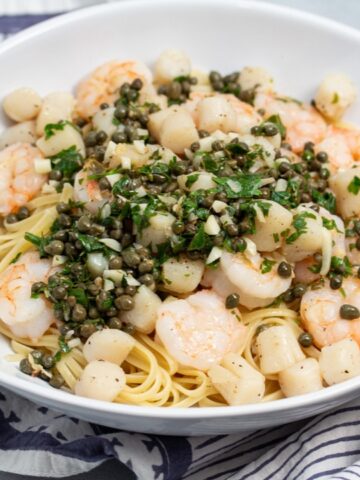
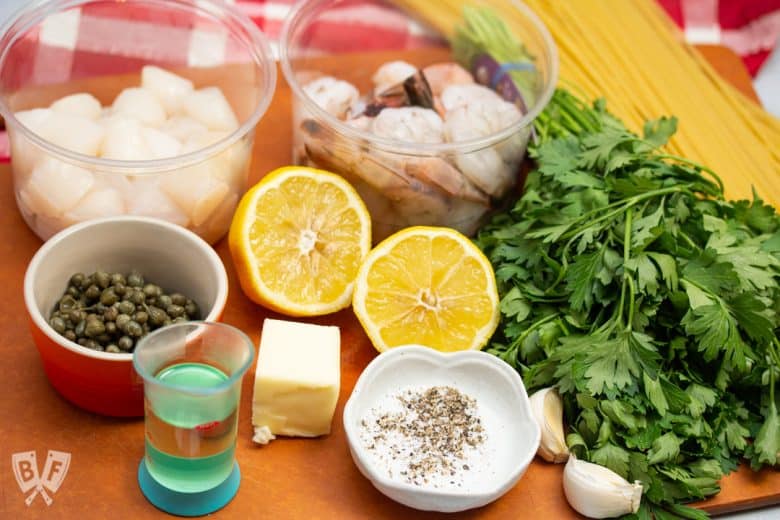
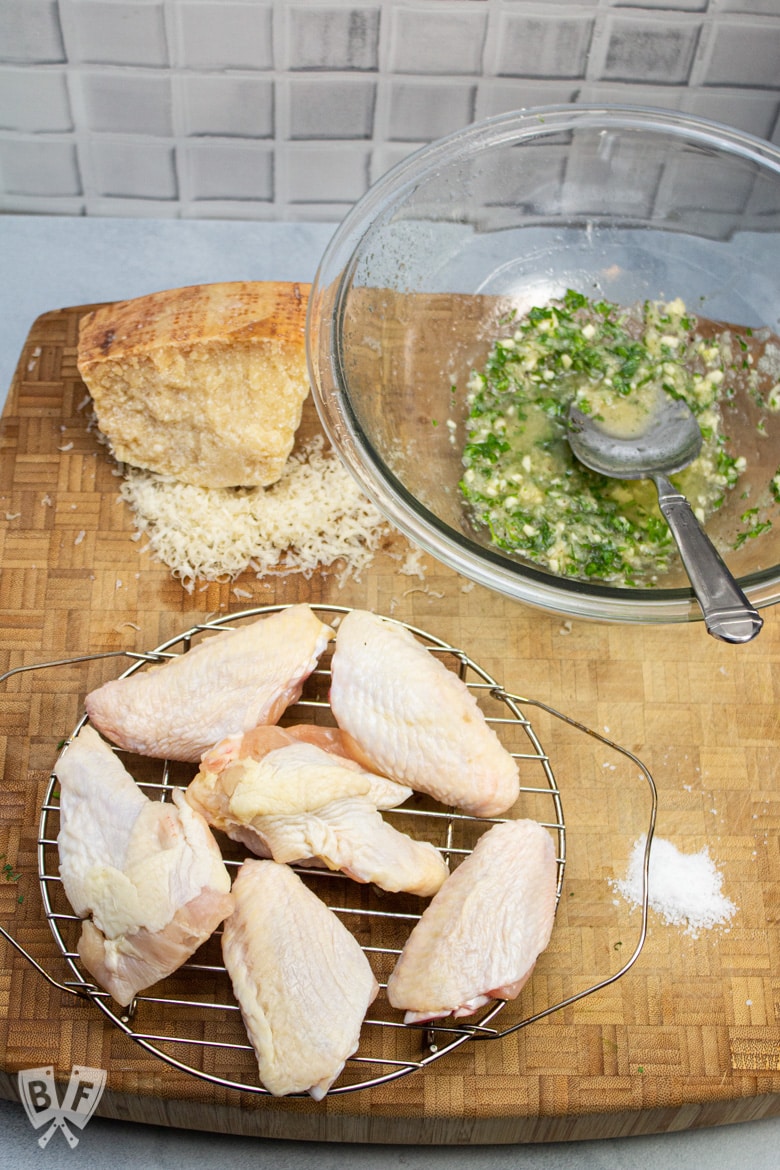
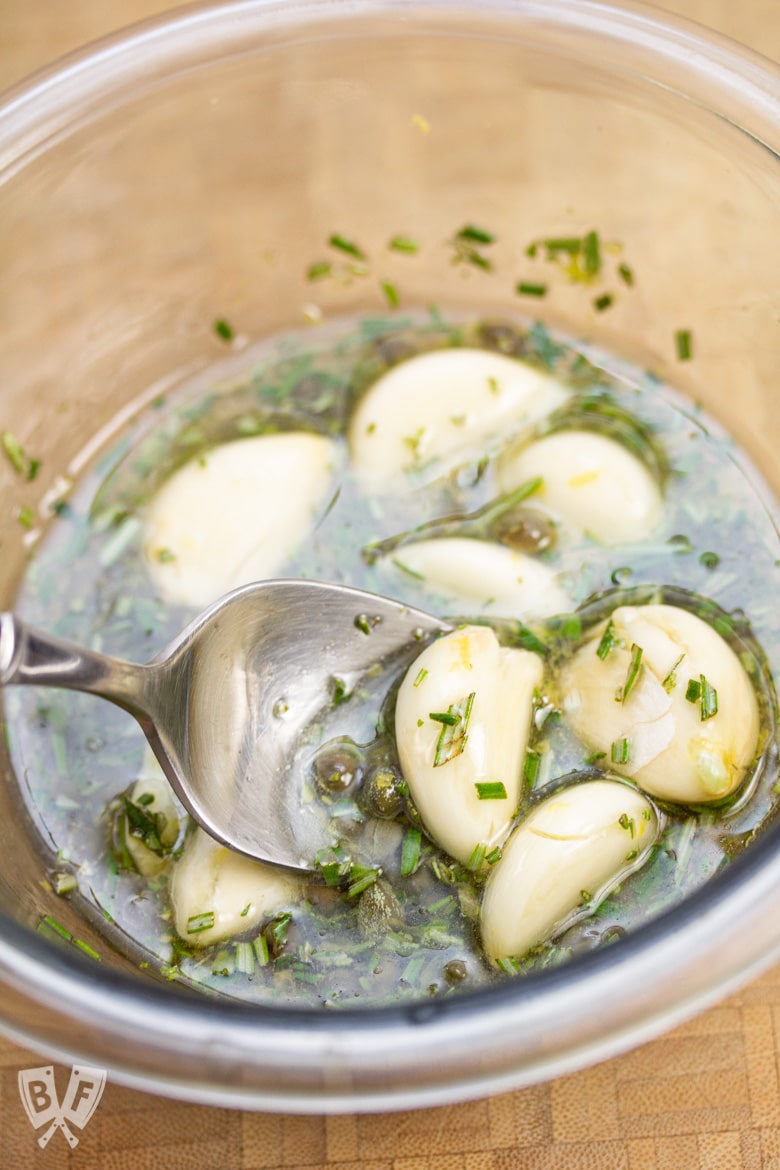
The sauce for this keto chicken and cauliflower dish couldn't be simpler. Just oil, lemon juice and zest, garlic, rosemary, and capers.
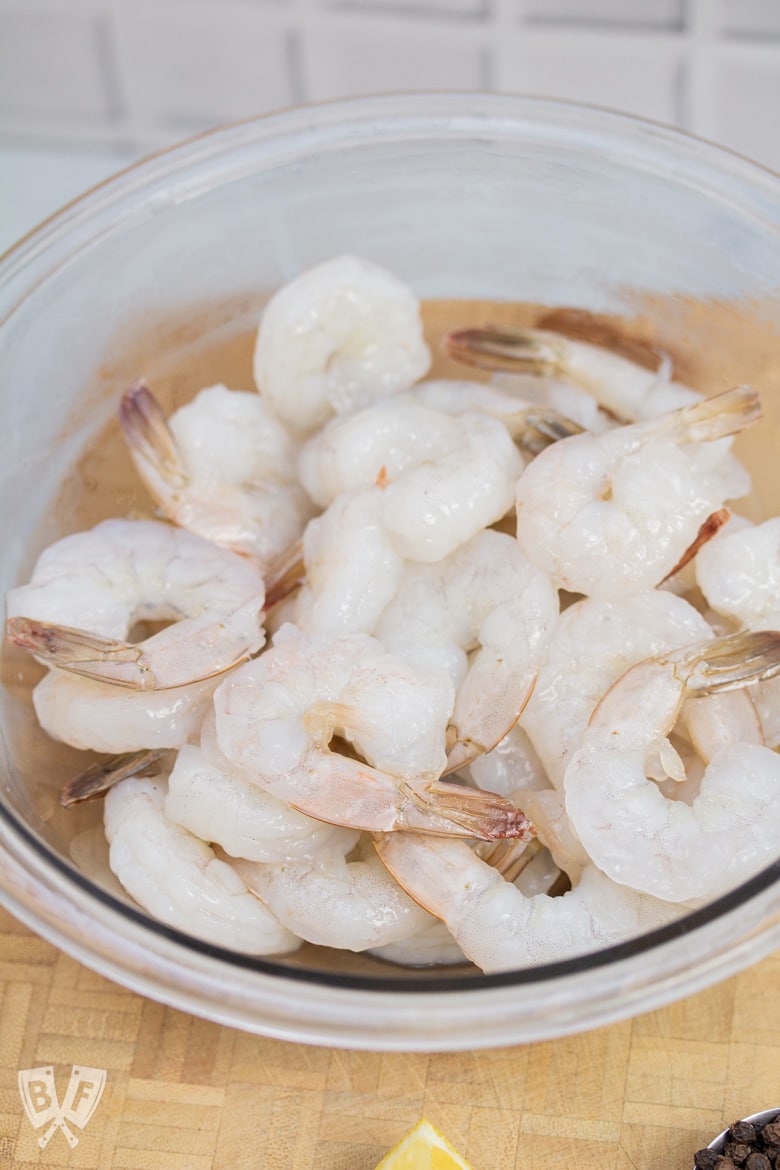
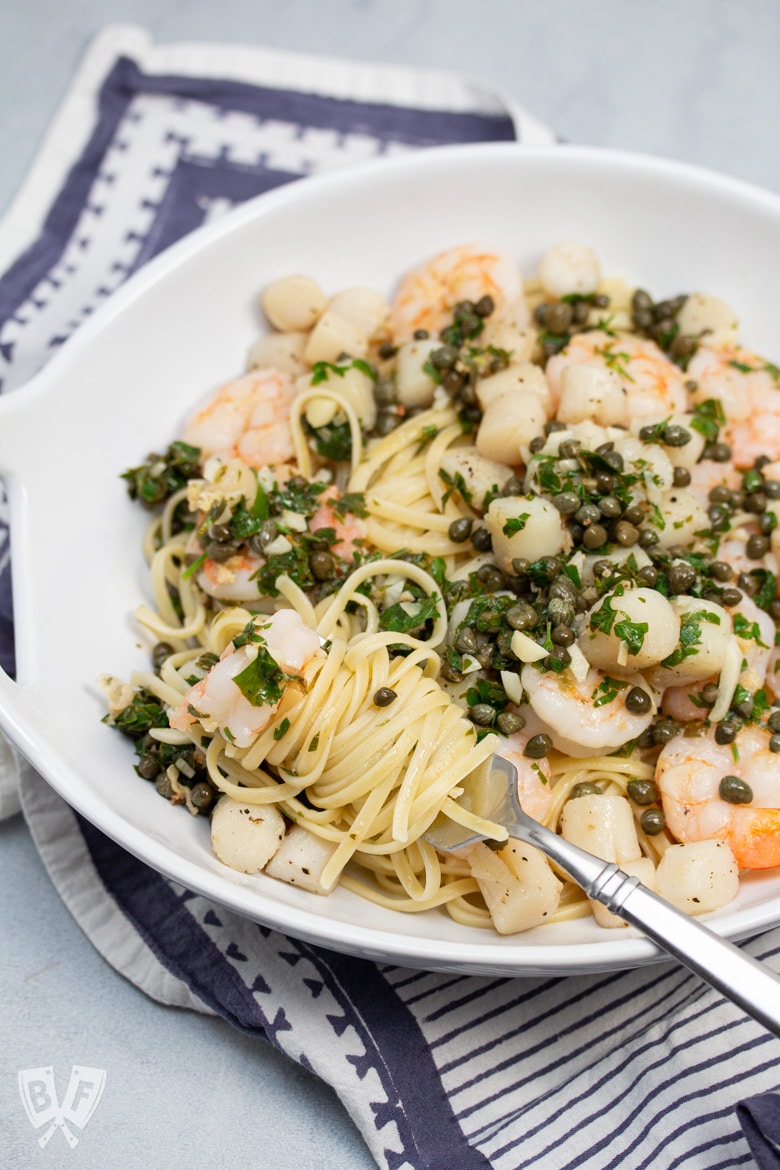
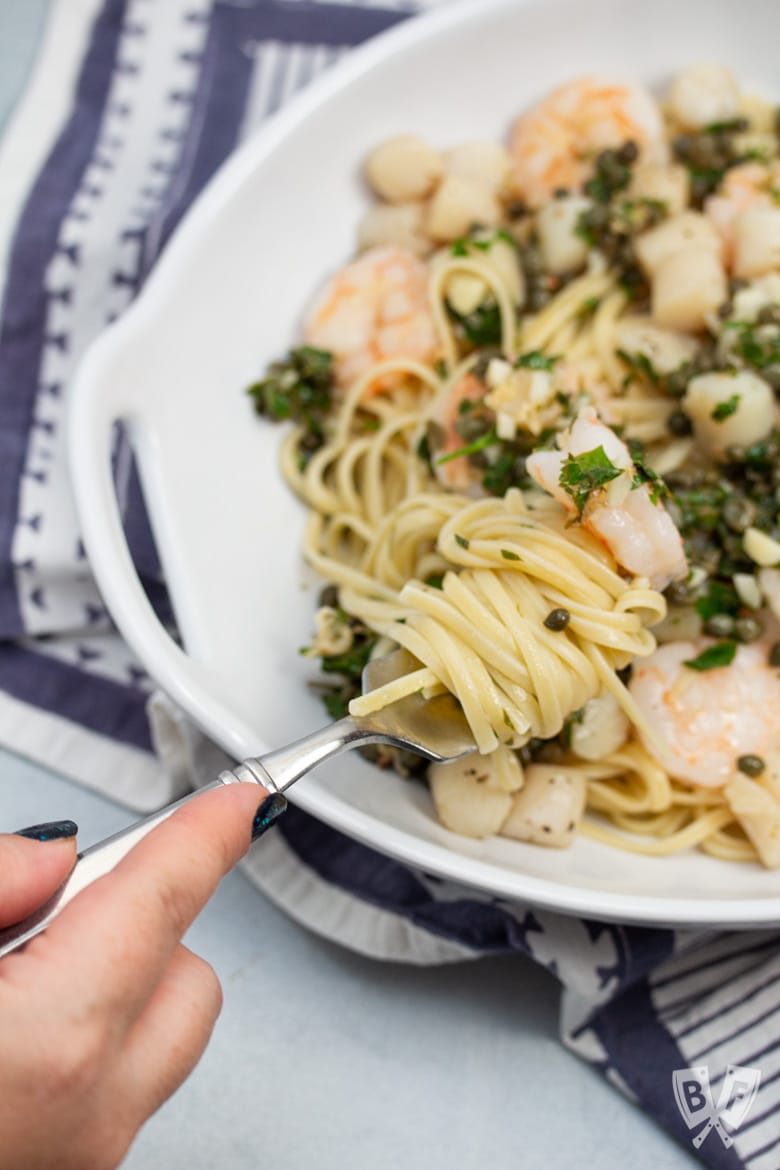
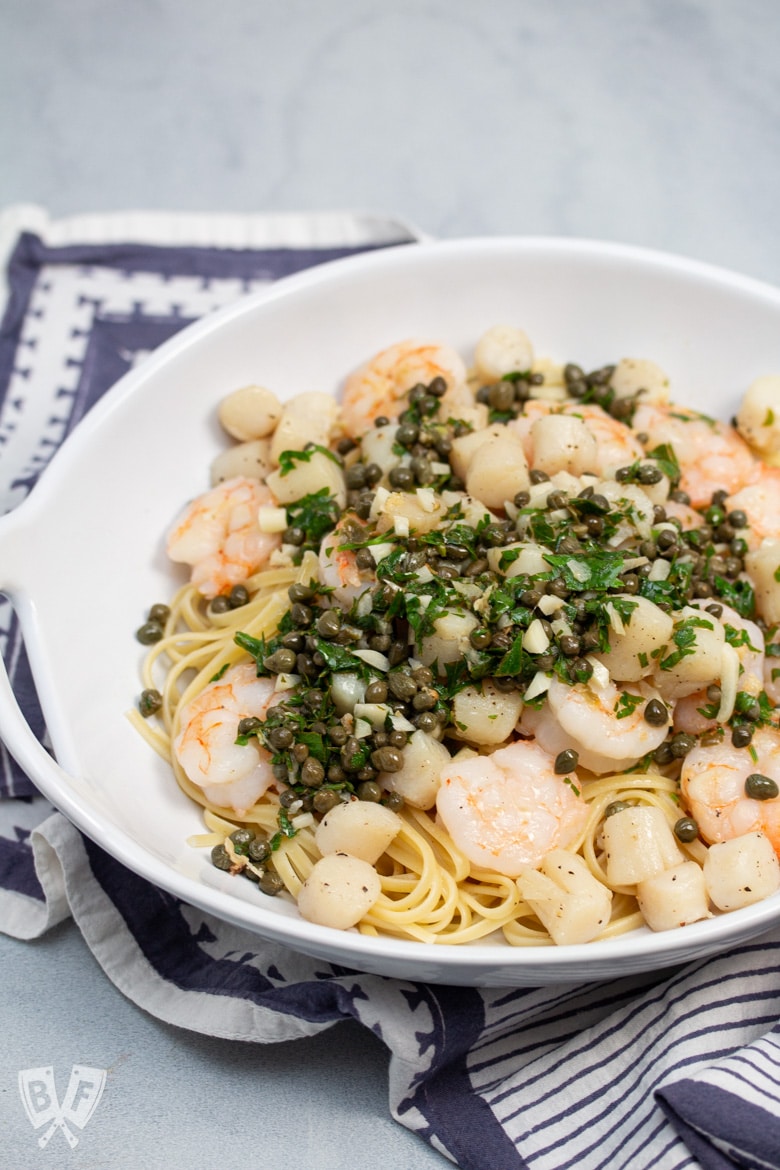
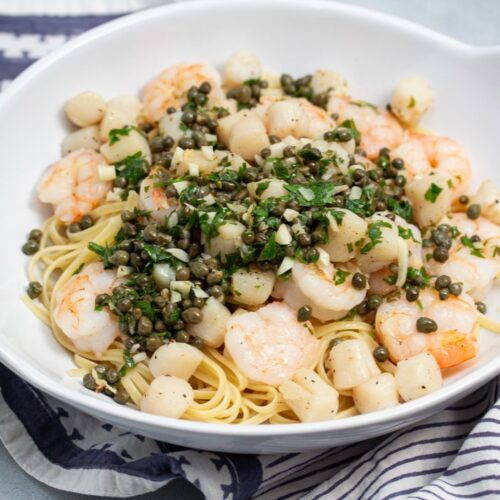
This combination would be great over things other than chicken, too. I think it would work beautifully on shrimp, scallops, or flaky fish like cod or halibut.
If you do opt for a protein that takes less cooking time than chicken, I'd recommend mincing or grating the garlic instead of leaving the cloves whole. That way it'll melt down into the sauce since whole cloves won't get cooked through with a reduced cooking time.
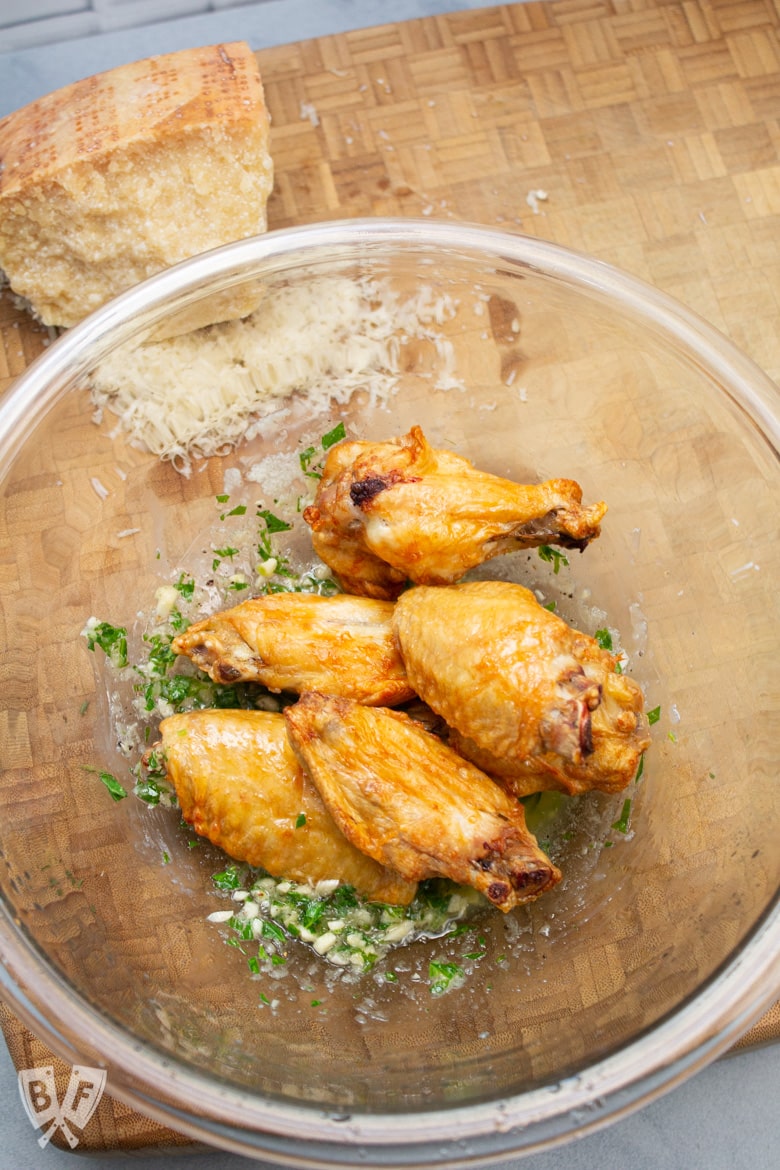
And if you aren't doing keto, I highly recommend dipping a big chunk of crusty bread into the pan drippings from this dish after it comes out of the oven.
It soaks up all of the flavors and is extra delicious with one of the cloves of roasted garlic smeared into it.
YUM.
But I digress... back to the chicken.
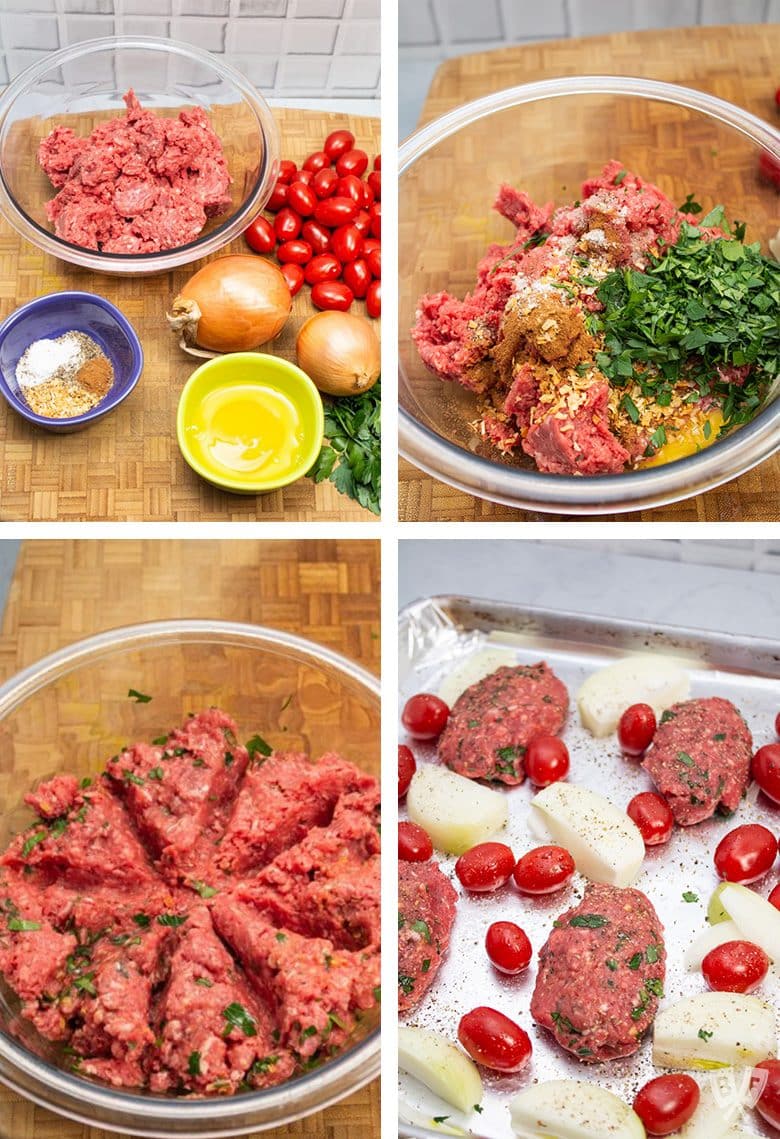
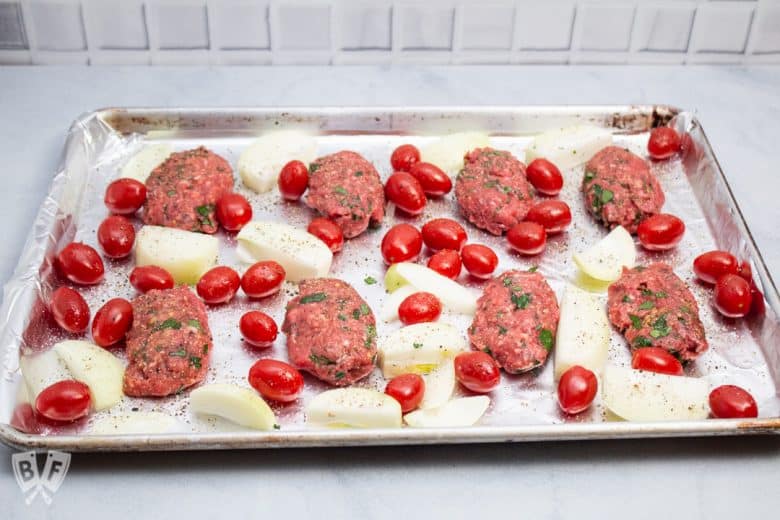
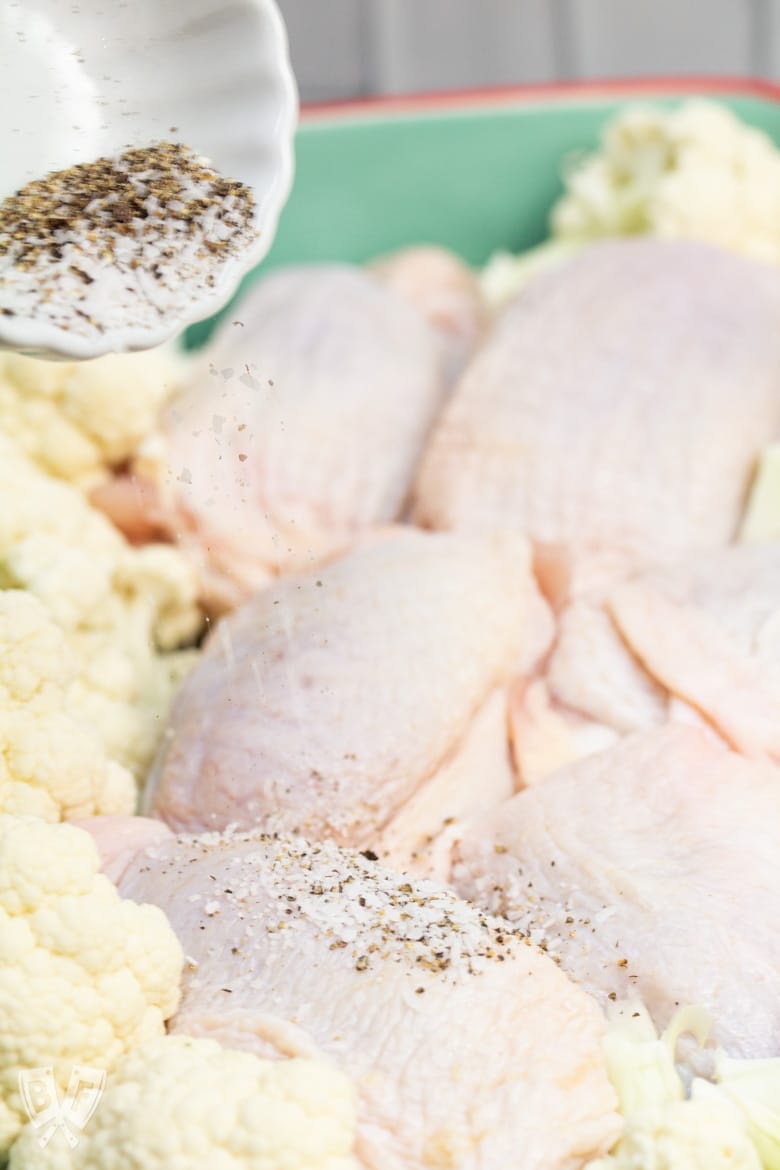
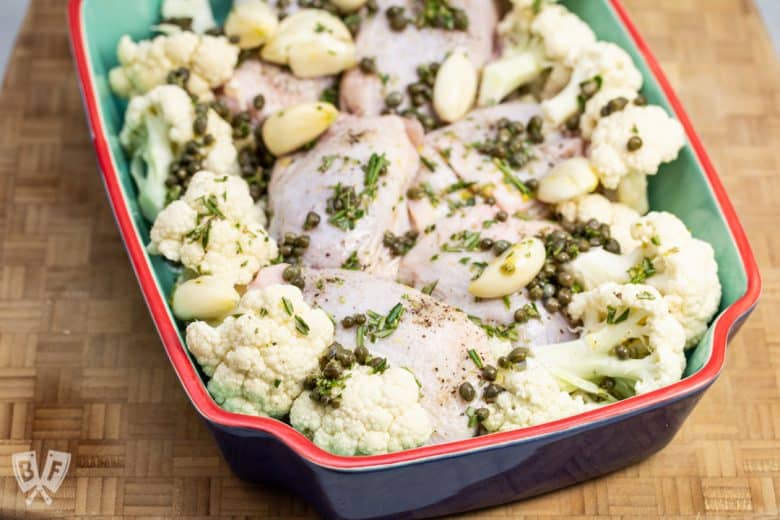
Once your sauce is mixed together, arrange the chicken and cauliflower into your baking dish in a single layer (or as close to a single layer as you can manage.
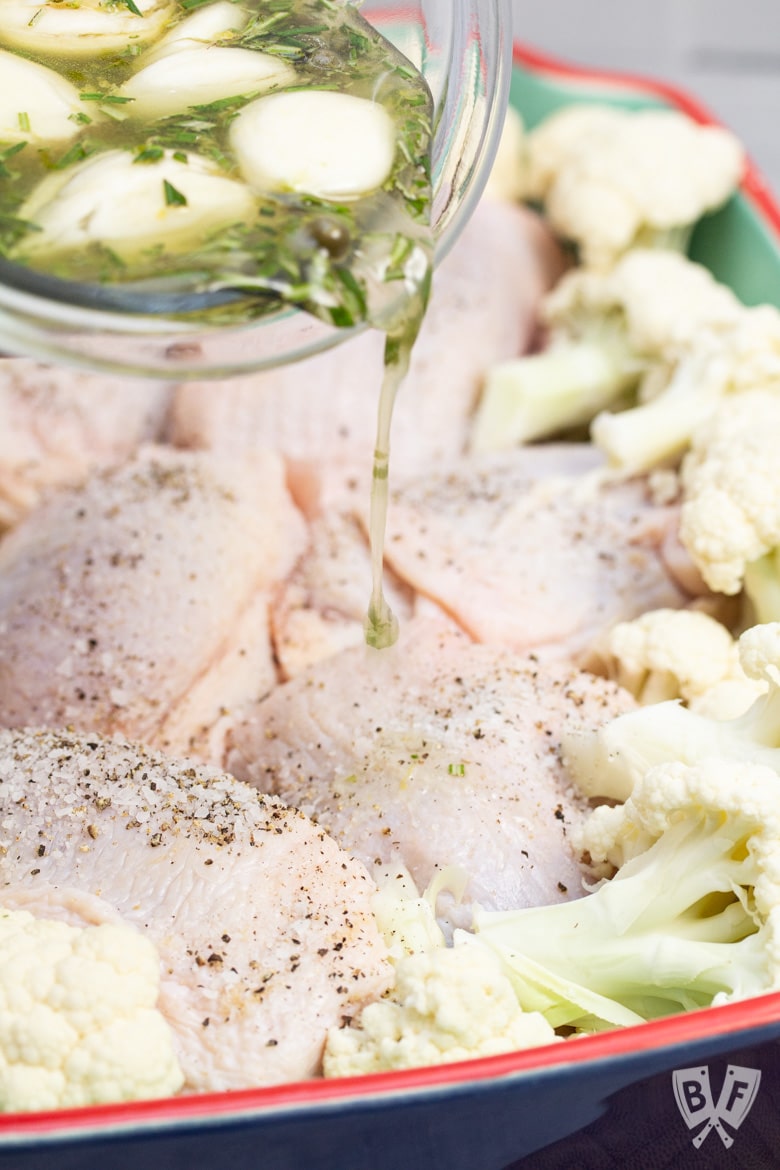
Season it with salt and pepper, then drizzle the sauce over top.
Once everything is coated, pop it into the oven for about an hour.
You want the chicken to be cooked through and the cauliflower to be tender.
Cooking temperatures for chicken thighs
The chicken thighs should be cooked to an internal temperature of 165°F.
I like to use an instant-read thermometer to check on the temperature for things like meat - especially when it comes to chicken.
Just press the probe into the center of one of the chicken thighs (I usually test the largest one) to see if it's reached the proper temperature.
If it's a little under, give it another few minutes in the oven. If it's over, it will most likely still be fine. Chicken thighs are a lot less likely to dry out from overcooking than chicken breast meat.
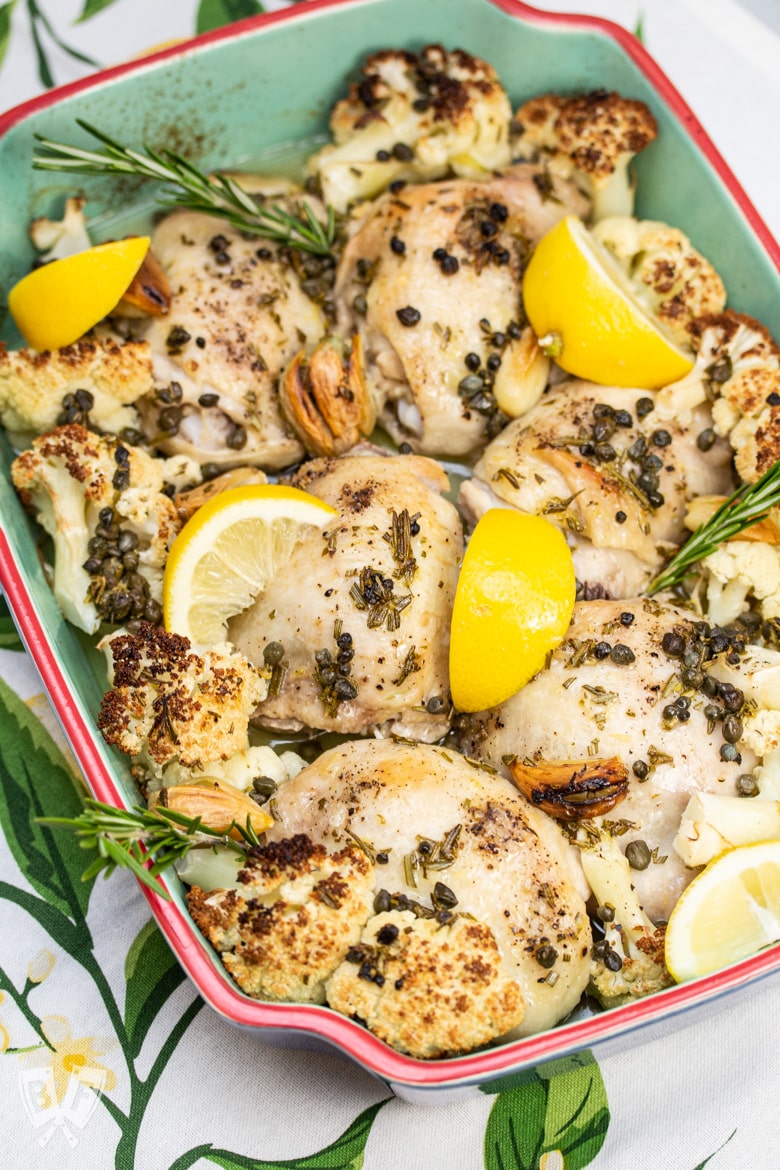
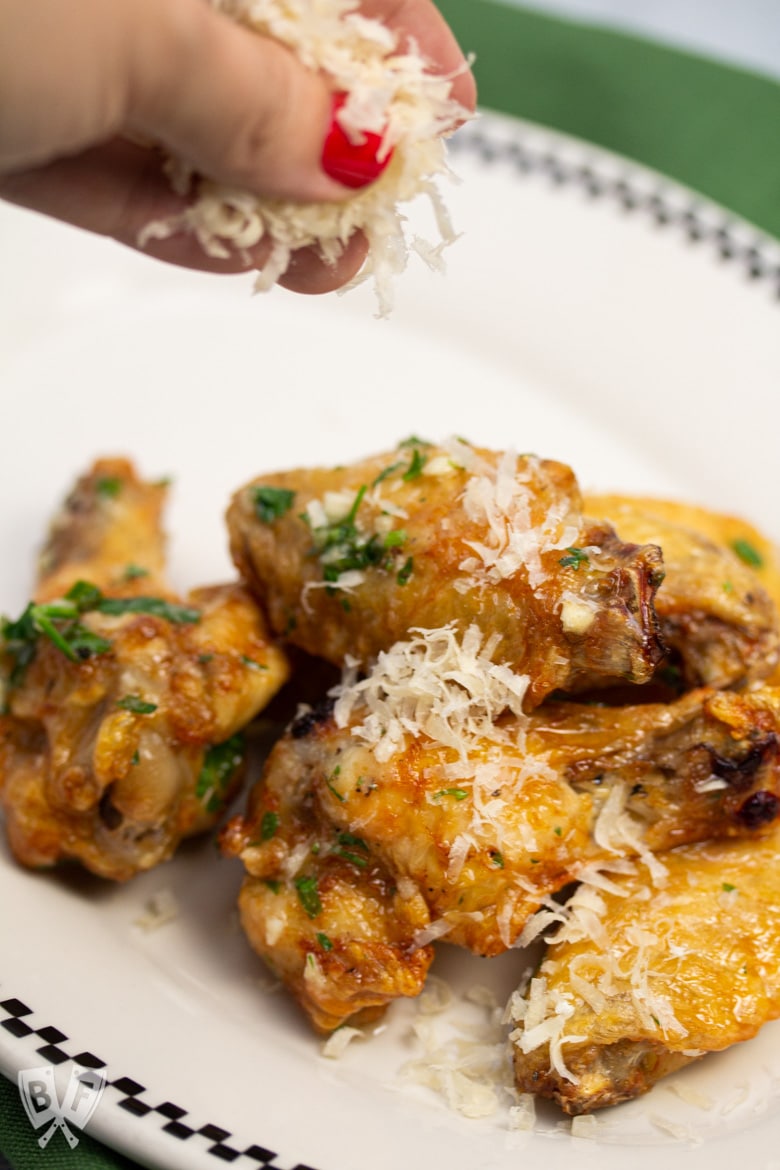
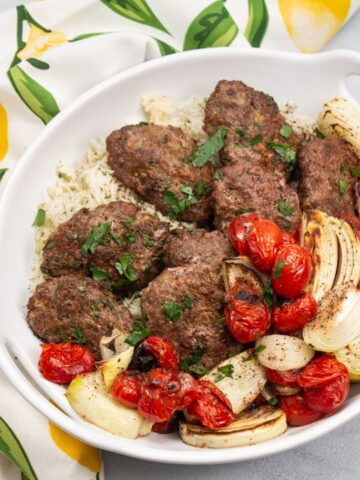
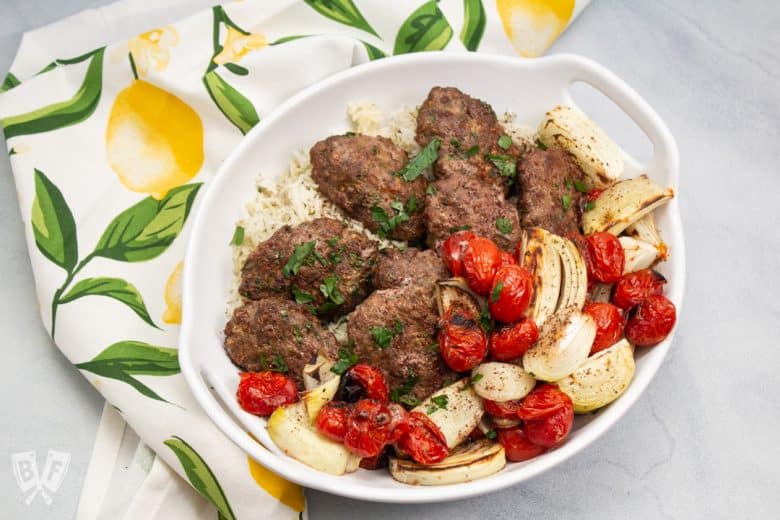
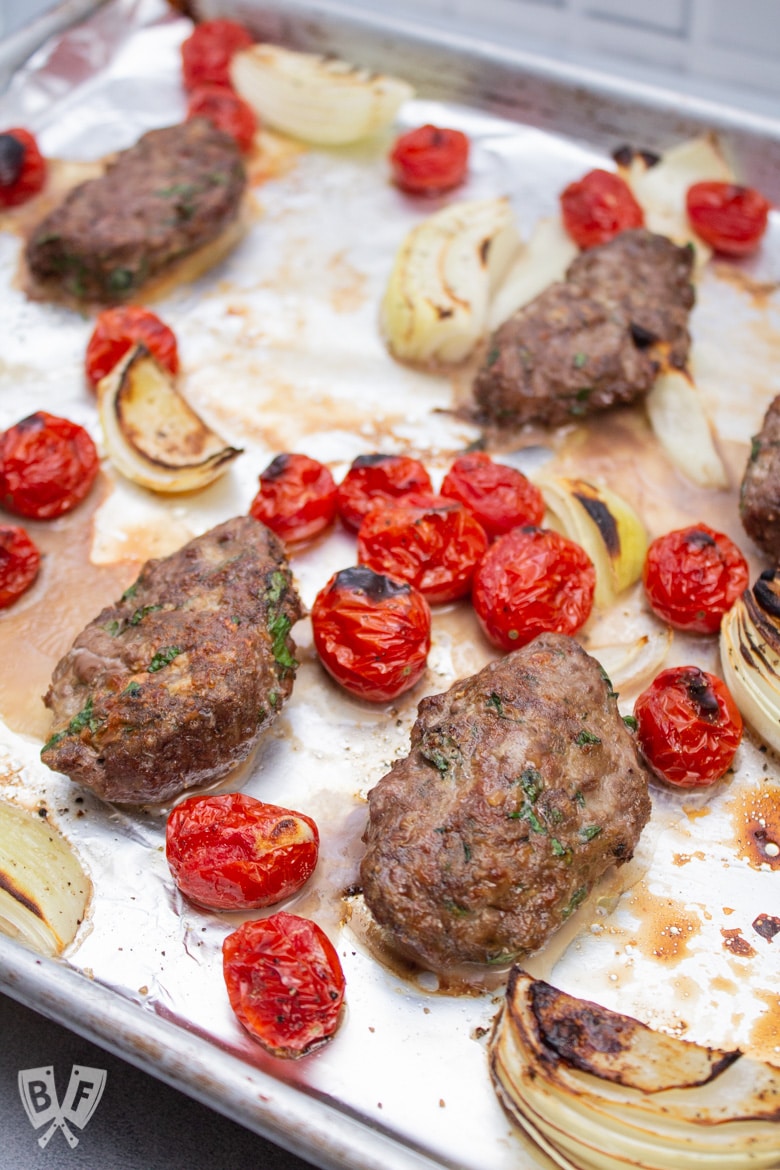
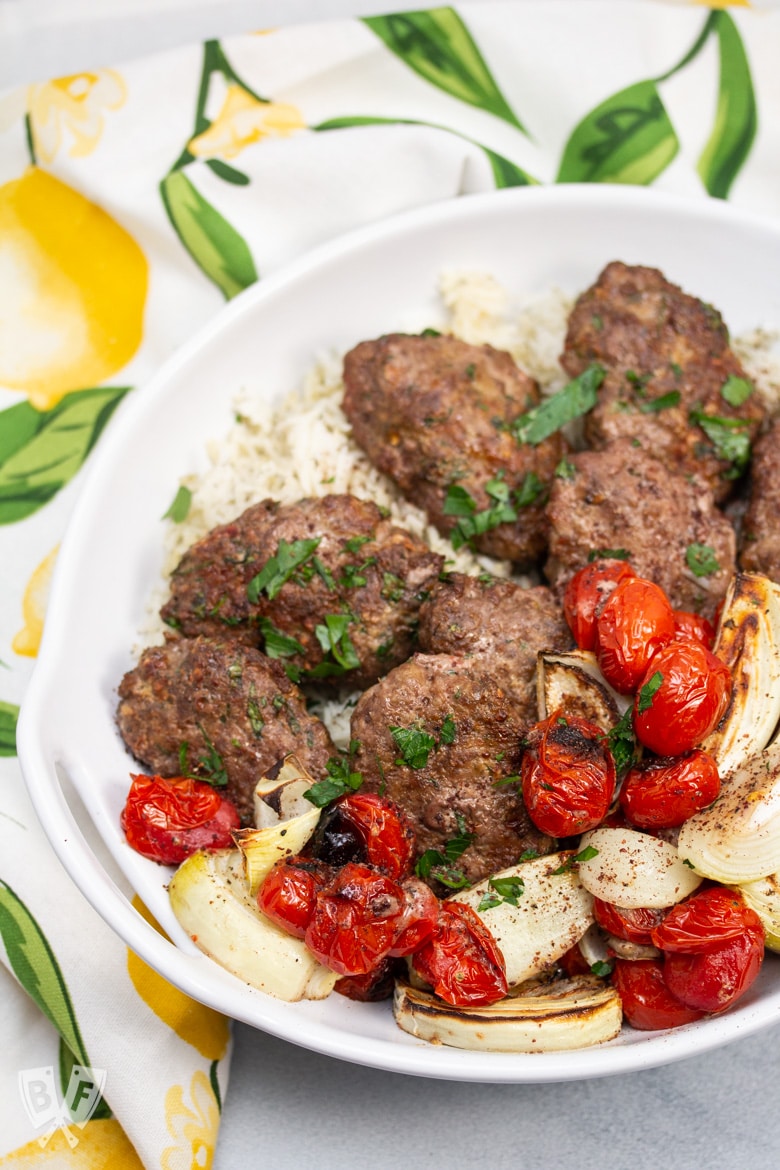
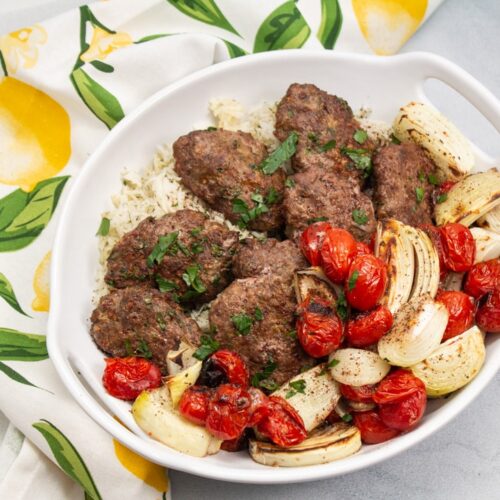
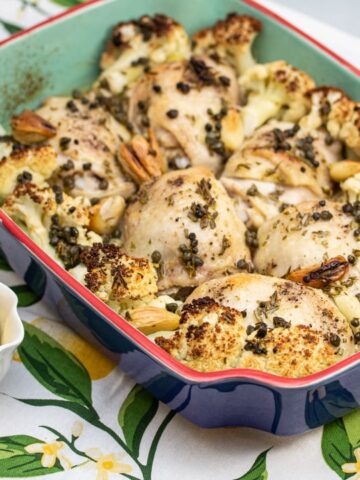
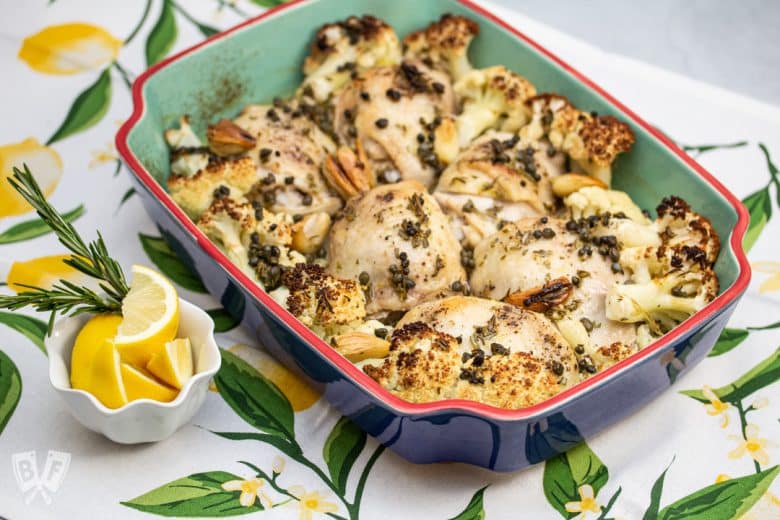
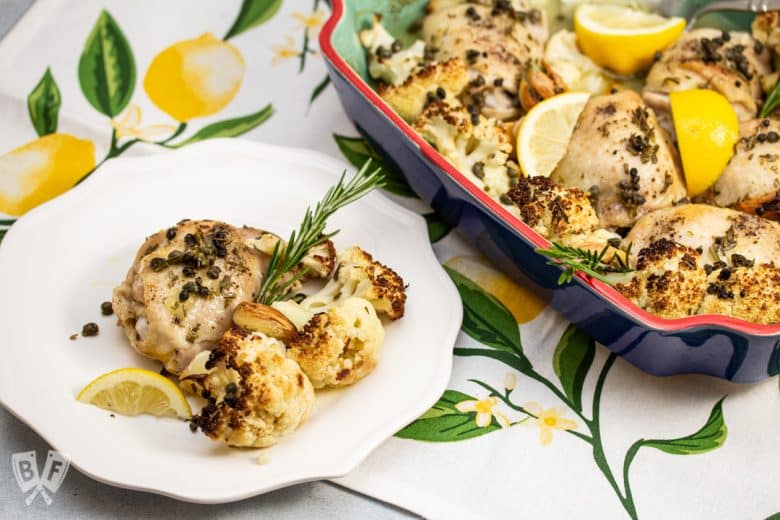
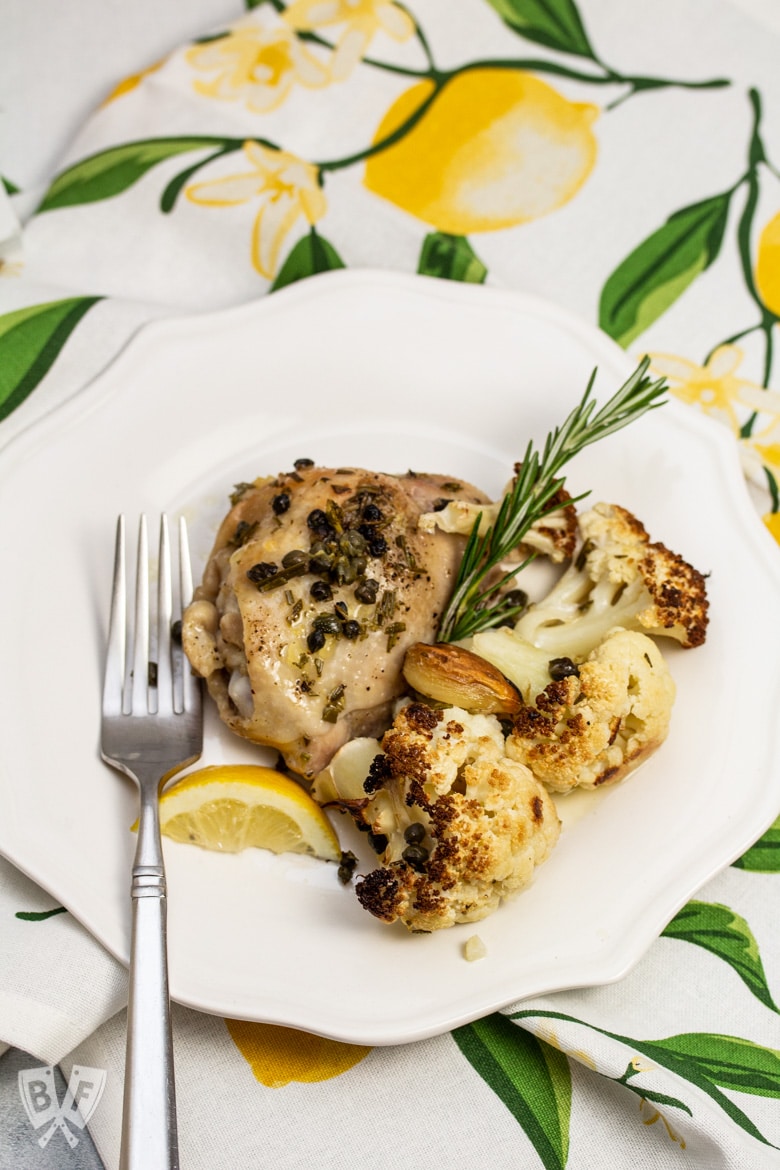
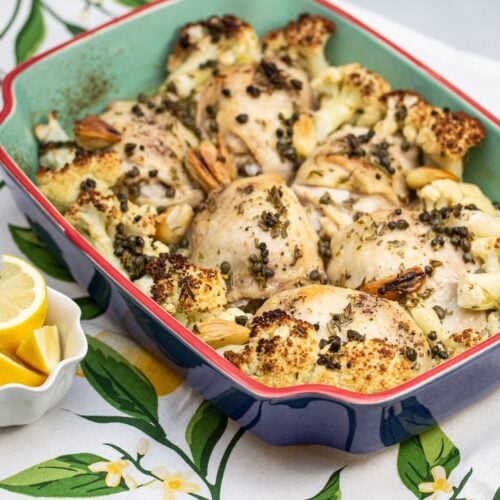
I garnished the finished roasted chicken with a little extra fresh rosemary and some lemon wedges when it came out of the oven.
This keto chicken and cauliflower recipe was so simple to put together, and my whole family absolutely loved it!
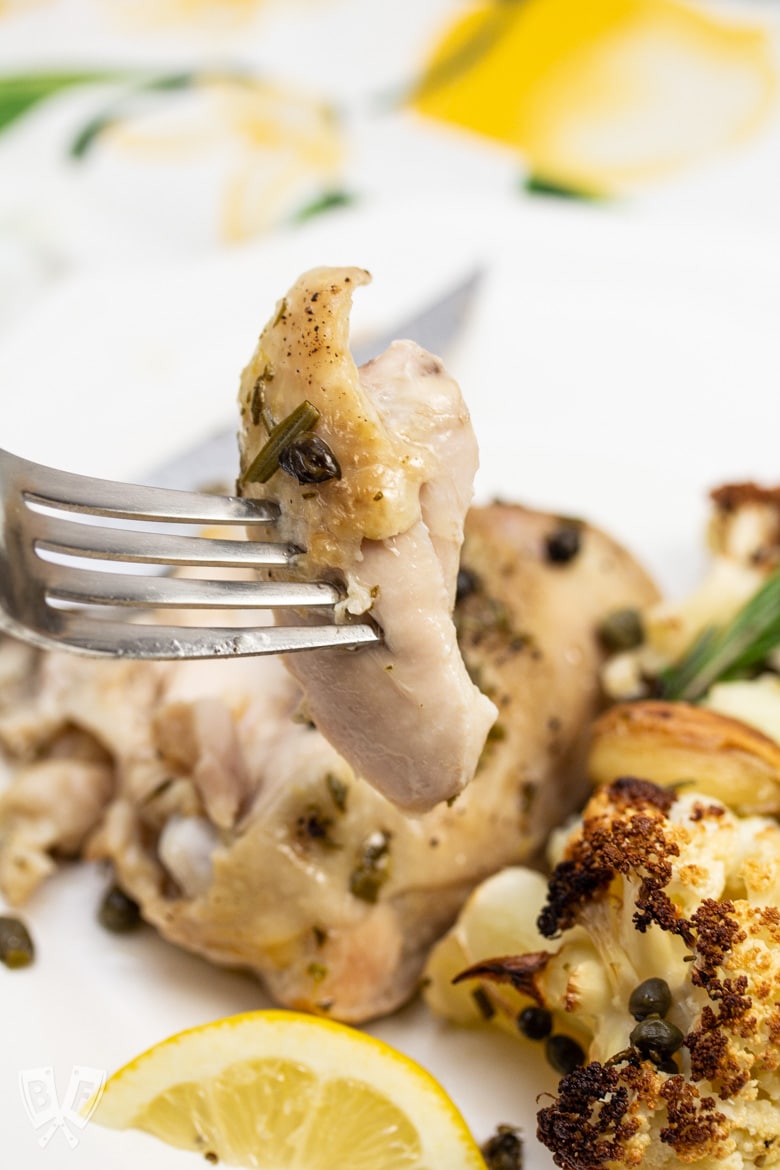
We especially loved the caramelized garlic.
The chicken was super tender and leftovers reheated well. It really hit all the right notes for us!
I think it would be fun to play with the herbs a bit the next time I make this recipe. Maybe some fresh time or oregano, or even a mix of herbs would work well.
We may even go crazy and try it with orange juice instead of lemon some time.
And if you aren't doing keto and/or aren't worried about carbs, this dish would be glorious with some baby potatoes instead of (or in addition to) the cauliflower.
Maybe even some grape tomatoes... I'm gonna need a bigger roasting pan. HA!
This recipe is one that's easy enough for a busy weekday but also elegant enough to serve for company.
It would be lovely paired with a nice starter salad and a crisp glass of white wine.
Thanks again to Kristy and her team for sending over a review copy of this cookbook. I had a lot of fun with it, and am looking forward to cooking from it again and again.
Keep an eye out for Kristy's next cookbook - it's gonna be a good one!
What are your favorite weeknight meals? I'd love to hear about them in the comments section below!
Looking for more one-pan recipes? Check out some of our favorites:
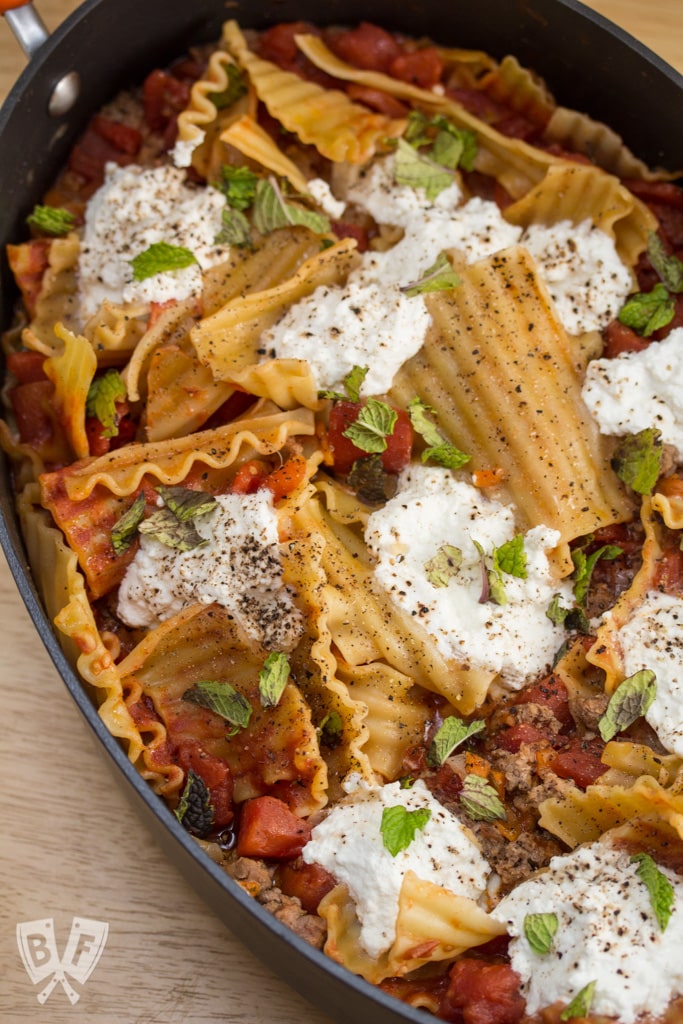
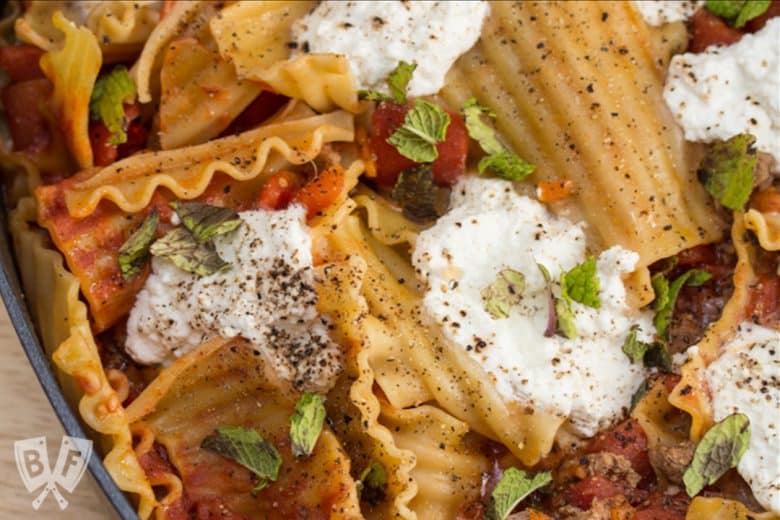
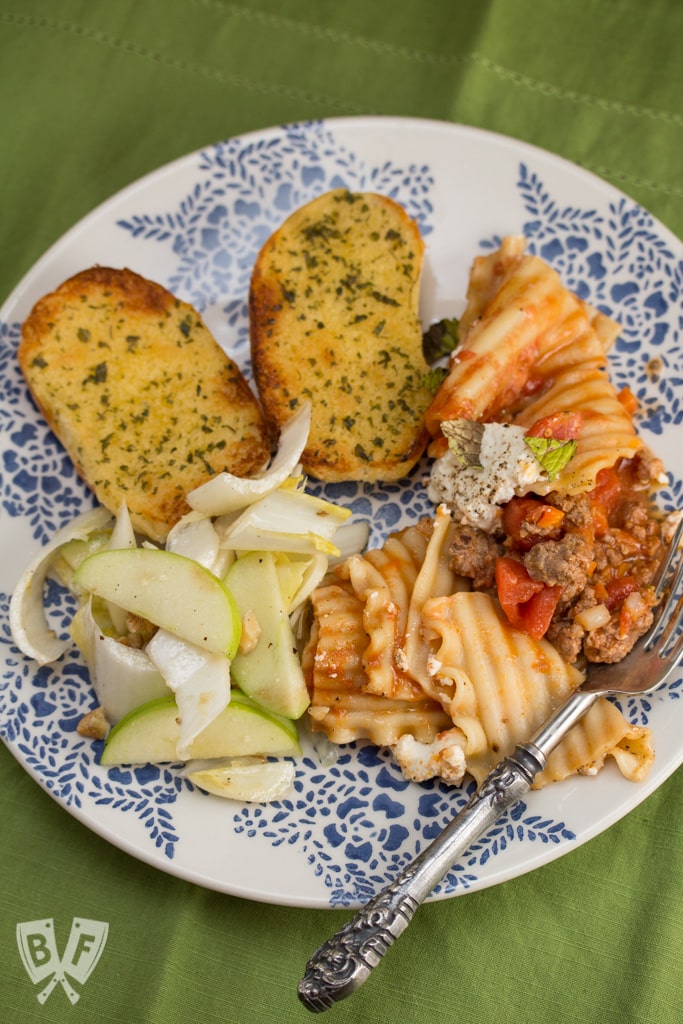
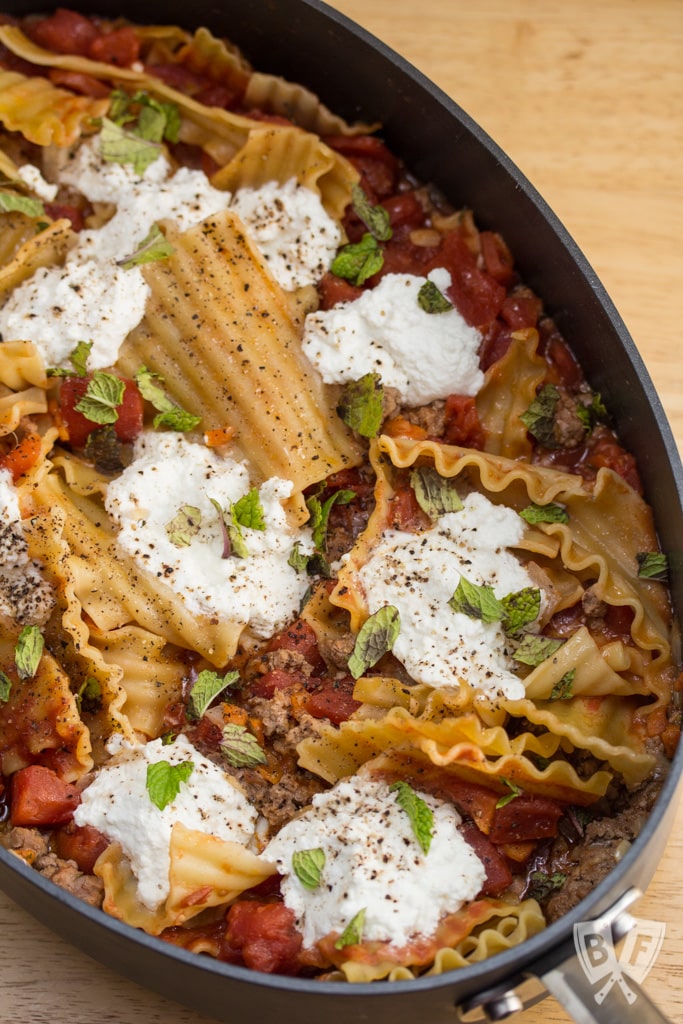
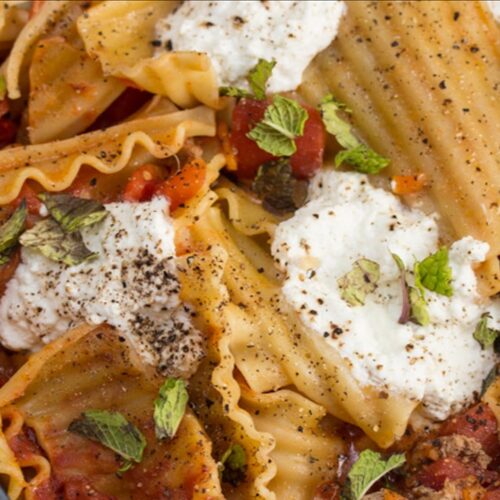
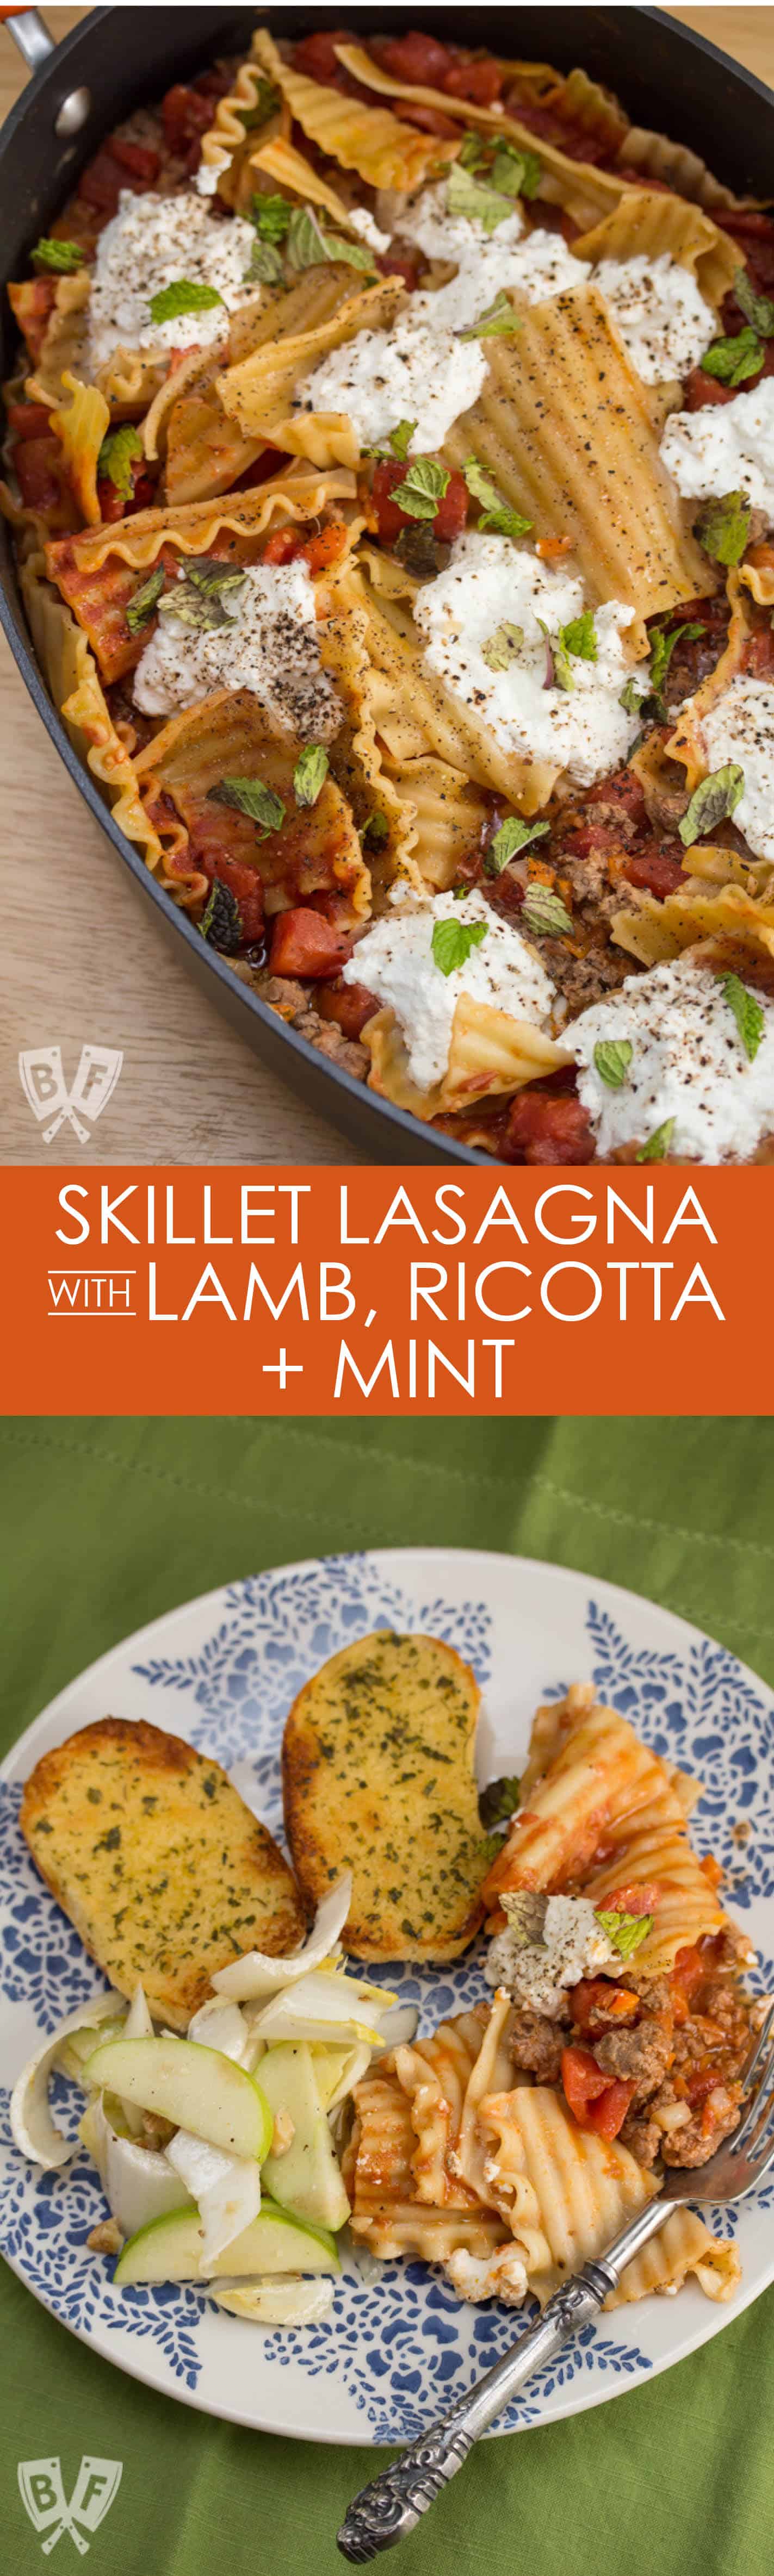
- Skillet Lasagna with Lamb, Ricotta + Mint
- Broiler Kebab Sheet Pan Meal
- Spanish Chicken + Sausage Skillet
- Pan-Roasted Pork Tenderloin with Balsamic Tomatoes
- Iron Skillet Chicken + Carrots with Toasted Lager Mustard Sauce
- Sausage and Peppers
- Our Favorite Steak Fajitas
- Single-Skillet Bacon-Rosemary Chicken Thighs with Roasted Tomatoes
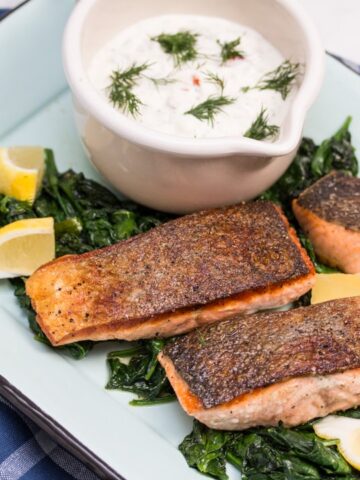
- One Pan Seared Salmon and Spinach with Remoulade
- Pan Roasted Pork Tenderloin with Fairy Tale Eggplant & Tomatoes
- Latin-Spiced Pork + Squash Skillet with Chili Lime Cherries
- Baked Chicken Thighs with Potatoes and Peas
- Latin Chicken Skillet with Black Beans + Tomatoes
Doing some online shopping? Check out my Amazon Shop page for recommendations!
Recipe for Roasted Lemon-Rosemary Chicken & Cauliflower
If you try out this recipe, please come back and give it a star rating and comment below. I'd love to know what you think of it!
📖 Recipe
Roasted Lemon-Rosemary Chicken & Cauliflower
Instructions
- Preheat your oven to 425°F (218°C).
- In a bowl, mix together the avocado oil, lemon juice and zest, capers and rosemary. Set it aside.
- Season the chicken with the salt and pepper. Place the chicken, cauliflower and garlic in a 9 x 13-inch (22 x 33-cm) baking dish, in one layer, if possible. Top with the sauce.
- Bake for 50 to 60 minutes, or until the chicken is cooked through to an internal temperature of 165°F (74°C) and the cauliflower is soft.
Notes
- Reprinted with permission from Weeknight Keto by Kristy Bernardo, Page Street Publishing Co. 2019.
- Kristy's notes: The sauce in this chicken dish is absolutely to die for. The lemon and rosemary combine with the rendered fat from the thighs that is wonderful with the cauliflower once it's all baked together. And the garlic softens, so you can eat that as is or smear it on the top of your chicken.