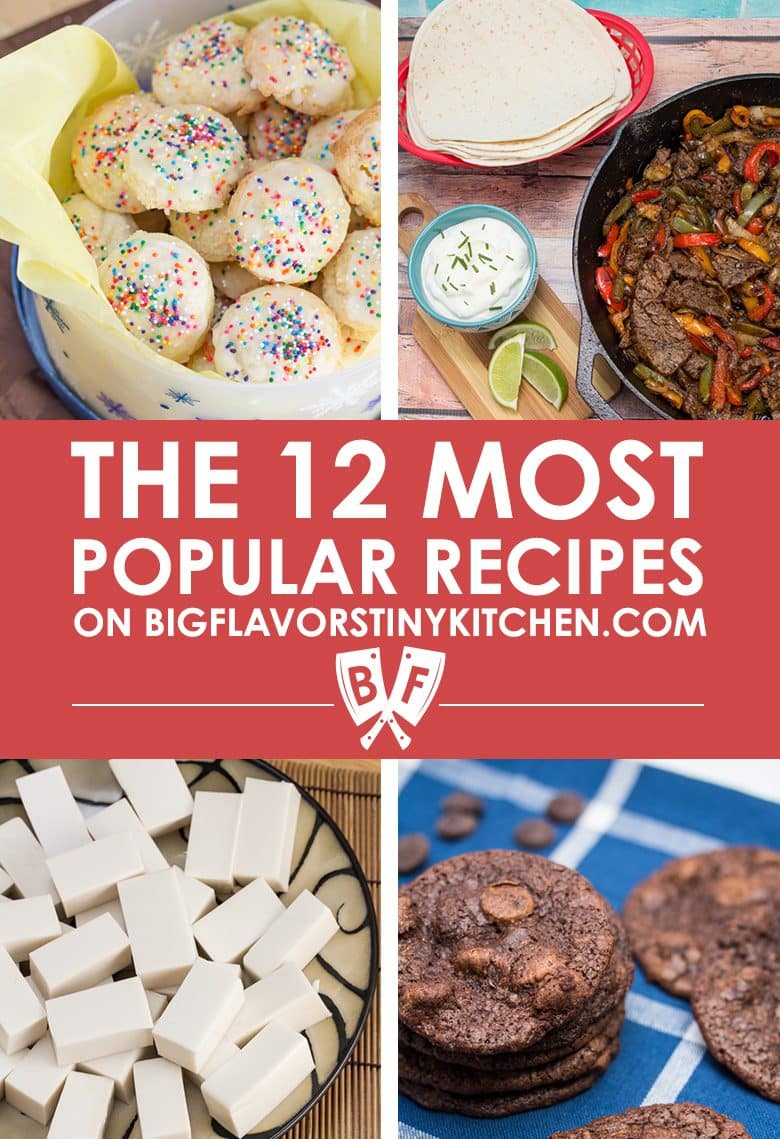
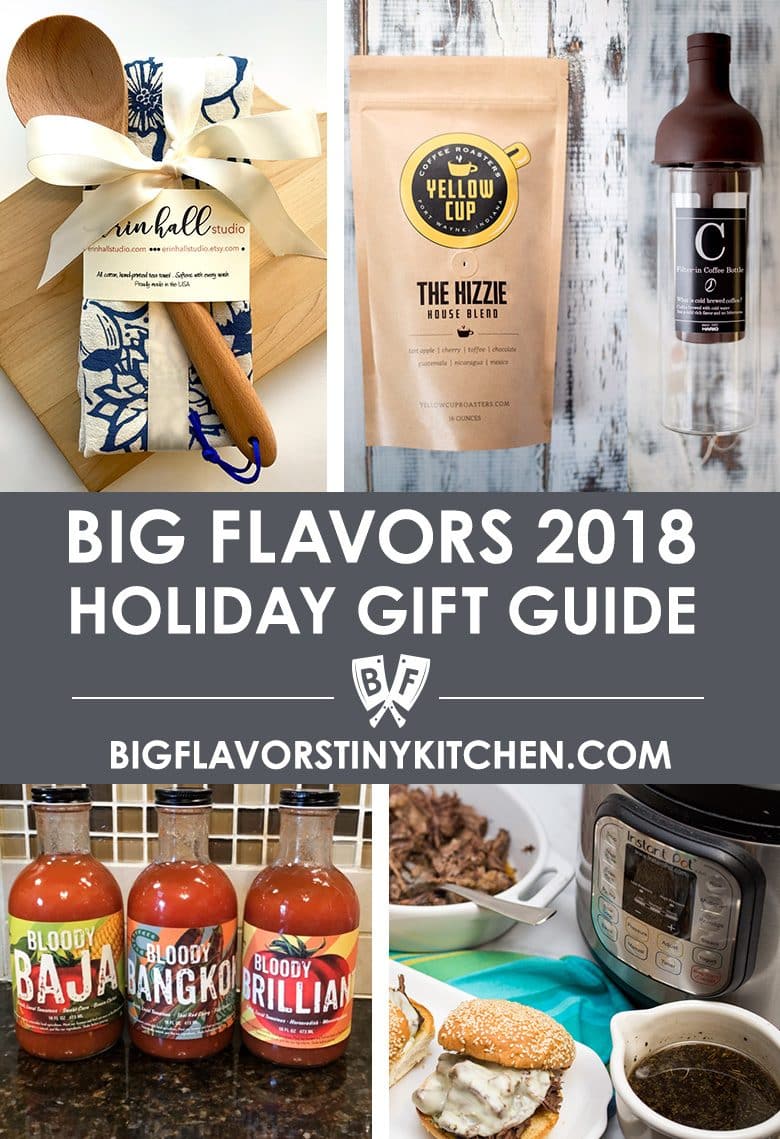
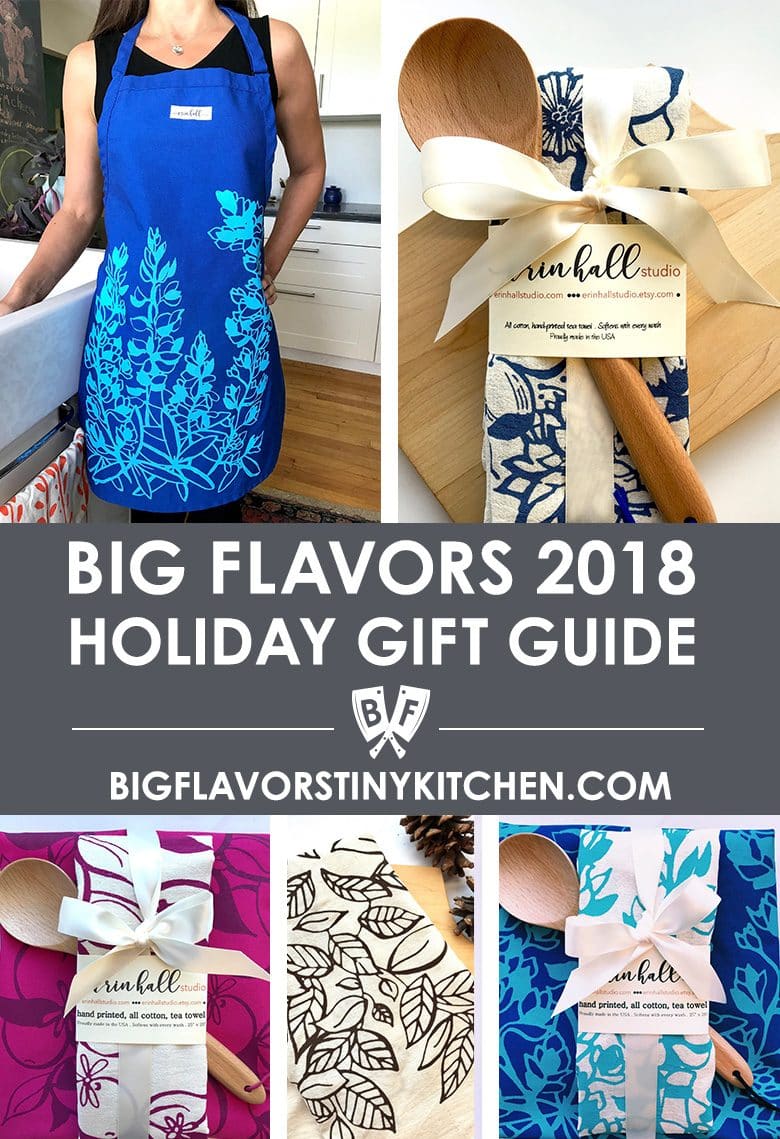
The holiday shopping season is officially here, and that means it's time for another installment of the Big Flavors Holiday Gift Guide!
This time around I'm sharing some of my top gift recommendations for the food and beverage lovers in your life. I'm covering a nice assortment of my favorite items to inspire people of all ages to get into the kitchen and enjoy something delicious!
I'm splitting this post into 2 parts - the second batch will be out in the next few days, so stay tuned!
This post may contain affiliate links.
This year I decided to do things a little differently. Since I've been having so much fun doing Facebook LIVE streaming cooking sessions lately, I thought that a LIVE gift guide would be a fun addition to the roster.
It's been an absolute BLAST being able to chat and interact with you guys in real time, and I've been getting a great response! I typically go LIVE on Fridays at 10am EST, and you can find out what's on the roster by heading over to my shiny new Events page here on Big Flavors.
You can also check the Big Flavors Facebook page, where I post polls about what to cook next and add events to the calendar there. After the initial recordings, the videos and any links discussed are also posted over to the Big Flavors YouTube channel. So there are lots of options for how to interact with me face-to-face (or screen-to-screen)!
I also have plenty of great recommendations in previous holiday gift guides. You can check out all of the Big Flavors Gift Guides here.
So this year on Cyber Monday, I hopped on a live stream to talk about some of my top picks for the food and beverage lovers in your life.
First up this year is one of my absolute FAVORITE finds from the past year, the handprinted tea towels, kitchen goods, and gifts from Erin Hall Studio.
Erin is an artist and textile designer based in Westport, New York. In her studio, Erin creates all of her designs, develops her own screens and hand-prints all her creations. She makes everything from tea towels (my current obsession) to hot pads, aprons, zippered pouches, tote bags, cloth napkins, and even scarves!
This was actually the very first shop that came to mind when I was planning this year's gift guide. But between my hectic schedule at home, being sick for almost a month (!!), and the craziness of the holidays, I completely forgot to talk about them during my gift guide on Facebook LIVE!
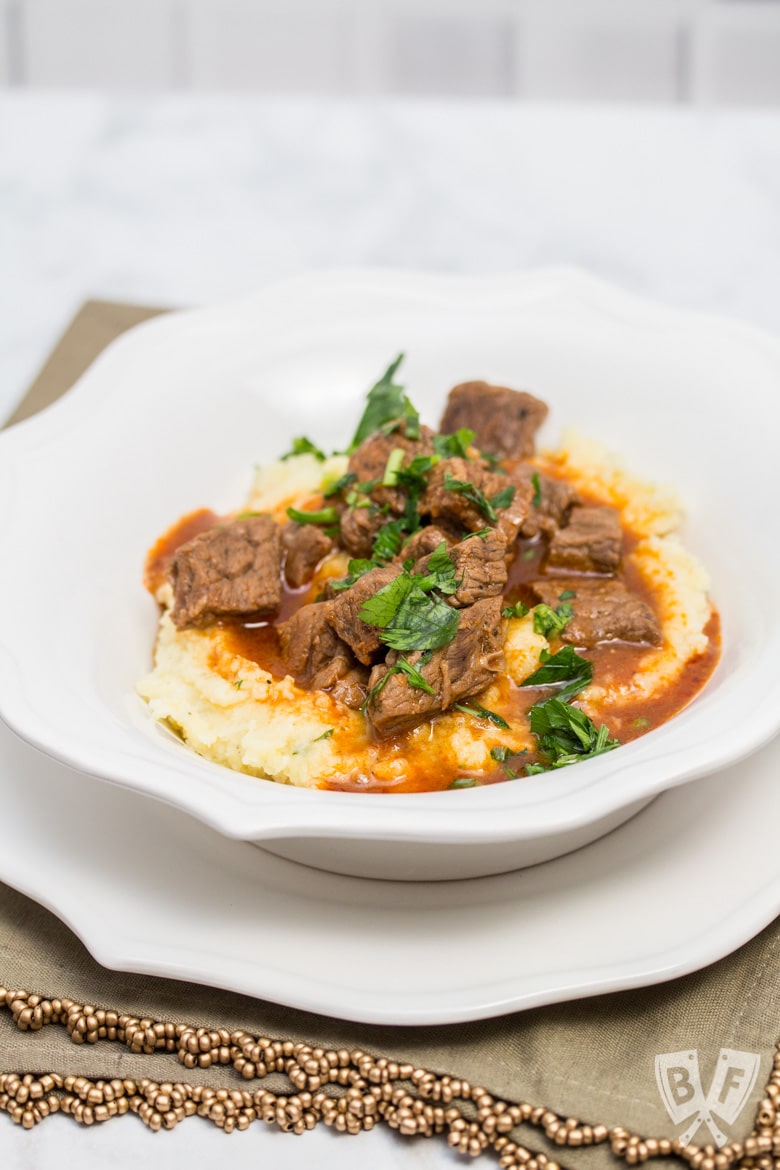
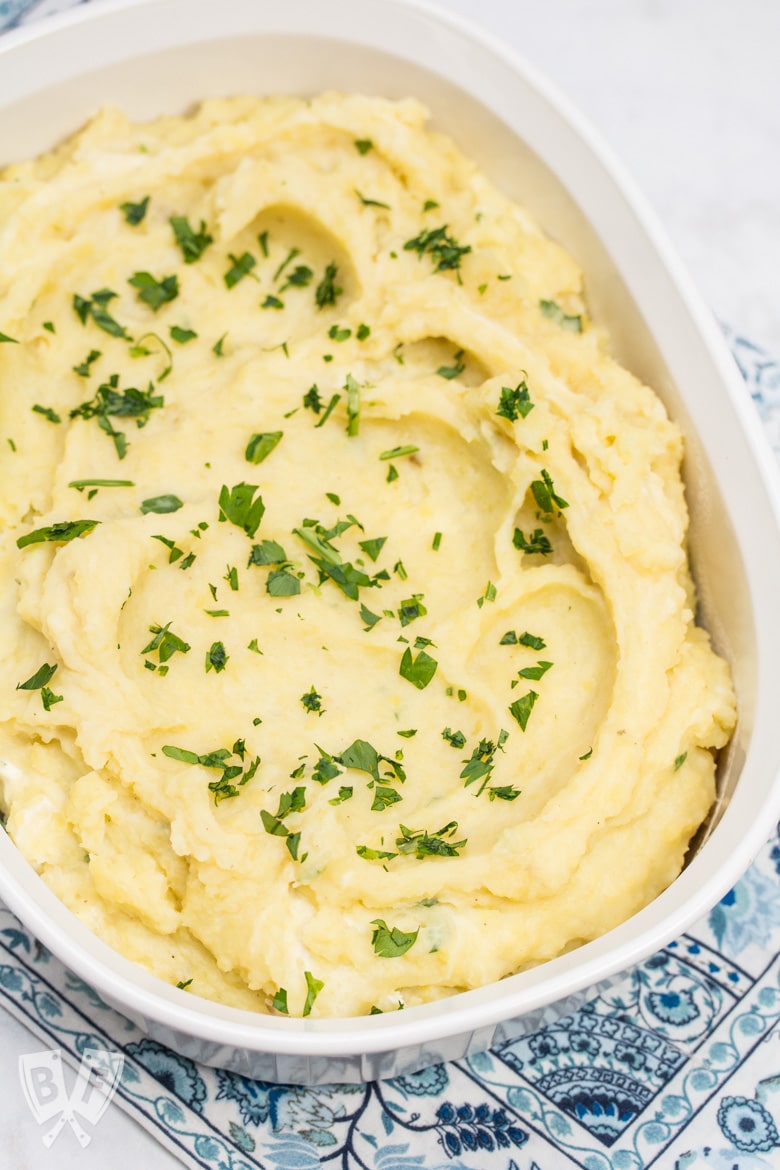
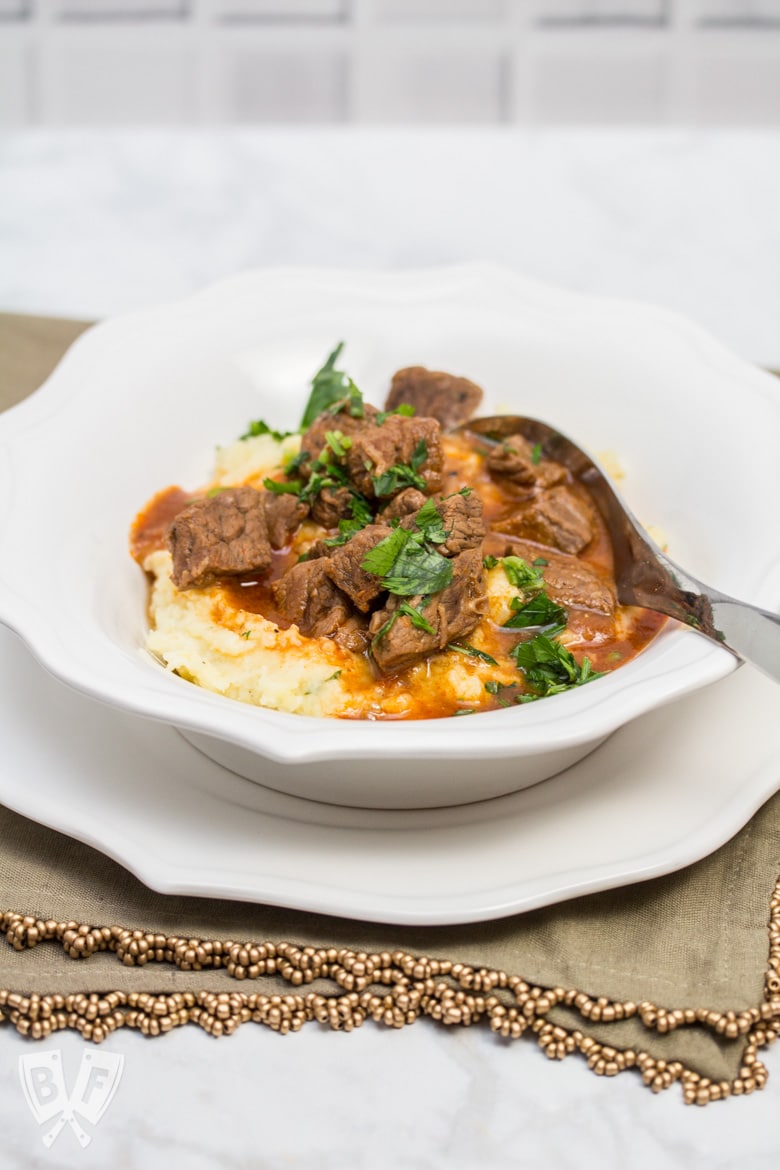
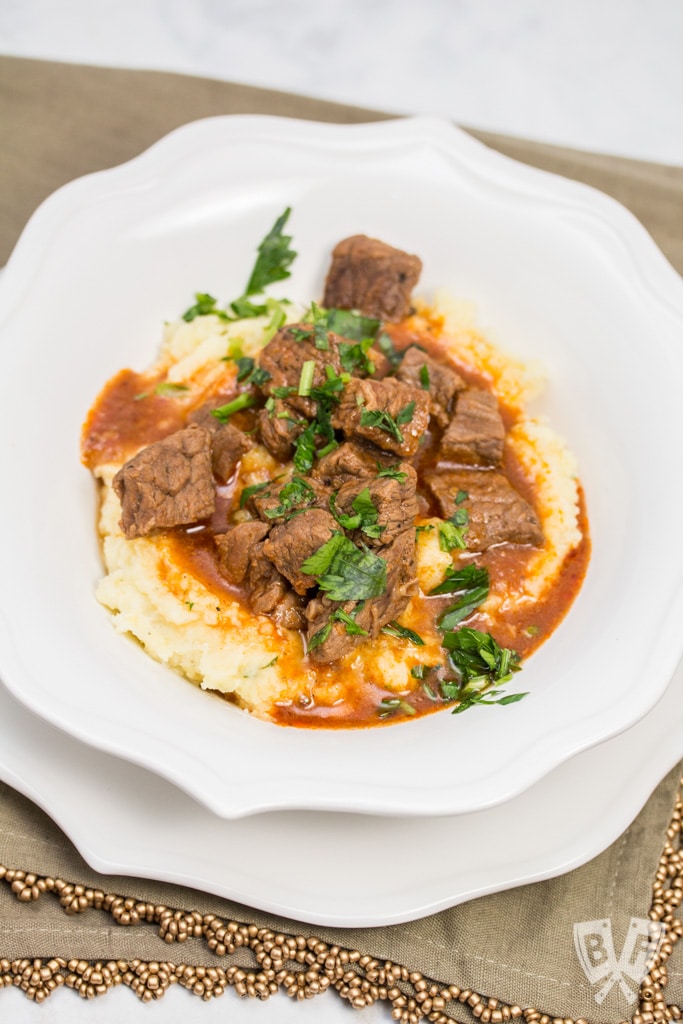
Once I realized my error I felt like kicking myself. But no need to worry - I'll be showing them off on this Friday's LIVE while I make my Instant Pot Mashed Potatoes.
Erin's designs and color choices are so jaw-droppingly gorgeous that it's hard to whittle down your shopping cart. Trust me - I spent a LOT of time mixing and matching my perfect set of tea towels when I first ordered from her a few months ago.
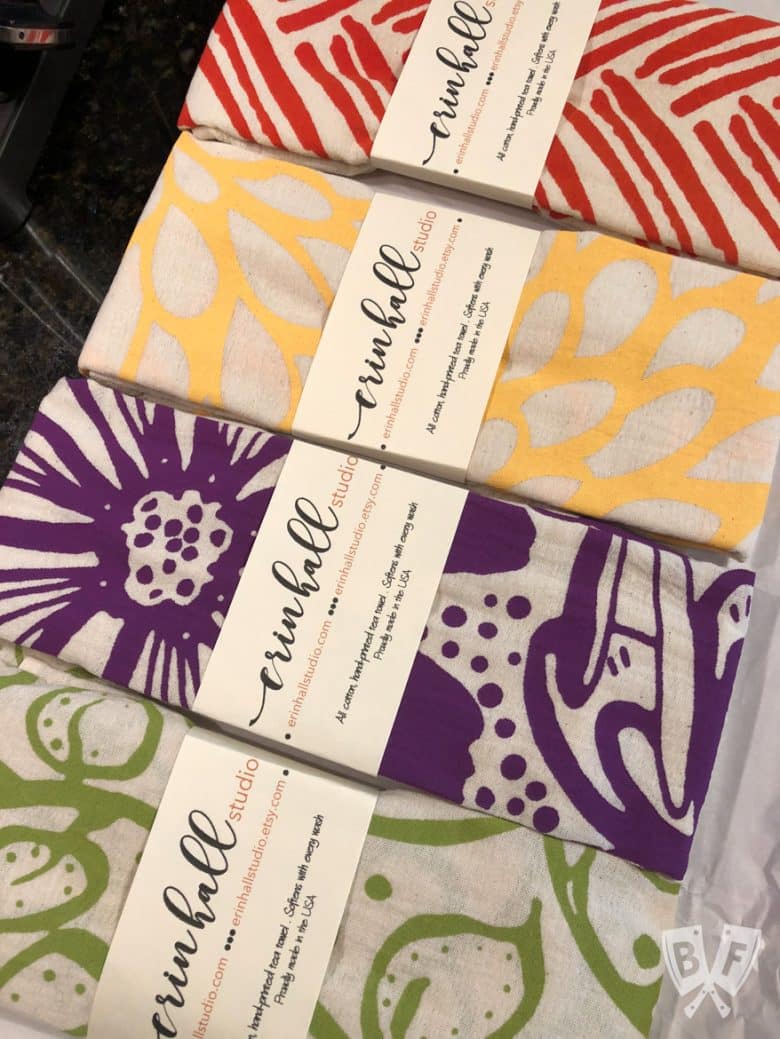
I love the mixed 3-pack of tea towels, where you can pick any combination of designs and colors that you like. If you order the 3 pack, you save a few dollars, too. The current price for a 3 pack is $40, and the towels are $15 each individually.
The tea towels are unbleached, 100% cotton, flour sack tea towels, screen printed by hand with Erin's original drawings using environmentally-friendly, water-based inks. They're highly absorbent and fast-drying. They measure approximately 25" by 26" and since they're handmade, each one is totally unique and may vary slightly. Care instructions are to wash in cold or warm water with like colors they'll get softer each time they're washed!
She also offers what I feel like is the perfect holiday gift - gift bundles! Current gift bundles include 2 tea towels with an ethically sourced hardwood spoon with matching faux-suede leather loop (currently $34) or 1 apron, 2 coordinating tea towels, and 1 sustainably-sourced hardwood kitchen spoon (currently $58). The gift bundles are wrapped in a satin bow and would make a wonderful Christmas or Hanukkah gift, stocking stuffer, or a splurge for yourself!
Erin also has a promo currently running for FREE SHIPPING on any purchase made through her Etsy shop through December 1, 2018 when you enter code EARLYBIRDFREESHIP at checkout.
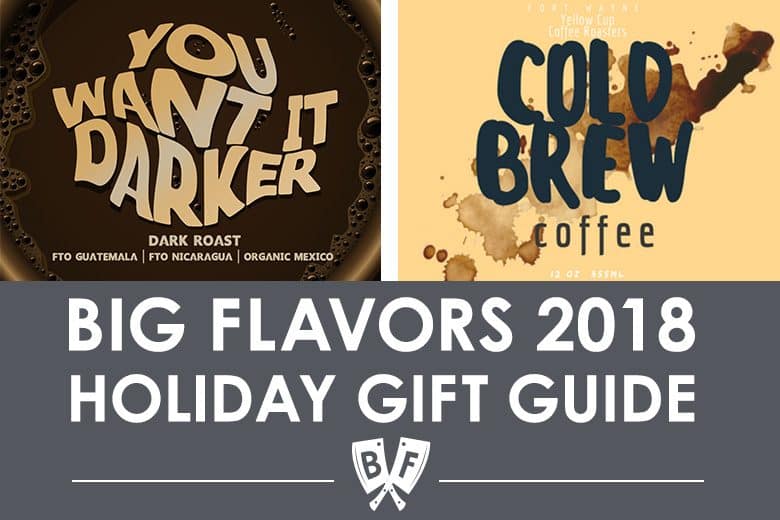
Next up is Yellow Cup Coffee Roasters.
Update for 2023: Yellow Cup has closed their doors. They will be forever missed!
I happened upon Yellow Cup in a really fun way. My brother, Tony, was living in Indiana and casually mentioned to me that he had a co-worker who was small-batch roasting his own coffee. His co-worker, Mitch, then started selling bags to people in the office, so you better believe I had my brother score me some freshly roasted beans before his next visit to New York.
Yep. I made my brother mule coffee halfway across the country for me. I am that dedicated to a delicious cup (or 3) of coffee every day.
Fast forward to now and Yellow Cup Coffee Roasters has grown by leaps and bounds, and is offering several types of coffee beans AND shipping nationwide!
Mitch, the founder, is running Fort Wayne, Indiana's only independent (no coffee shop) small batch, specialty coffee roaster. I've ordered from him several times now, and the customer service is always fabulous.
Not only does Yellow Cup offer various types of coffee beans, but they're now offering a monthly coffee subscription service. You can order in 8 ounces or whole pounds (1-5) to be delivered to your door monthly. You can sign up for an ongoing subscription or just for a specific number of shipments. Current prices range from $9 for 8 ounces to $69 for 5 pounds, plus tax.
So, for instance, if someone was shopping for me (ahem, Dino), a 6-month subscription of 8-ounce bags would be a GREAT start. I like rotating my coffee roasters both locally and from afar, and I have to say that Yellow Cup plays heavily into my rotation.
In addition to their light roast house blend, The Hizzie (which I totally read as "The Hizzle" in Snoop Dogg's voice every.single.time), they're also offering lots of different varieties of beans as well as all of the coffee brewing accessories you need for your home coffee bar (hellooooo, cold brew kit!). They have some really cute patches and magnets, too!
Yellow Cup Coffee Roasters has a physical location in Fort Wayne, Indiana as well as several local spots that serve up that sweet, sweet caffeine. (Don't worry, they have decaf, too).
In addition to all-around awesome, high-quality coffee products, one thing I love about Yellow Cup is their dedication to ethically sourced, sustainable beans. Their bags are designed to be fully biodegradable and great for at home composting.
I will without a doubt be drinking a piping hot cup of The Hizzie during Friday's Facebook LIVE. Yum!
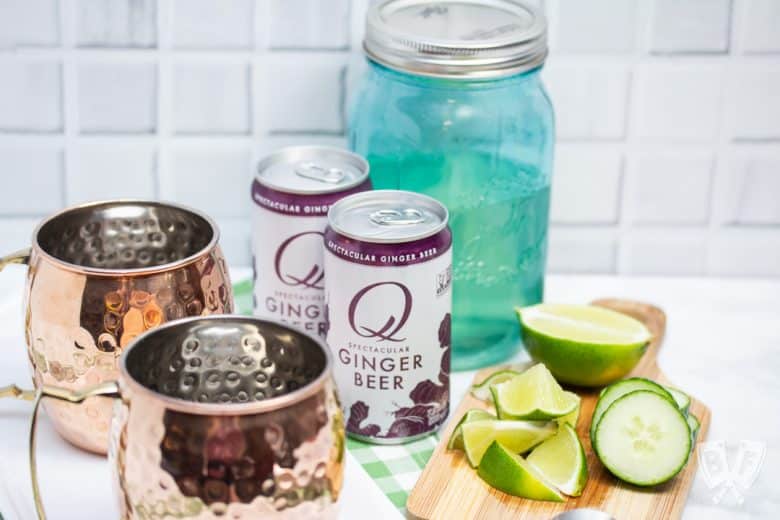
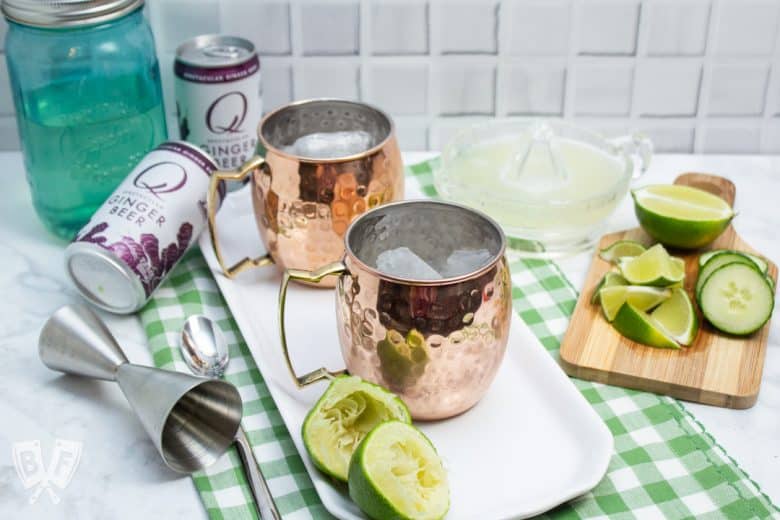
Now that we're adequately caffeinated, let's move on to happy hour, shall we?
Back Pocket Provisions offers, hands-down, the best Bloody Mary mix EVER.
I've been a fan of Back Pocket Provisions' line of Bloody Mary mixes for yeeeeears now. They've most definitely been in more than one gift guide here on Big Flavors, but it's a product that I more than stand behind.
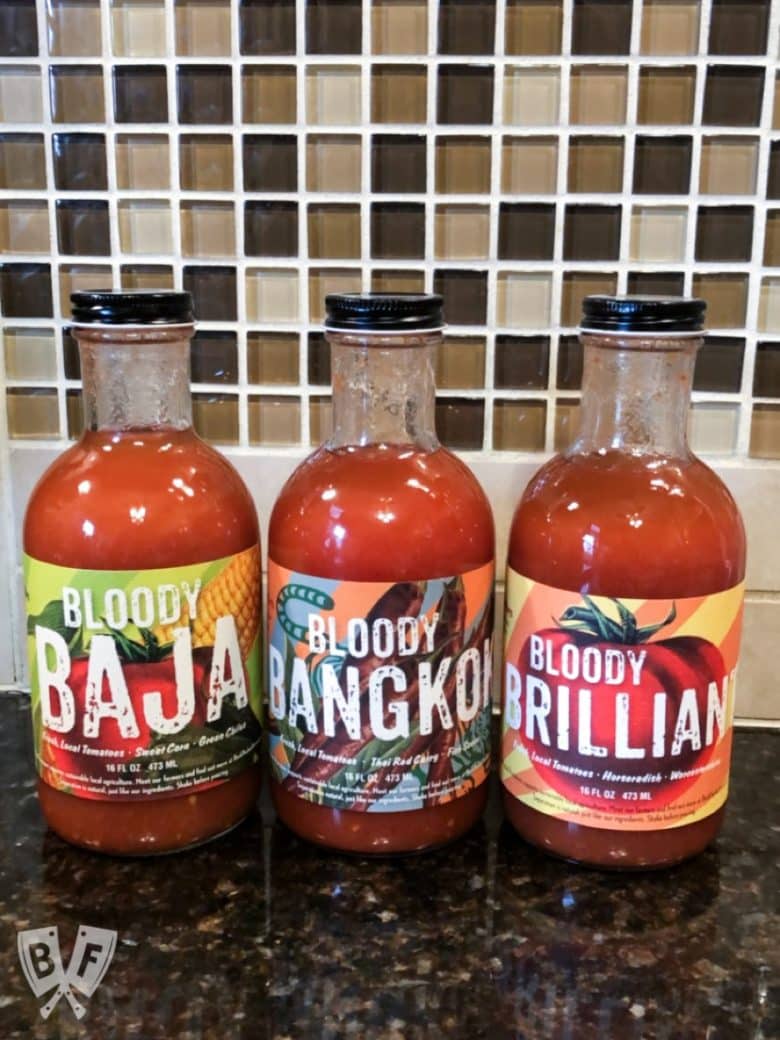
My friend Jen and her brother Will started Back Pocket Provisions as a way to bring better Bloody Marys to people near and far. Not only is their classic Bloody Brilliant out-of-this-world delicious, but they also offer some fun twists on the classic.
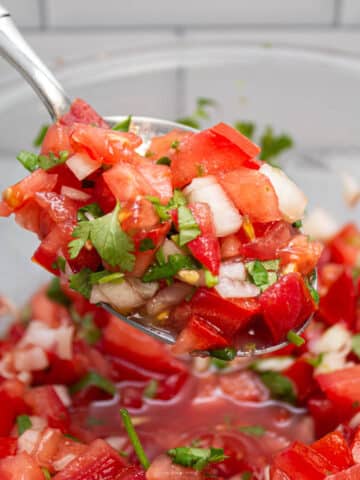
Bloody Brilliant is our best rendition of the classic: fresh juice from locally-grown tomatoes with horseradish, Worcestershire sauce, and cayenne pepper.
Bloody Baja is Southwest-style, with locally-grown tomatoes, organic sweet corn, jalapenos, garlic, and smoked spices.
Bloody Bangkok is a Southeast Asian-inspired blend of locally-grown tomatoes, Thai red curry, lemongrass, and fish sauce.
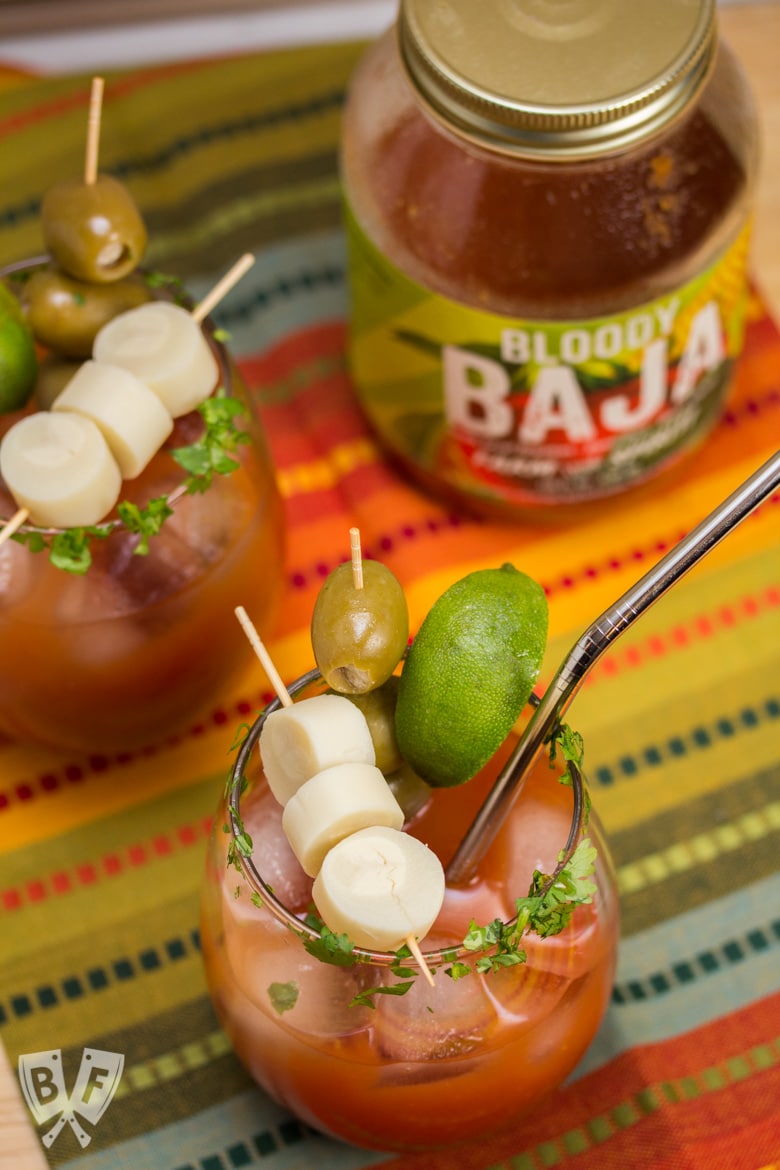
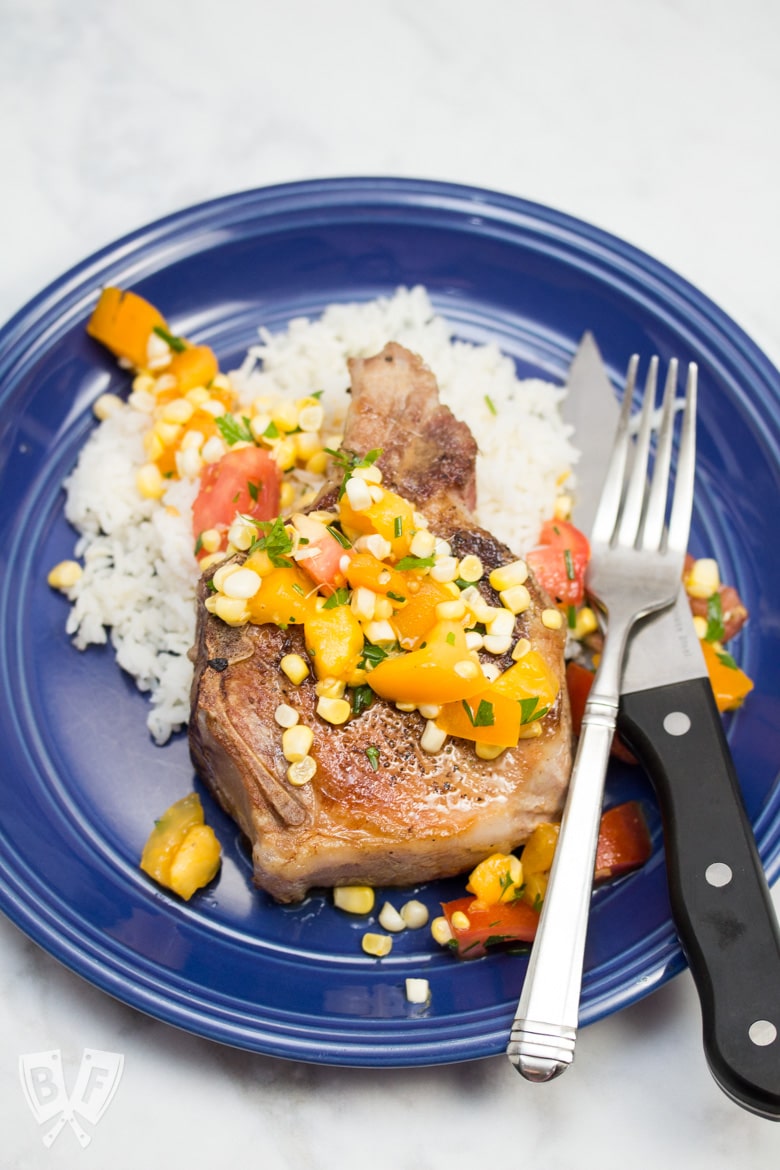
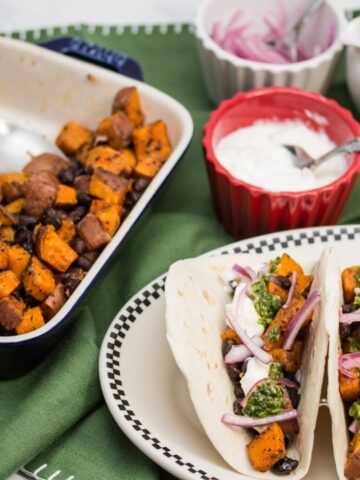
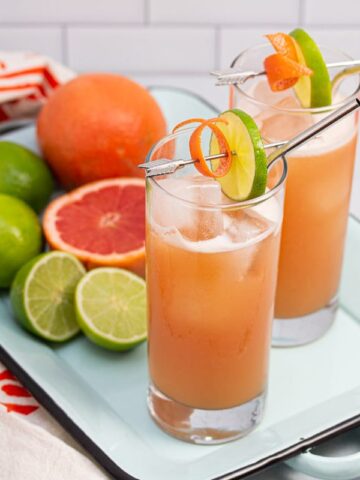
The last time I made a batch of Bloody Bajas (which, by the way, are great for Taco Tuesday or Fajita Friday. Or, you know, Wednesday and any other day that you need a fabulous cocktail without much effort), I rimmed the glasses with chopped cilantro and garnished them with some stuffed olives, lime wedges, and hearts of palm.
The Bloody Bangkok may sound a bit crazy at first (fish sauce IN my cocktail?!) but OMGGGG it's phenomenal. They were the most popular of the 3 the last time I had friends over for brunch with a Bloody Mary bar.
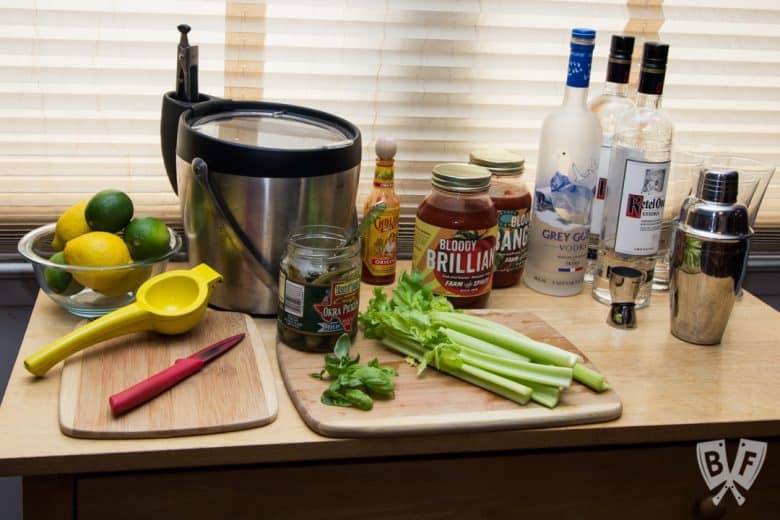
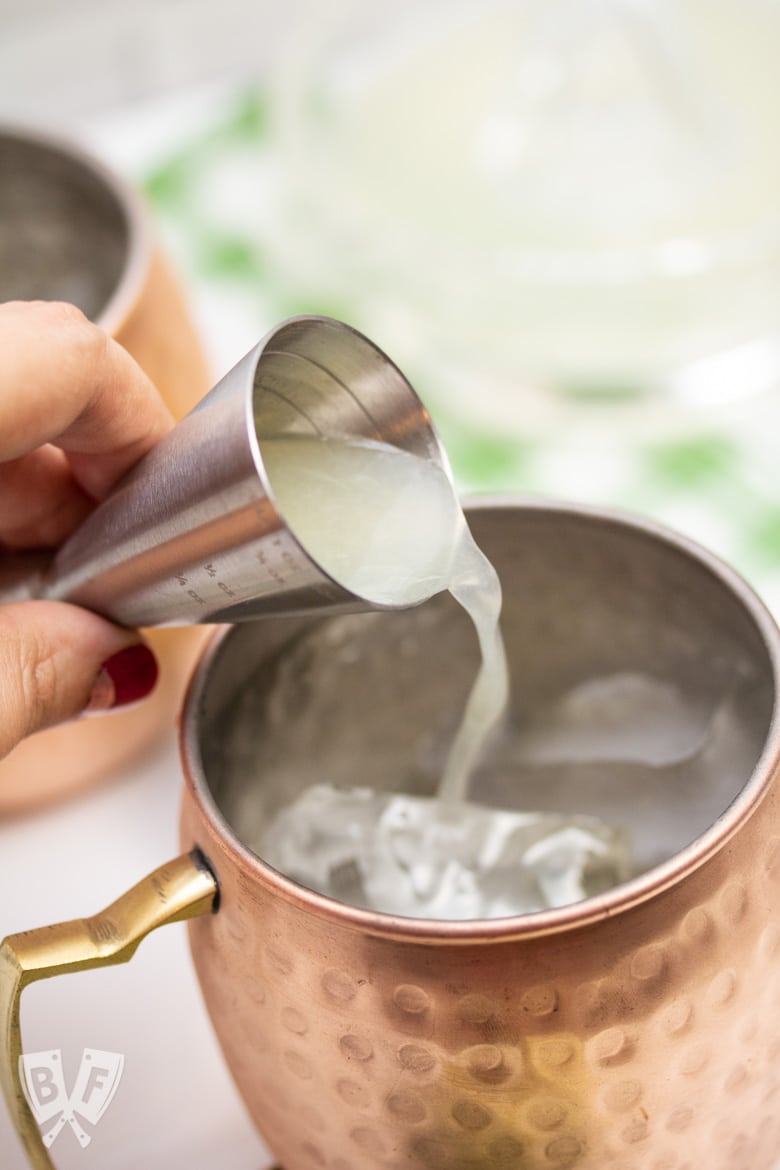
And the Bloody Mary cocktails couldn't be easier to put together! They're great straight out of the jar with (or without!) a shot or 2 mixed in.
You know how some jarred Bloody Mary mixes taste a little like tomato paste or ketchup? Not these! Back Pocket Provisions works with local farmers all over Virginia to fresh-press juice from their beautifully ripe tomatoes at the peak of ripeness every summer.
I love that they now offer 3-packs in 2 different sizes. 3 of their 16-ounce bottles currently run $30 (each bottle makes 3-4 Bloody Marys) and 3 of the 32-ounce jars run $45 (each jar makes 6-8 cocktails). They also offer free shipping anywhere in the U.S. and Big Flavors readers get 15% off of any purchase made from Back Pocket Provisions through Sunday, December 2nd, 2018 with code BIGFLAVORS.
Talk about making happy hour even happier! These are perfect stocking stuffers, and an assortment of all of the flavors would be a great thing to wake up to on Christmas morning!
They also have lots of fun tips for making batch cocktails for parties, which frees you up to enjoy your host/hostess duties. It will also give you plenty of free time to soak in all the compliments for having the best Bloody Marys ev-er!
Be sure to follow Back Pocket Provisions on Instagram to get some fun new recipes and ideas for how to use your Bloody Mary mixes. The classic is perfect as-is, but experimenting is always fun. You know, for science 😉
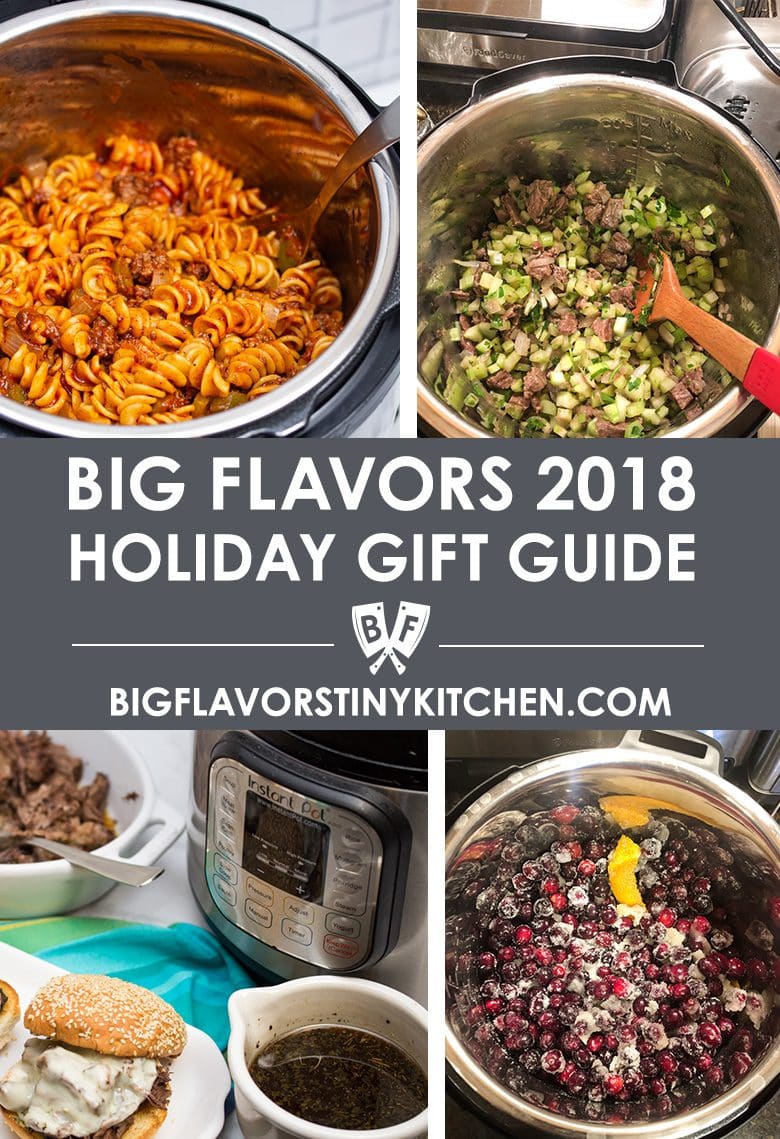
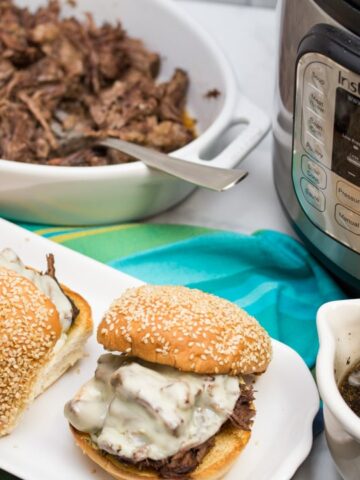
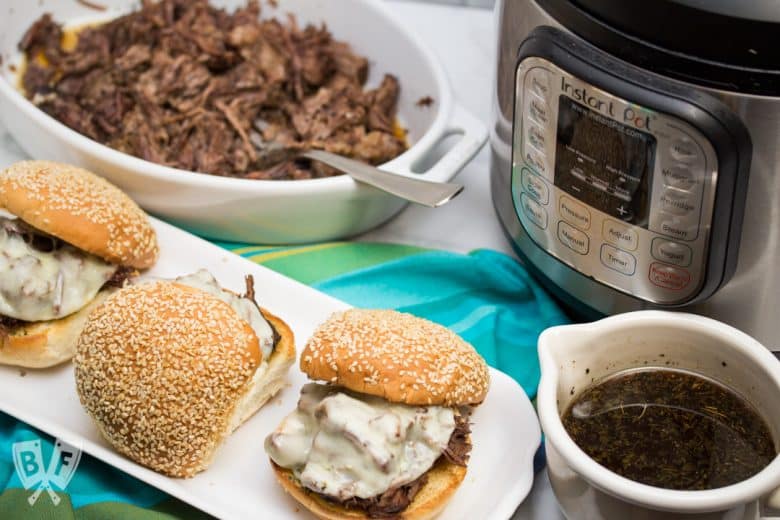
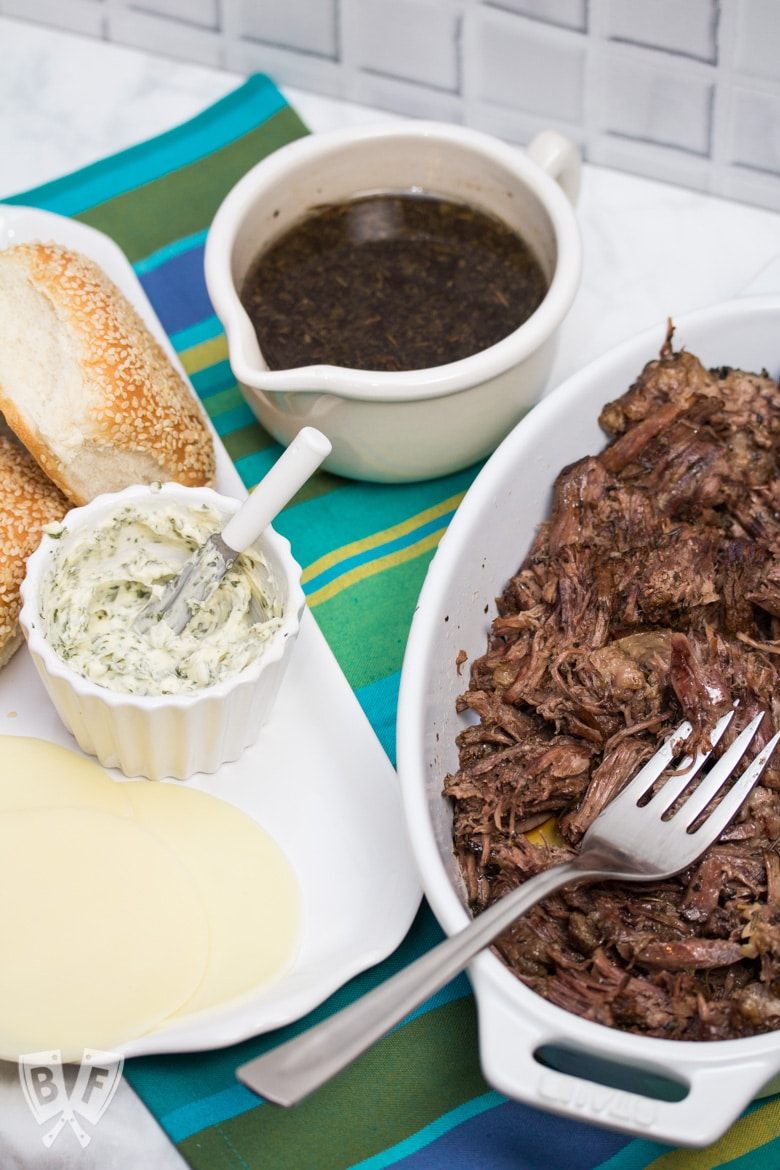
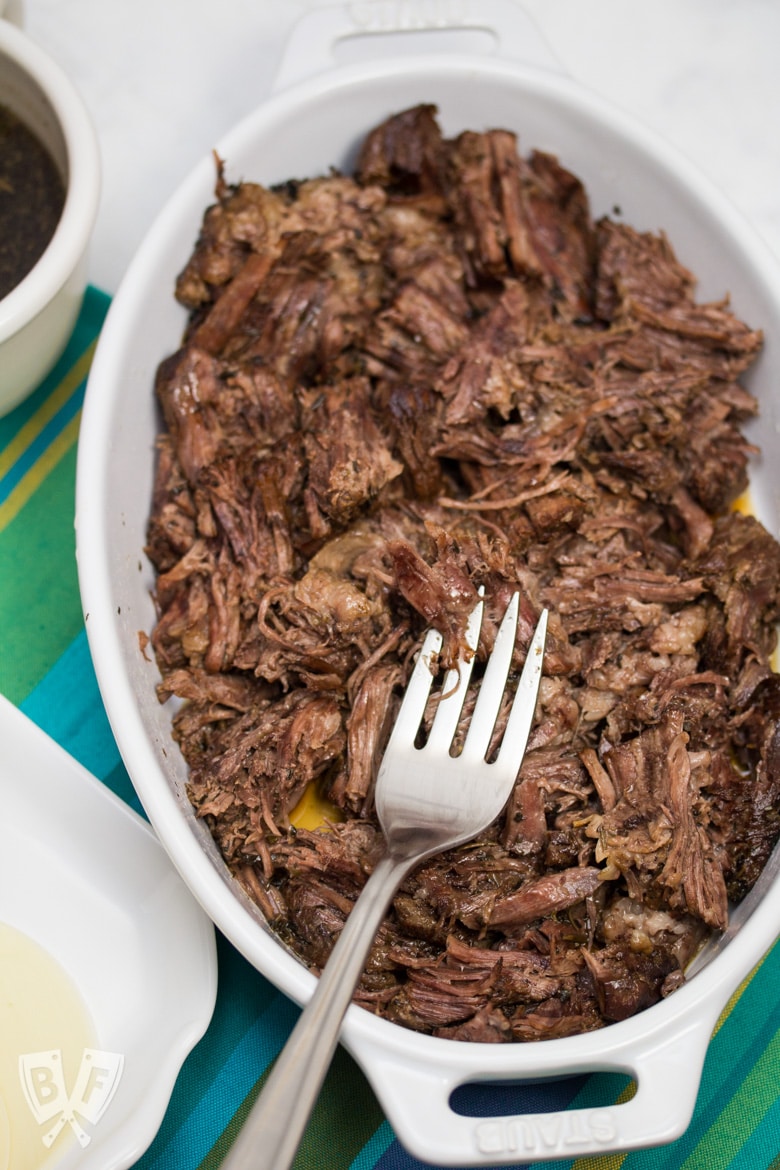
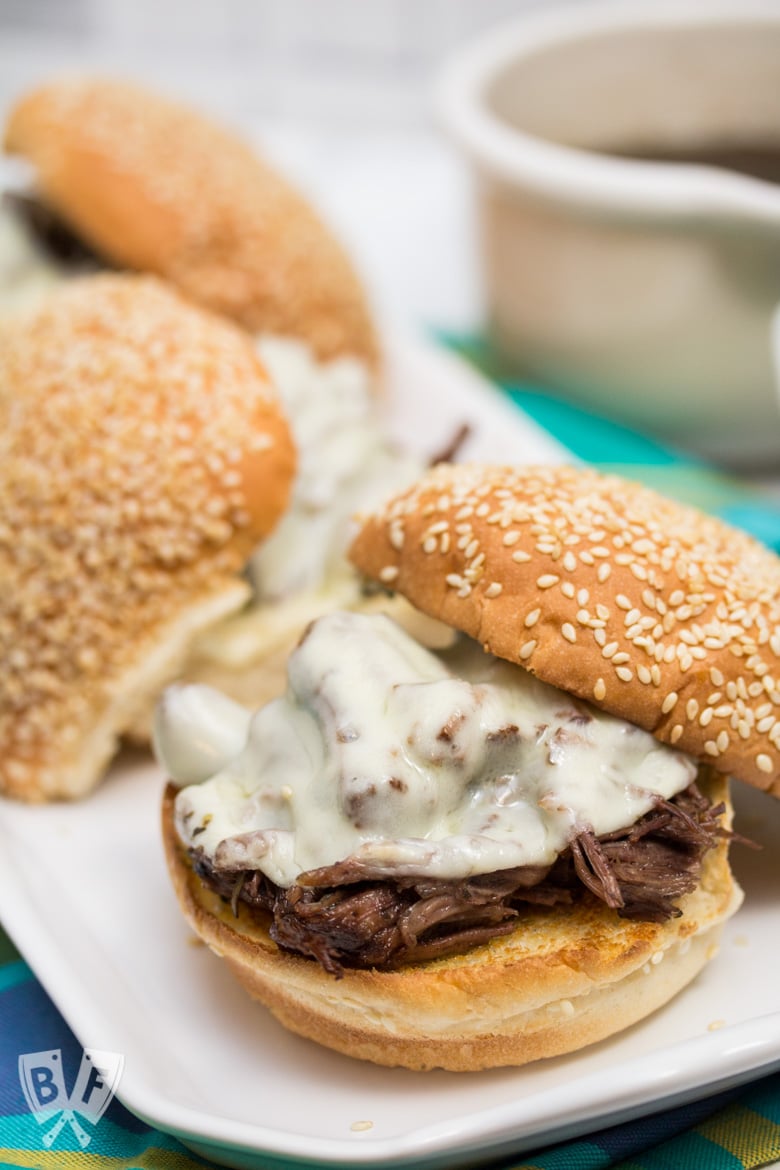
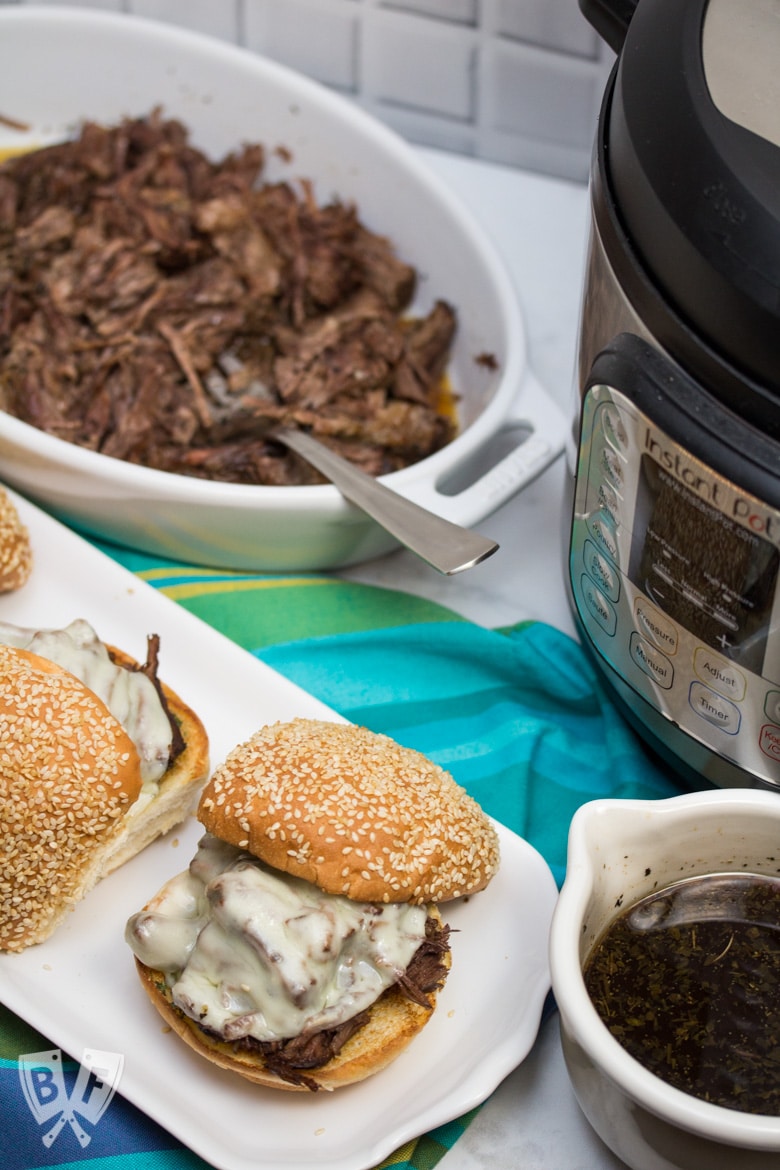
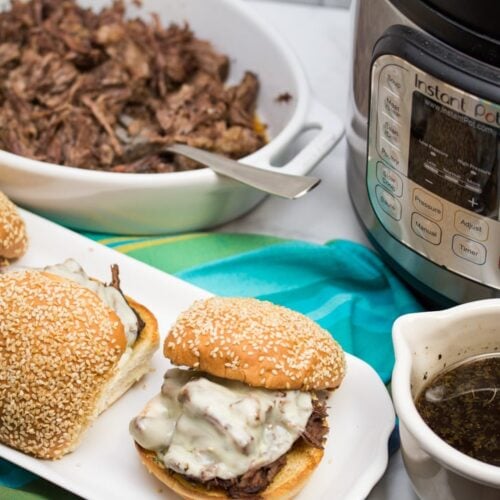
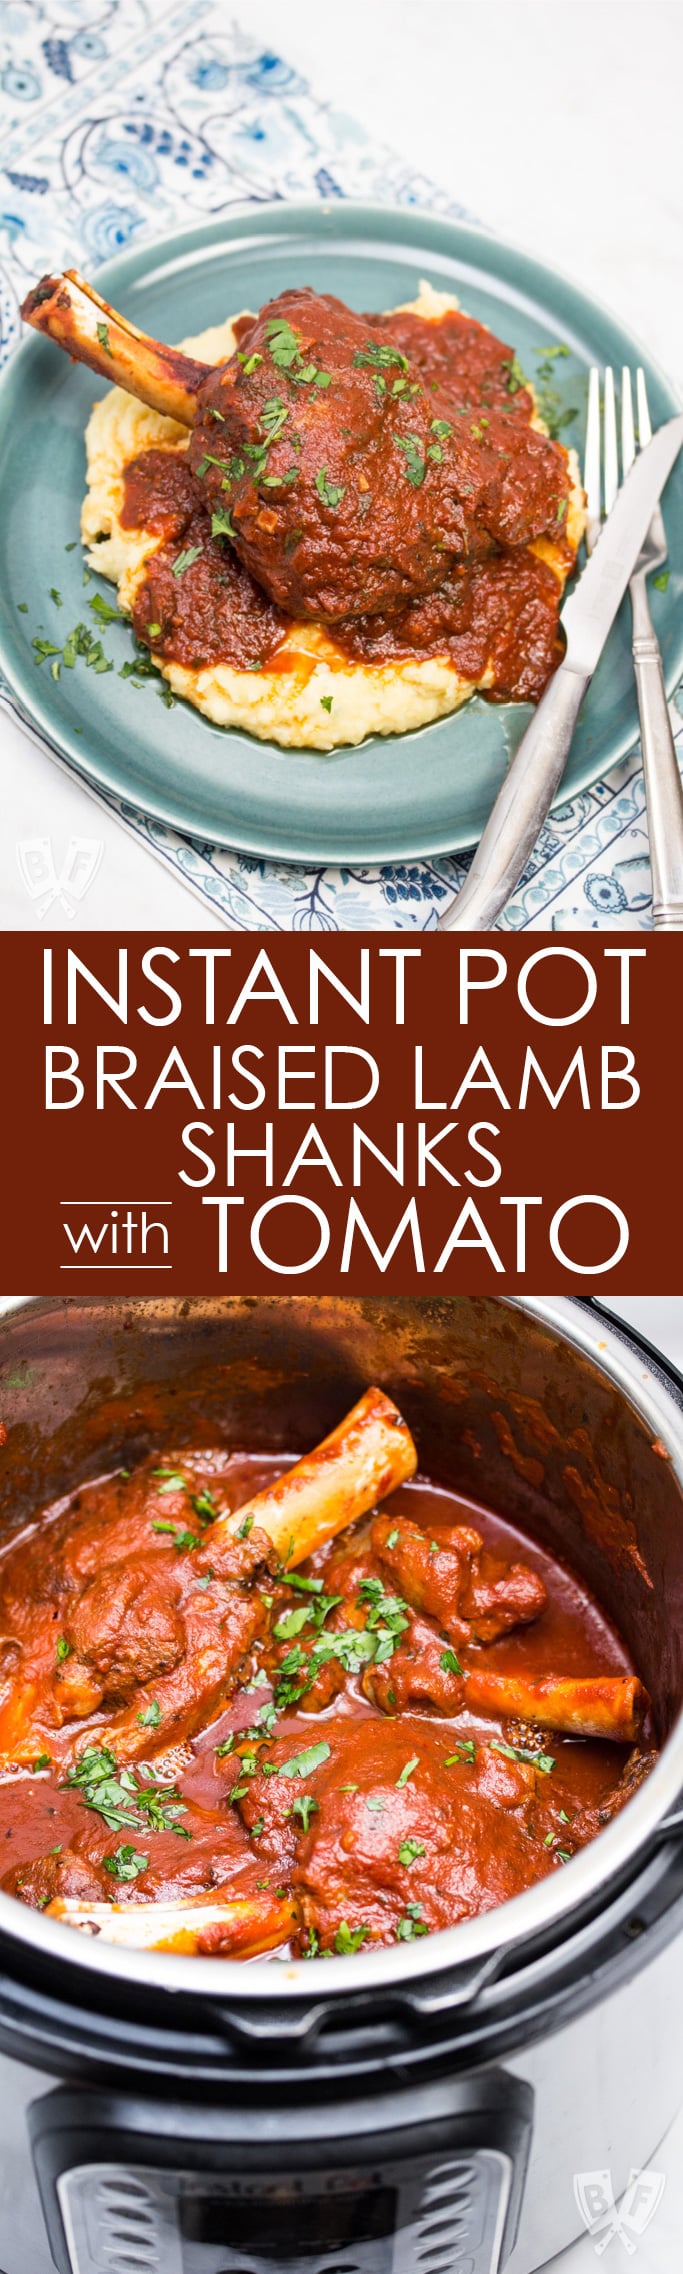
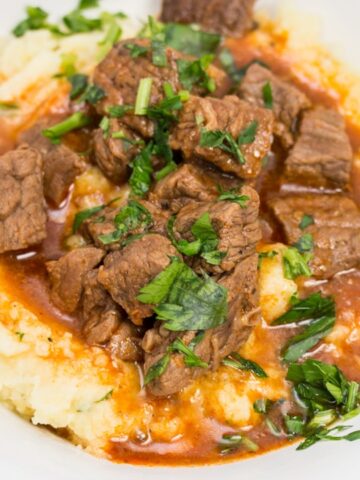
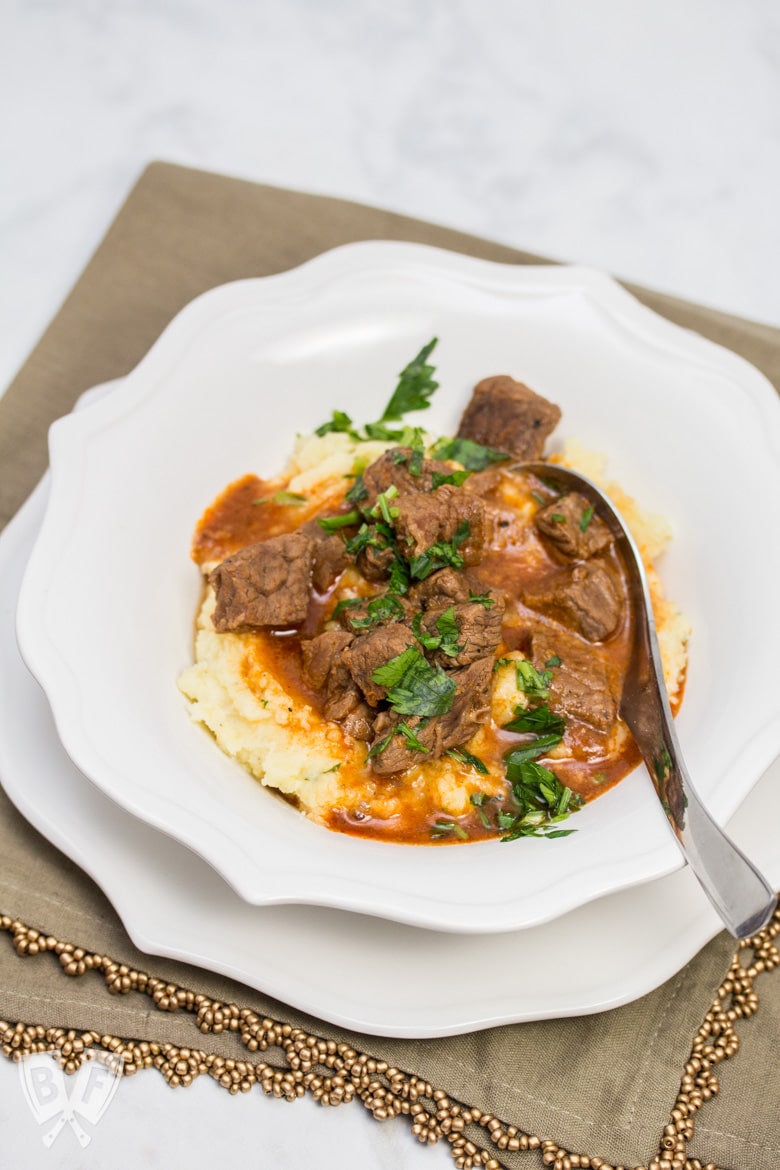
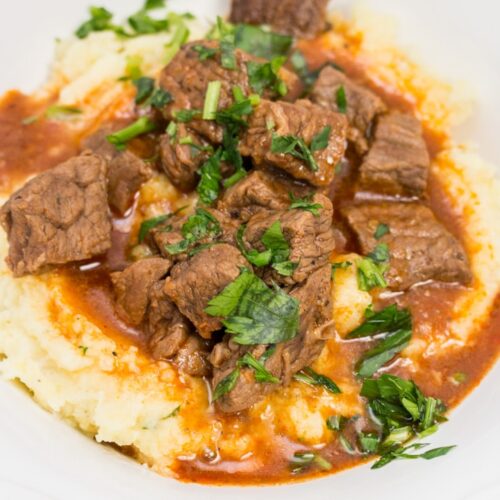
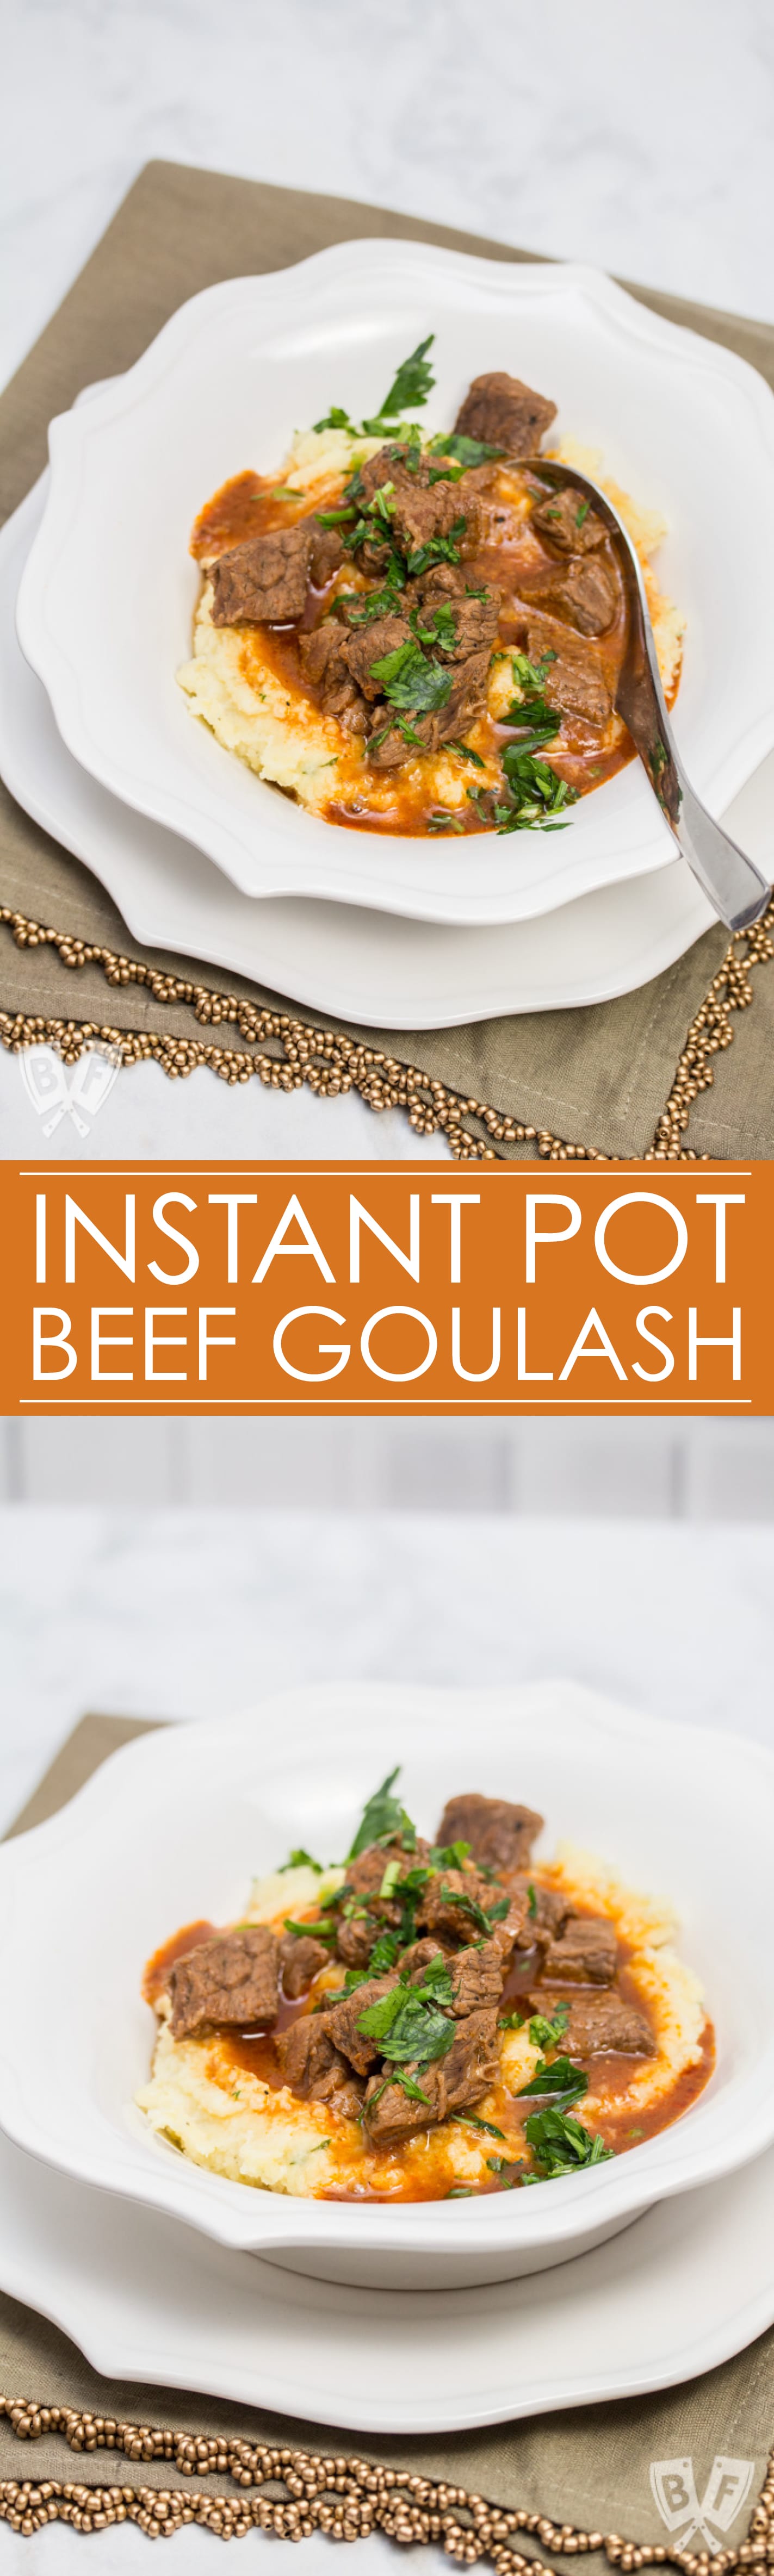
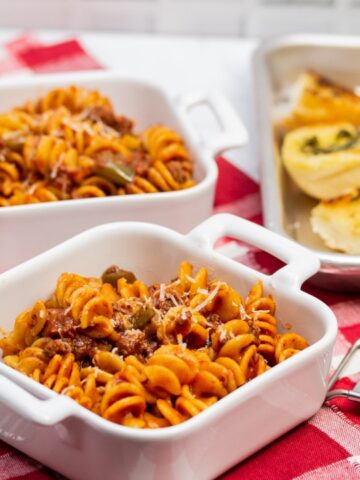
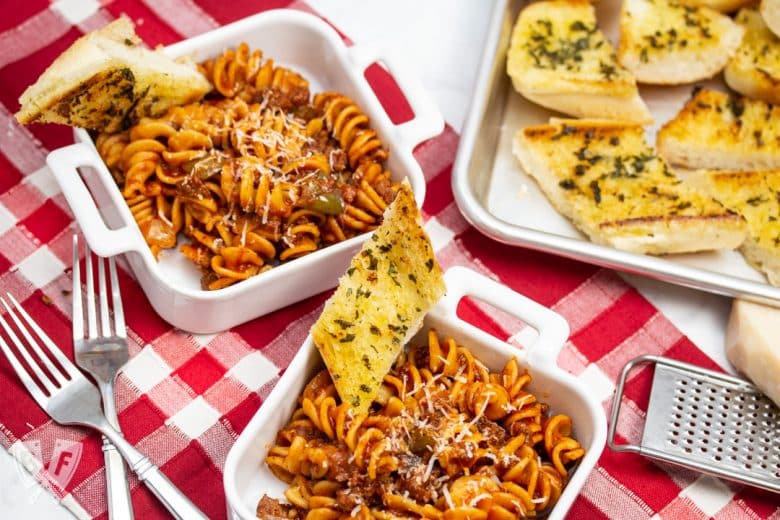
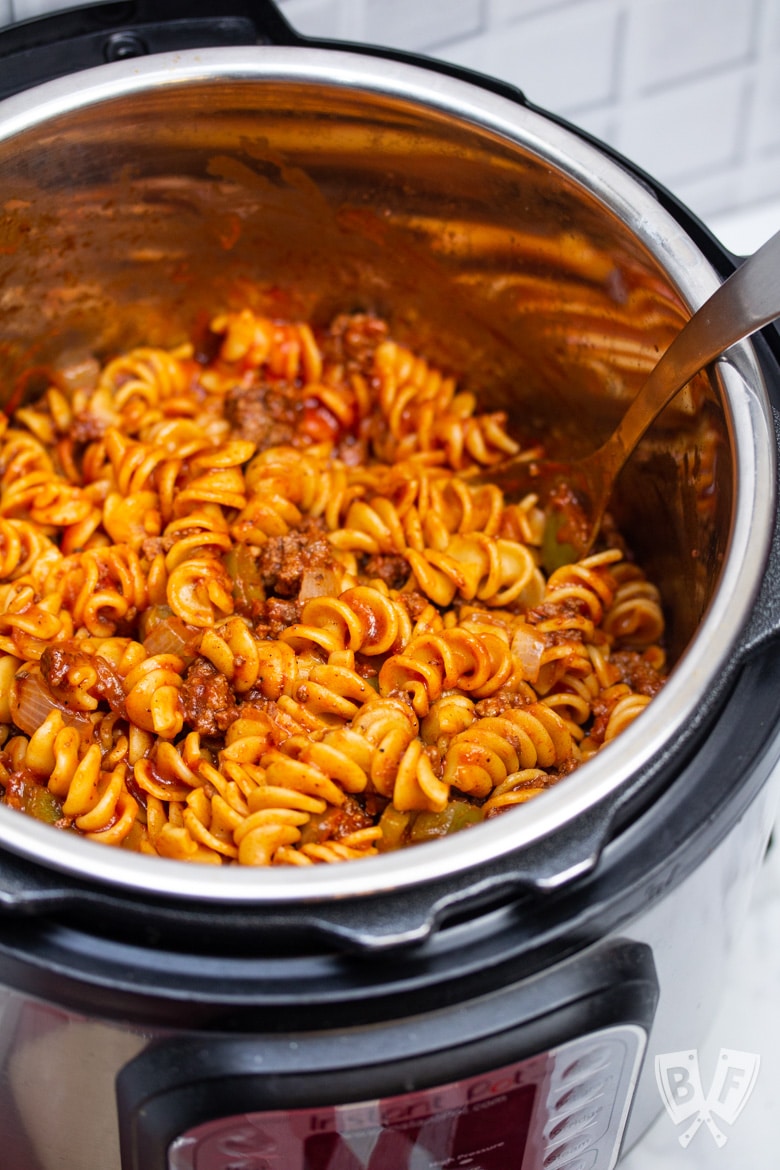
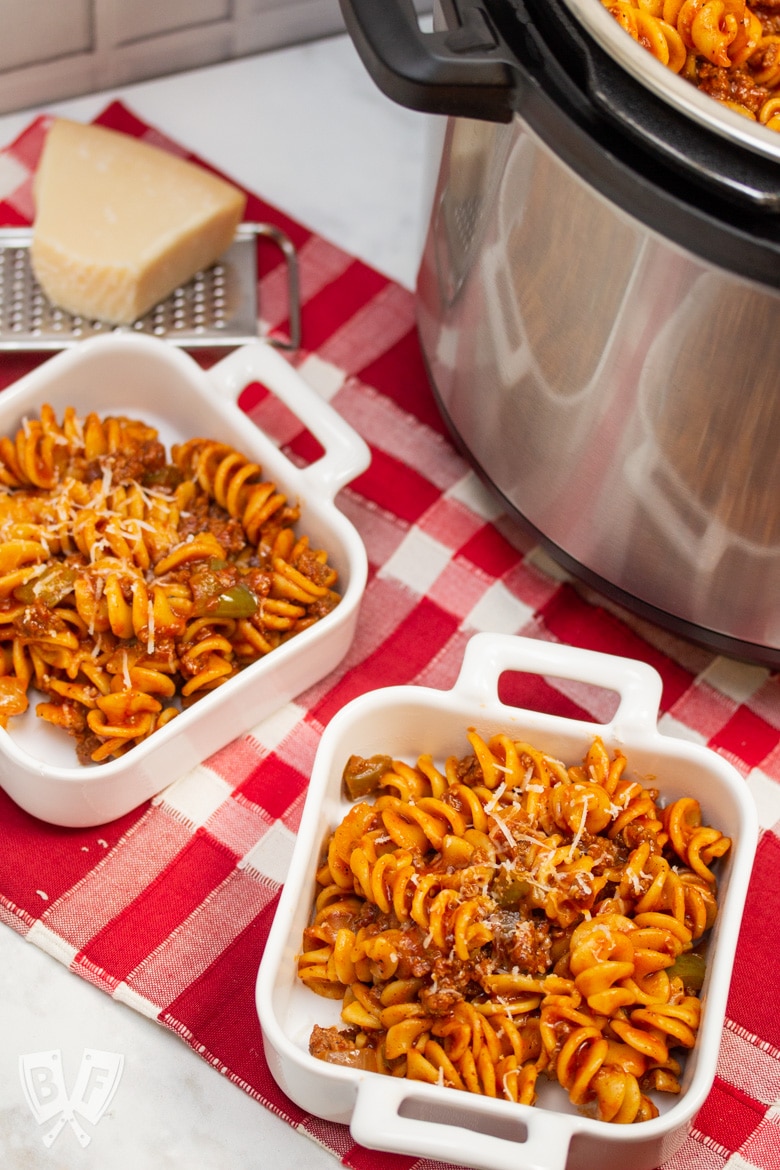
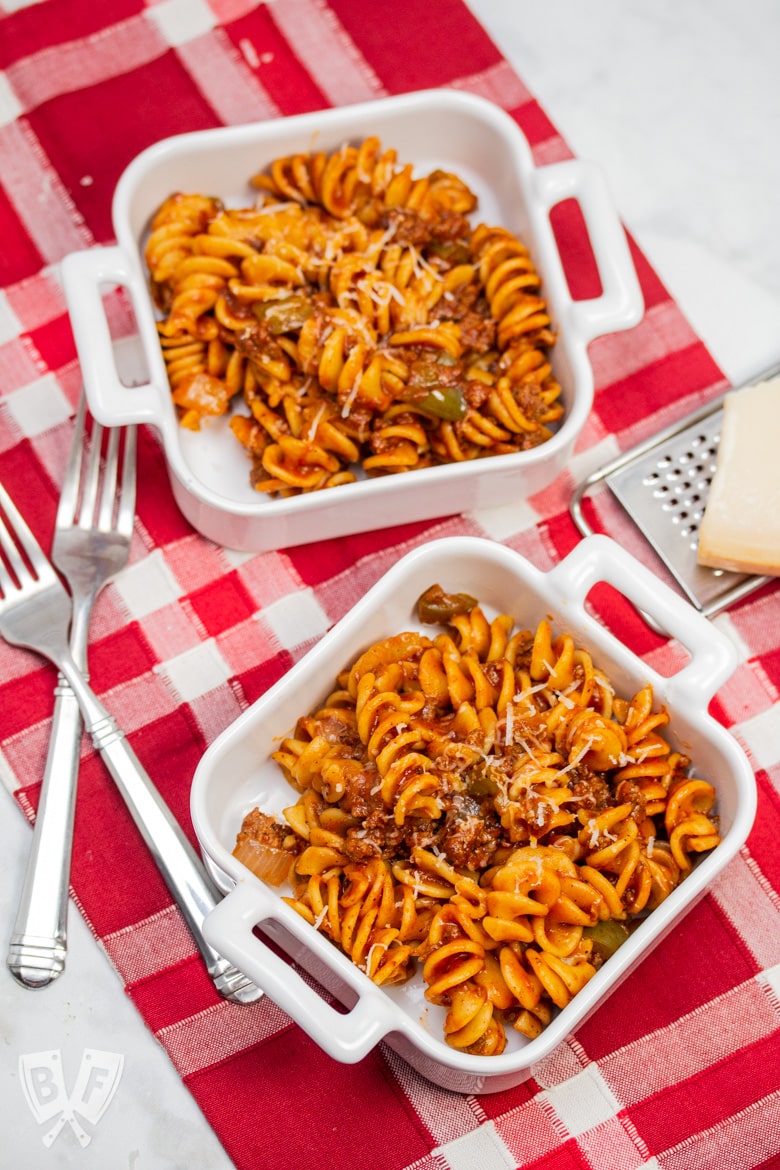
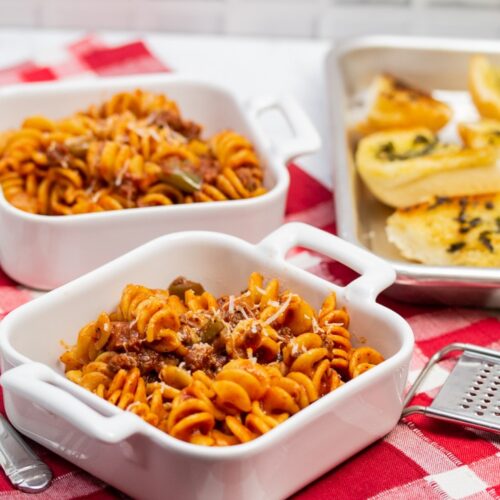
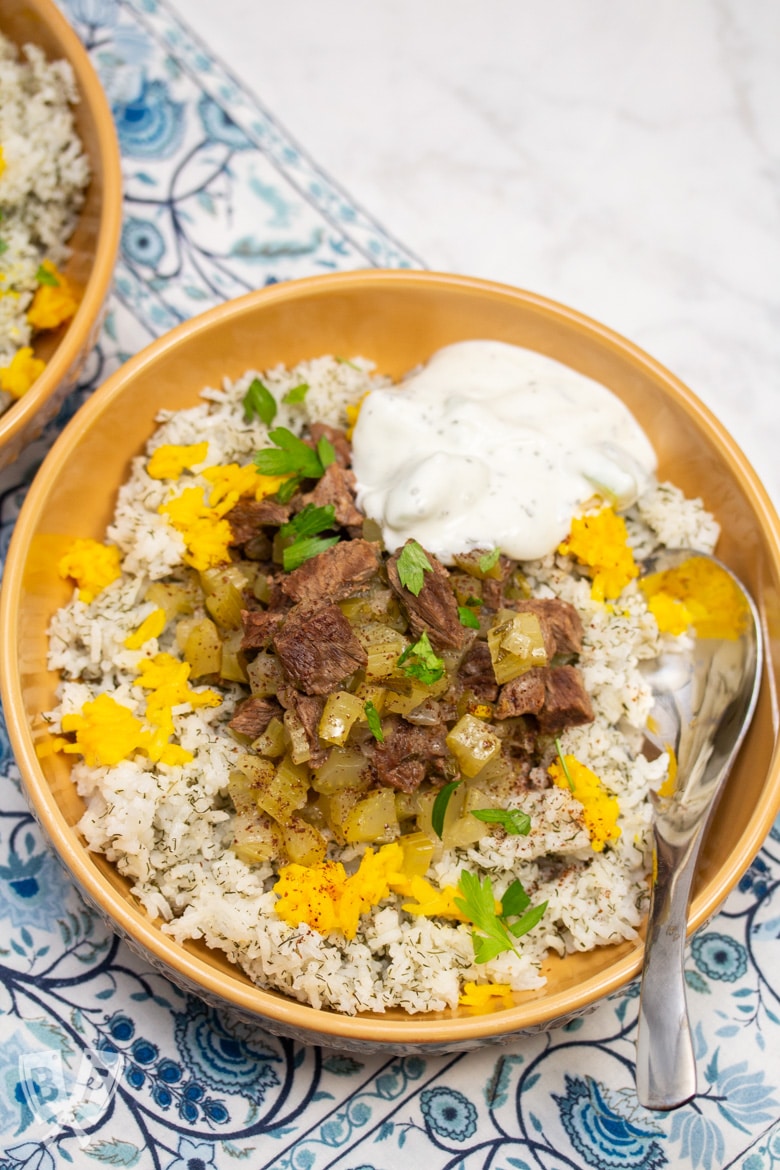
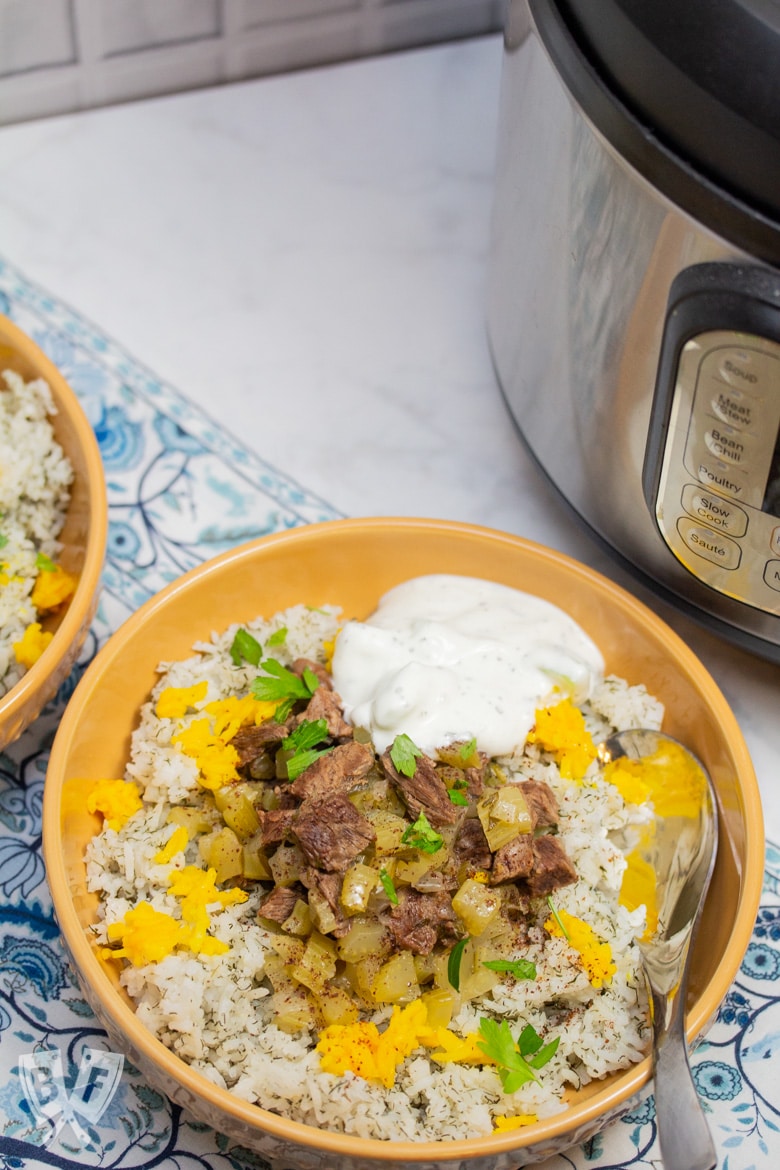
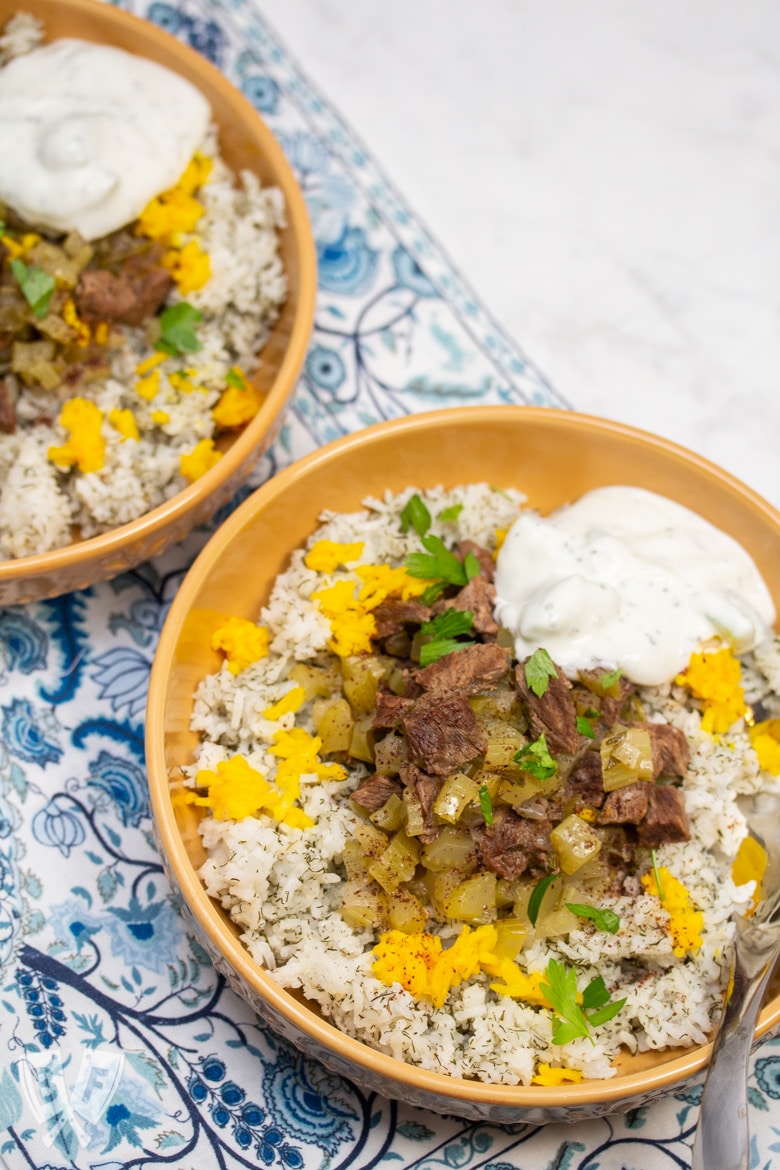
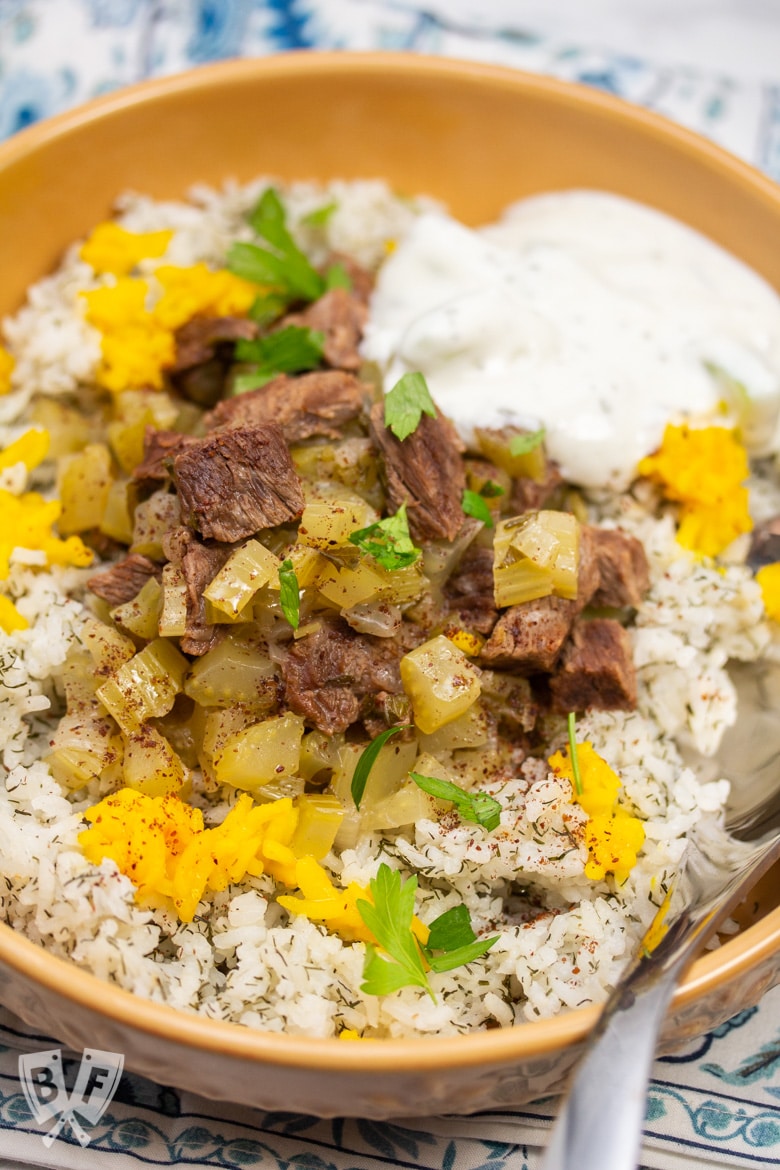
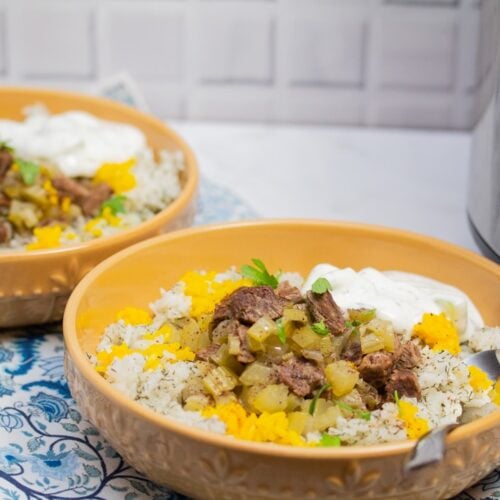
Last up for today is the Instant Pot.
I gush about that on allllll of the Big Flavors outlets so much that I couldn't leave it out of my gift guide.
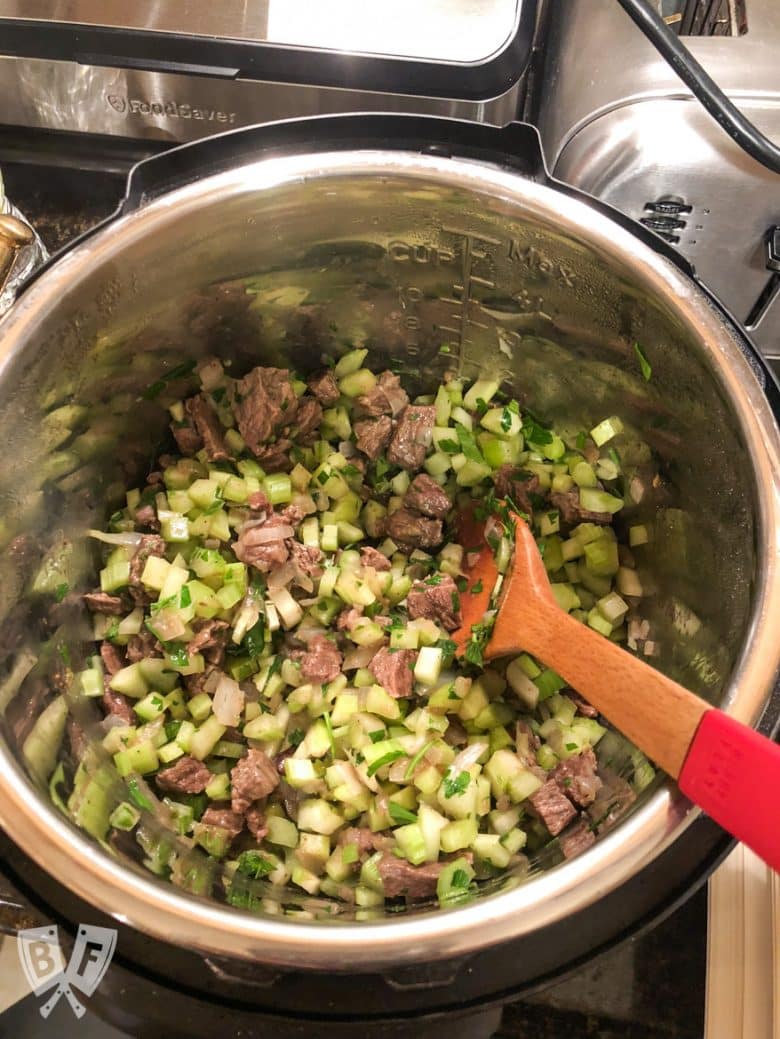
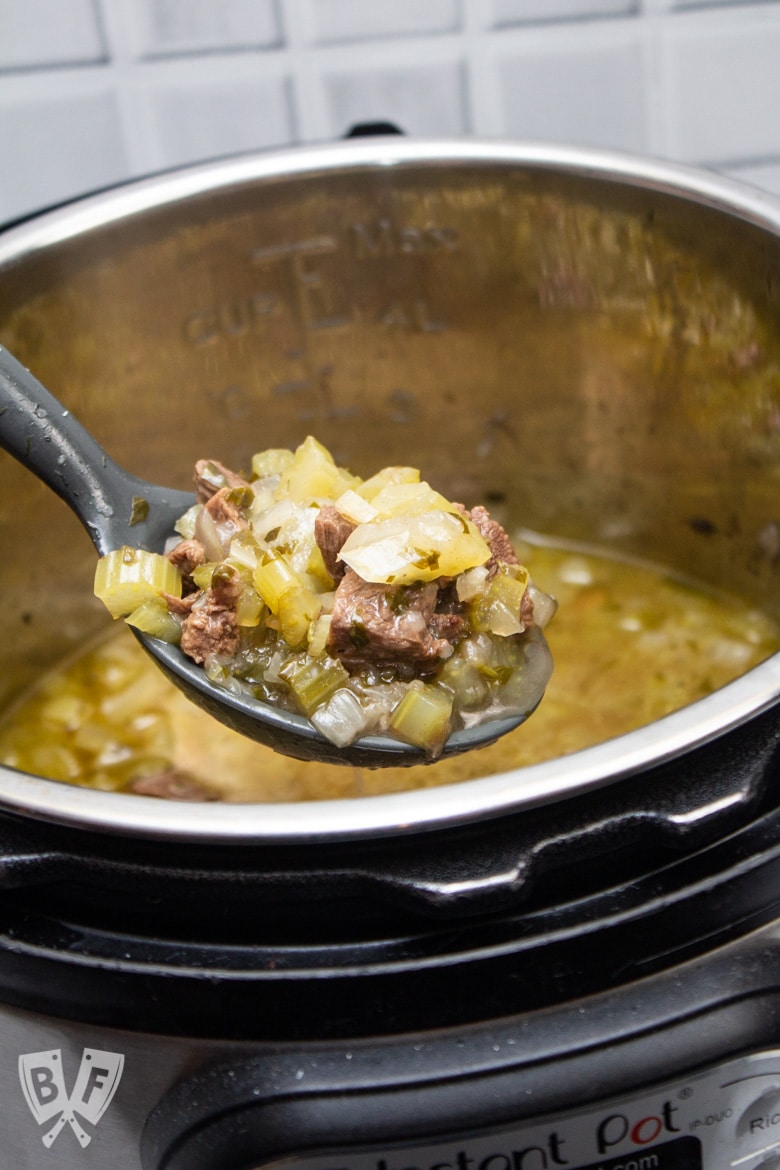
I use my Instant Pot multiple times per week. Other than my Technivorm Moccamaster coffee maker, it's probably the appliance that I use most. I talk about it in the video gift guide, and I have a whole category of Instant Pot recipes here on my website.
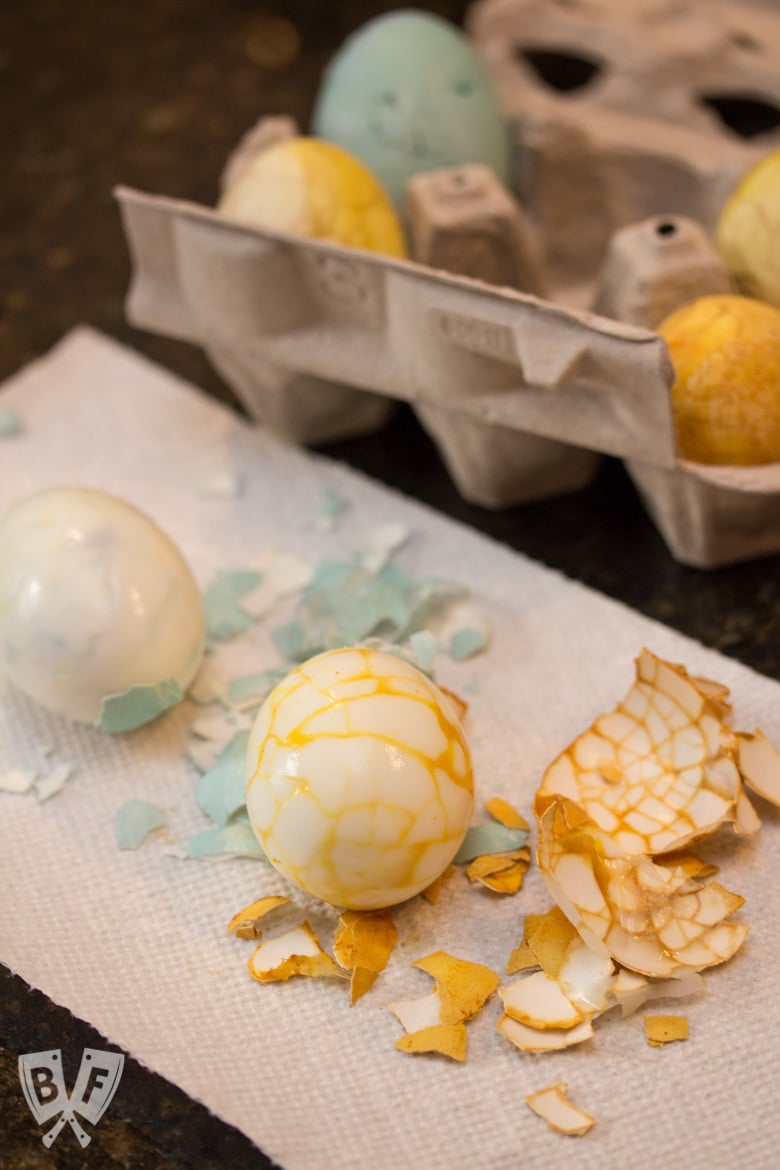
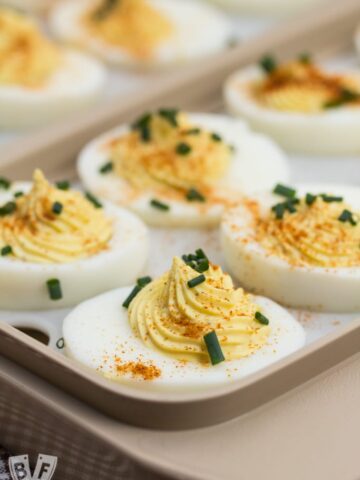
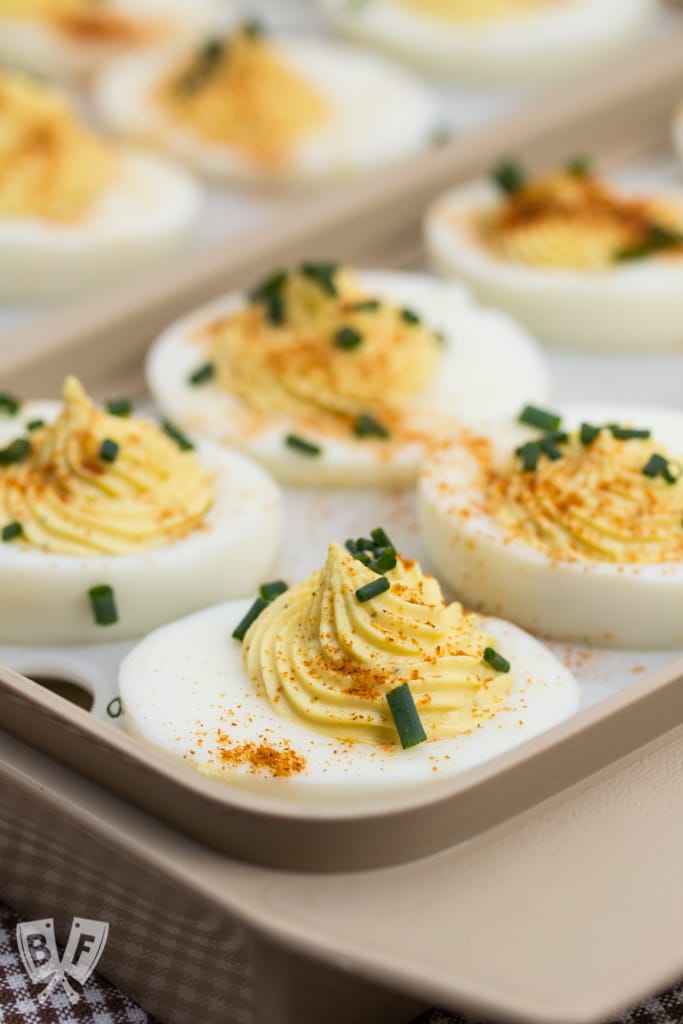
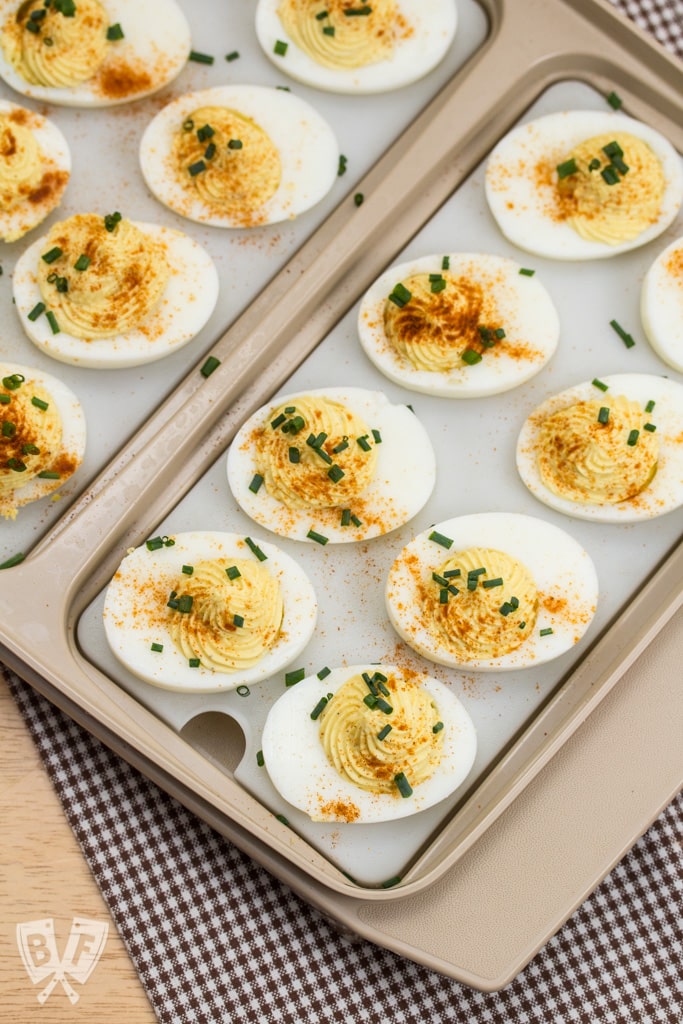
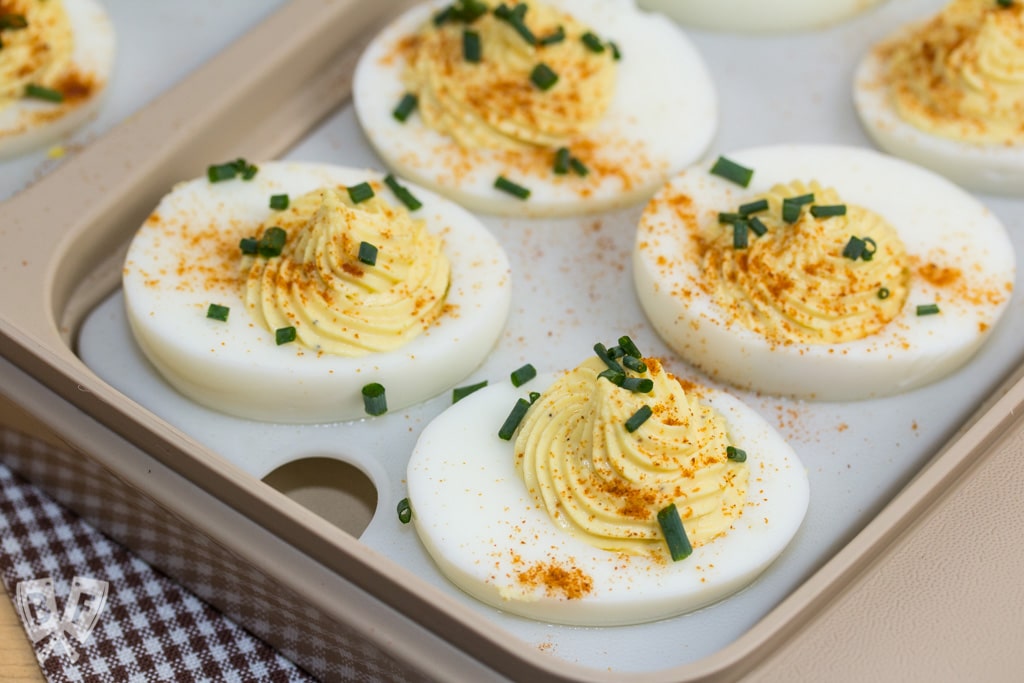
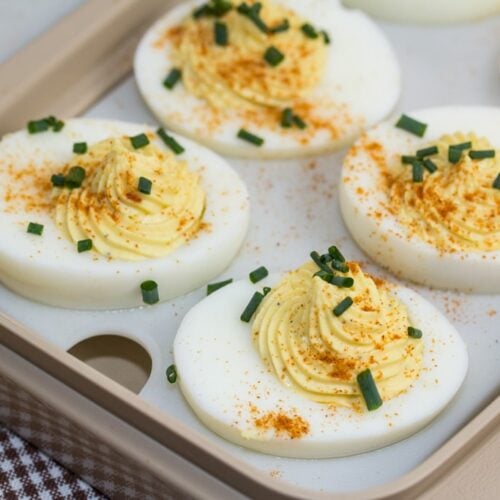
I'm constantly working on developing new recipes, and I've gone over some of the basics of doing things like hard-cooking eggs in the Instant Pot in the past, too.
So I'll keep my comments on the Instant Pot brief and just tell you that it's a fantastic gift that's incredibly versatile that's guaranteed to become a workhorse in your kitchen!
I named mine Tina. I'm weird like that.
Looking for more gift ideas? Check out all of my gift guides for more inspiration:
- Shop Small with the Big Flavors 2020 Holiday Gift Guide - Part 3
- Shop Small with the Big Flavors 2020 Holiday Gift Guide - Part 2
- Shop Small with the Big Flavors 2020 Holiday Gift Guide - Part 1
- Big Flavors 2019 Holiday Gift Guide for Food Lovers
- Big Flavors 2018 Holiday Gift Guide Part 2
- Big Flavors 2018 Holiday Gift Guide Part 1
- Holiday Gift Ideas to Upgrade Your Kitchen & Dining Experience
- White Elephant Funny Holiday Gift Ideas for Foodies
- 2016 Holiday Gift Guide (Part 2)
- 2016 Holiday Gift Guide (Part 1)
- 2015 Holiday Gift Guide
- 2013 Holiday Gift Guide


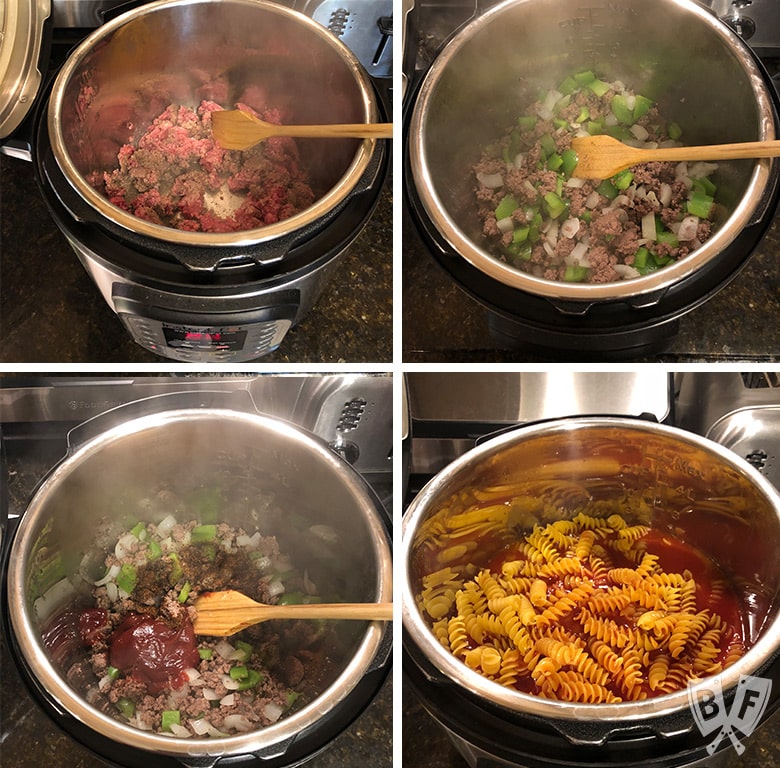


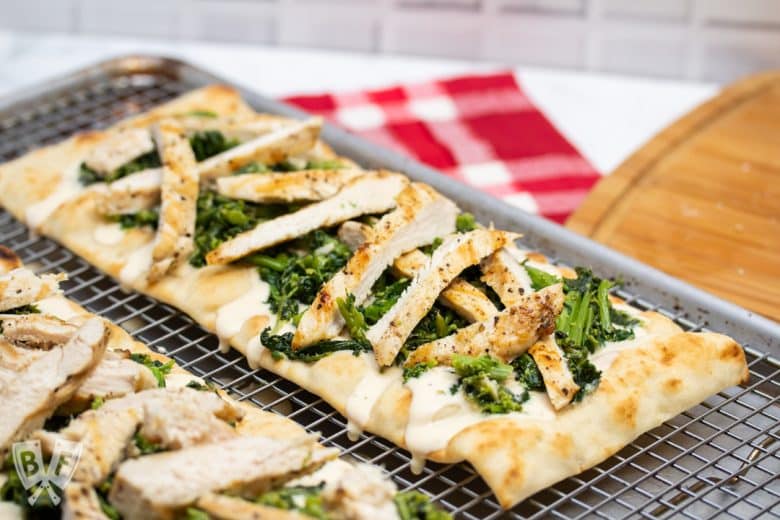

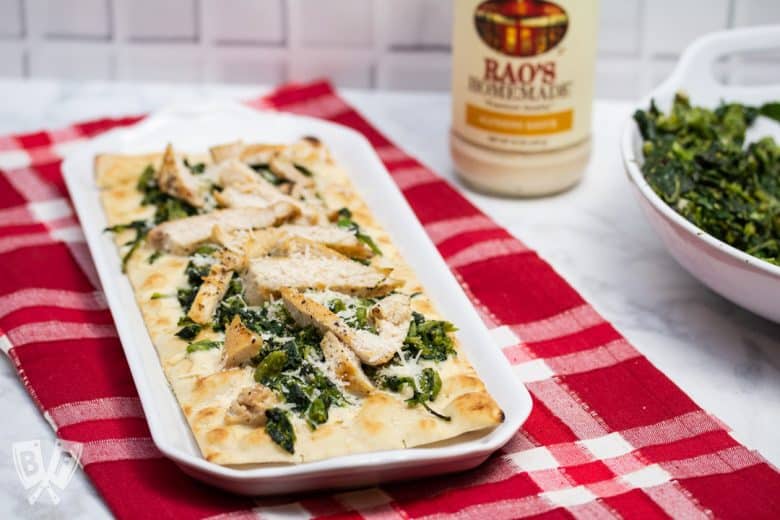
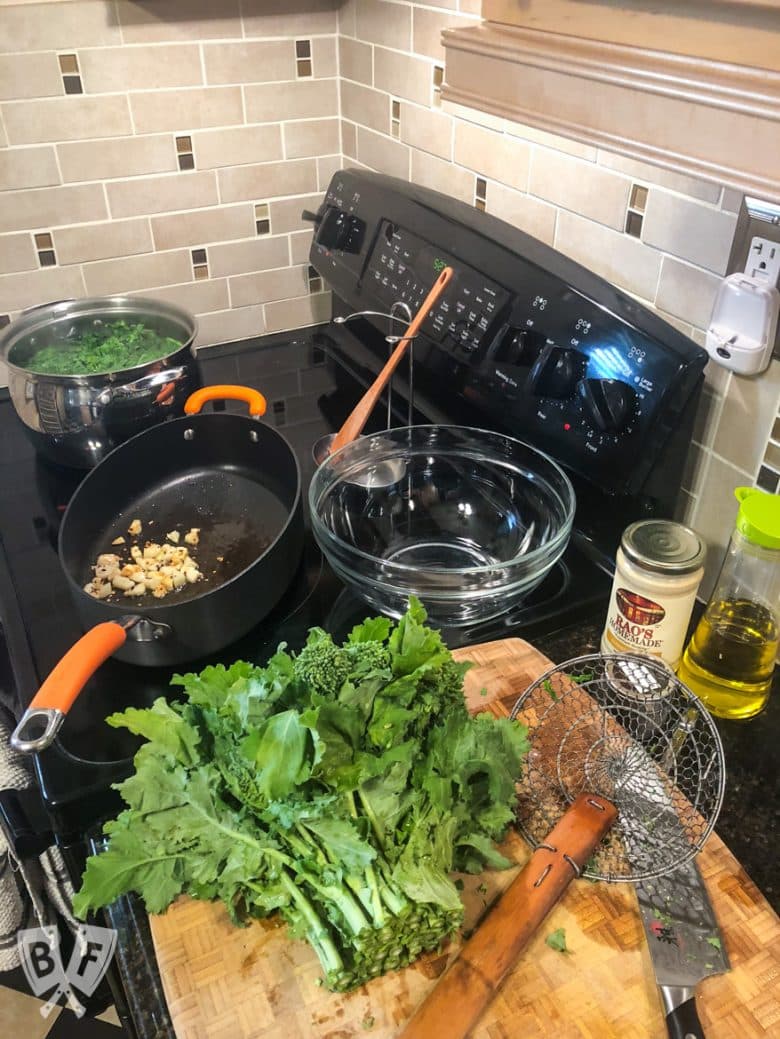
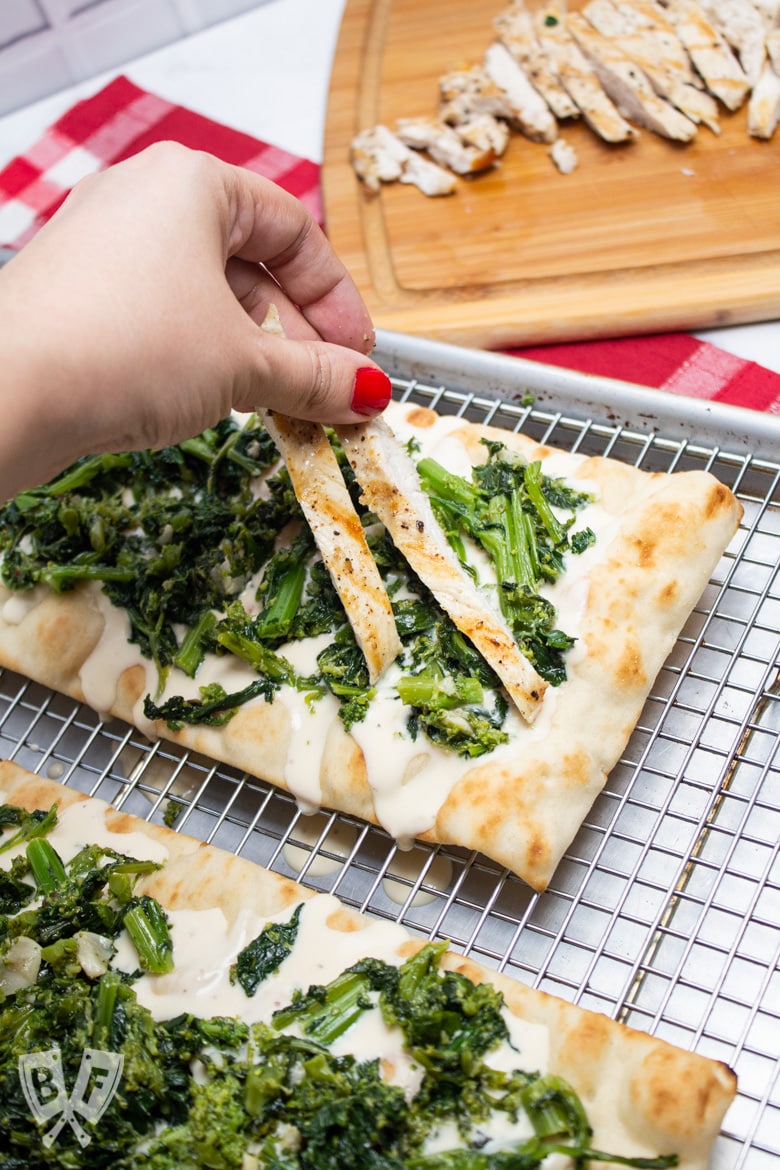

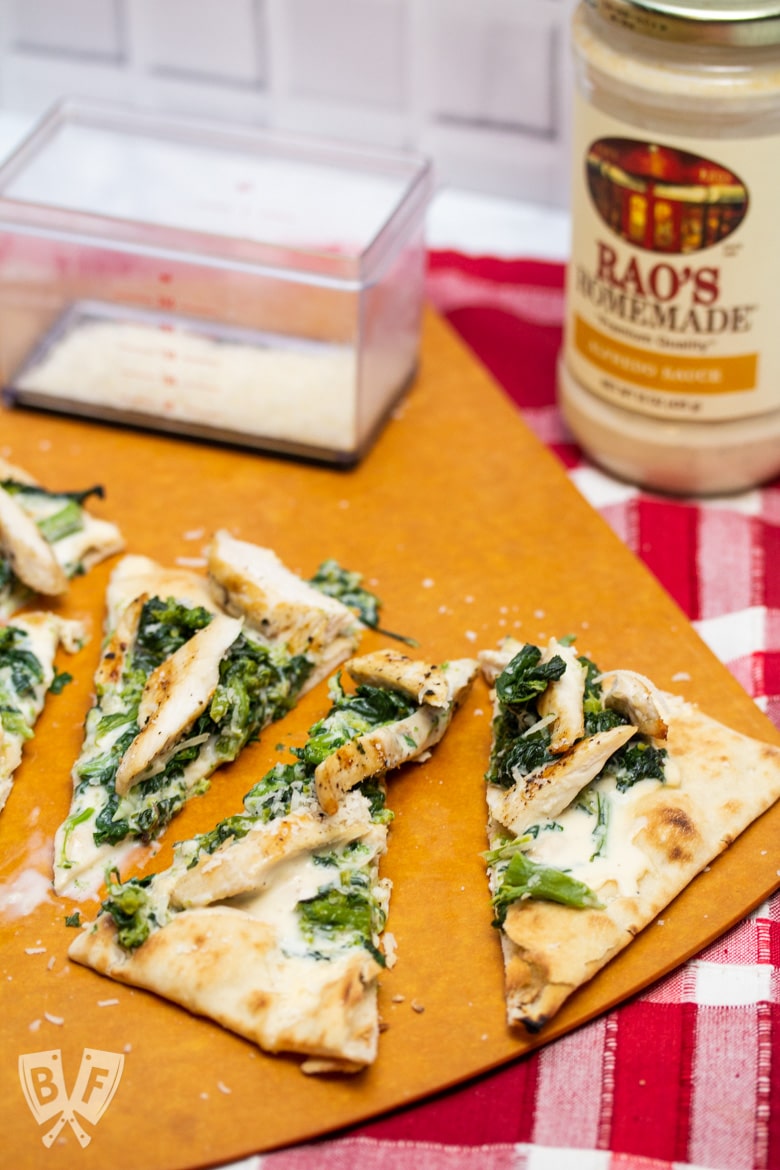


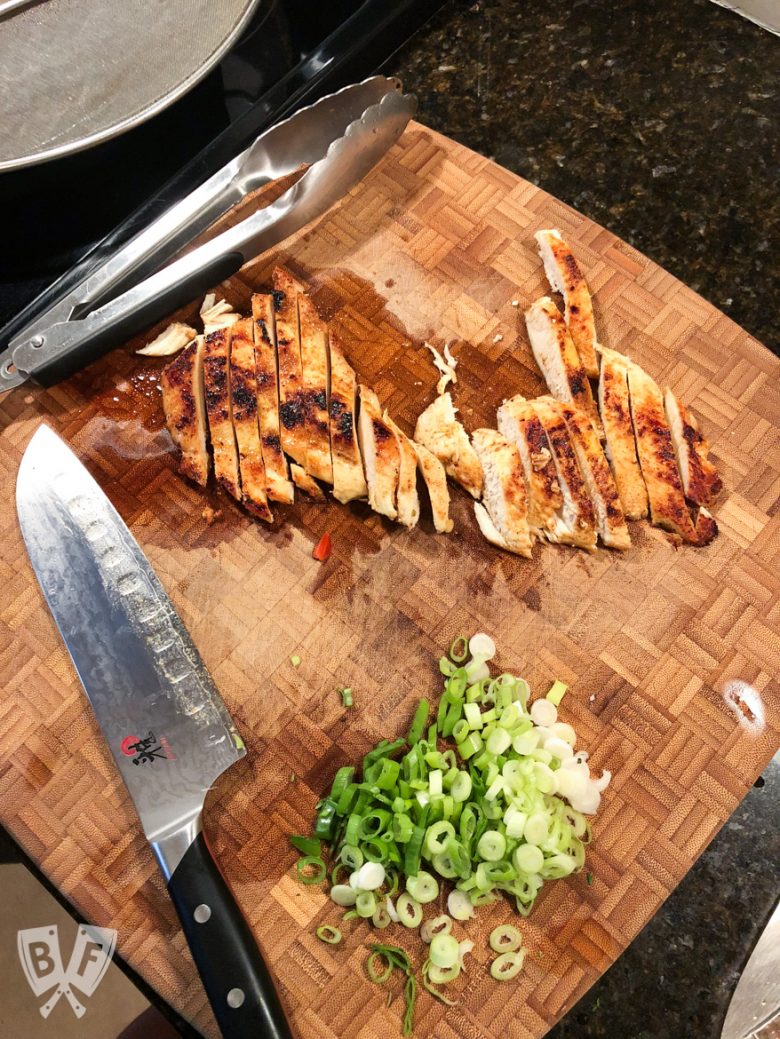


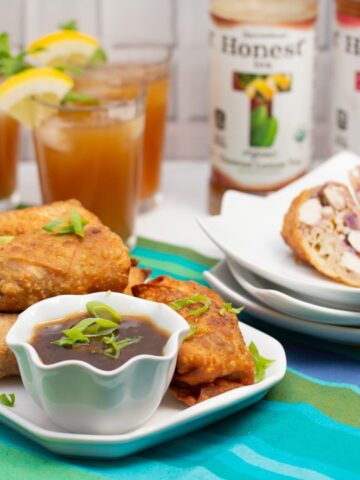


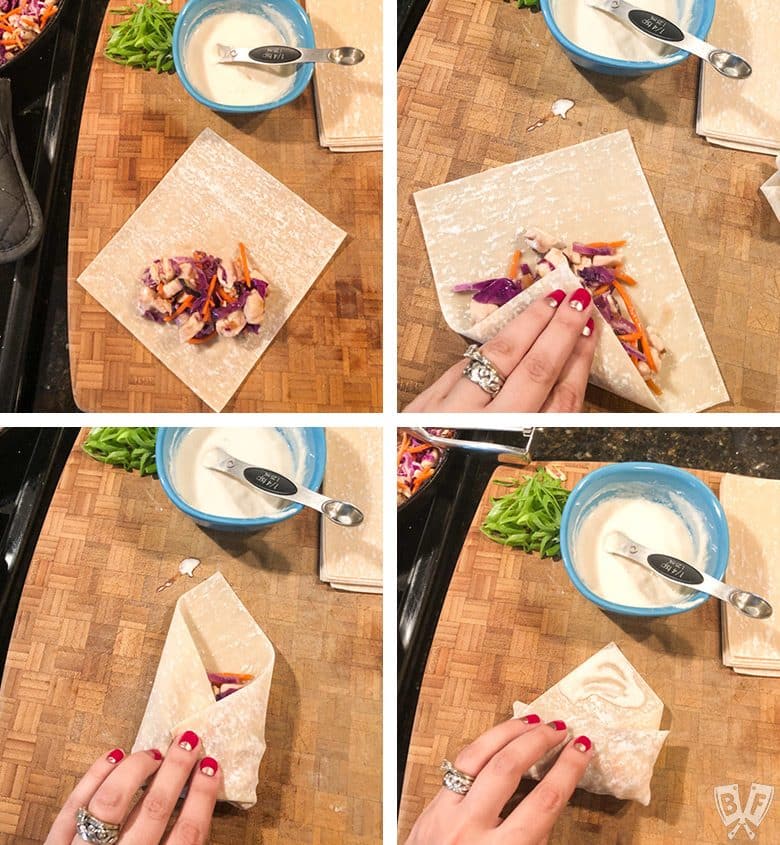
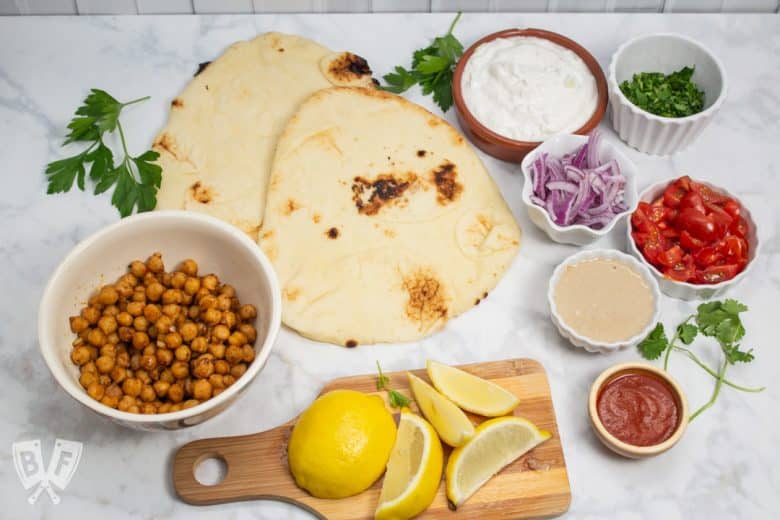
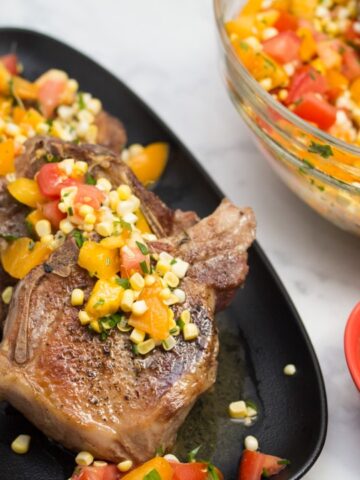
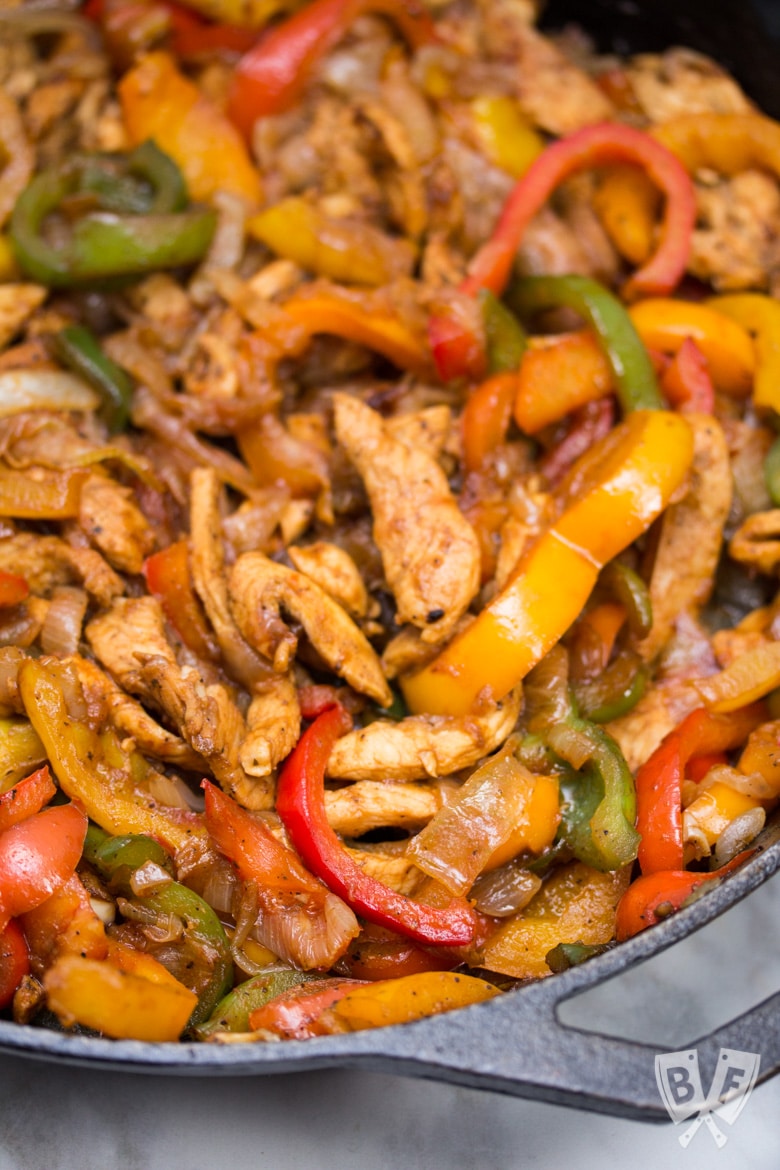
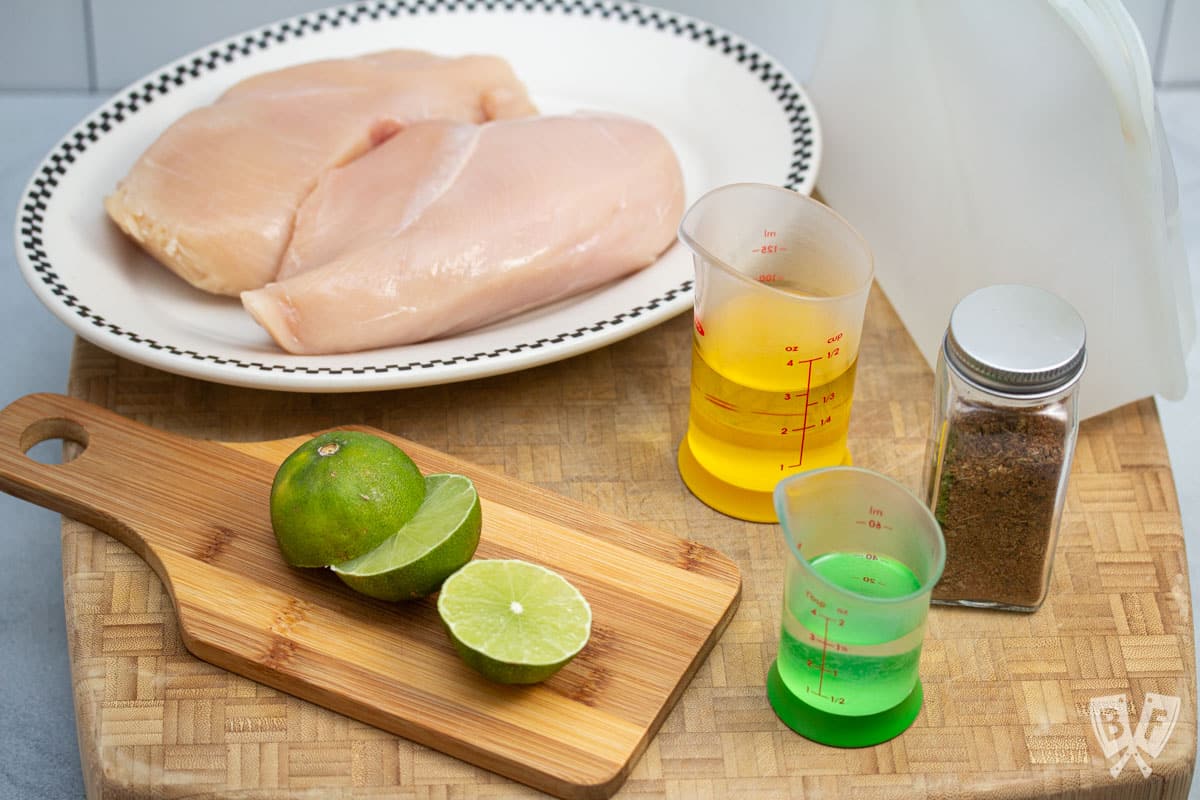
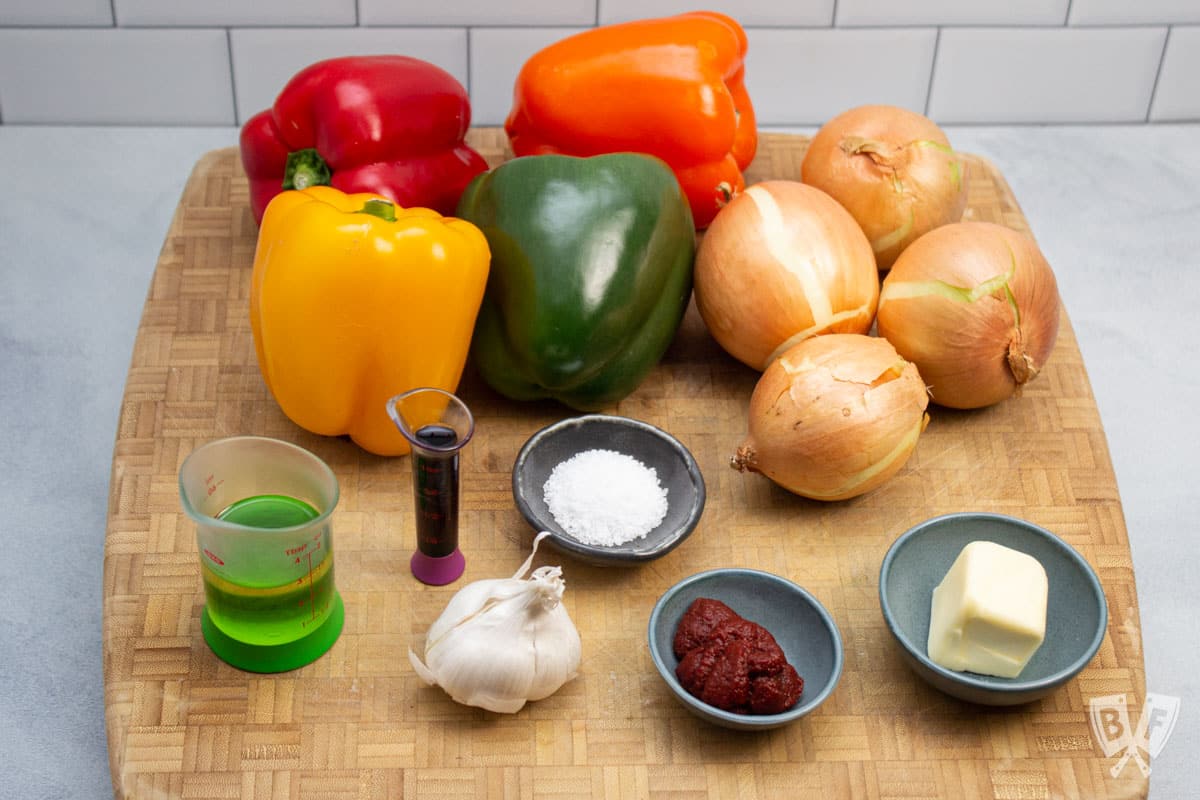
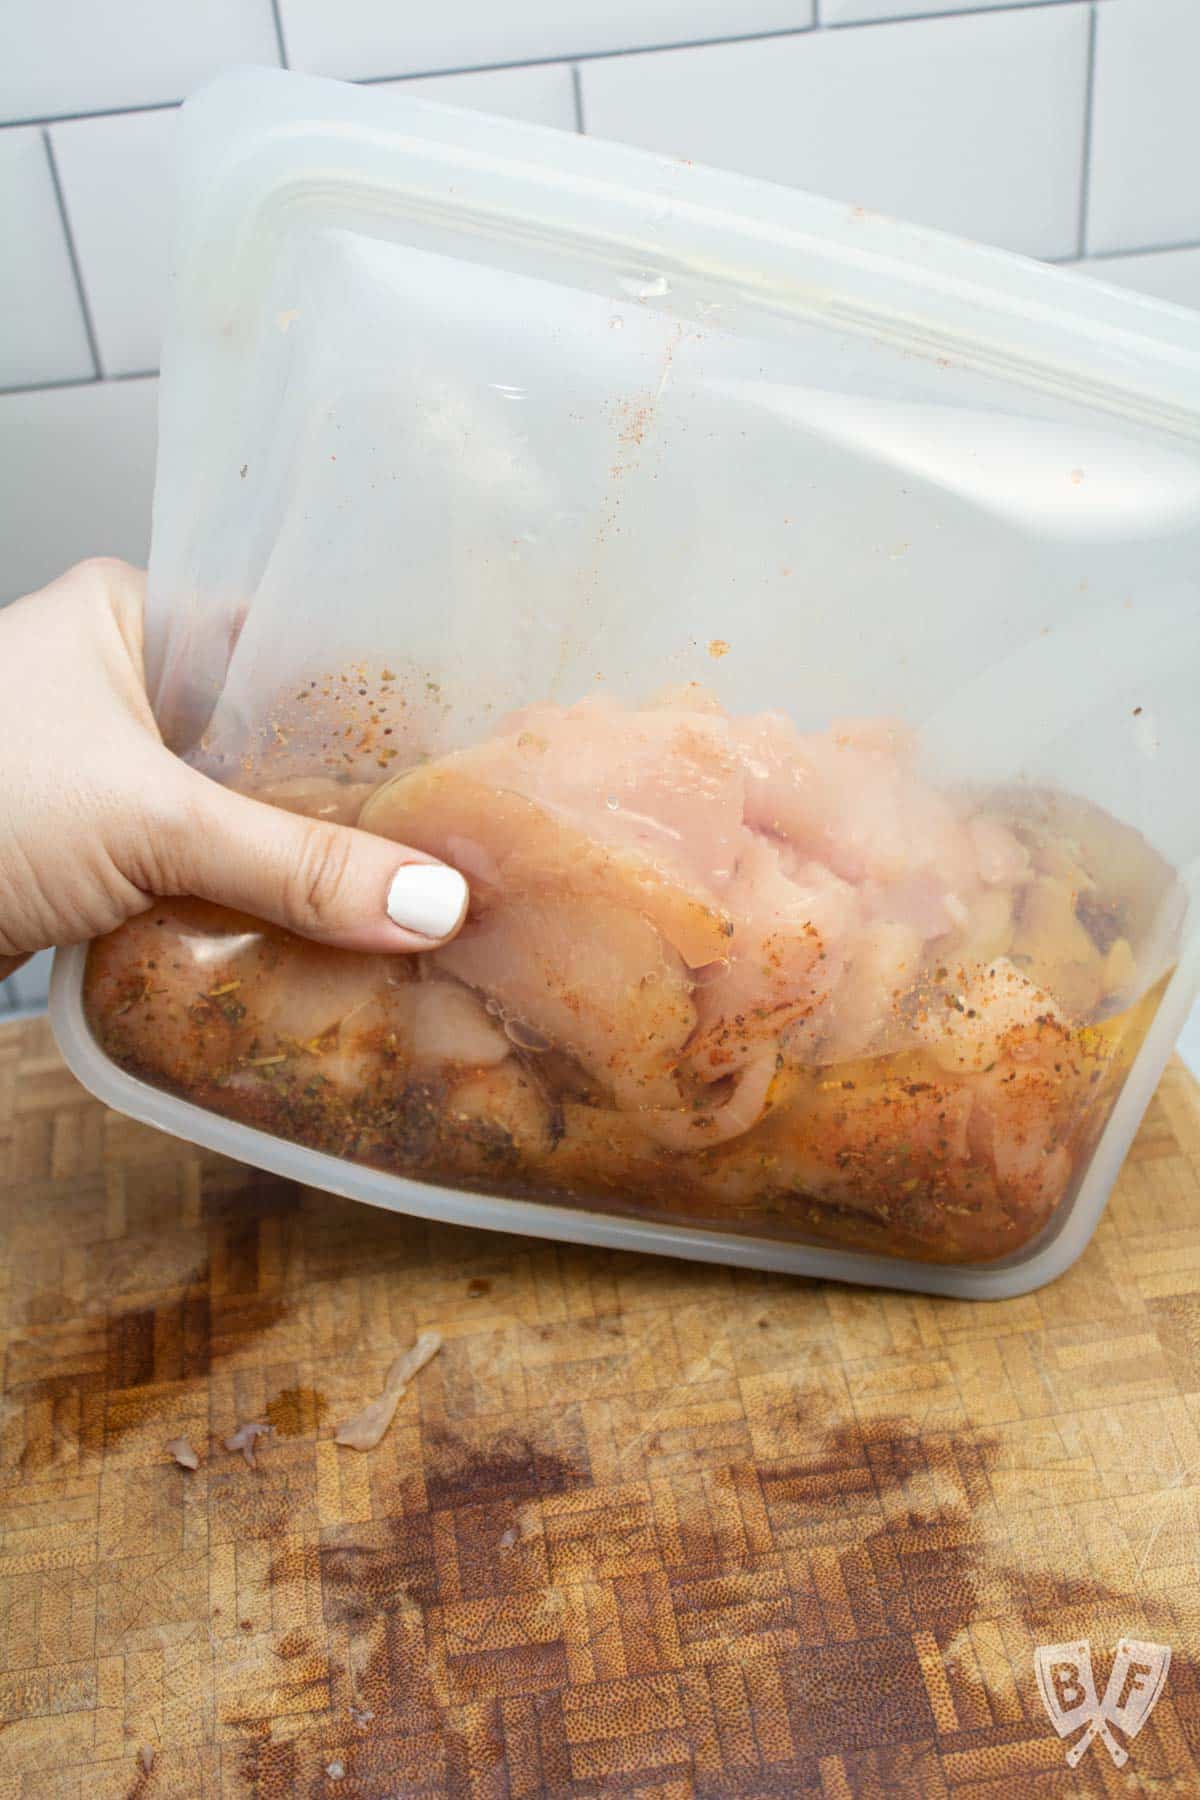
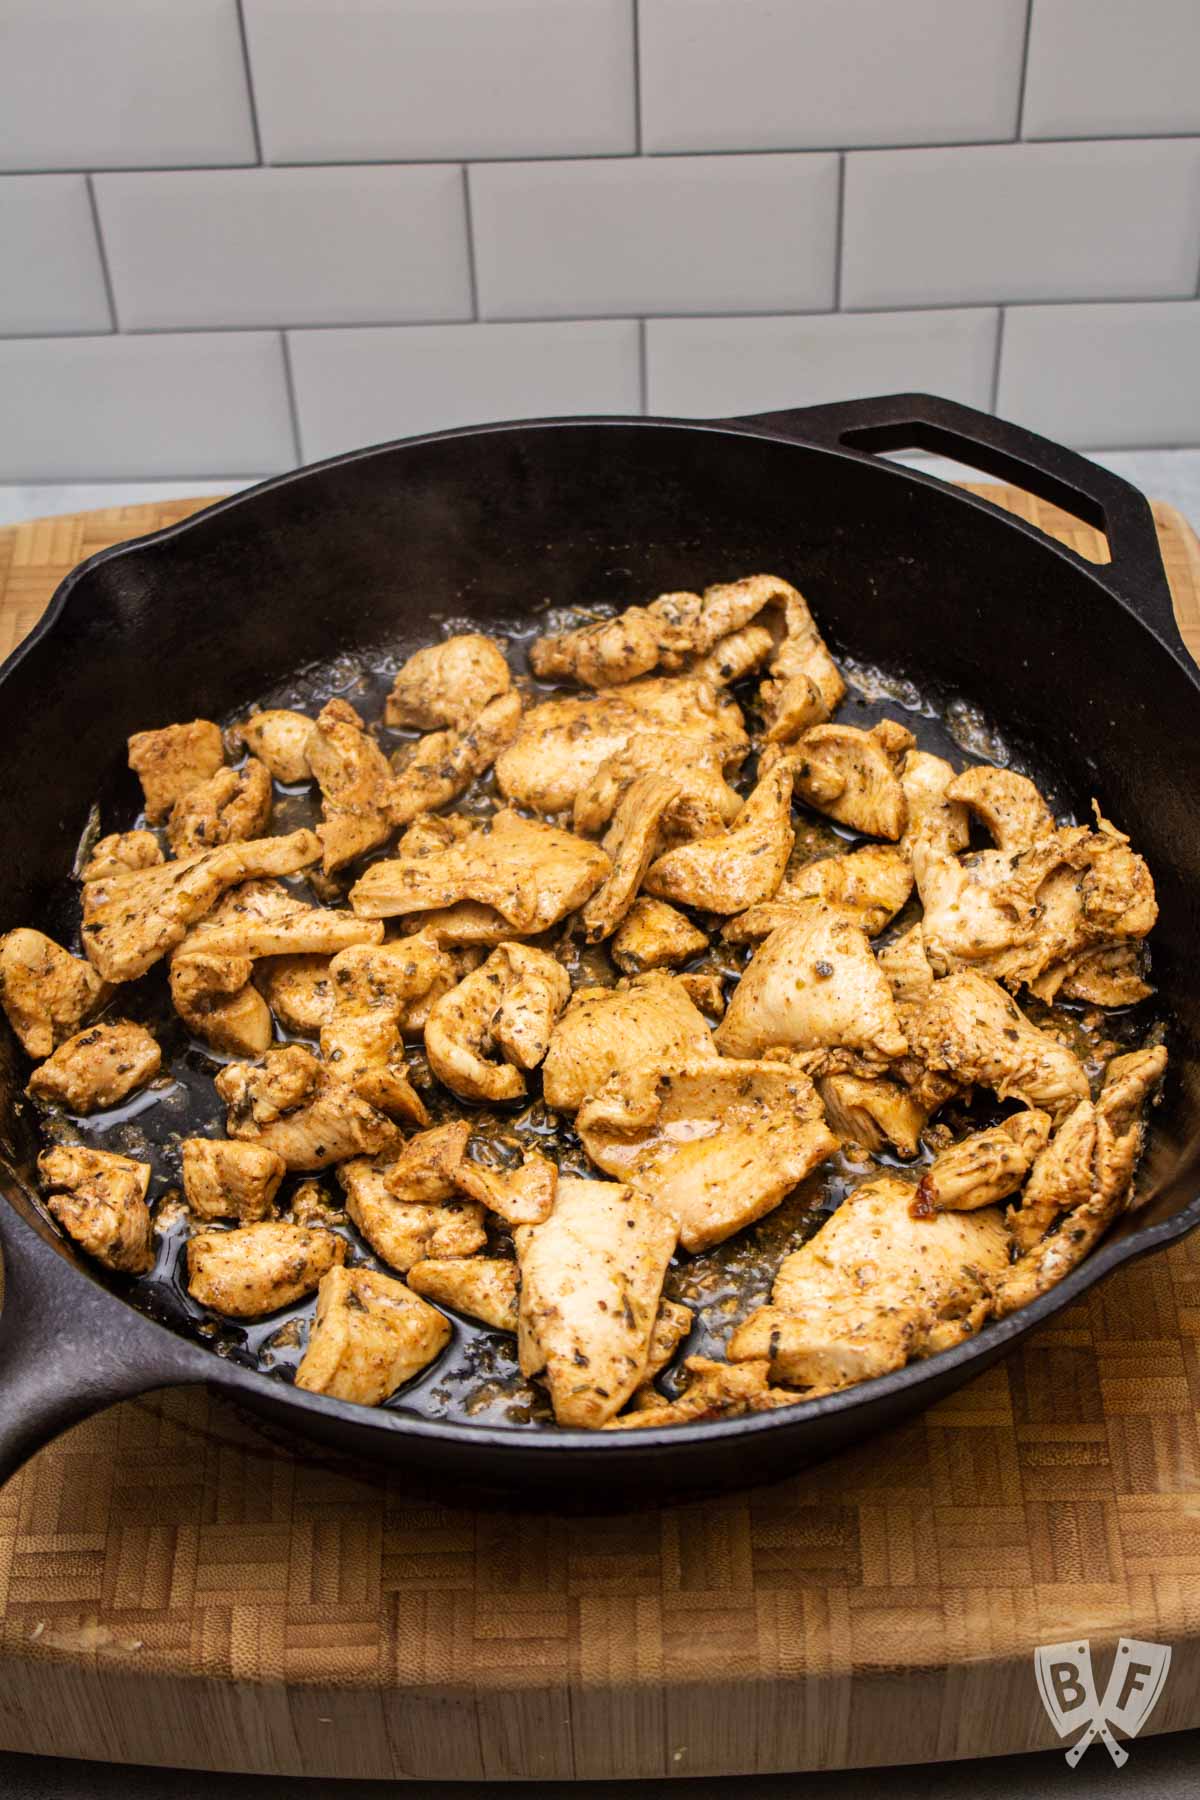
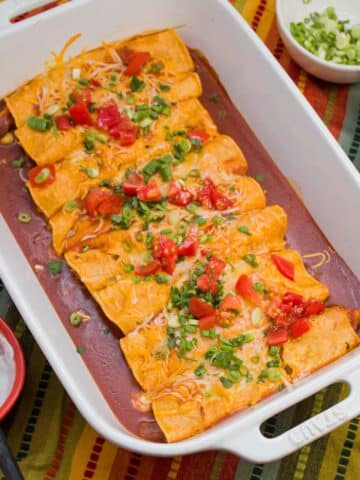
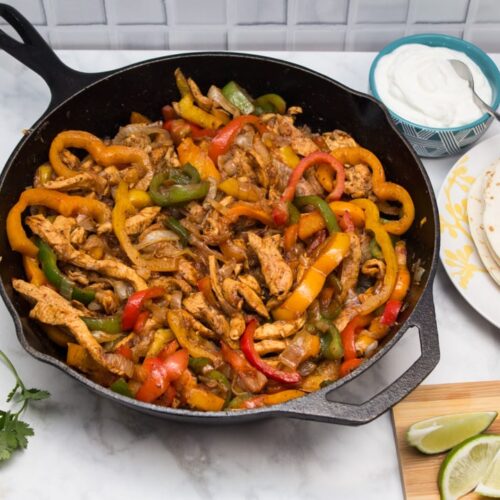
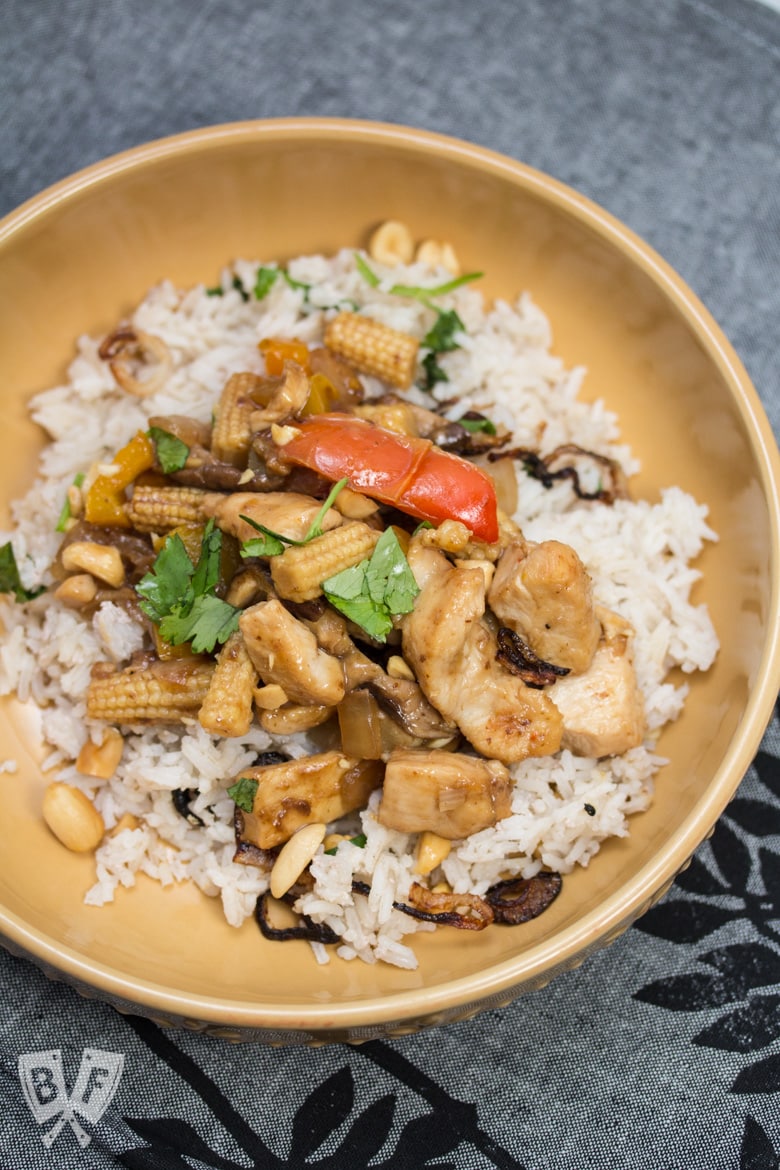
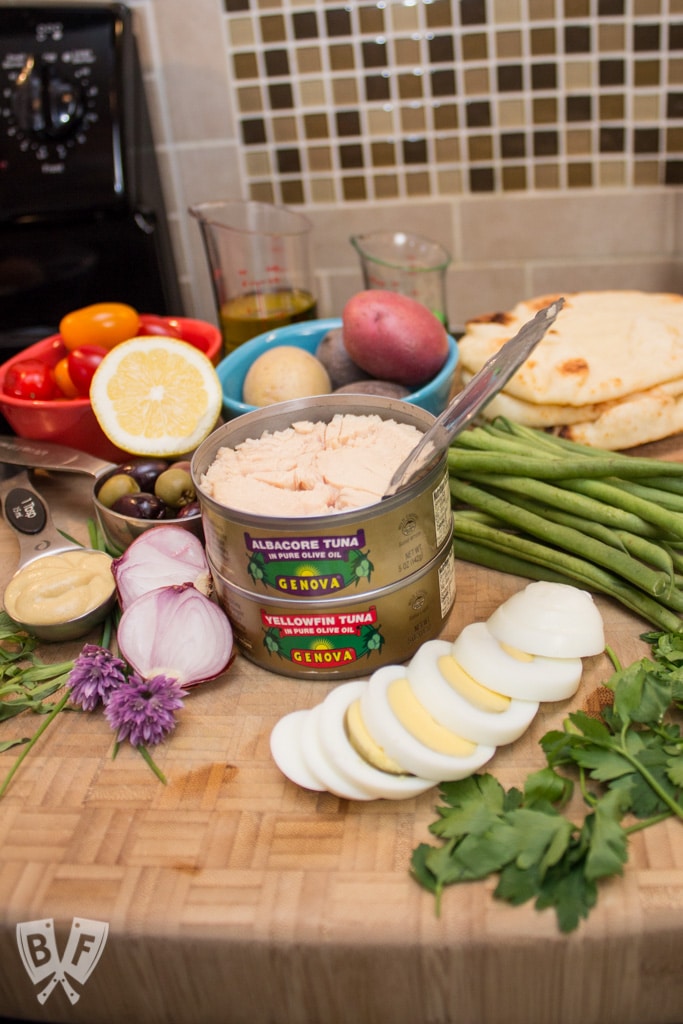
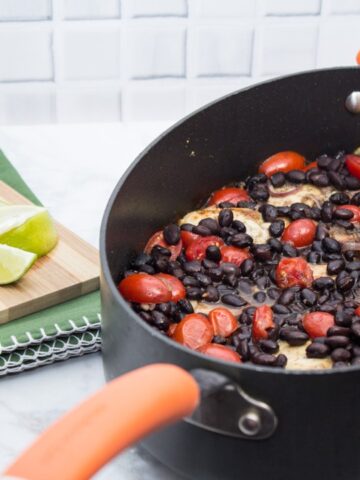
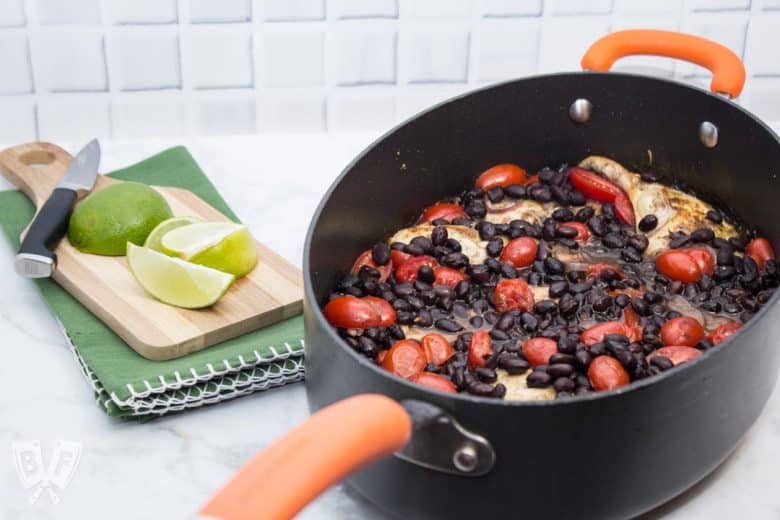
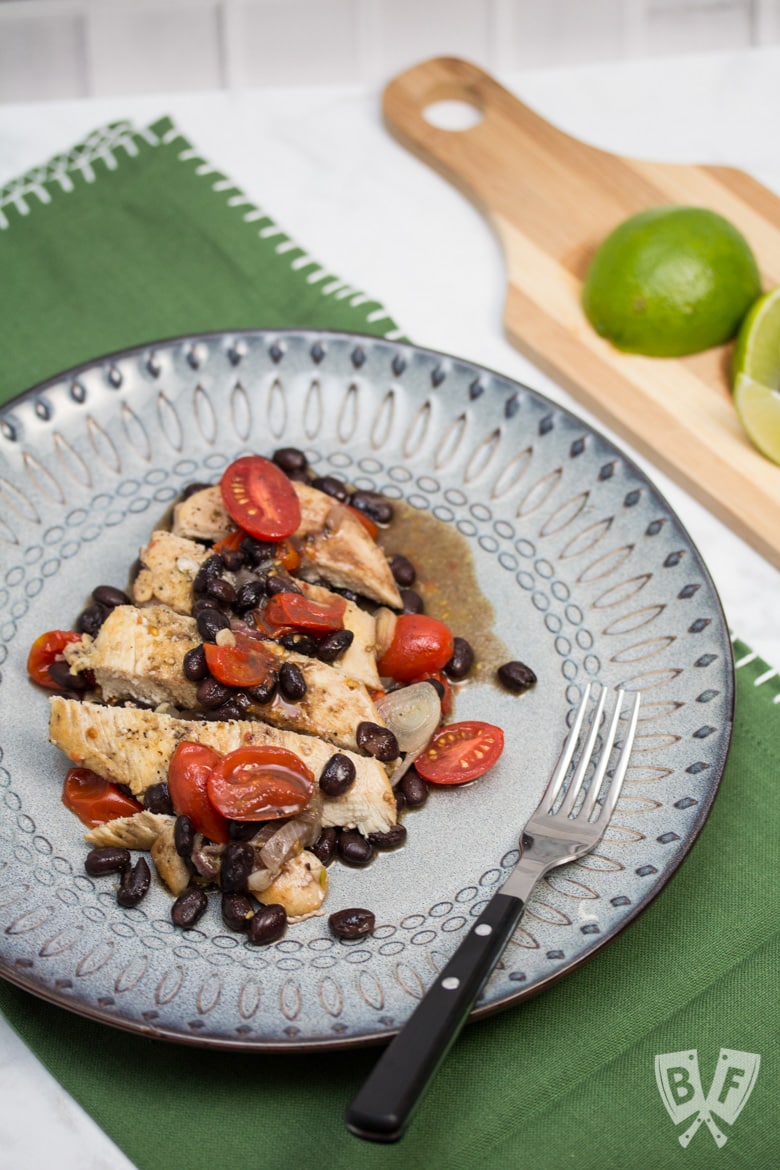
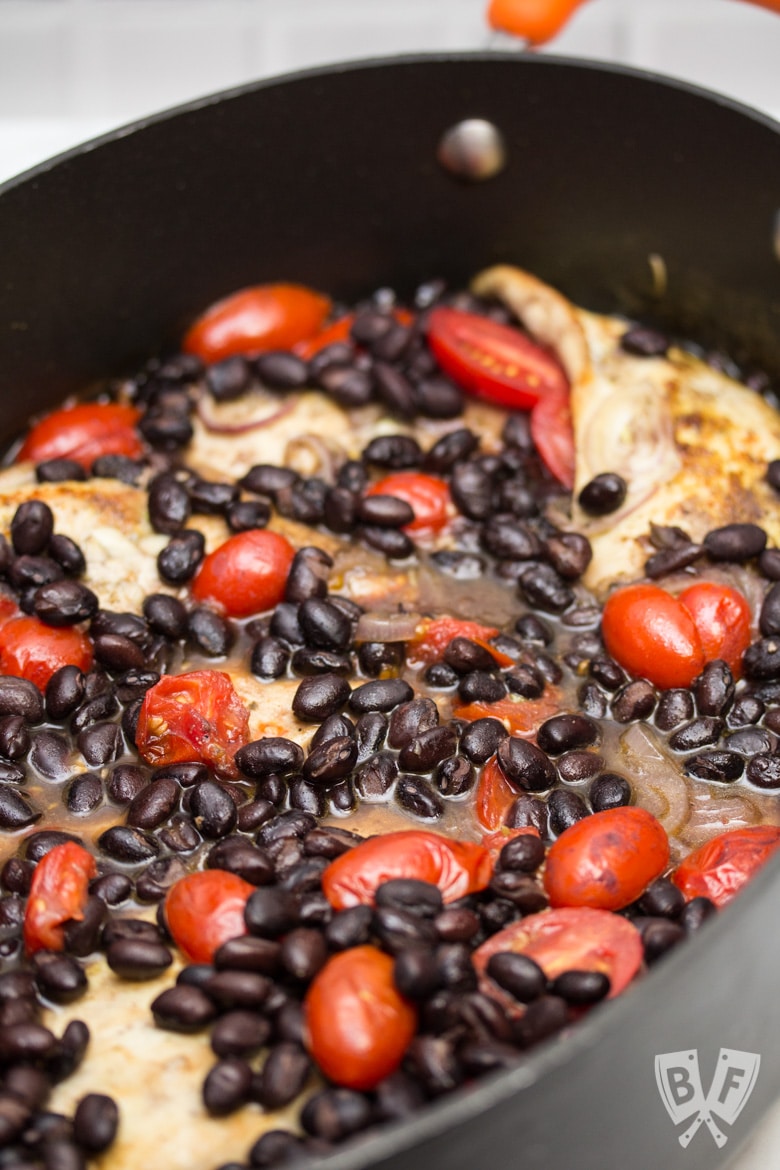
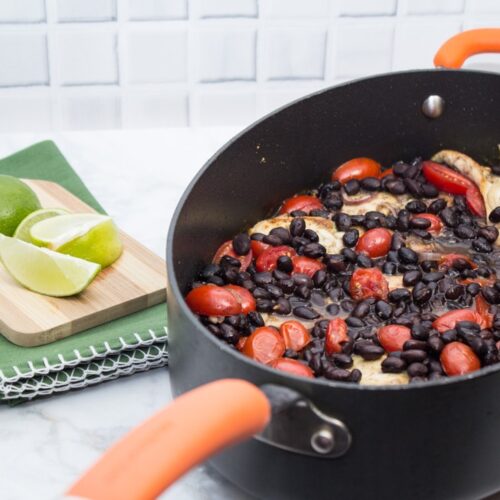
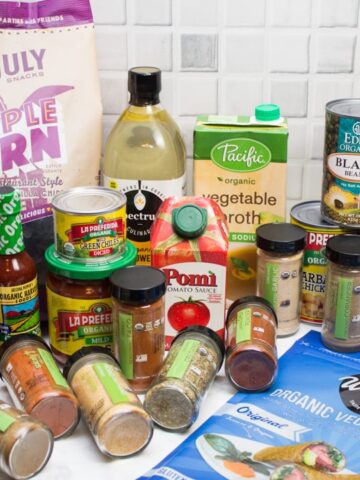
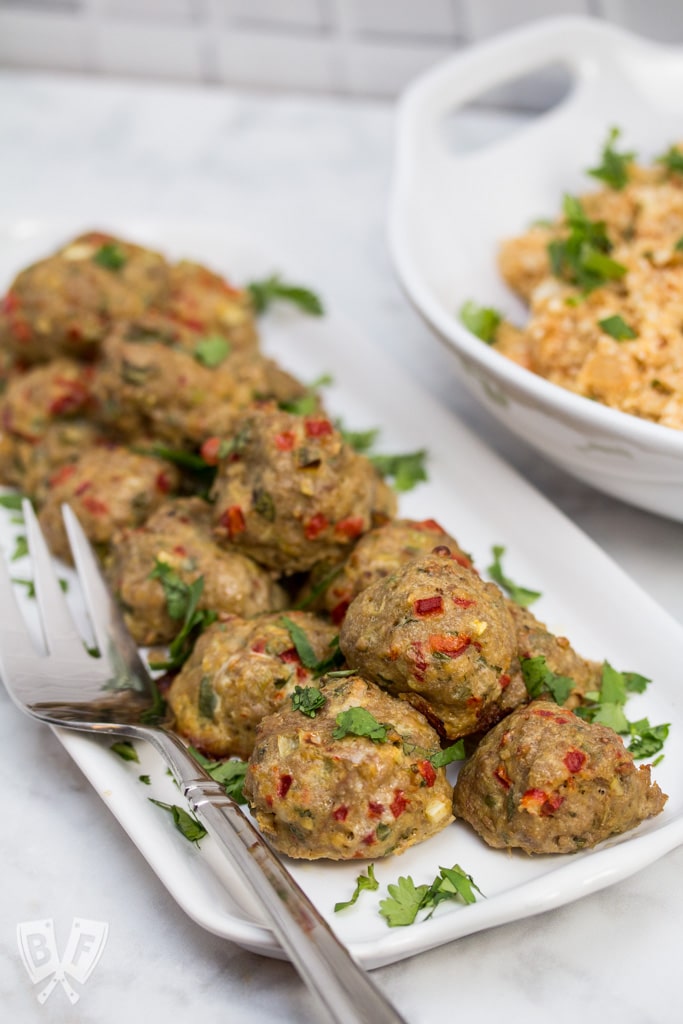
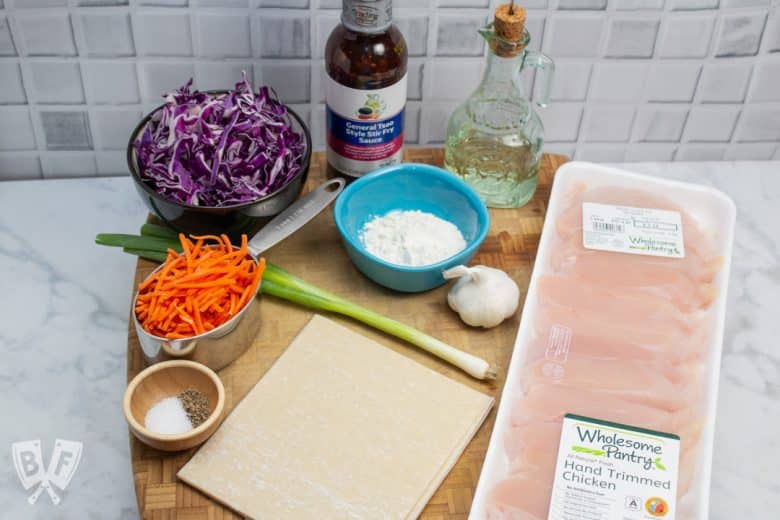 This recipe really doesn't require a lot of ingredients. The sauce adds a ton of flavor to the chicken filling, but I did sauté a bit of garlic and the white and light green end of a green onion in the pan before I added the chicken, salt, and pepper.