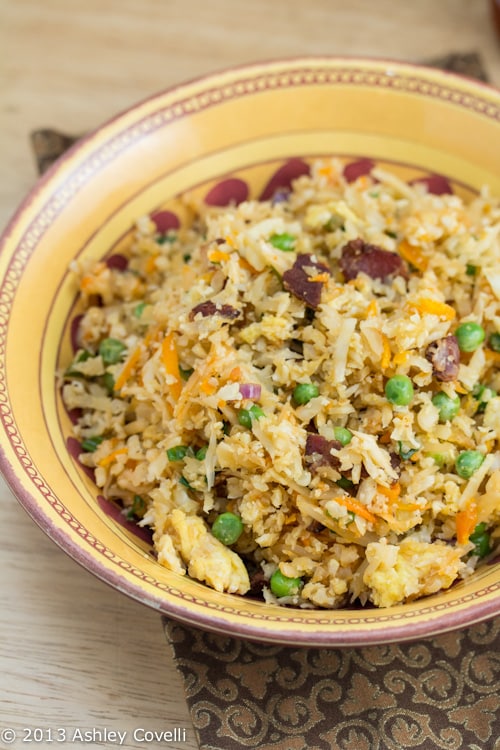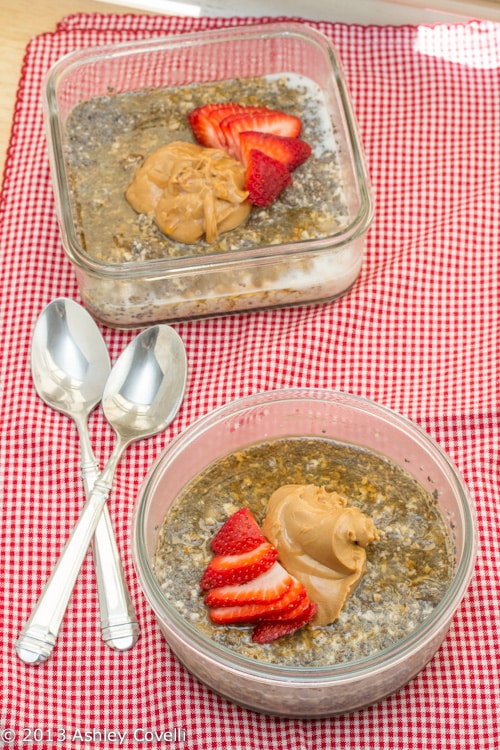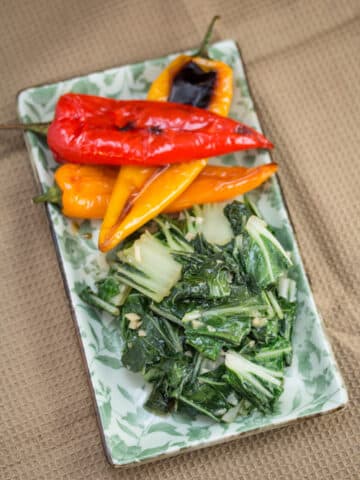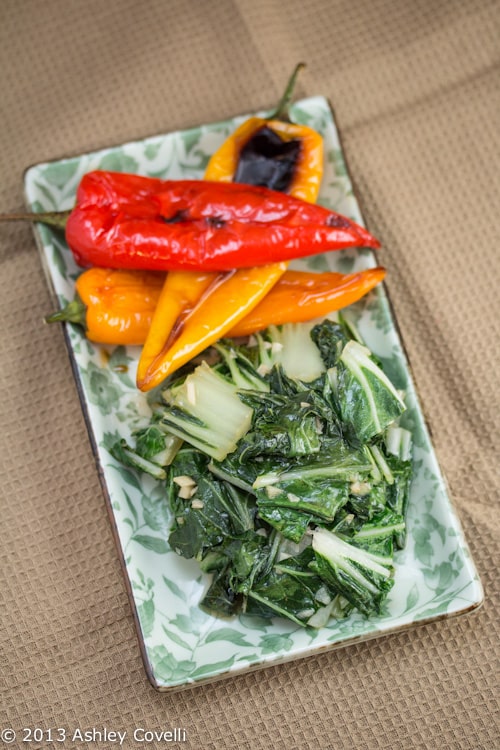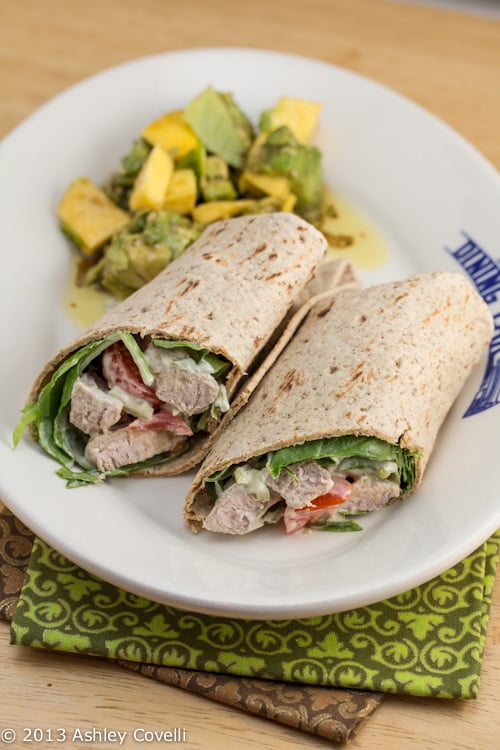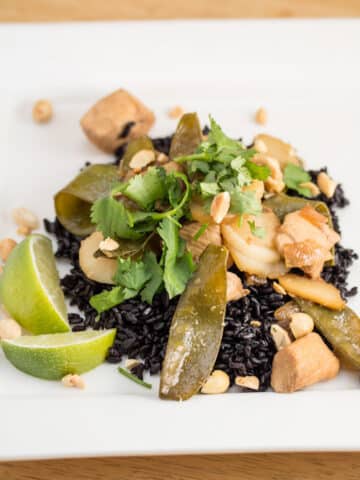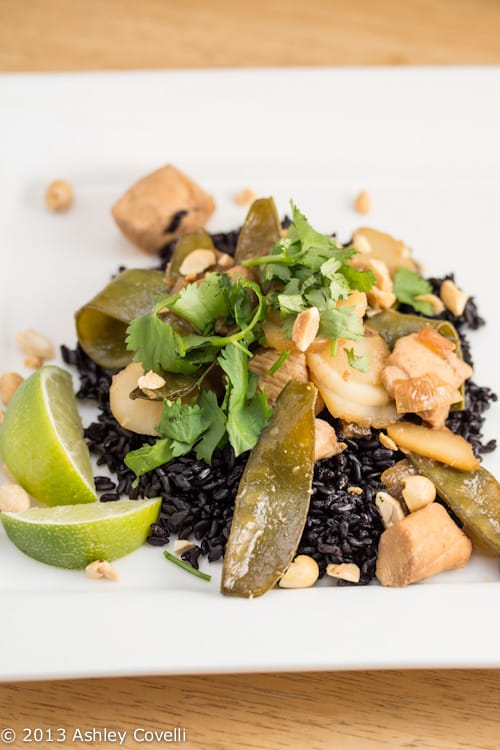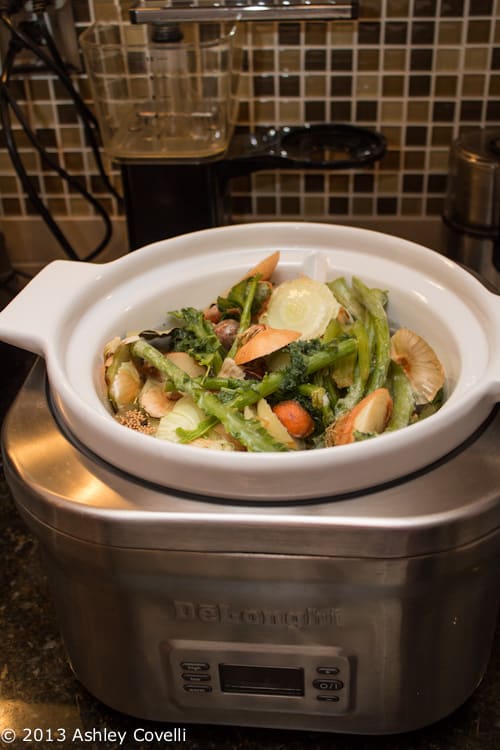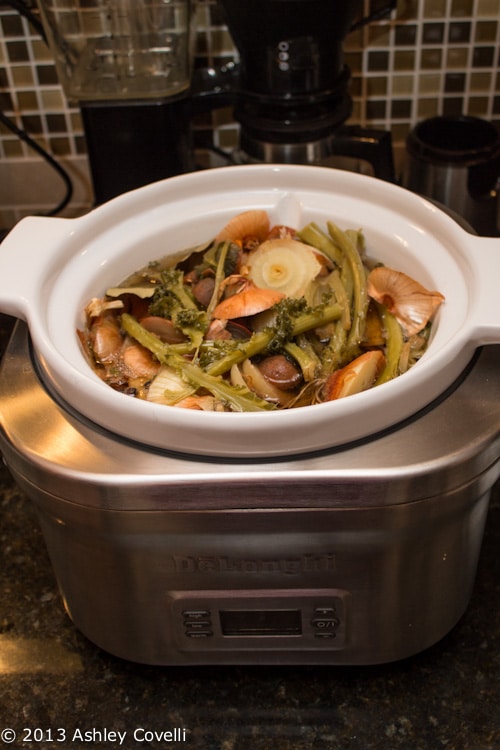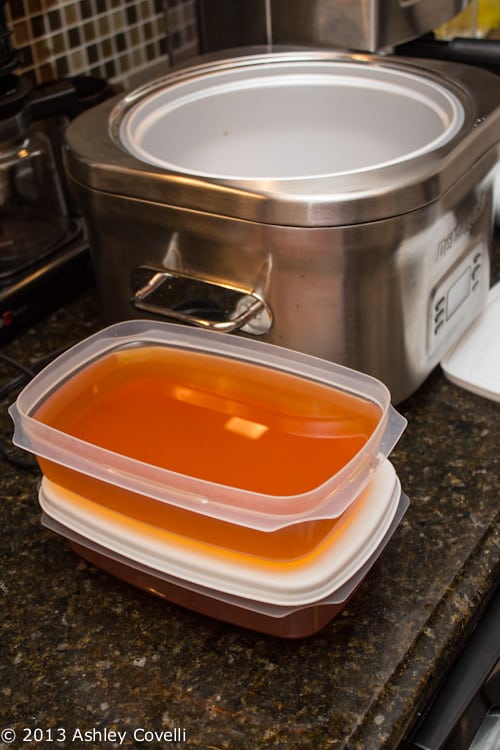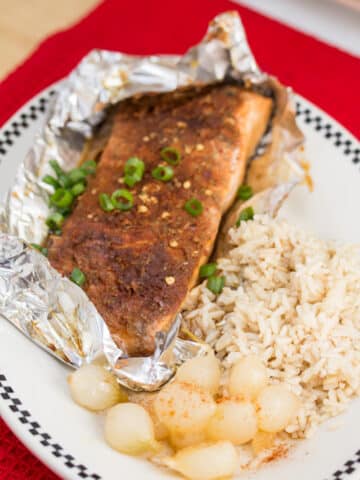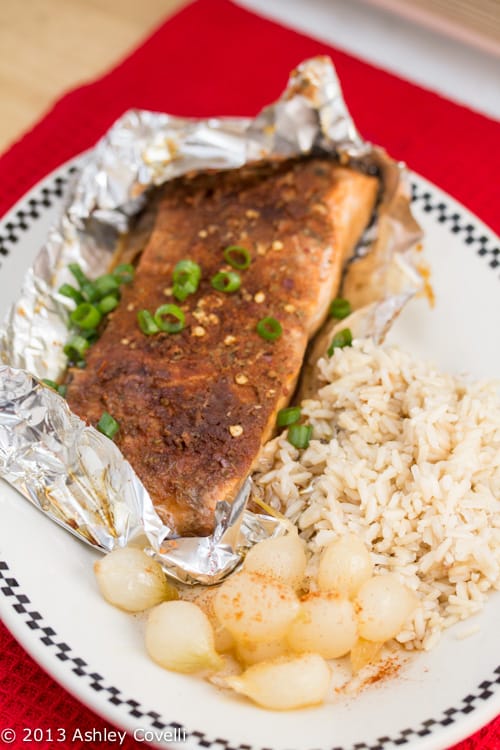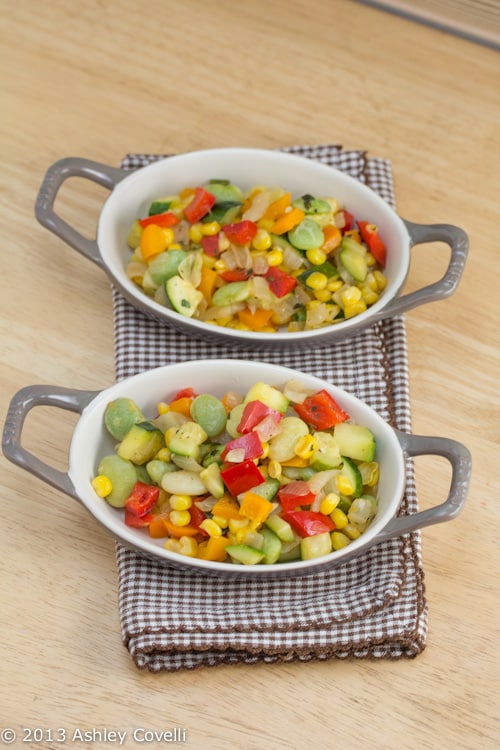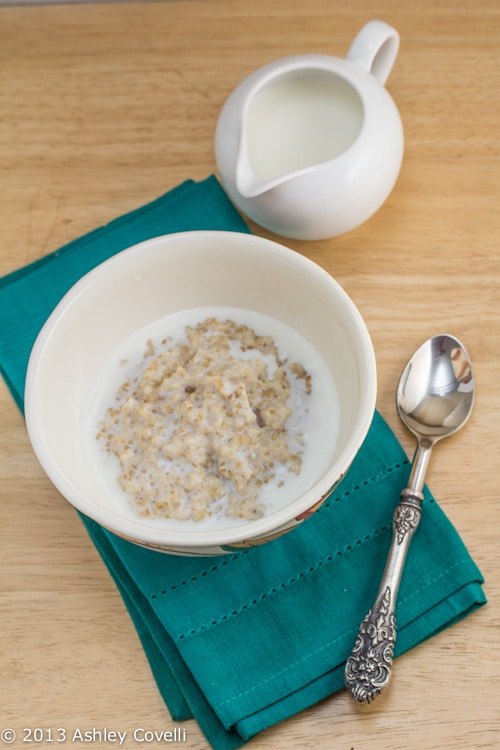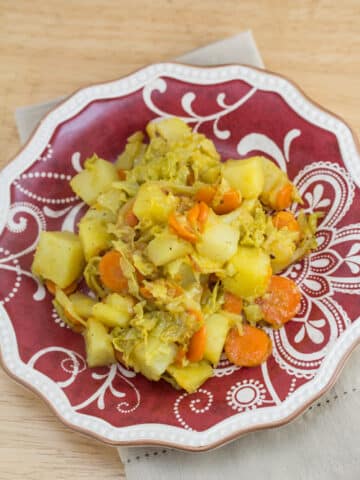
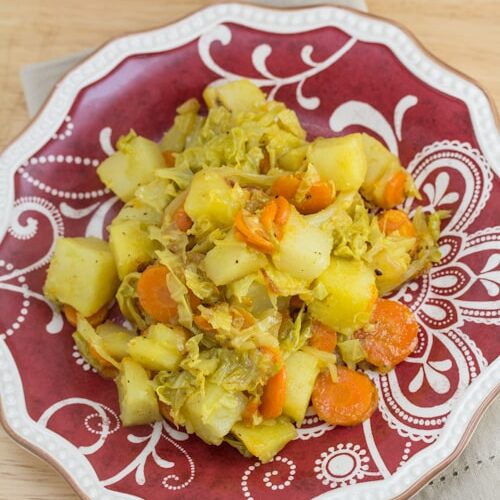
For our other Supper Club dish, I selected Ethiopian, which happened to be the theme that Dino added into the grab bag. This recipe sounded interesting, and I wanted to bring some veggies to our event, since there were already a lot of meat dishes being prepared. I read in the comments that it tasted better if you increase the amount of seasoning, so I adjusted the recipe below. It had a really nice flavor - I was surprised that it had that much from the few ingredients included. This takes about an hour to prepare, but it's definitely worth the wait. It just goes to show that simple ingredients really can come together in a complex way!

📖 Recipe
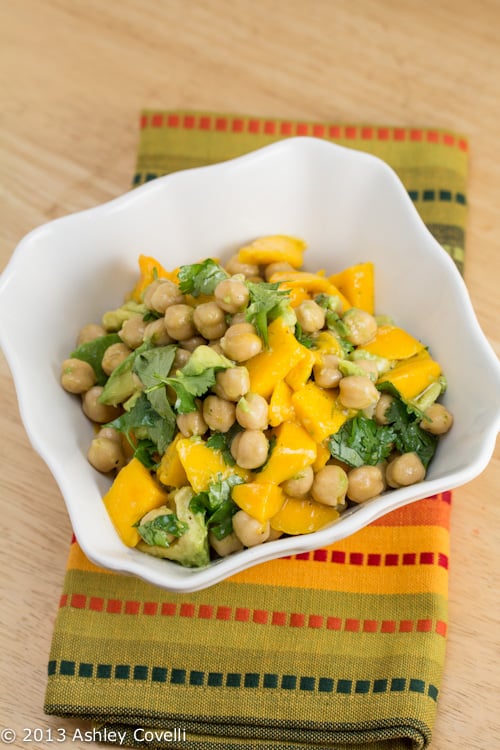
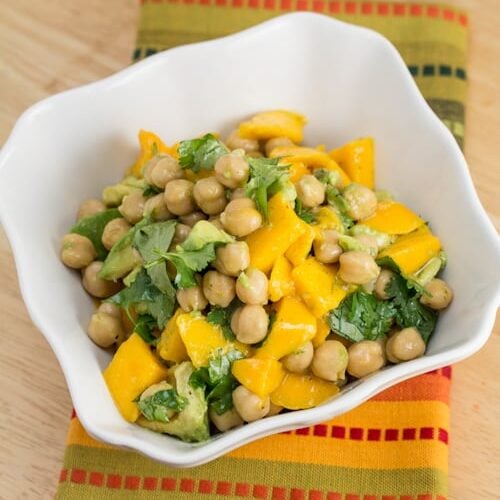
Supper Club: Ethiopian Cabbage Dish
Instructions
- Heat the olive oil in a skillet over medium heat. Cook the carrots and onion in the hot oil about 5 minutes.
- Stir in the salt, pepper, cumin, turmeric, and cabbage, and cook another 15 to 20 minutes.
- Add the potatoes; cover. Reduce heat to medium-low and cook until potatoes are soft, 20 to 30 minutes.
Notes
- Adapted from Allrecipes.
- Do not add liquid - the cabbage and potatoes release enough moisture on their own.
Nutrition information
Nutrition Facts
Supper Club: Ethiopian Cabbage Dish
Amount per Serving
Calories
414
% Daily Value*
Fat
22
g
34
%
Saturated Fat
3
g
19
%
Polyunsaturated Fat
2
g
Monounsaturated Fat
16
g
Sodium
760
mg
33
%
Potassium
1249
mg
36
%
Carbohydrates
51
g
17
%
Fiber
7
g
29
%
Sugar
7
g
8
%
Protein
7
g
14
%
Vitamin A
8251
IU
165
%
Vitamin C
50
mg
61
%
Calcium
92
mg
9
%
Iron
3
mg
17
%
* Percent Daily Values are based on a 2000 calorie diet.