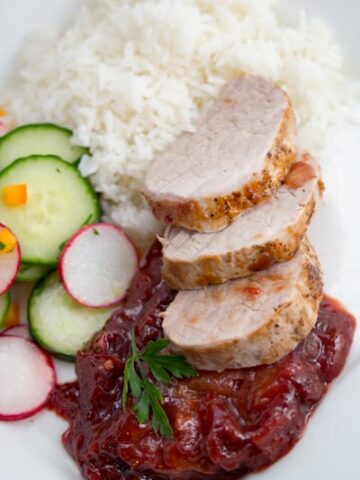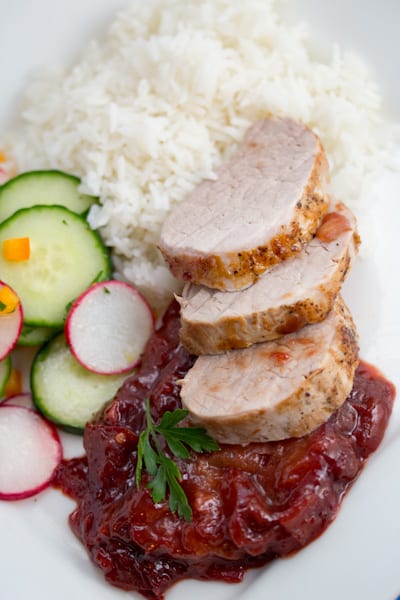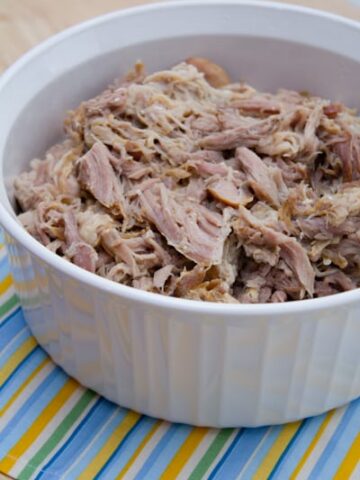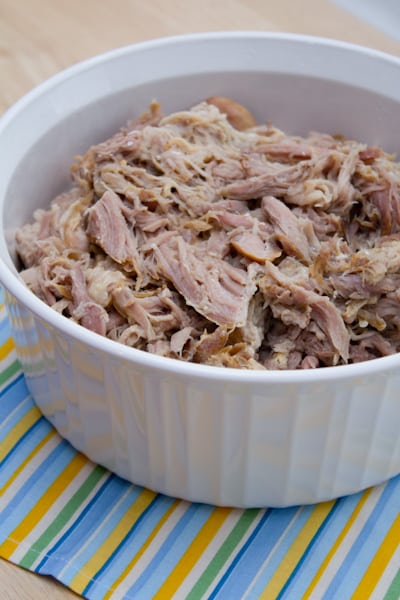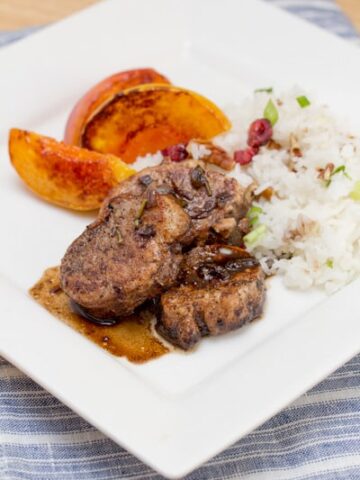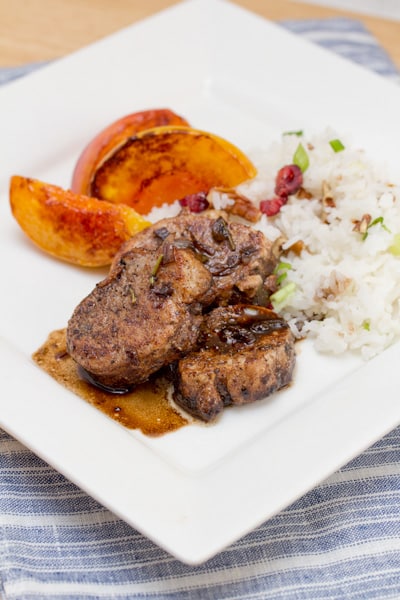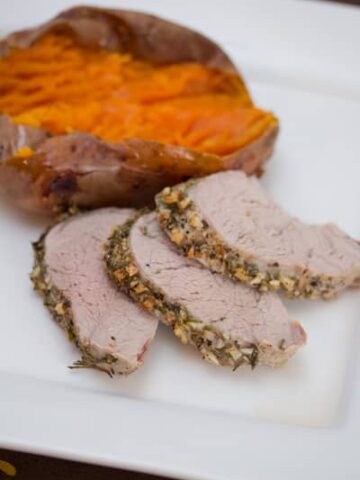
This pork recipe was super easy and really tasty! It didn't take much time at all, which makes it a perfect weeknight dinner. I served it with some baked sweet potatoes.
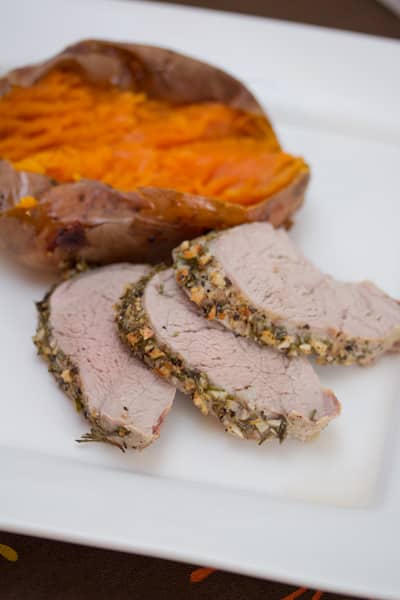
Pork Tenderloin Studded with Rosemary and Garlic
Cooking Light October 2002
Tender, moist, and fragrant, this hearty pork tenderloin with rosemary and garlic is a breeze to prepare.
2 tablespoons finely chopped fresh rosemary
4 garlic cloves, minced
1 (1-pound) pork tenderloin, trimmed
½ teaspoon salt
¼ teaspoon black pepper
Cooking spray
Preheat oven to 475°.
Combine the rosemary and garlic. Make several ½-inch-deep slits in pork; place about half of rosemary mixture in slits. Rub pork with remaining rosemary mixture; sprinkle with salt and pepper. Place pork on a jelly roll pan coated with cooking spray. Insert a meat thermometer into thickest portion of pork.
Bake at 475° for 20 minutes or until the thermometer registers 160° (slightly pink) or desired degree of doneness. Let stand 5 minutes, and cut into ¼-inch-thick slices.
Note: Strip rosemary leaves by running your fingertips along the stem in the opposite direction from which the leaves grow.
Amount per serving
Calories: 147
Calories from fat: 26%
Fat: 4.2g
Saturated fat: 1.4g
Monounsaturated fat: 1.6g
Polyunsaturated fat: 0.4g
Protein: 24.2g
Carbohydrate: 1.5g
Fiber: 0.1g
Cholesterol: 67mg
Iron: 1.6mg
Sodium: 342mg
Calcium: 23mg
Big Flavors Rating: 4 Stars