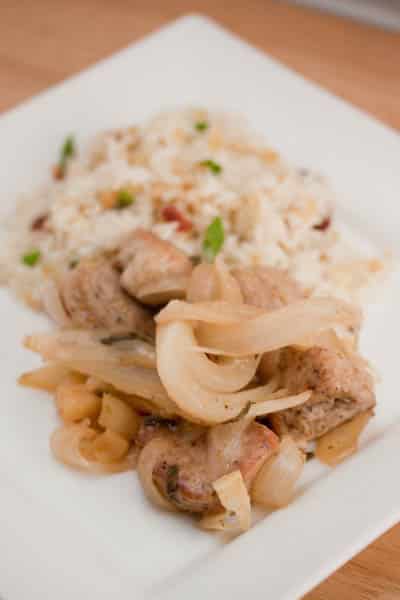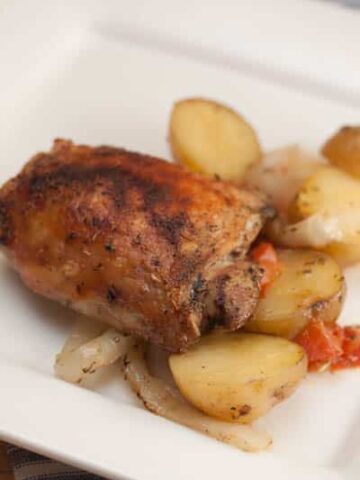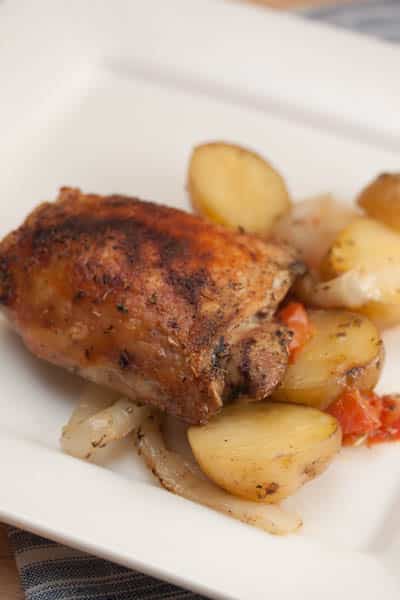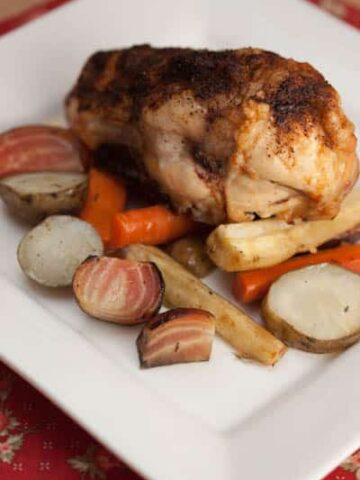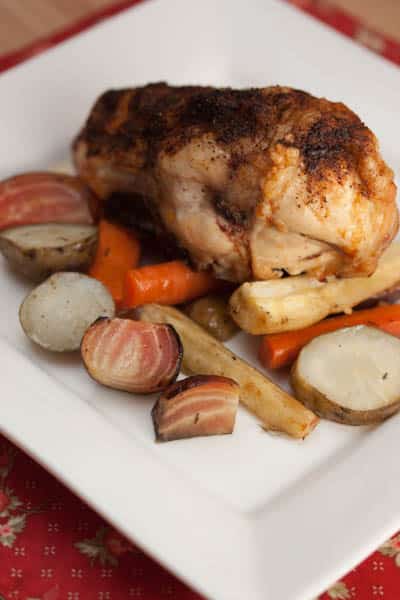
This chicken was OK - it was nice and juicy, but the flavor combination wasn't our favorite. Rosemary is such a strong flavor that adding another really strong flavor like fennel seeds seemed to be a little overkill for us. Having rosemary did inspire me to make another batch of Crash Hot Potatoes though, so that was a bonus.
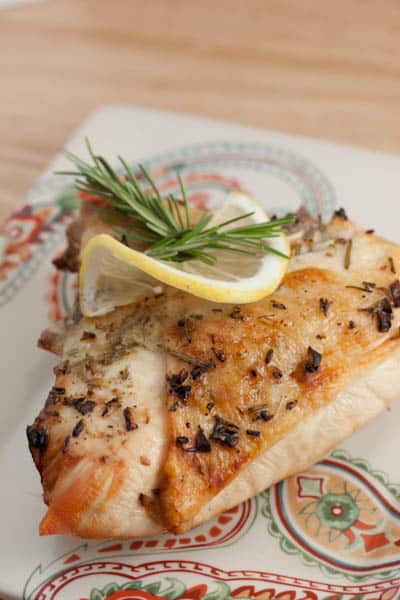
Italian-Seasoned Roast Chicken Breasts
Cooking Light March 2011
Lean breast meat needs to be shielded as it cooks, so leave the skin on (and enjoy it-see Nutrition Note).
Total: 53 minutes
Yield: 4 servings (serving size: 1 breast half)
1 tablespoon chopped fresh rosemary
1 teaspoon grated lemon rind
2 tablespoons fresh lemon juice
4 teaspoons extra-virgin olive oil
½ teaspoon fennel seeds, crushed
½ teaspoon salt
¼ teaspoon freshly ground black pepper
3 garlic cloves, minced
4 bone-in chicken breast halves (about 3 pounds)
Cooking spray
1. Preheat oven to 425°.
2. Combine first 8 ingredients in a bowl, stirring well. Loosen skin from chicken by inserting fingers, gently pushing between skin and meat. Rub rosemary mixture under loosened skin over flesh; rub over top of skin. Place chicken, bone side down, on a broiler pan coated with cooking spray. Coat skin lightly with cooking spray. Bake at 425° for 35 minutes or until a thermometer inserted into the thickest portion of the breast registers 155°. Remove chicken from pan; let stand for 10 minutes.
Nutrition Note: Since chicken breast meat is low in calories and saturated fat, you can eat the skin and still keep saturated fat within allowable limits. If you like dark meat, which is higher in saturated fat, remove and discard the skin.
Nutritional Information:
Calories: 240
Fat: 12.2g (sat 2.8g,mono 6.3g,poly 2.1g)
Protein: 29.5g
Carbohydrate: 1.8g
Fiber: 0.3g
Cholesterol: 82mg
Iron: 1.2mg
Sodium: 366mg
Calcium: 24mg
Big Flavors Rating: 3 Stars