This post may contain affiliate links, which won’t change your price but will share some commission.
It is absolutely possible to create amazing BBQ in your backyard, and this pictorial documentary should prove it. We used a $60 charcoal grill, and with the right set-up you would never know the ribs weren't cooked in an industrial smoker. Probably the most difficult part of this entire process is having patience.
Below is the how-to. For the rub and "mop sauce" recipes, see the older post.
Step 1: Prepare the Ribs
Remove the thin, papery skin from the back of each rack of ribs by pulling it off in a sheet with your fingers, using the corner of a kitchen towel to gain a secure grip, or with pliers.
Here is a helpful instructional video from YouTube:
Step 2: Rub and Cure
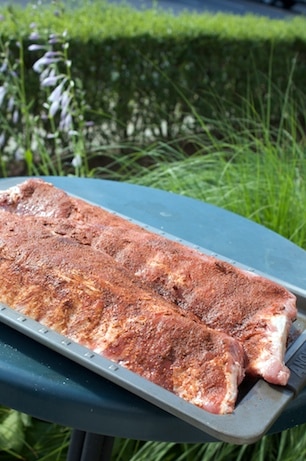
Rub two thirds of the dry rub over the ribs on both sides, then transfer the ribs to a roasting pan. Cover and let cure, in the refrigerator, for 4 to 8 hours.
Step 3: Soak the Wood Chips
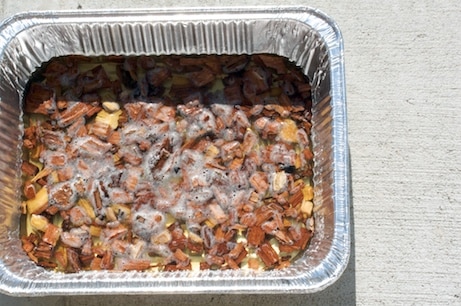
Soak three handfuls of wood chips, completely submerging them in liquid. Use water, beer or both. For pork, apple wood or hickory are recommended. We had mesquite chips on hand, but generally speaking the mesquite flavor works better with chicken or beef.
Soak the chips in the water/beer bath for a full hour.
While waiting for the wood chips to soak, follow the recipe for creating the mop sauce.
Step 4: The Grill Setup
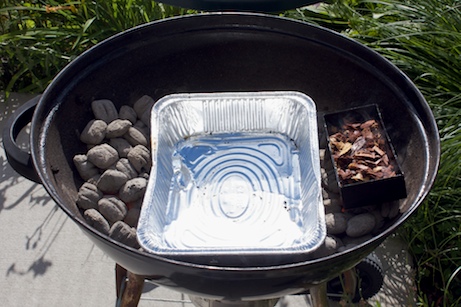
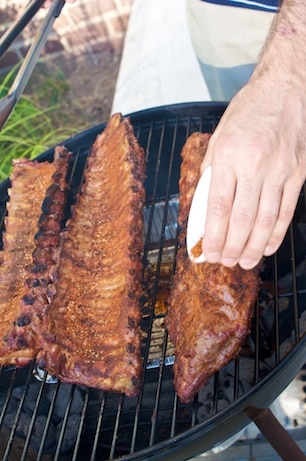
Smoking meat on the grill requires indirect grilling. After the coals are lit, separate them into two piles on the outer edges, making room for a large drip pan in the center. Drain and place all of the wood chips in the smoker box, or directly on the coals if you do not have one.
Reduce the heat to medium. Our grill has a vent underneath that allows air to flow in and upwards, so we opened this vent halfway for a "medium" setting.
Step 5: Drop and Cover
Brush the grill grate with oil.
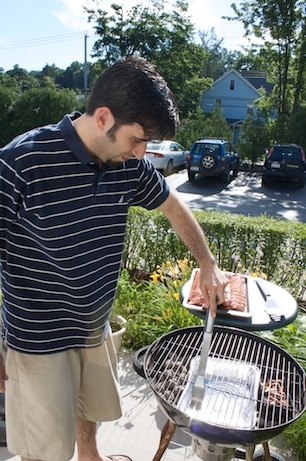
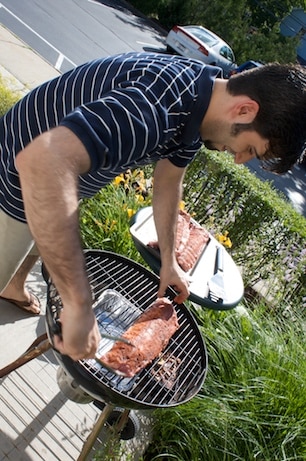
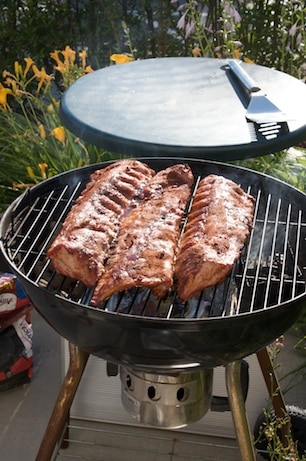
Arrange the ribs on the hot grate over the drip pan making sure the ribs are not being hit by direct heat from the coals. Cover the grill and smoke-cook the ribs for 1 hour.
Step 6: Mop and Flip
When the ribs have cooked for an hour, uncover the grill. You will need to add about six fresh coals to each side, and this step pretty much requires a second person. Using two potholders, pull the grill grate off and have your partner add the coals.
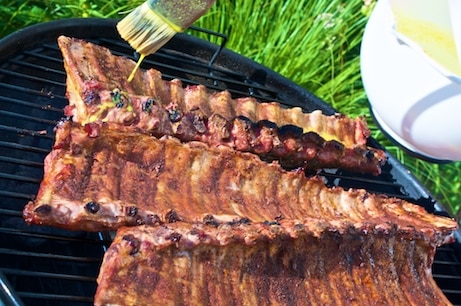
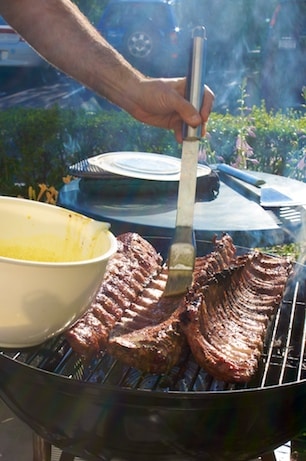
Place the grill grate back over the coals. Brush the ribs with the mop sauce. Flip the ribs and brush them again with the mop sauce. Re-cover the grill and continue cooking the ribs until tender and almost done, ¼ to ½ hour longer for baby back ribs, ½ to 1 hour longer for spareribs.
Step 7 (optional): Render BBQ Sauce
This step was not in the instructions we were following, however we did not want to waste the remaining mop sauce. To the mop sauce we added and whisked in a good amount of brown sugar (to taste), some lemon juice, half a stick of butter and 1 teaspoon of cayenne pepper. We let that simmer over low heat on the stove for the remaining cooking time of the ribs. This reduced to an absolutely delicious and tangy, mustard-based BBQ sauce.
Step 8: Dust the Meat
The ribs are done when the meat is very tender and has shrunk back from the ends of the bones. Fifteen minutes before the ribs are done, season them with the remaining rub, sprinkling it on.
Step 9: Cut and Serve
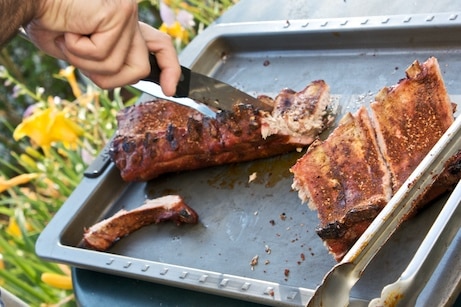
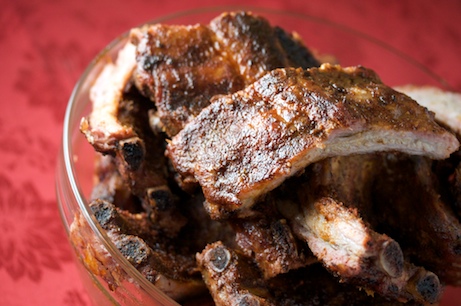
Slice the ribs an drop them in a large bowl. We cut every other rib so that you'd get two ribs per serving, and because we were starving and this cut the serving time in half. 🙂
Step 10: Eat and Enjoy
If you followed all the steps correctly, chances are you will be blown away at how amazing the ribs taste. Invite everyone you know over to try them; they will never believe you otherwise.


Katy ~
I imagine you are the envy of your neighborhood with this incredible recipe!